
Social Status: How to React If the Worst Happens
After surviving a nuclear blast, it is important to remain calm and wait for Vault-Tec (or other proper authorities) to contact your overseer. Should circumstances degenerate from optimal, you may be called upon to ascertain the situation from beyond the confines of your vault. At this point, the manner in which you conduct yourself in the chaotic topside environment becomes of paramount importance.
Option 1: Friend or Foe?
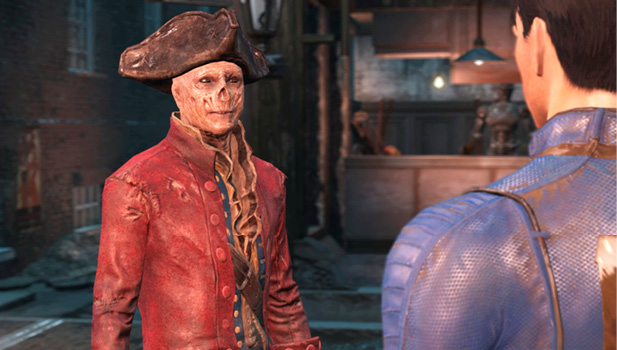
This grotesque ghoulish face of flapping skin may be terrifying to witness, but it belongs to a friendly sort. Appearances can sometimes be deceptive.
Many surface dwellers are simply attempting to eke out an existence and are little threat to you. They appear with a green health bar in V.A.T.S. if accidentally targeted and are sometimes gathered with other friendly sorts in (usually barricaded) settlements. Some like to converse with you, and some have tasks—quests—for you to complete. Others are traders.
Begin a conversation, and you have four different choices to make, which can lead to a multitude of outcomes. Think about what you’re about to say, as sometimes you can’t take back a rude utterance or threat. Some friendly citizens have secrets or enjoy bantering with you. If this is the case, your conversations are color-coded with Speech Challenges. Such challenges are yellow (easy), orange (medium), or red (hard). Are you having problems convincing people and failing these challenges? Then increase your Charisma attribute or wear some Charisma-enhancing clothing.
Traders
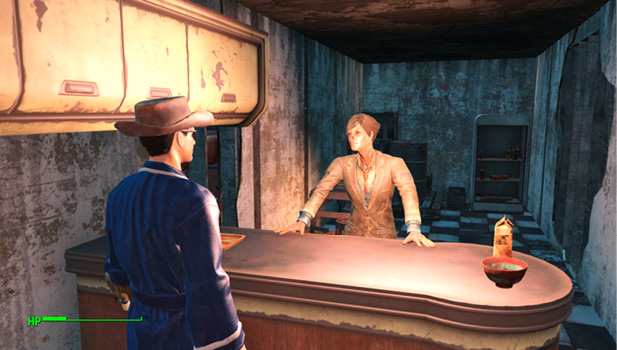
The easiest way to accrue Caps is selling scavenged loot while wearing a Charisma-improving bathrobe.
To get some of the best gear going and start acquiring more than a meager collection of Caps, it is worth finding one of the many traders plying their wares across the Commonwealth. Simply find a trader, barter with them (the higher your Charisma, the better your deals), and come back another day for a different selection of items. There are different types of traders to find:
Major Settlement Traders
Seek out Deb in Bunker Hill, the vendors of Diamond City market, and the good folks of Goodneighbor for the very best (and rarest) items.
Minor Settlement Traders
Dealing in scrap, armor, and other bits and bobs, there are Commonwealth settlers attempting to trade from their own static locations—such as the scrap merchant perched by the freeway off-ramp near Forest Grove Marsh.
Randomly Encountered Traders
Did you happen to spot a small girl and a large Sentry Bot while wandering? Then flag her down; she’s a trader appearing as one of the multitude of random encounters.
Trading Caravans
There are four traders who wander the Commonwealth with an armed guard, pack Brahmin, and a sense of purpose. They take the main thoroughfares between inhabitable locations, wait a few hours, and move on. Here’s where they might be:
Traders
| Trader Caravan | Location 1 | Location 2 | Location 3 | Location 4 |
|---|---|---|---|---|
| trader name | first location | second location | third location | fourth location |
| Doc Weathers | County Crossing | Finch Farm | Salem | The Slog |
| Trashcan Carla | Sanctuary Hills | Drumlin Diner | — | — |
| Cricket | Diamond City | Vault 81 | Warwick Homestead | — |
| Lucas Miller | Covenant | Tenpines Bluff | Greentop Nursery | — |
Option 2: Just Foe
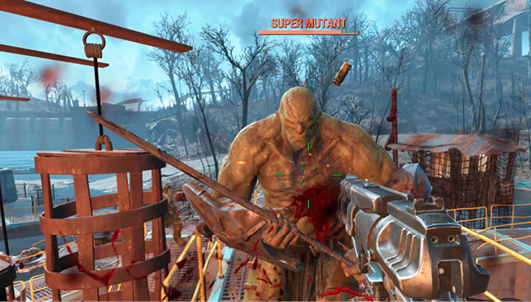
There is little doubt that this lumbering specimen isn’t here to sell you stimpaks. A more offensive posture is therefore called for.
The vast majority of the time, you should be able to spot the telltale signs of a hostile encounter. Foes have red health bars. They usually have warnings to strangers, impaled skulls adorning their place of business, or a wild glint to their eye. There could be
blood or sacks of unpleasant entrails. Shots may be fired. At this point, it is wise to take action from the following options:
General Hostile Actions
The situation has escalated. You should have prepared an offensive tool with which to calm the situation down. Early into your explorations, experiment with different weapon types—punching, melee, and the variety of ranged guns. Then choose perks that help you make the most of the weaponry you’ve chosen.
Melee Combat
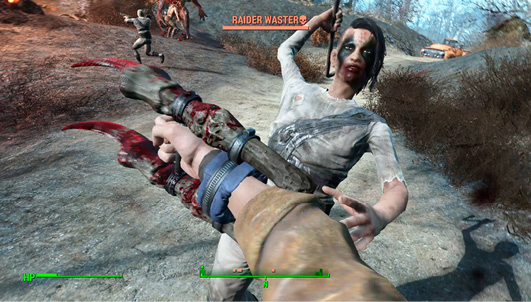
Close-range combat isn’t for the squeamish and involves choosing when to bash, block, charge in, or execute a more lumbering power attack.
If you’re using a punching or melee weapon, you must close the gap to the enemy and perform a “dance of death,” countering your foe if they employ similar weapons or quickly cutting or bludgeoning the enemy if they’re still carrying a gun. Remember you can:
- Bash: Attack normally to inflict the normal damage for the close-range weapon you’re using and to quickly hit them if they’re trying a slower power attack with a melee weapon. This can lead to them being staggered.
- Power Attack: Break a foe’s block with a power attack (and hopefully stagger them), which takes a longer time but provides more devastating damage. Or just batter them senseless as you close in by starting a power attack early.
- Block: If a foe takes a swing at you (using a melee strike, as you can’t block projectiles), quickly block just before the swing connects.
- Charge!: Sprint into the fray if your opponent is reloading, confused, hasn’t seen you, is preoccupied in some way, or has been staggered. then bring them down with a bump if you have the Pain Train perk, or strike with melee or punching attacks before they can react.
Ranged Combat
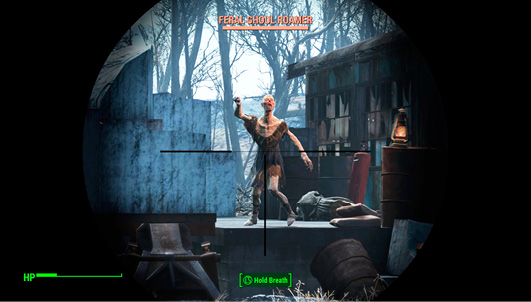
Choose just how far away you want to be by the type of ranged weapon you pick.
Hip fire is any shooting done without pressing the aiming button. The crosshairs are wide when hip firing and tight when aiming. Aiming is more accurate, but you move slowly while aiming.
Firing from the hip is another option when neutralizing a situation that has gotten completely out of hand. This involves using your own mettle, manual dexterity (usually with a firearm or something that launches projectiles), and copious bullets. Are you focusing mainly on hip firing with no V.A.T.S. combat? Then Agility, Perception, and Luck are worth considerably less. The beauty of hip firing is you can now avoid those three stats and wind up with a devastating focused character.
However, if you’re planning a focus on V.A.T.S., those stats are all vital. If you’re pouring points into Luck, you also need high Agility and Perception to help the probability you’ll score some crazy criticals!
The plan for hip firing is simple: Look for the most pertinent threats and nullify them. You can hip fire, but your accuracy is improved if you zoom in or look down the sights of a weapon. However, this comes at the cost of speed. Crouching and firing is even more accurate, though you’re obviously a sitting duck. Also remember that the heavier the weapon, the more carry weight you’ll need and the slower you’ll be to react.
Both you and your enemies can inflict different types of damage:
- Ballistic: Bullet, shell, or normal projectile damage.
- Energy: Powerful blasts of electricity or laser fire.
- Radiation: damage with a radioactive element, usually environmental or when being struck by radioactive creatures.
- Poison: Usually attacks from certain types of unclean enemy claws.
It’s worth consulting the Combat chapter to see if the foes you’re facing have resistance to any of these damage types and to plan to exploit their weaknesses instead.
Now simply fire on your foes until only one of you is standing. Let’s hope it’s you. Is the foe running? Aim for the legs. Better to earn some XP for your expended bullets by killing your target.
Projectile Combat
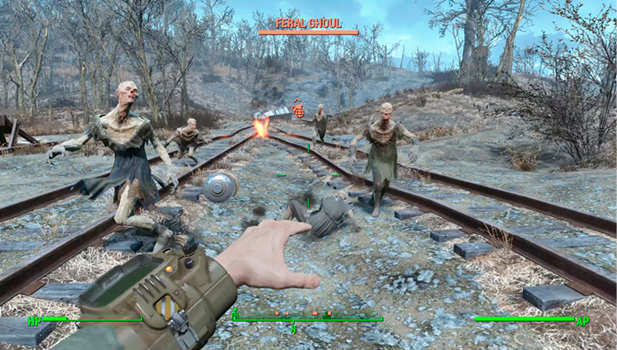
Grenades and mines are a great way to damage foes within a larger area or create a diversion.
Remember to utilize grenades at every possible opportunity to soften up the enemy as you close in (or if you have the Pickpocket perk, to place on a person you’ve snuck up to for an amusing and explosive demise). Remember to hold down to throw, and aim just in front of an enemy who is moving toward you, so the projectile explodes on them, not behind them.
Mines are another option, albeit a more stealthy plan. Place them on enemy patrol paths, in choke points, or at the perimeter of your settlements. And remember both grenades and mines can harm you (though mines only blow up on you when triggered by a foe), so don’t drop one at your feet and stand there.
Vault-Tec Assisted Targeting System (V.A.T.S.) Combat
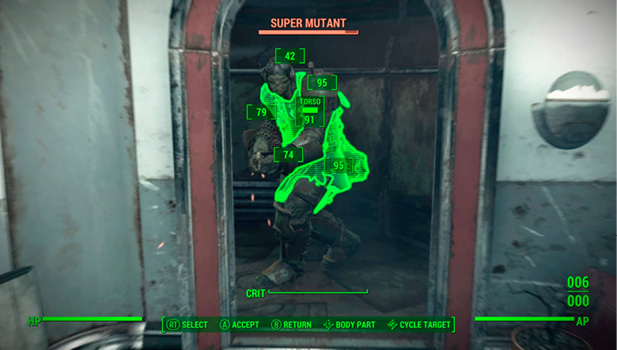
From the sniper in a faraway nest to rapid-fire minigun mayhem, the methods of foe disposal are simply staggering.
V.A.T.S. allows you to slow down the lunacy of combat into more manageable time chunks. Use the targeting system to mark multiple enemies (or multiple areas of an enemy or enemies). This continues until you wish to stop choosing pieces of a foe to shoot at or you run out of bullets or Action Points. Remember! The larger the weapon, the more Action Points it is likely to use up for each hit. Successfully strike a foe, and your Critical meter is partly filled. Once completely full (and the speed of this depends on your Luck attribute), you can launch a critical hit—a high-powered and usually impressively messy attack.
Stealthy Combat and Sneaking
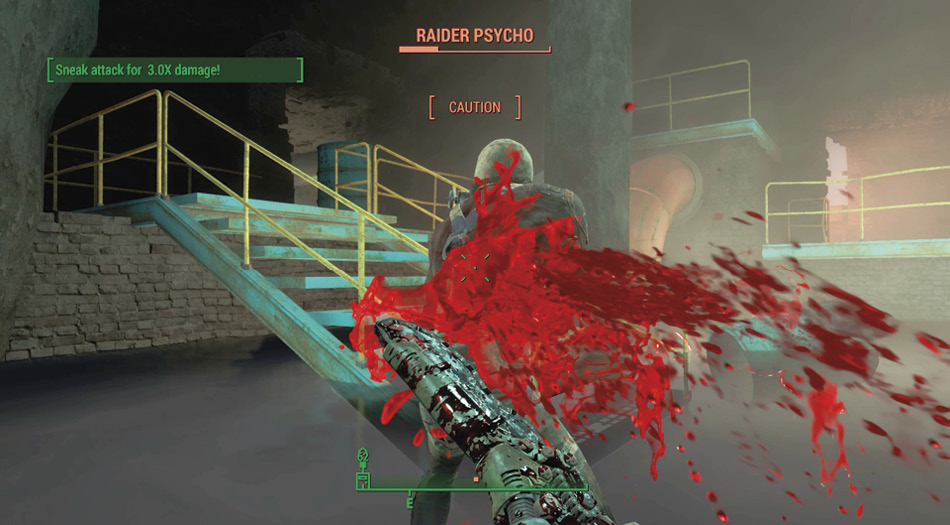
Hiding in shadows, waiting to strike after placing your trust and judgment in accruing all the ability-related perks you can muster.
Those with the necessary Agility and attire suitable for such antics may wish to try a spot of sneaking. This involves crouching, after which the level of detection appears.
Hidden: This means no nearby entities have detected you. Feel free to maneuver and attack with special damage bonuses, though you are at risk of being discovered. You may wish to try long-range takedowns with silenced weaponry instead. The farther apart the brackets are between the word “Hidden,” the more successful your sneaking is.
Detected: A non-hostile entity has spotted you. The only immediate danger you face is possible embarrassment.
Caution: Enemies have detected but not pinpointed you. Evade them by watching the brackets around the word “Caution” expand, and return to Hidden status. Sneak attacks are still counted.
Danger: You have been spotted, and another type of combat is usually called for. Or run away.