
Area Statistics
Every location in the Commonwealth has a list of pertinent information to better inform you of what to expect when you visit it. The following list explains what all of this is. Remember that most items (such as mods, types of ammunition, and health) are randomly obtained and thus cannot be tracked. For information on the best way to scavenge these, consult the appropriate chapters (INV, MOD, WORKSHOP) in this guide.
Armaments and Ammo
Armaments and Ammo (+++)*
The immediate area has weapons, ammunition, or both. The bullets, firepower, or bludgeoning weapon could be loose on the ground, sitting on a table, in a toilet, or inside an ammo box, duffel bag, locked suitcase, locked toolbox, or other interesting container. Low on ammo? Look for these icons!
Armaments and Ammo: Mini Nuke or Fat Man
You’ll find either a large, rotund missile at this location, specifically designed to be fired from the infamous Fat Man, or an elongated launcher in the indicated area or location. A portable nuclear weapon, this has the added bonus of coming with a Mini Nuke already prepped!
Armaments and Ammo: Trunk
This location has a type of steamer trunk that holds a large amount of (random) loot. It is basically a “reward” for clearing the area of undesirables. Trunks come in a few varieties—red, green, military, and even with a Vault 81 insignia—and they are all shown by this icon. Want to make your life easier? Hunt down these repositories of rare items, recipes, and other treasures!
Armor Part: Fusion Core
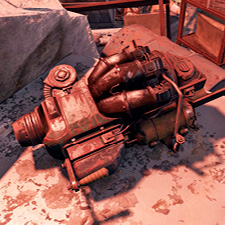
Fusion Cores are worth a good deal of bartering currency, but mostly they are useful for slotting into the back of your Power Armor suits; therefore, they are critical for the continuing operation of your protective exoskeleton. You usually find them powering generators, but they are also loose in a location or already plugged into existing Power Armor.
Armor Part: Power Armor (Type)
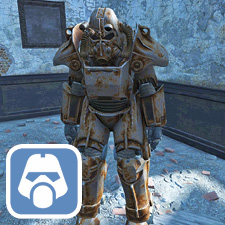
To keep your Power Armor in working order, you’ll want to cannibalize parts from other suits you find. Locations with this flag have such a suit. This armor could be a frame (from which you can build another suit), it may be in parts, underwater, or still attached to a Raider you’re beating to death with a power fist.
Bottlecaps (+++) and Safes
This location has a good number of Bottlecaps to add to your currency collection. Receive them after bartering from a trader or as a quest reward, or find them in Caps stashes or on recently slain settlers. If an area has Caps, it is duly noted. Also flagged are any safes and the difficulty of the lock.
Collectibles
Collectible: Bobblehead
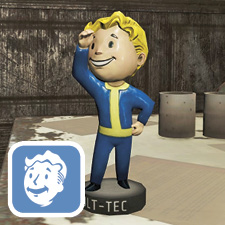
A limited-edition, one-of-a-kind Vault-Tec official Bobblehead is at this location! Why not collect all of them? Each one has a specific statistical improvement, and any you collect can be displayed at a settlement you own. But finding them can be tricky, unless you know where to look.
Collectible: Holotape
If you wish to learn more about a location you’re visiting, find clues that lead to quests, or listen to stories about squirrels, seek out these Holotapes strewn about the location.
Collectible: Holotape Game
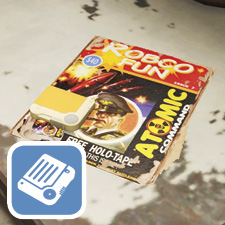
Your first incredible RobCo FUN! Holotape game is in Vault 111. But what about the other four? They are free with copies of the RobCo FUN! magazine. If there’s a Holotape game to collect, it will be flagged.
Collectible: Nuka Cola Quantum
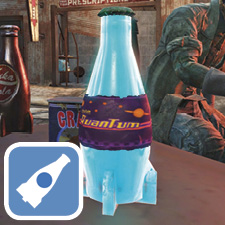
When your thirst won’t quit, quench it with a Quantum! Make time for a Nuka break by finding these glowing blue bottles, and drink up like your life depends on it. Delicious? Yes! Nutritious? Of course!
Collectible: Nuka Cherry
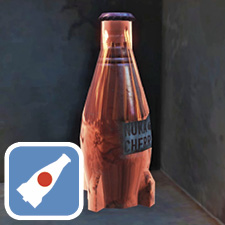
Need to satisfy your craving for the intense and delicious flavor of cherries? Then look for the glowing red bottles found across the Commonwealth.
Required Reading: Skill Magazine
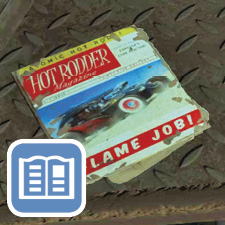
Scattered throughout the wasteland are over 100 books that offer a great deal of information and some excellent bonuses to your various statistics.
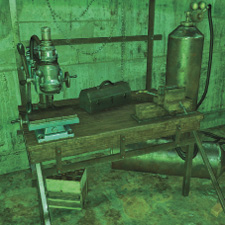
Crafting
Armor workbenches, chemistry stations, cooking stations, Power Armor stations, and weapons workbenches are all flagged if a location has one to tinker on.
Companions
Occasionally, a location has a special friend you can pal around with, order about, and have lengthy chats with. Mostly, though, they’re helpful with providing fire support and lugging scavenged equipment around.
Dangers
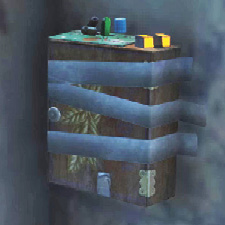
A vast majority of locations feature one or more of the following dangers. Just another reason why leaving the safety of your Vault is a decision not to be taken lightly.
Can Chimes!
These hanging cans can be disarmed for scrap or jingled to attract attention.
Escaping Gas!
The area has a thick wavy malaise about the air; explosive projectiles can cause this to explode in a highly damaging blast.
Explosive Barrels!
The area has one or more red barrels or thin canisters that are designed to explode when shot at. Try not to be standing close by during a detonation.
Flamethrowers!
At this location, you encounter a flamethrower turret designed to burn you alive.
Grenades!
Tension traps, or bathroom scale traps, usually release grenades when triggered. Instead, look for these grenade bouquets and pocket them for use against the enemies that prepped them.
Long Drop!
This location is high up. It features a lengthy drop to the ground, which is fine to take while wearing Power Armor but can lead to a horrific crushing death if you’re less well armored.
Madness!
This place has a strange oddness about it. Did you hear the rumors? What was that sound? Who is that? It might be time to flee before events you cannot explain take a toll on your sanity.
Makeshift Bombs!
These are attached to doors or around corners and are sometimes triggered by tension traps; disarm them so they don’t go off in your face.
Mines!
That beeping sound indicates you’re about to be crippled by a mine if you don’t disarm or flee the immediate area. Beware of these at the location.
Oil!
A rainbow hue of leaking fluid, usually from age-old machinery in various stages of disrepair, can go up in flames if you use flammable projectiles or explode barrels. Be sure foes—not you—are standing over oil.
Radiation (Mild)!
This location is mildly radioactive, usually in areas of water or with a few scattered barrels improperly disposed of. Take reasonable care and a Rad-X afterward.
Radiation (Severe)!
This location is very radioactive, especially the Glowing Sea, areas where radioactive barrels have been dumped, or at the remains of a massive crater created when the bombs dropped. Exercise extreme caution and wrap up properly before entering.
Tension Trigger!
A spring has been set against a door or other object, and when released, a grenade or makeshift bomb (or other wounding device) is set to go off. Disarm these with haste.
Tesla Arcs!
An electrical device that’s as impressive to look at as it is foolish to take damage from. Quickly disarm these wall-mounted devices or face a nasty singe of energy damage.
Tripwires!
A length of wire or laser has been activated in this location, and tripping it usually releases another type of trap; sometimes it’s a weapon firing at you, a tesla arc, a makeshift bomb, or grenades. Disarm these instead.
Turrets!
The location features unmanned turrets, usually controlled by a nearby terminal you can hack, if you don’t wish to sneak by or manually destroy these machine guns.
Faction
The type of enemy that lives at this location is listed. There could be multiple types, and these range from enemy types (such as Bloatflies and Raiders) to more robust factions (such as the Brotherhood of Steel or Institute) as appropriate.
Characters
This lists characters that appear, or have been known to appear, at a location, in case you wish to strike up a conversation or simply strike them.
Threat Level

This indicates the typical level range of the enemies at this location. The higher the range, the more dangerous the foes will tend to be. Obviously, a Super Mutant stronghold is going to be tougher to tackle than a single, gibbering Ghoul, but this indicates the toughness of any creature in the vicinity. Avoid these areas until you feel competent to tackle the foes inhabiting them.
 Health or Chems (+++)

Whether you’re scavenging for white first-aid boxes, yellow chem boxes, scattered health or chems in a loose cluster, or the contents of a chem cooler, if there’s a sizable amount of chems, these are shown. Single chems or stimpaks aren’t tracked, just the larger collections.
Quest Start
This indicates a quest begins at this location, so if you’re looking for a new adventure, seek out these locations.
Quest Visit
This indicates a quest already in progress may have an objective that requires you to visit this location. If you haven’t started the mentioned quest, it may be wise to wait until visiting this location, as some areas of it may not be accessible.
SERVICES: TRADERS
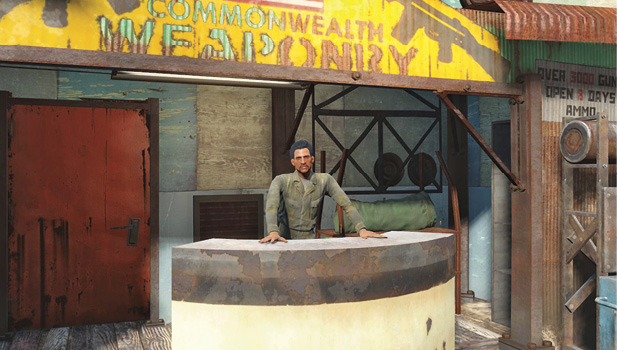
A trader is known to operate from this area. This person may sell a variety of goods and can be bartered with. You may have better luck finding quality merchandise in larger settlements rather than lone shacks. But any trader who isn’t wandering or randomly encountered is flagged for your attention.
SERVICES: WORKSHOPS
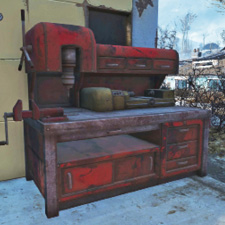
This indicates a location is a settlement with a workshop, allowing you to build a defensive, and hopefully idyllic, stronghold; set up trade routes; and create a post-apocalyptic utopia with the help of the Minutemen.
SERVICES: RADIO
A radio signal can be heard at this location. It may require you to search for the source of the signal nearby. Some radio stations simply play music or have chatter to listen to. Others may be distress signals.
Unique or Exceptional Items
This location has an item of extreme interest to obtain: Perhaps it is carried by the leader of the location, sold by a trader, or found by particularly cunning means. Whatever the method of obtaining it, you usually can’t get this item anywhere else. Whether this is a unique weapon, piece of armor, disgusting pink paste, or toy buttercup horse, be sure to check out these items and add them to your collection of interesting, rare, and entertaining equipment.