
Fallout 4 Guide DLC Far Harbor Far Harbor Main Quests
Best Left Forgotten

- Gain access to DiMA’s terminal
- Retrieve DiMA’s memories
- Retrieve Memory 0V-9AX0
- Move Code Blocks to build a Path for your Indexers
- Unblock the Decoder Beam to break through the Firewall
- Redirect the Decoder Relay to hit the Firewall
- Build and Position the Defense Constructs to protect your Indexers
- Uncover DiMA’s Secret Medical Facility
- Retrieve Memory 0J-2NN8
- Uncover the Location of the Nuclear Launch Key
- Retrieve Memory 0H-3X0P
- Recover the Wind Farm Kill Switch Code
- Retrieve Memory 0Z-7A4K
- Retrieve Memory 0Y-8K7D
Locations to Explore
- The Nucleus
- Vim! Pop Factory
- Harbor Grand Hotel
- DiMA’s Cache
Enter the Nucleus
DiMA’s earliest memories have been stored in a crumbling submarine base known as the Nucleus—a location that now serves as a stronghold for the Children of Atom. This sect isn’t inherently hostile, but they don’t allow the uninitiated within the Nucleus. If you hope to access DiMA’s memories without bloodshed, complete the Nucleus Quest: Visions in the Fog to prove your worth to the Children of Atom.
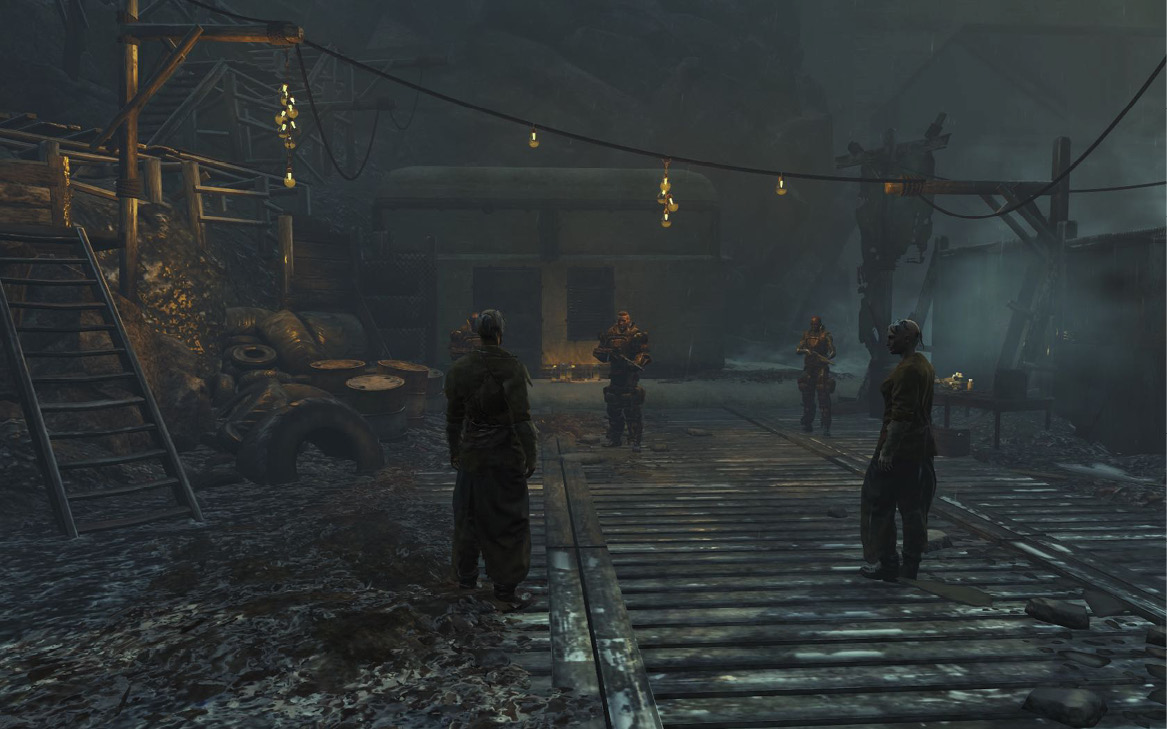
Once you’ve gained entry to the Nucleus, move to the structure’s south side and climb up to the Nucleus Command Center to head inside. The area is guarded by prewar defenses like robots, turrets, and laser tripwires. Fight your way to the Command Center Access Terminal, and use it open the nearby security door.
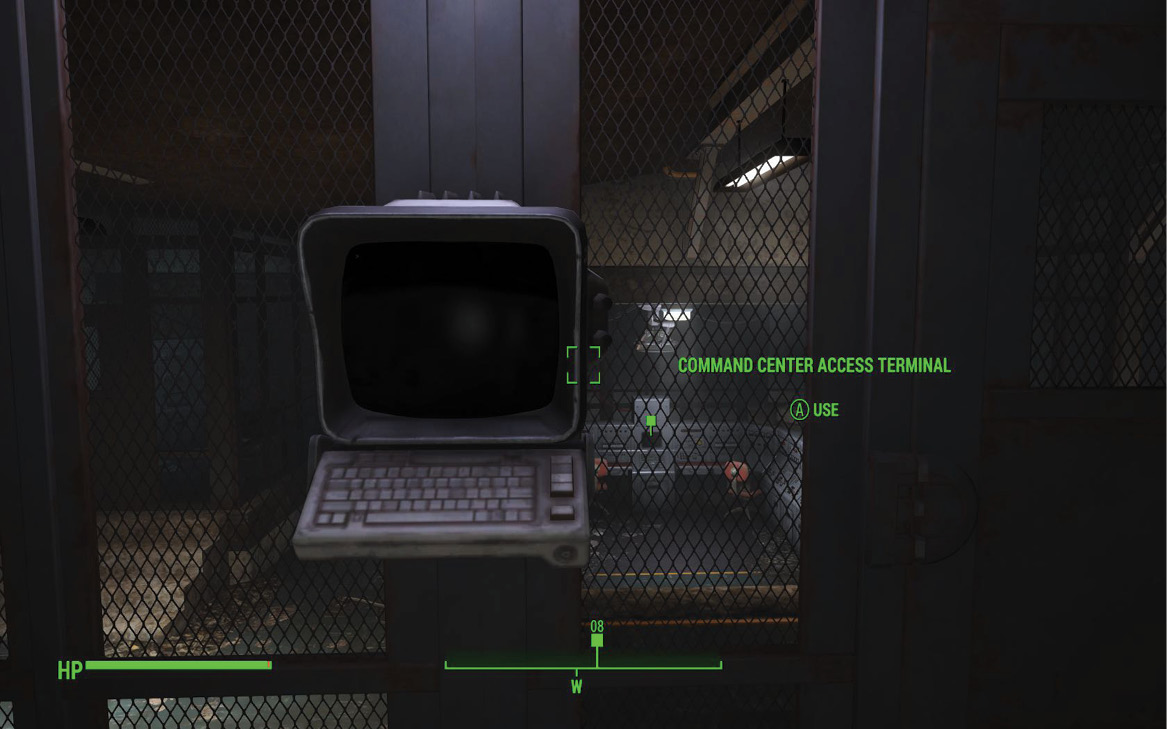
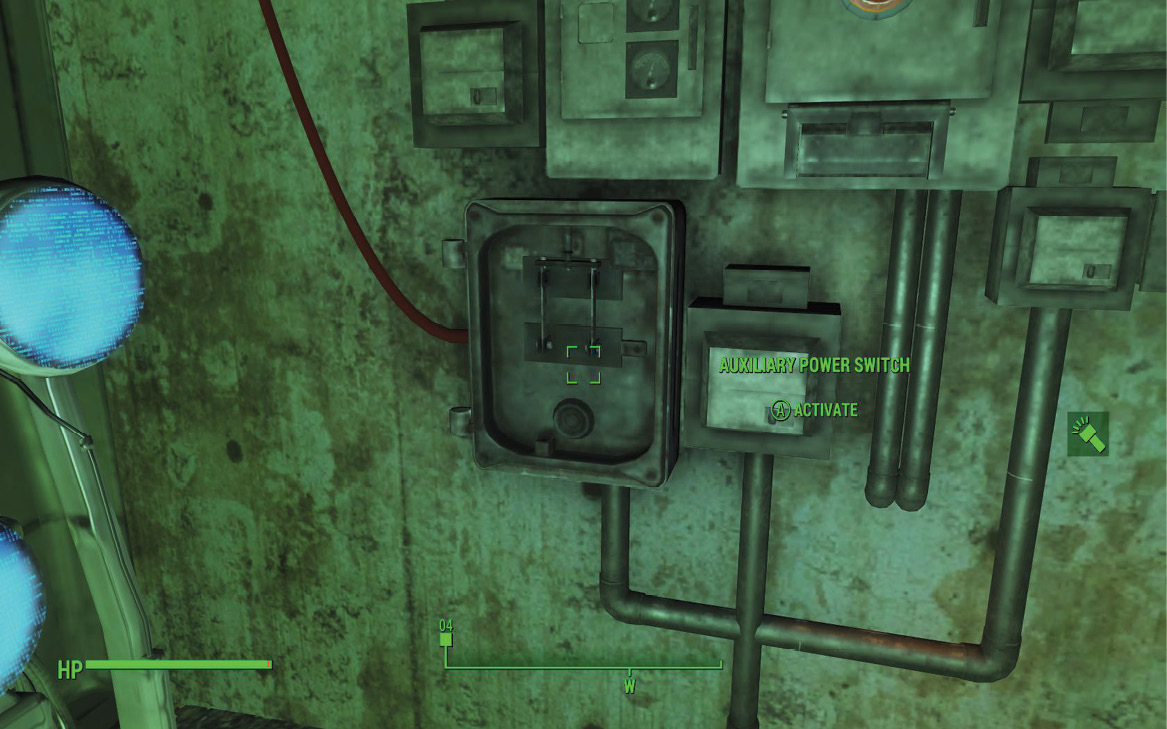
When you step into the caged area, the command center’s main terminal is offline. Use one of the nearby security gates to slip into the area behind the terminal, then use the switch on the west wall to turn activate the facility’s auxiliary power. Deal with any remaining threats, then use Faraday’s Program to unlock the main terminal and access DiMA’s memories.
Recovered Memories
Recovering DiMA’s various memories can be fairly complicated, but the basic goal is always the same: you must create a safe path between the starting point and the yellow column (long-term data storage). Once you’ve done this, the data can be retrieved by the program’s Indexers.
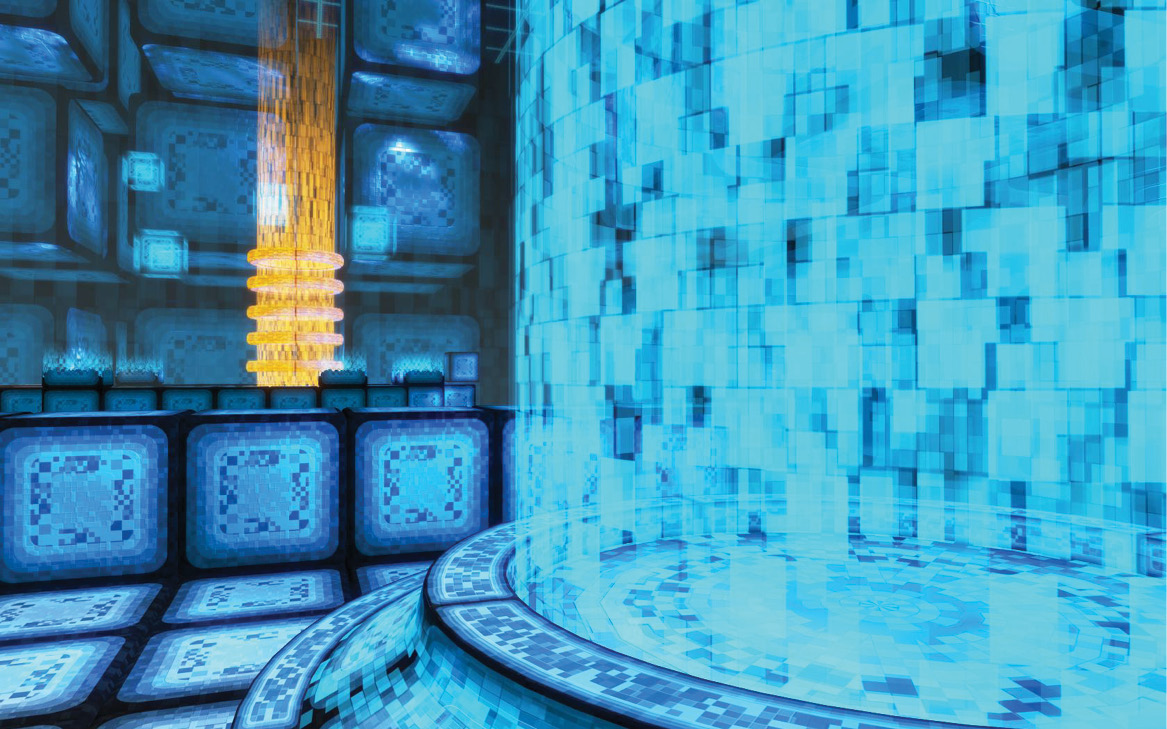
The program’s interface functions like a Workshop menu. Use this menu to build, store, and move key objects within the simulated world. Place Code Blocks to create platforms and fill gaps in the path, use Decoder Relays to direct the Decoder Beam into any firewall weak spots, and build Defense constructs to protect Indexers from nearby Sentries.
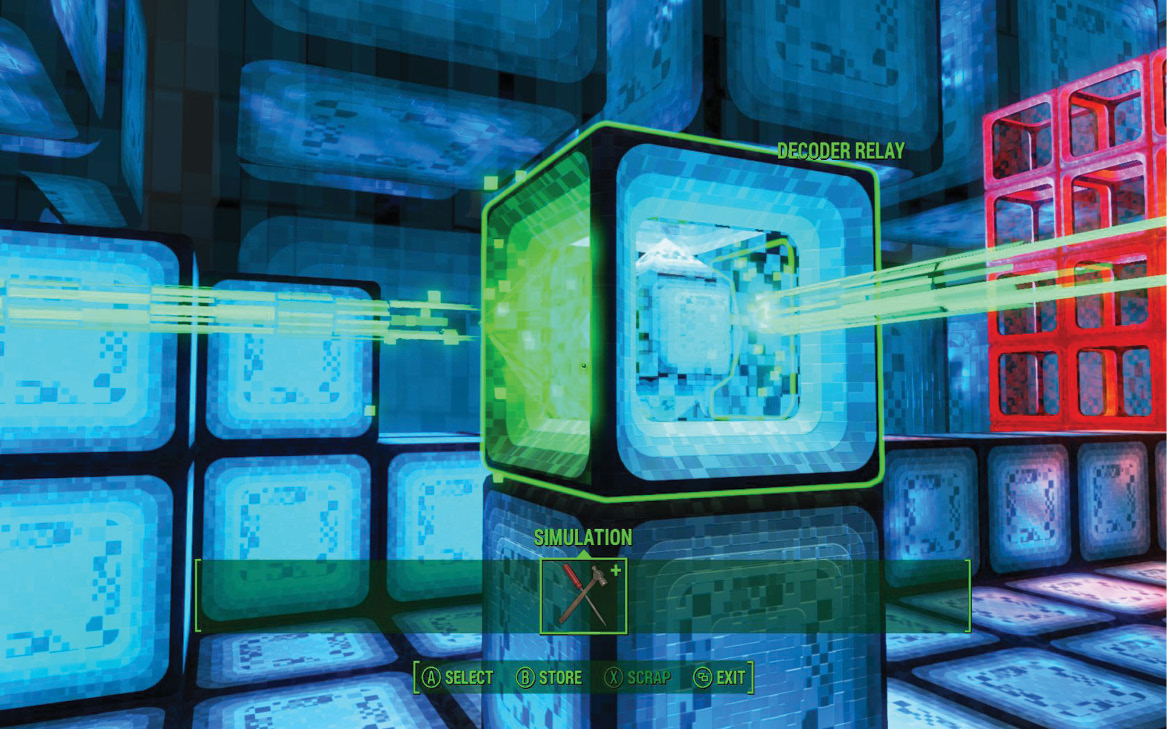
In most cases, recovering a memory opens an access point to the next simulation. However, you’re free to leave any simulation at any time—any changes you make will be in place when you return.
Memory 0V-9AX0
Available Objects
- 15 Code Blocks
- 5 Defense Constructs
- 1 Decoder Relay
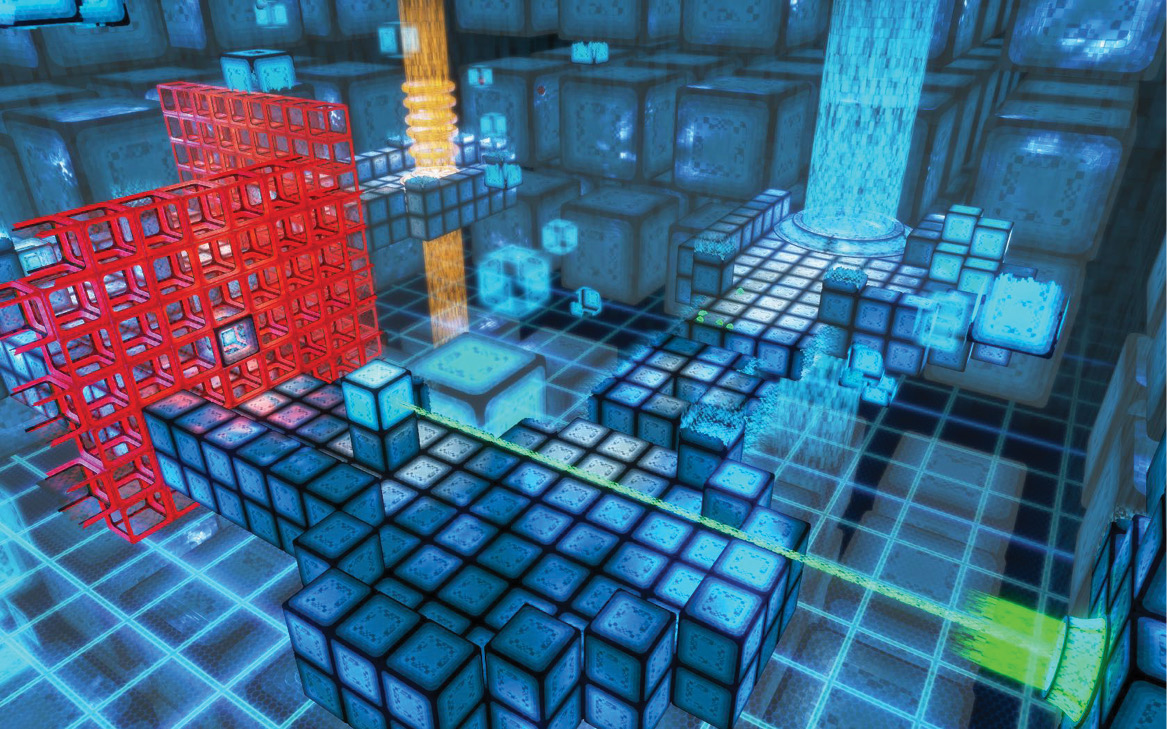
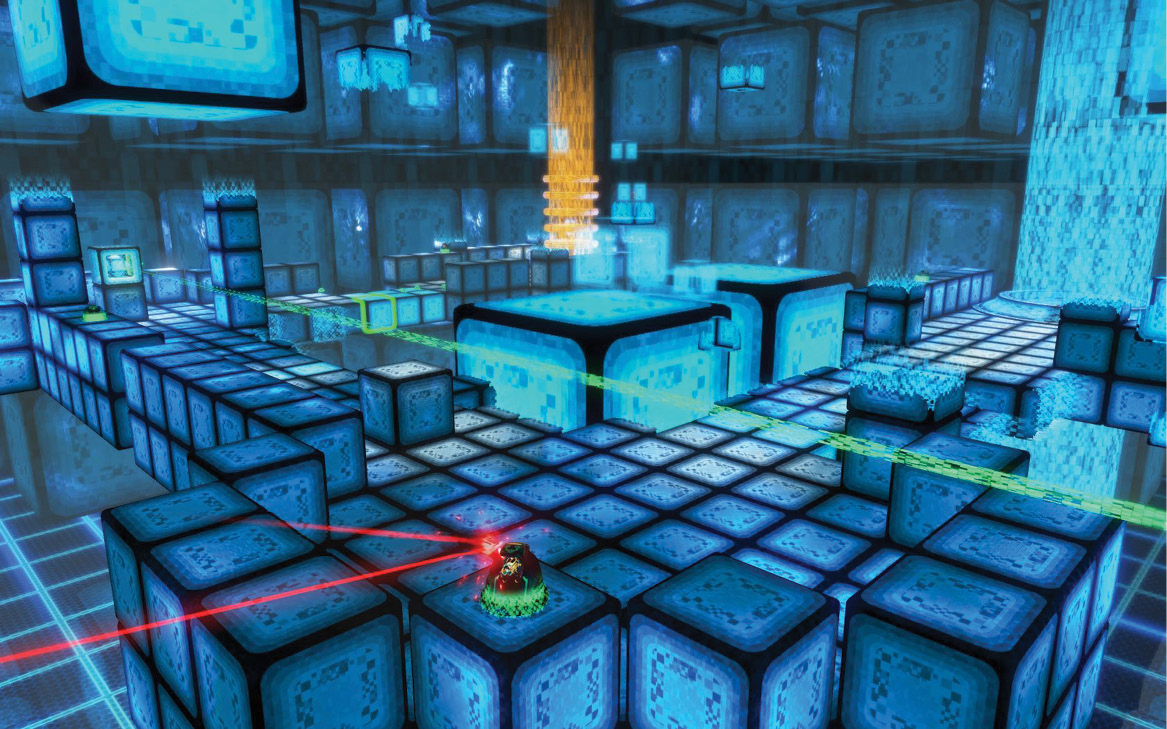
As you collect the available objects, make sure you grab the Code Block that’s keeping the Decoder Beam from destroying the first firewall. Rotate the Decoder Relay to direct the beam into the remaining firewall. Once you’ve done this, it’s simply a matter of placing Code Blocks and Defense constructs to create a safe path. When you recover all of the data, DiMA’s Memory #1 is added to your inventory and a marker for the Vim! Pop Factory appears on your Pip-Boy’s map.
 DiMA’s Memory #1
Memory 0J-2NN8
Available Objects
- 23 Code Blocks
- 5 Defense Constructs
- 2 Decoder Relays
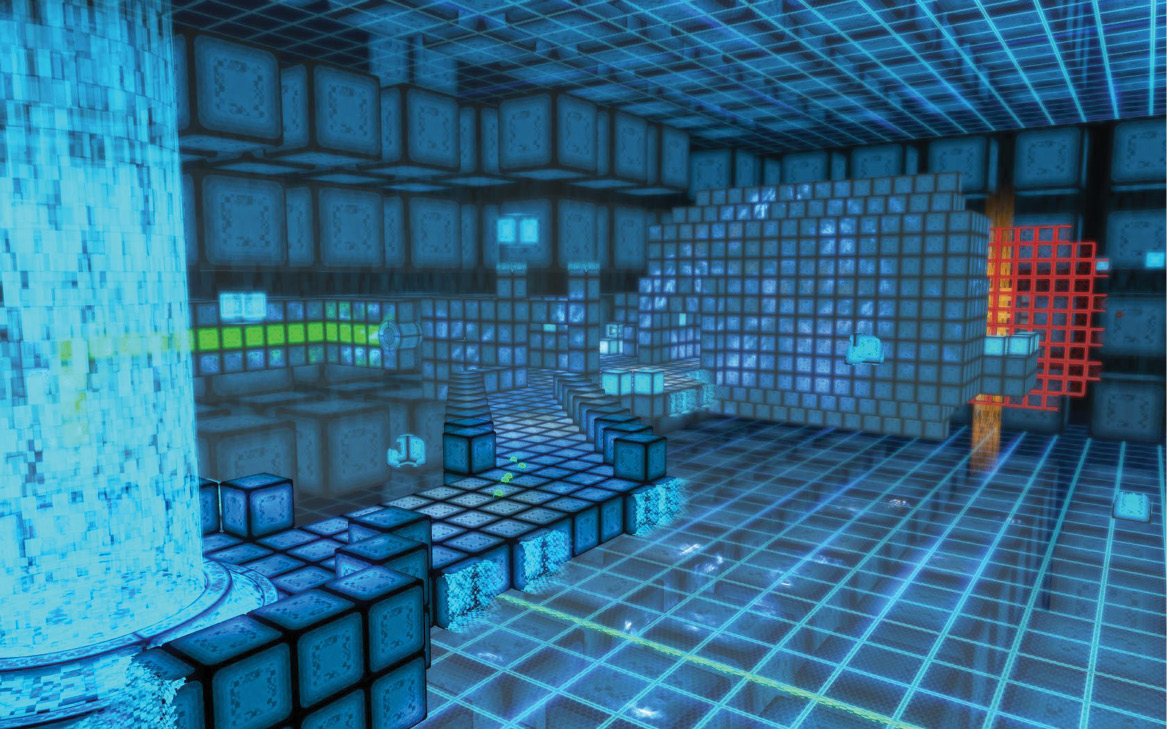
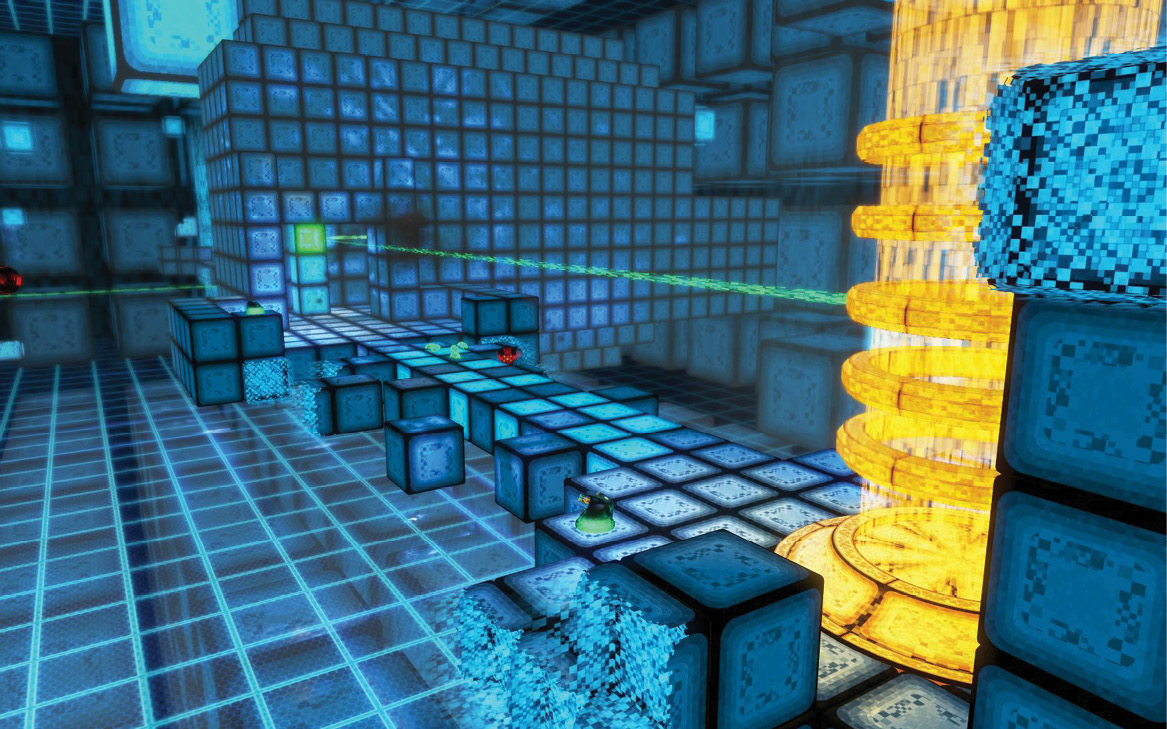
In this simulation, multiple Code Blocks are located along the Decoder Beam’s ideal path. The first obstruction prevents the beam from reaching a nearby conduit, but there are more to be found. As you rearrange the available objects, pay special attention to Code Blocks that can be moved to create gaps in otherwise solid walls.

Place the available Decoder Relays to direct the beam through the program’s firewalls, then use Code Blocks and Defense Constructs to build a safe path for the Indexers. Recover all of the data to reveal the Harbor Grand Hotel on your Pip-Boy’s map, learn the key code for the hotel’s safe room, and acquire DiMA’s Memory #2.
DiMA’s Memory #2
Memory 0H-3X0P
Available Objects
- 29 Code Blocks
- 5 Defense Constructs
- 2 Decoder Relays
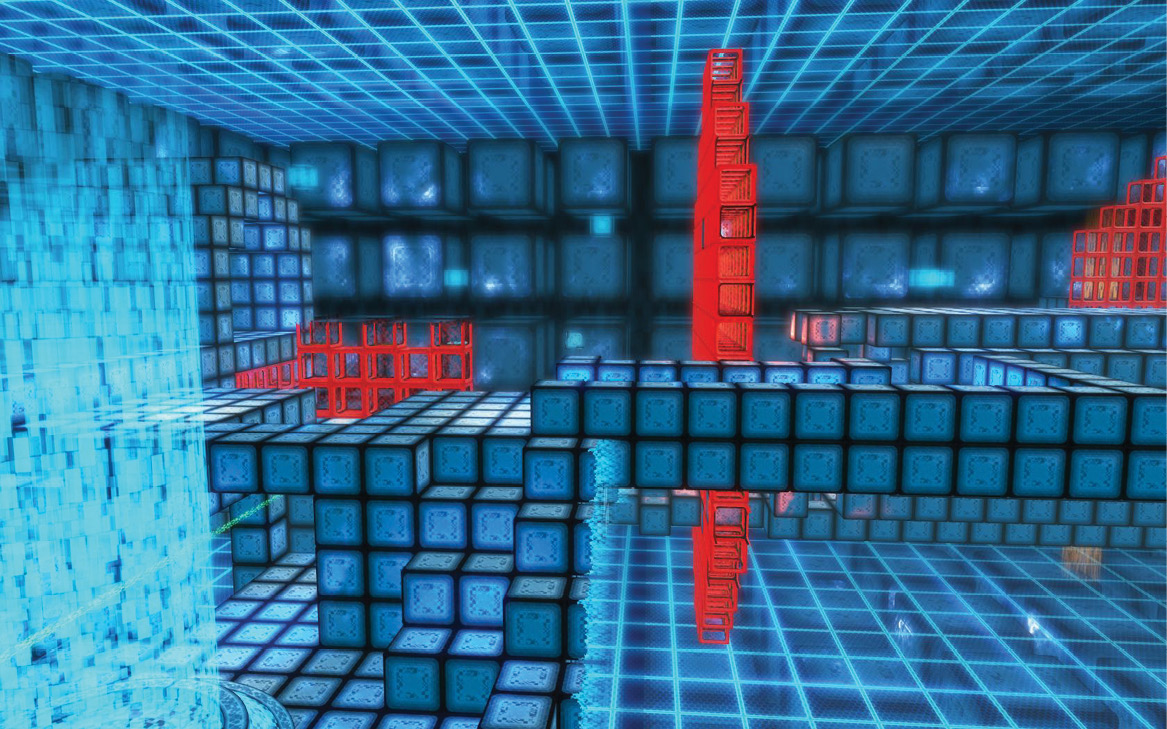
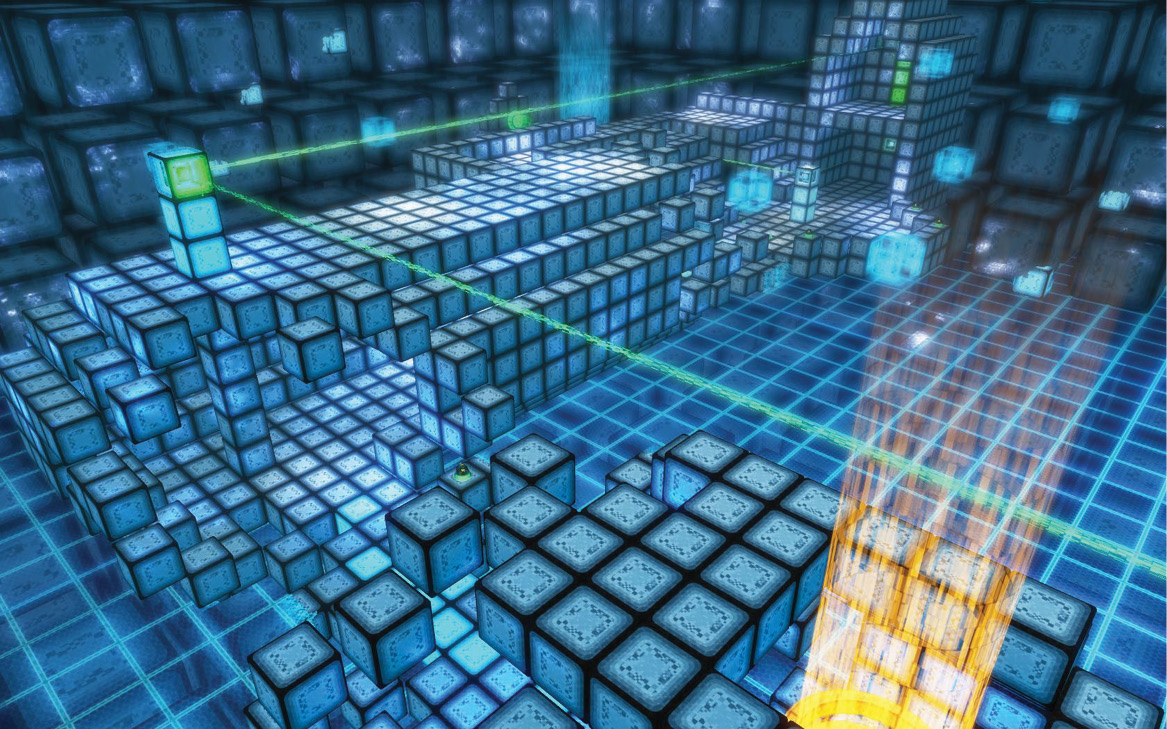
The structure featured in this simulation is a bit more complicated than those that came before it. As you search the area for Code Blocks and Decoder Relays, make sure you explore the platforms and walkways located above the main path.
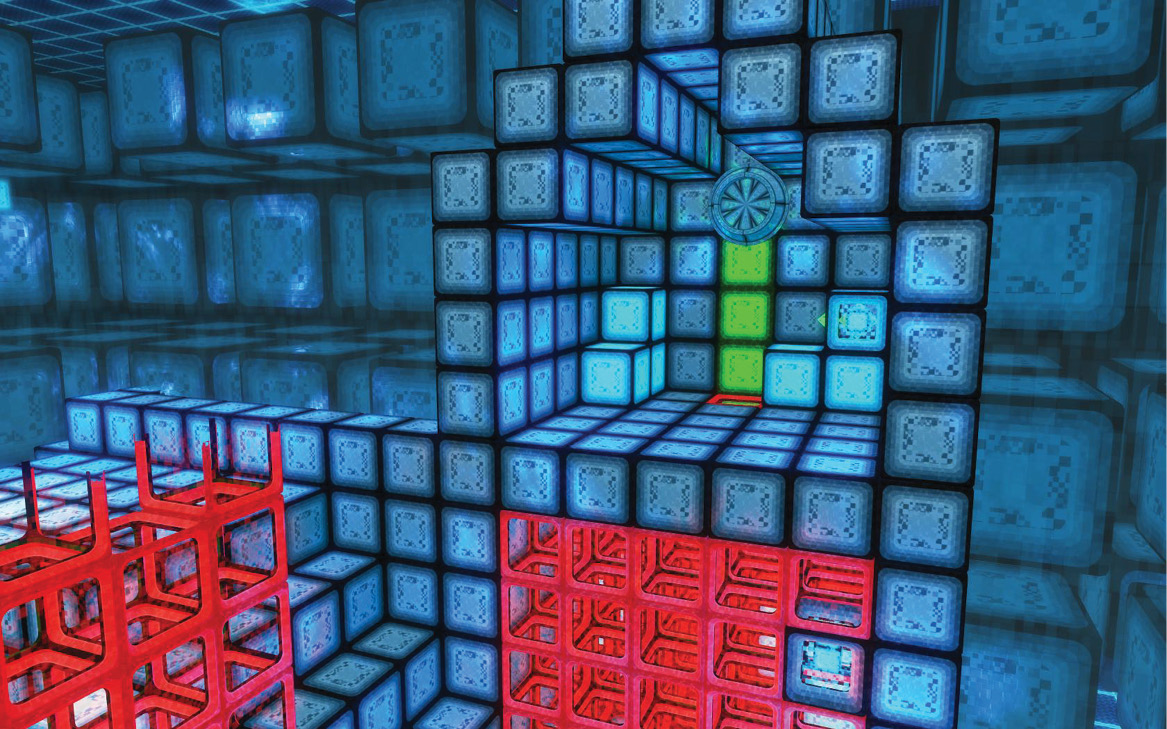
After you destroy the first two firewalls, use the conduit to transfer the Decoder Beam to the raised area. Destroy the remaining firewalls, then create a safe path for the Indexers to travel. Collect all of the data to gain DiMA’s Memory #3 and the location of a Wind Farm kill switch code.
DiMA’s Memory #3
Memory 0Z-7A4K
Available Objects
- 12 Code Blocks
- 5 Defense Constructs
- 2 Decoder Relays
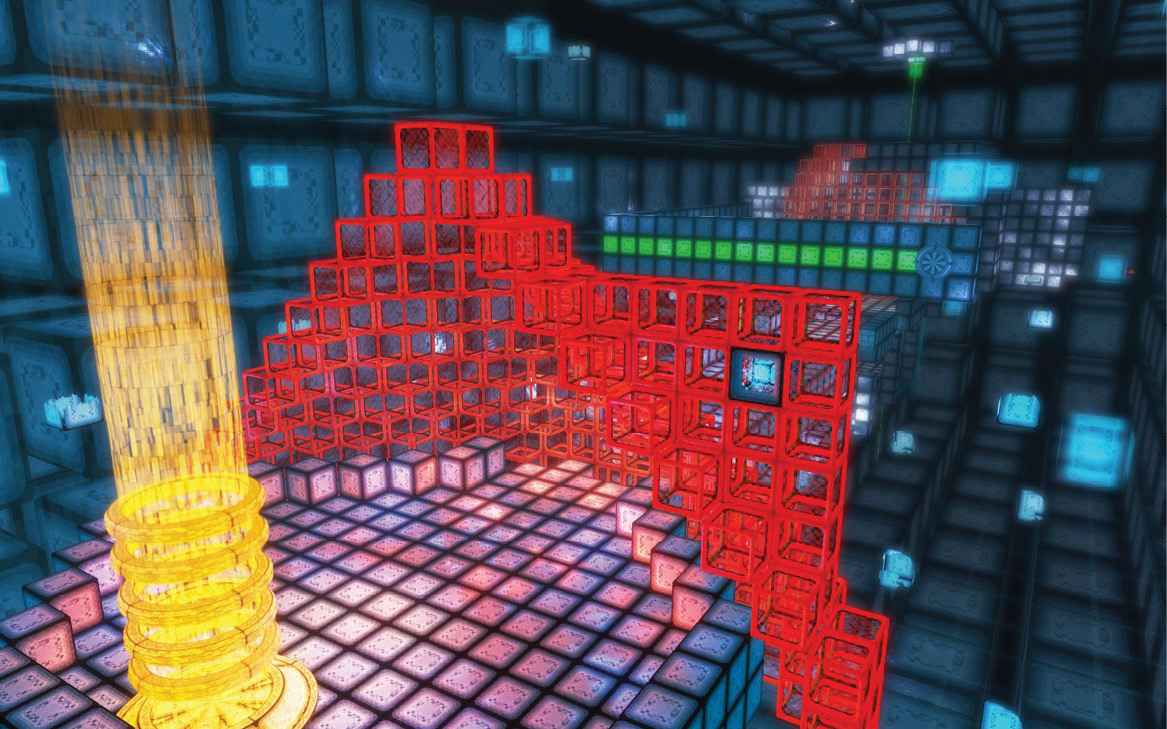
This simulation contains relatively few objects, making it necessary to collect and reuse Code Blocks and Decoder Relays each time you destroy a firewall. Although stacking Code Blocks is an important part of positioning Decoder Relays, remember that these objects are not affected by gravity. Once a Decoder Relay is in place, you’re free to move any of the attached Code Blocks.

After you’ve dealt with the firewalls near the starting point, collect all of the available objects, then use the staggered platforms near the beam conduit to reach the area below the main path. Direct the beam into the conduit to destroy the final firewall, then gather your Code Blocks and climb back up to the main path.
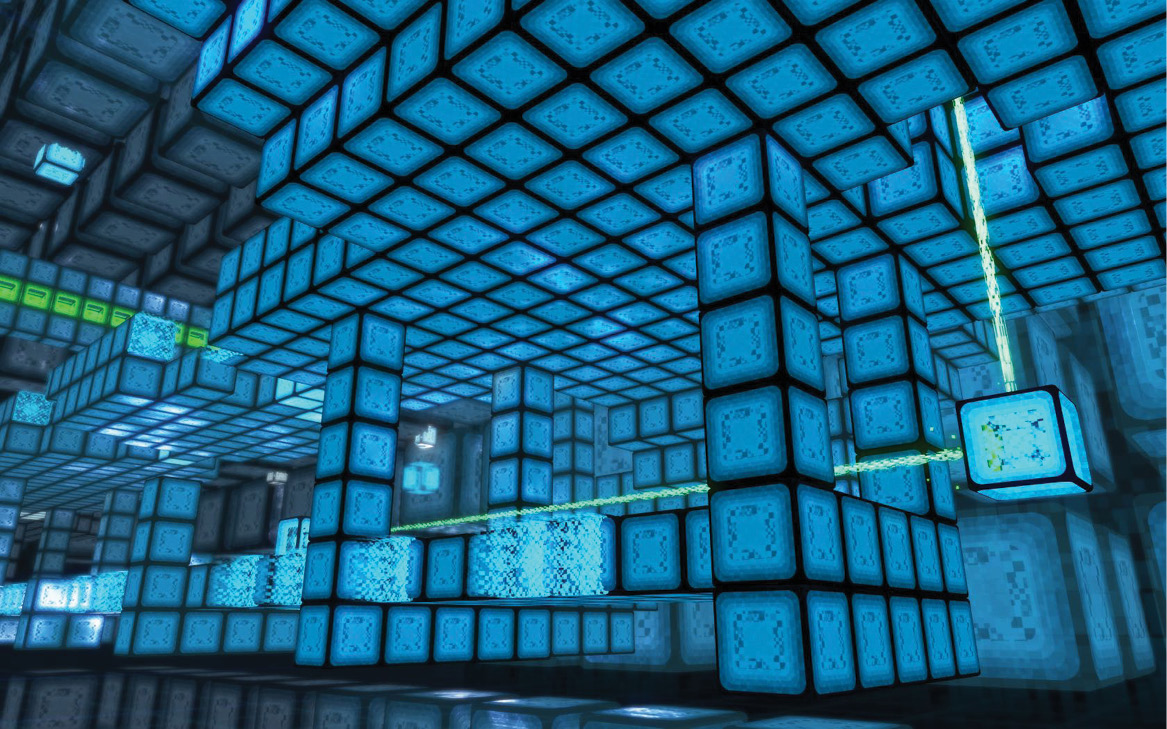
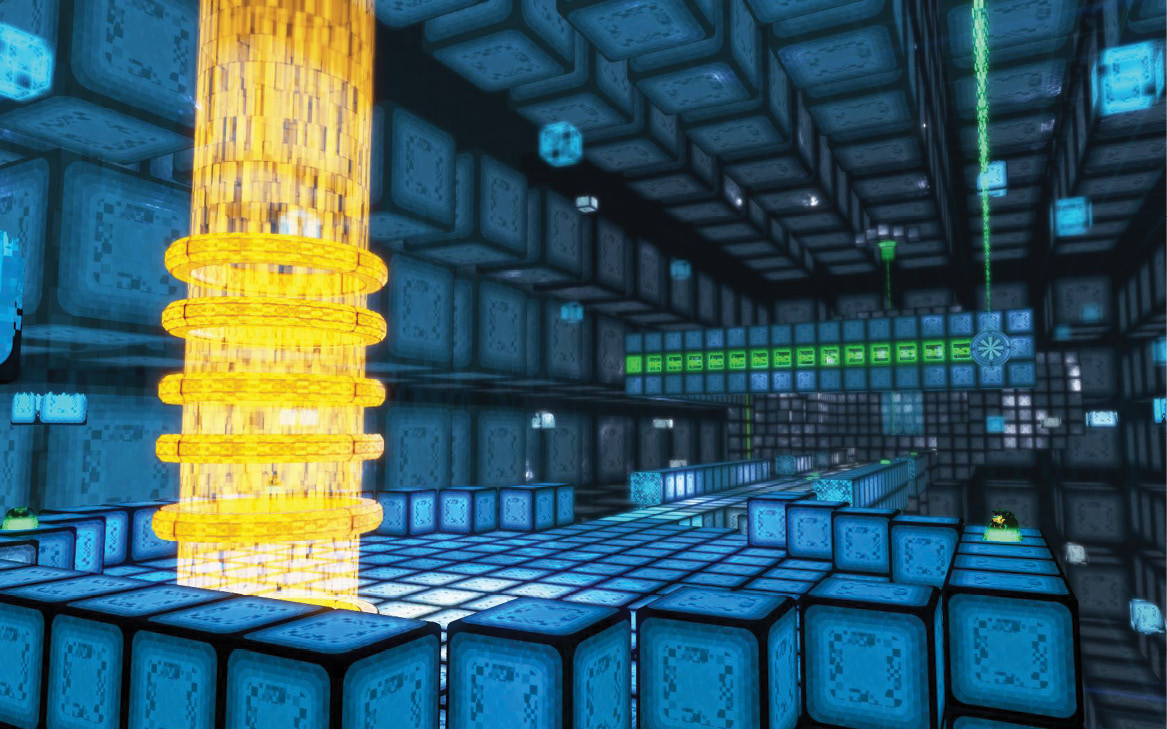
Use Code Blocks and Defense Constructs to create a safe path between the two data streams, then wait for the Indexers to do their work. Once you’ve recovered all of the data, DiMA’s Memory #4 is added to your inventory.
DiMA’s Memory #4
Memory 0Y-8K7D
Available Objects
- 103 Code Blocks
- 5 Defense Constructs
- 6 Decoder Relays
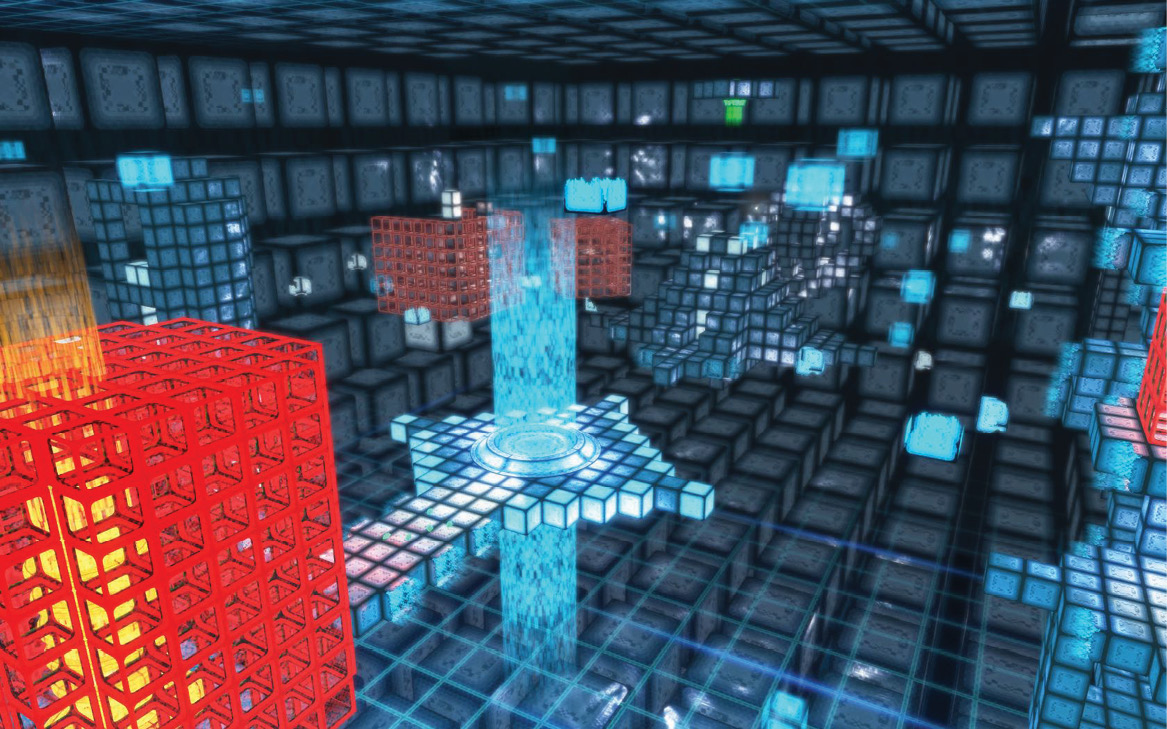
This simulation contains several floating structures scattered throughout a fairly large area. Use what you’ve learned in previous simulations to identify the Decoder Beam’s ideal path and collect some of the program’s hard-to-reach objects. Most of the Code Blocks you use to build bridges and platforms can be repurposed as you move through the area, but you’ll need to utilize all six Decoder Relays to destroy the last firewall.
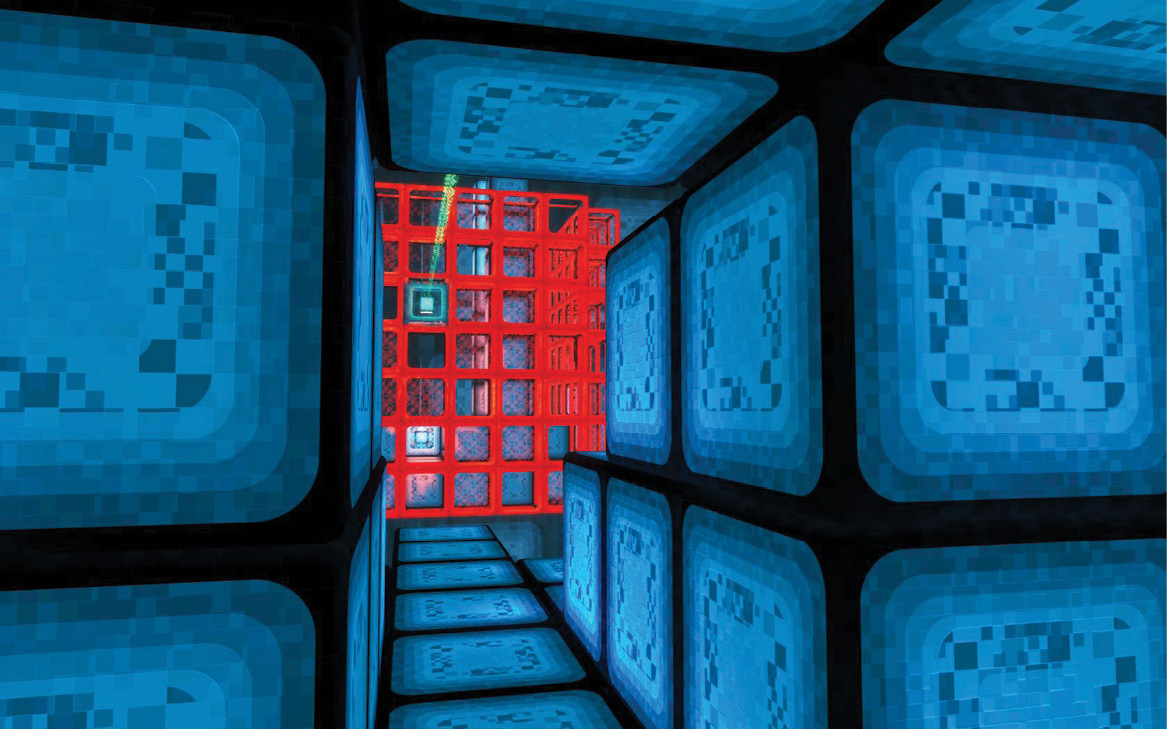
Use the Decoder Beam to destroy each of the firewalls, one by one, as you move between the floating structures. Many of the structures contain multiple levels, so be thorough as you search for usable objects. Once you’ve eliminated the last firewall, use Code Blocks and Defense Constructs to create a safe path for the Indexers. Recover all of the Data to receive DiMA’s Memory #5 and coordinates for lost shipments of Marine Armor scattered across the Island.
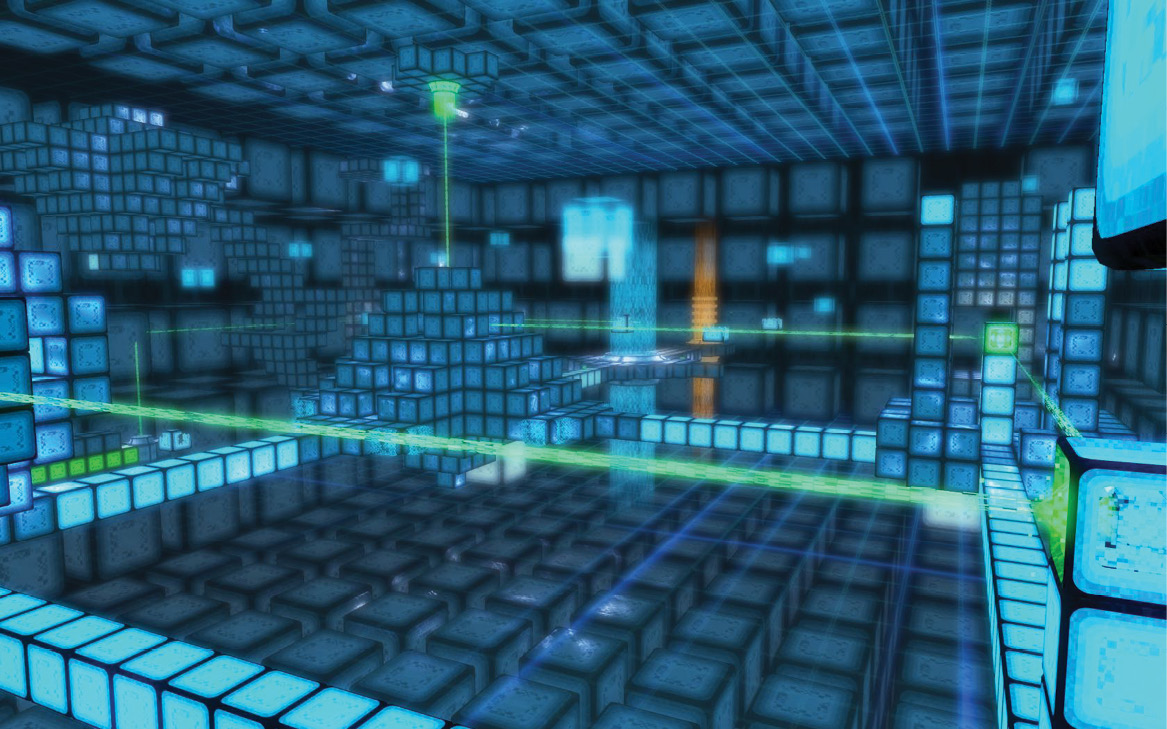
DiMA’s Memory #5
Following Breadcrumbs
DiMA’s most troubling memories are tied to specific areas across the Island. Visit the locations mentioned in DiMA’s first three memories to complete the quest.
DiMA’s Secret Medical Facility
According to DiMA’s Memory #1, there’s a secret medical facility hidden somewhere within the Vim! Pop Factory. Travel to the factory and head inside to begin Main Quest: The Way Life Should Be.
The Nuclear Launch Key
According to DiMA’s Memory #2, a safe room within the Harbor Grand Hotel contains information about a Nuclear Launch Key. Travel to the hotel and head inside to begin (or update) Main Quest: Cleansing the Land.
Wind Farm Kills Switch Codes
Travel to the marked location mentioned in DiMA’s Memory #3 and unearth DiMA’s Cache. Open the revealed container and collect the Wind Turbine Code to begin (or update) Main Quest: Cleansing the Land.