
Fallout 4 Guide DLC Nuka-World Nuka-World Main Quests
Taken for a Ride
- Survive the Gauntlet
- Enter the Locker Room
- Use the Intercom
- Find the weapon
- Use the Intercom to speak to Gage
- Enter the Cola-Cars Arena
- Defeat Overboss Colter
- Use the Thirst Zapper
- Speak to Gage
All Doors Lead to Death
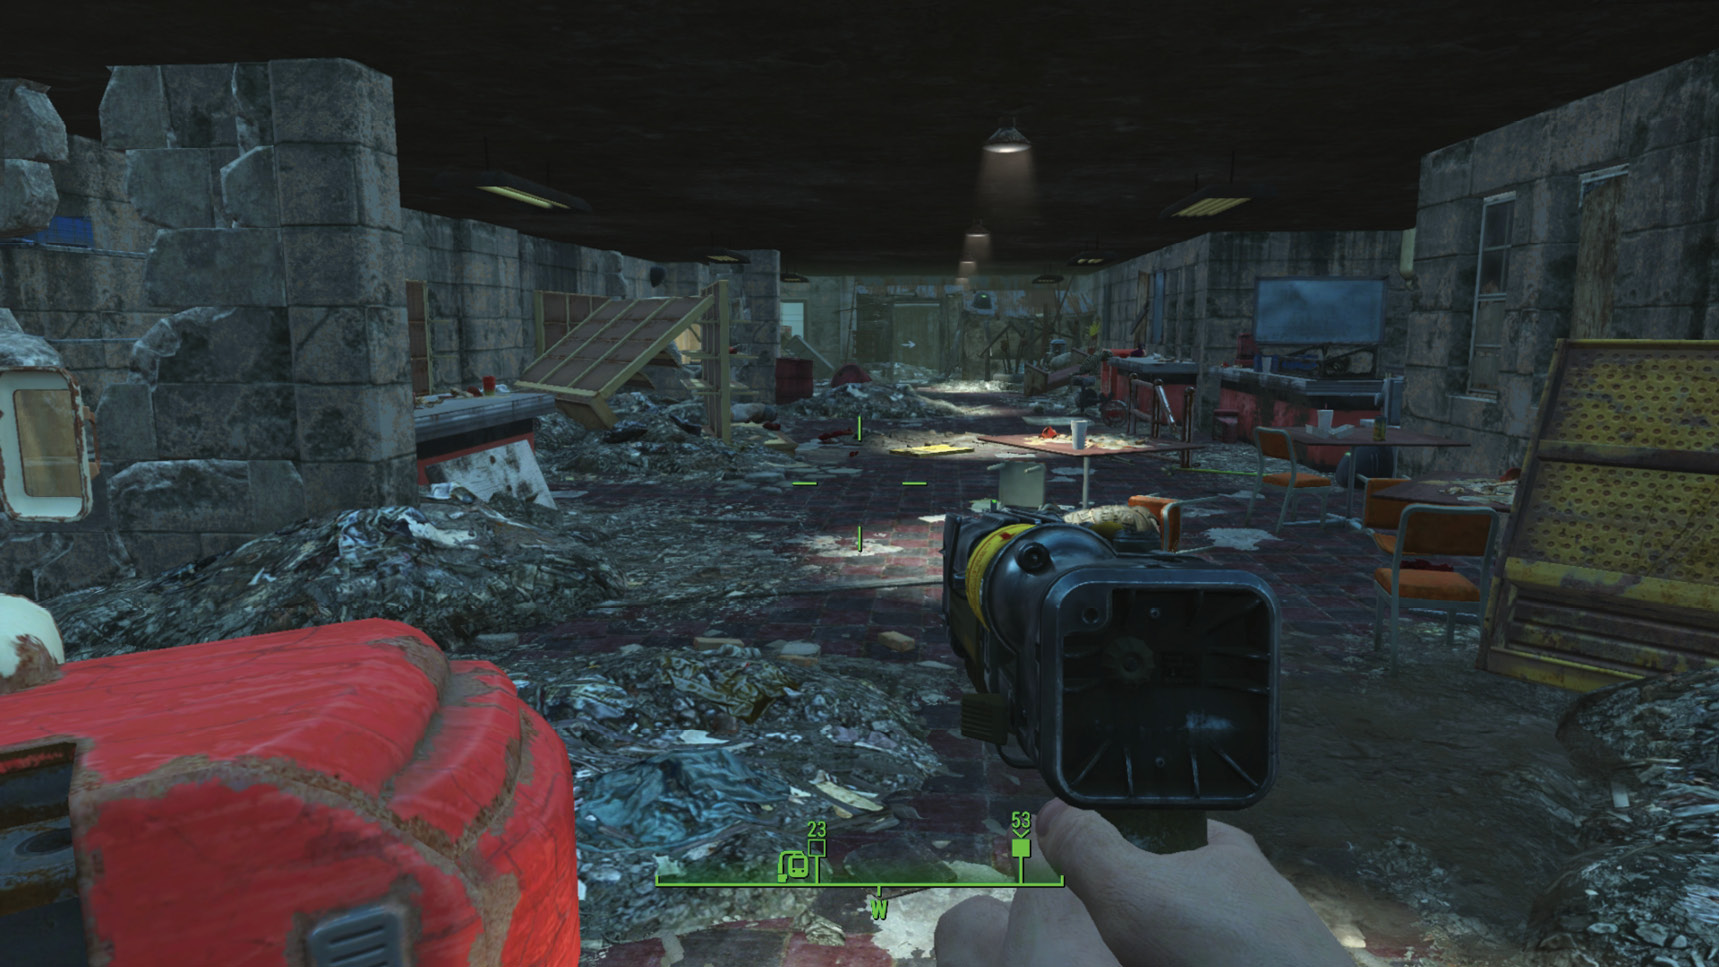
This quest begins immediately after the completion of Main Quest: All Aboard. After stepping out into the Nuka-Station, head down the stairs. A voice over the loudspeakers (a DJ for Raider Radio called RedEye) taunts and narrates as you enter the lower chamber of “the Gauntlet.” This long room has machine-gun and laser turrets; take cover and edge forward slowly so you’re not shot at from multiple directions, and tackle the closest turrets until all are neutralized. A less safe plan is to simply run through. Note the stimpak dispenser on the left wall at the far end.
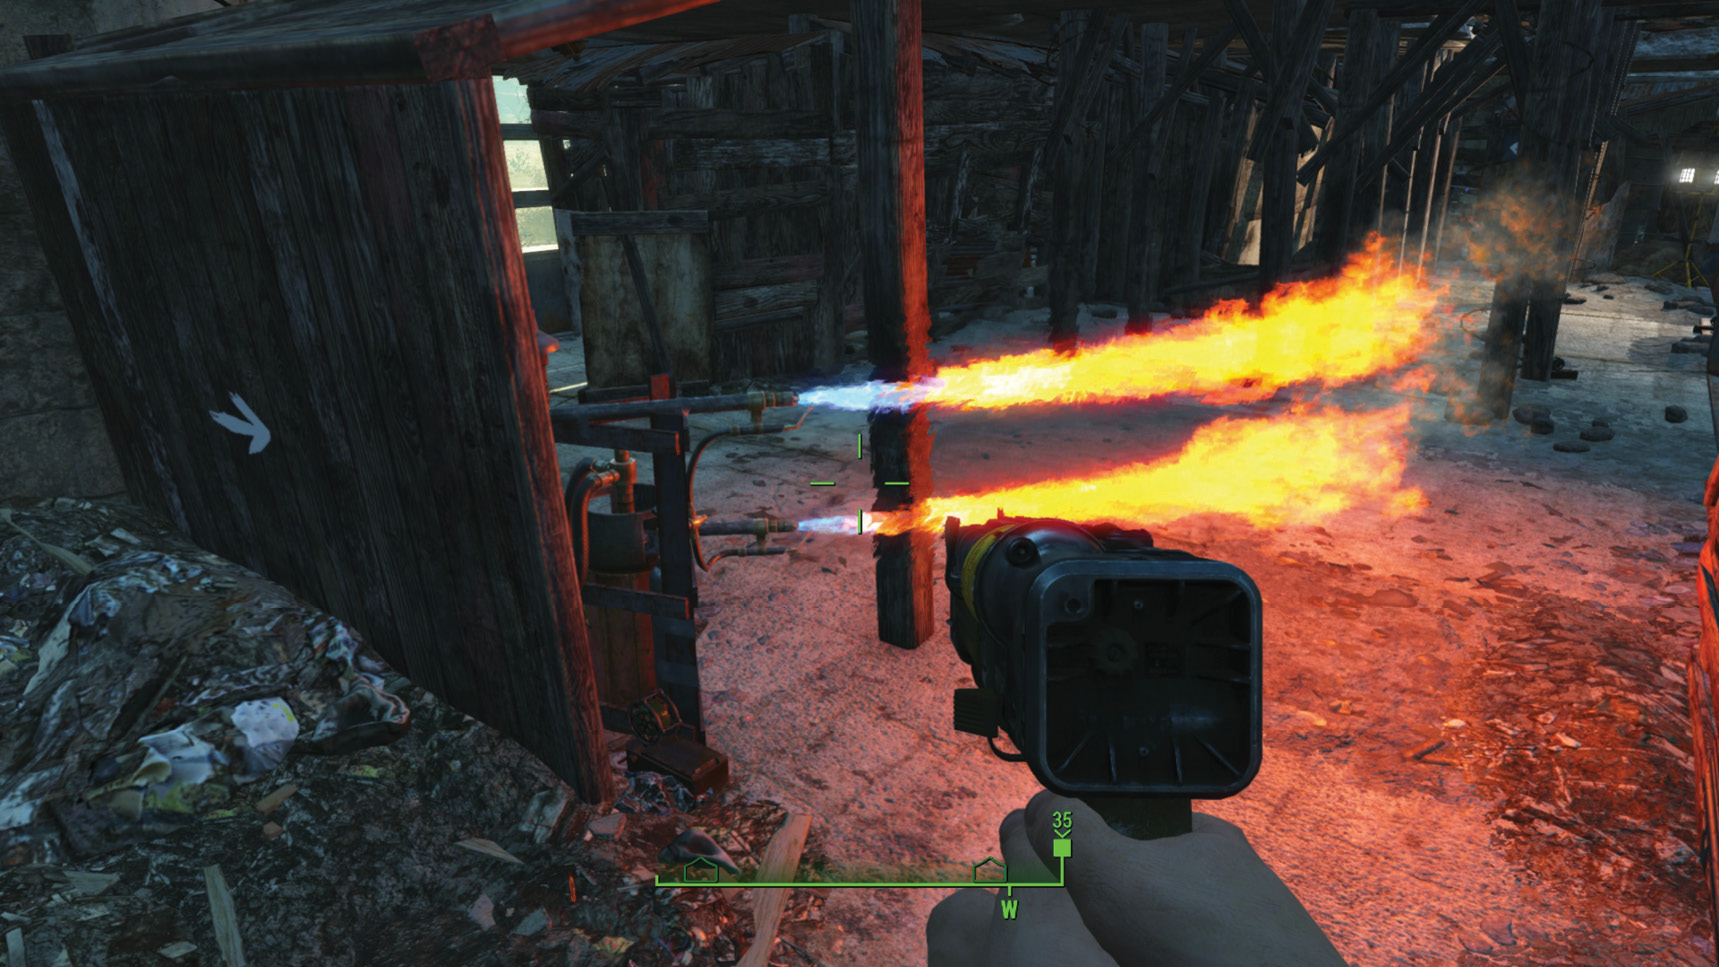
Into the second chamber, dodge around the flamethrower, and slow down to a crawling speed; there are numerous tripwires that can seriously impede your day. Feel free to creep forward and deactivate each one (gathering the components if you wish, including the ammo from the weapons that the wires trigger), or jump over them (though this is a less-safe plan). Or, head to the left side of the room to a red door (Master) and unlock it to avoid all but one of the tripwire traps.
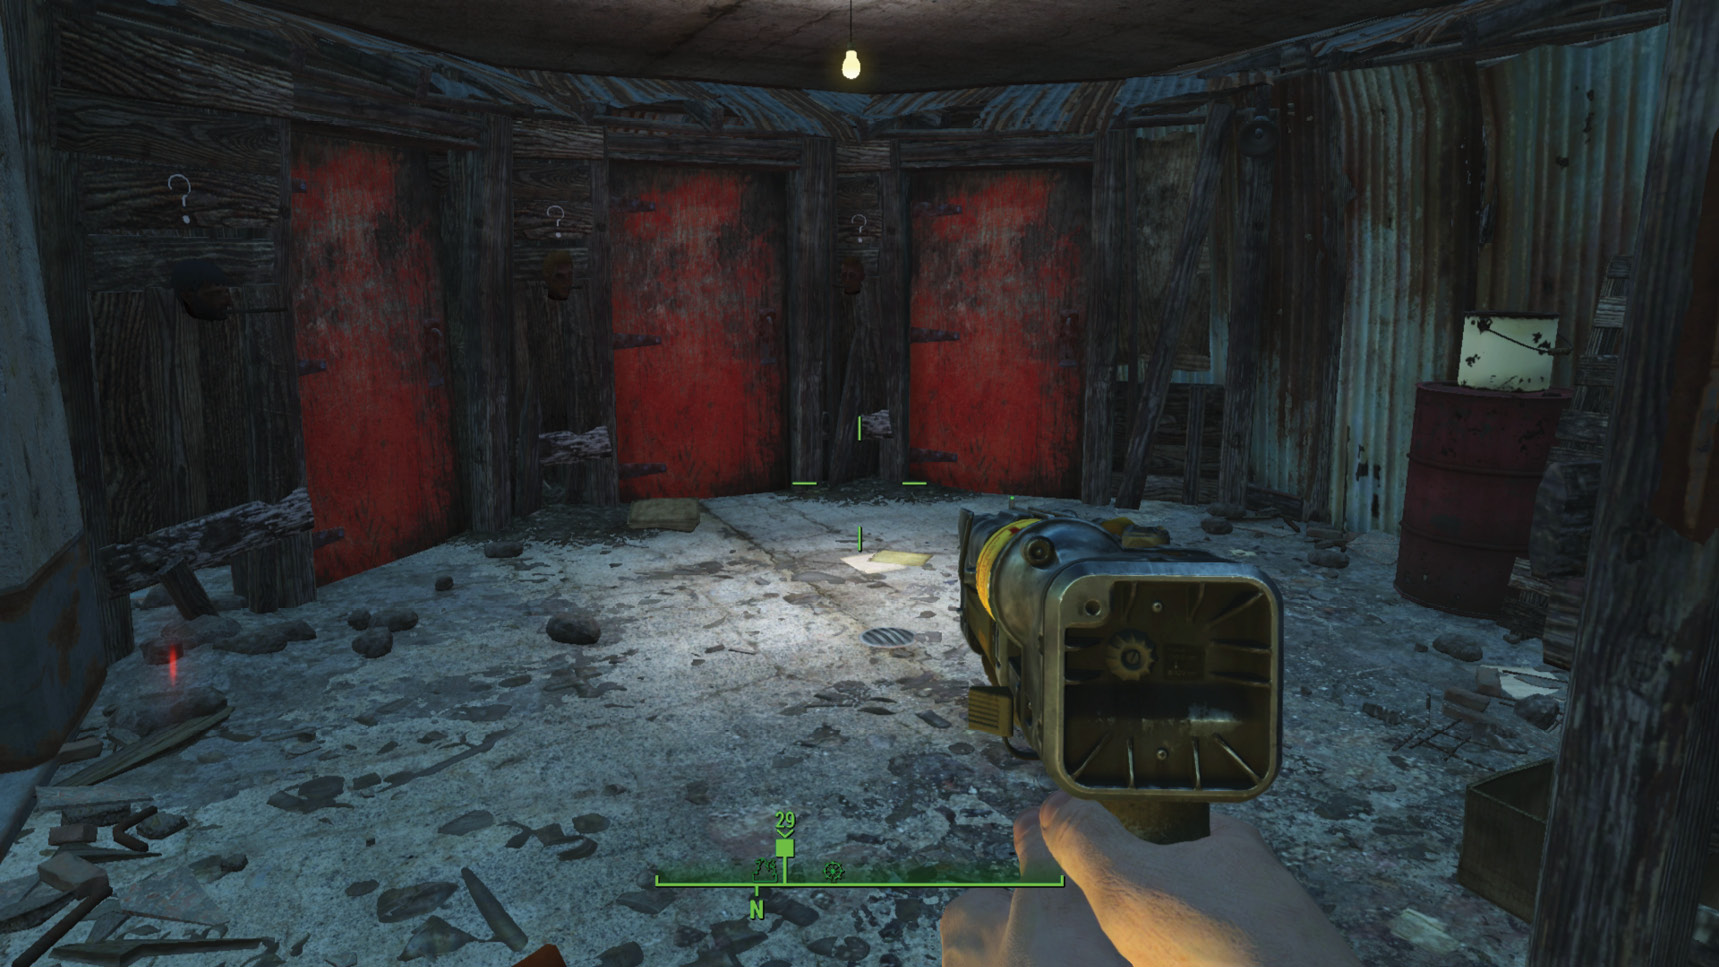
Head up the wooden stairs to the room above, and avoid being set alight by disarming the tripwires or igniting the pool of fuel on the ground by shooting the barrel. When the fire dies down, continue around to three red doors. All lead to “death” according to the narrator, but specifically:
- The left door has the passage to the next part of the Gauntlet.
- The middle door has a Jangles surrounded by heads on stakes.
- The right door has a grenade bouquet trap. Step back immediately so you aren’t struck by it.
Obviously, the left door is the way to head, and the other doors are optional to open.
Head down the steps, optionally pausing at the left alcove to check the ramblings of the dead Raider Corin, and enter a room filled with radioactive barrels. There’s a door (Expert) to Lockpick, or you can use the Rusty Key that’s in the alcove, in the corner diagonally opposite the locked door. Head down and enter the Nuka-World Access Tunnels.
Fresh Meat for the Gauntlet
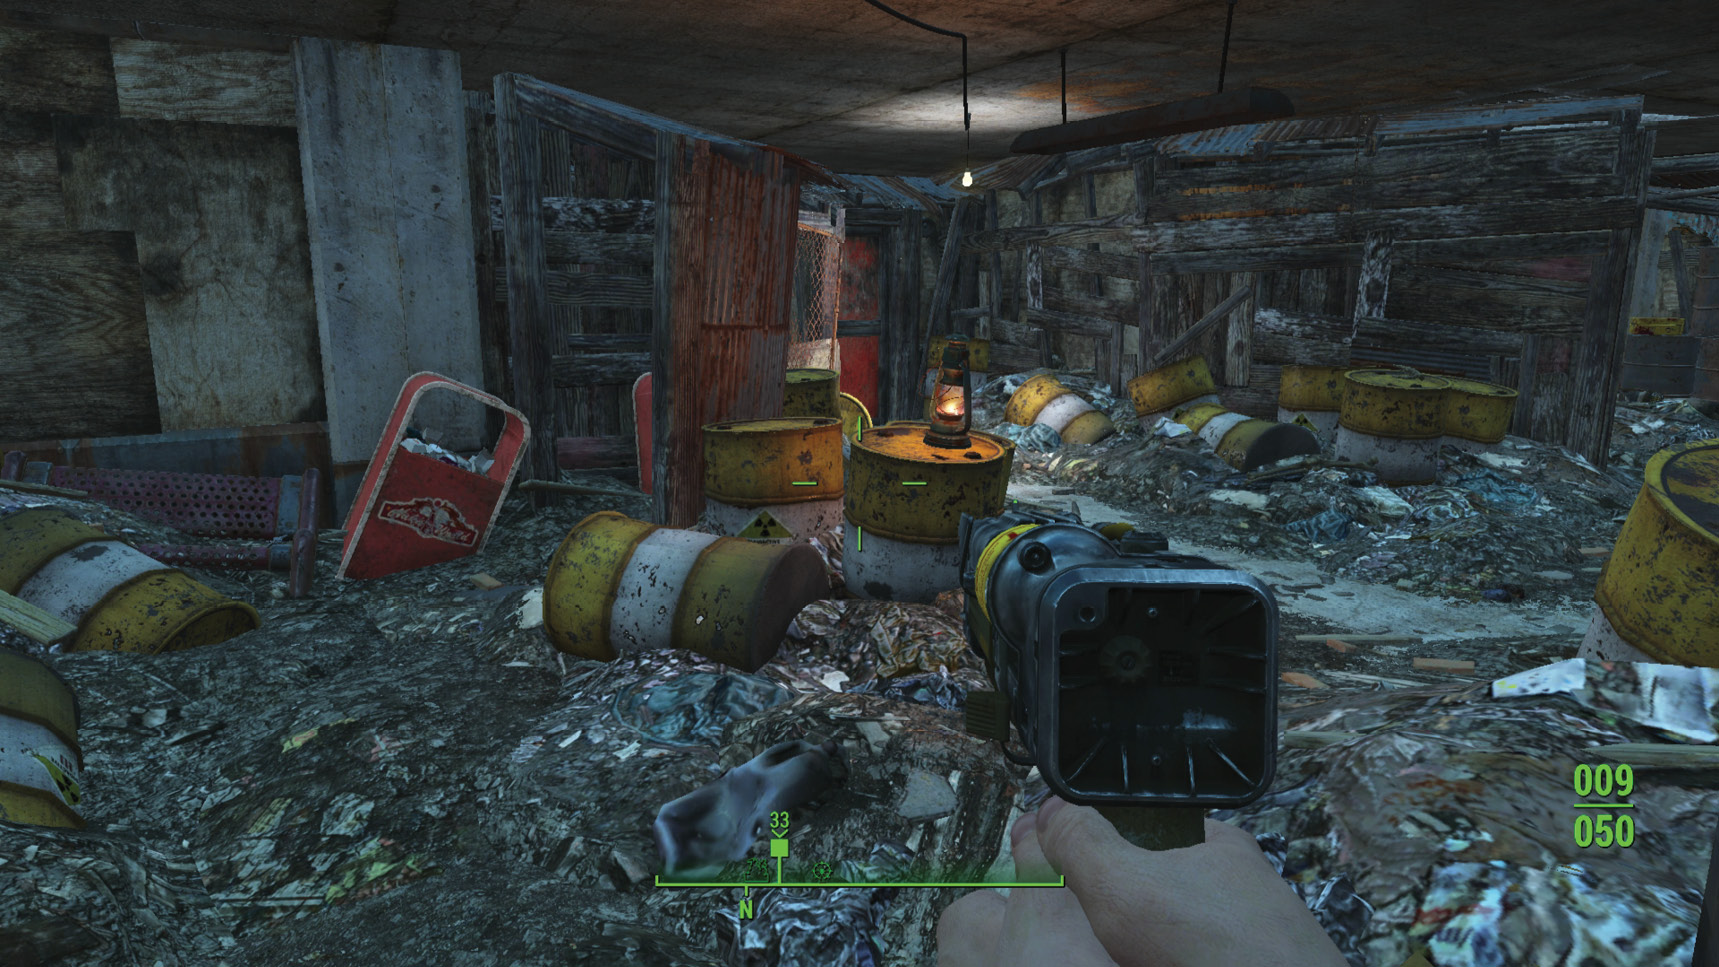
The first chamber at the bottom of the steps is filled with storage crates and ten turrets. If you previously fiddled with the Turret Control Terminal, these may be active. Otherwise, don’t get close to the Jangles monkey toy or the turrets will activate; shoot them from the entrance, or shoot the toy itself (which RedEye isn’t happy about). Or, you can sneak around to the area behind Jangles and grab a key on the light-colored terminal. Then open the exit door (Expert) using your Lockpick skill or the Nuka-World Storage Room Key.
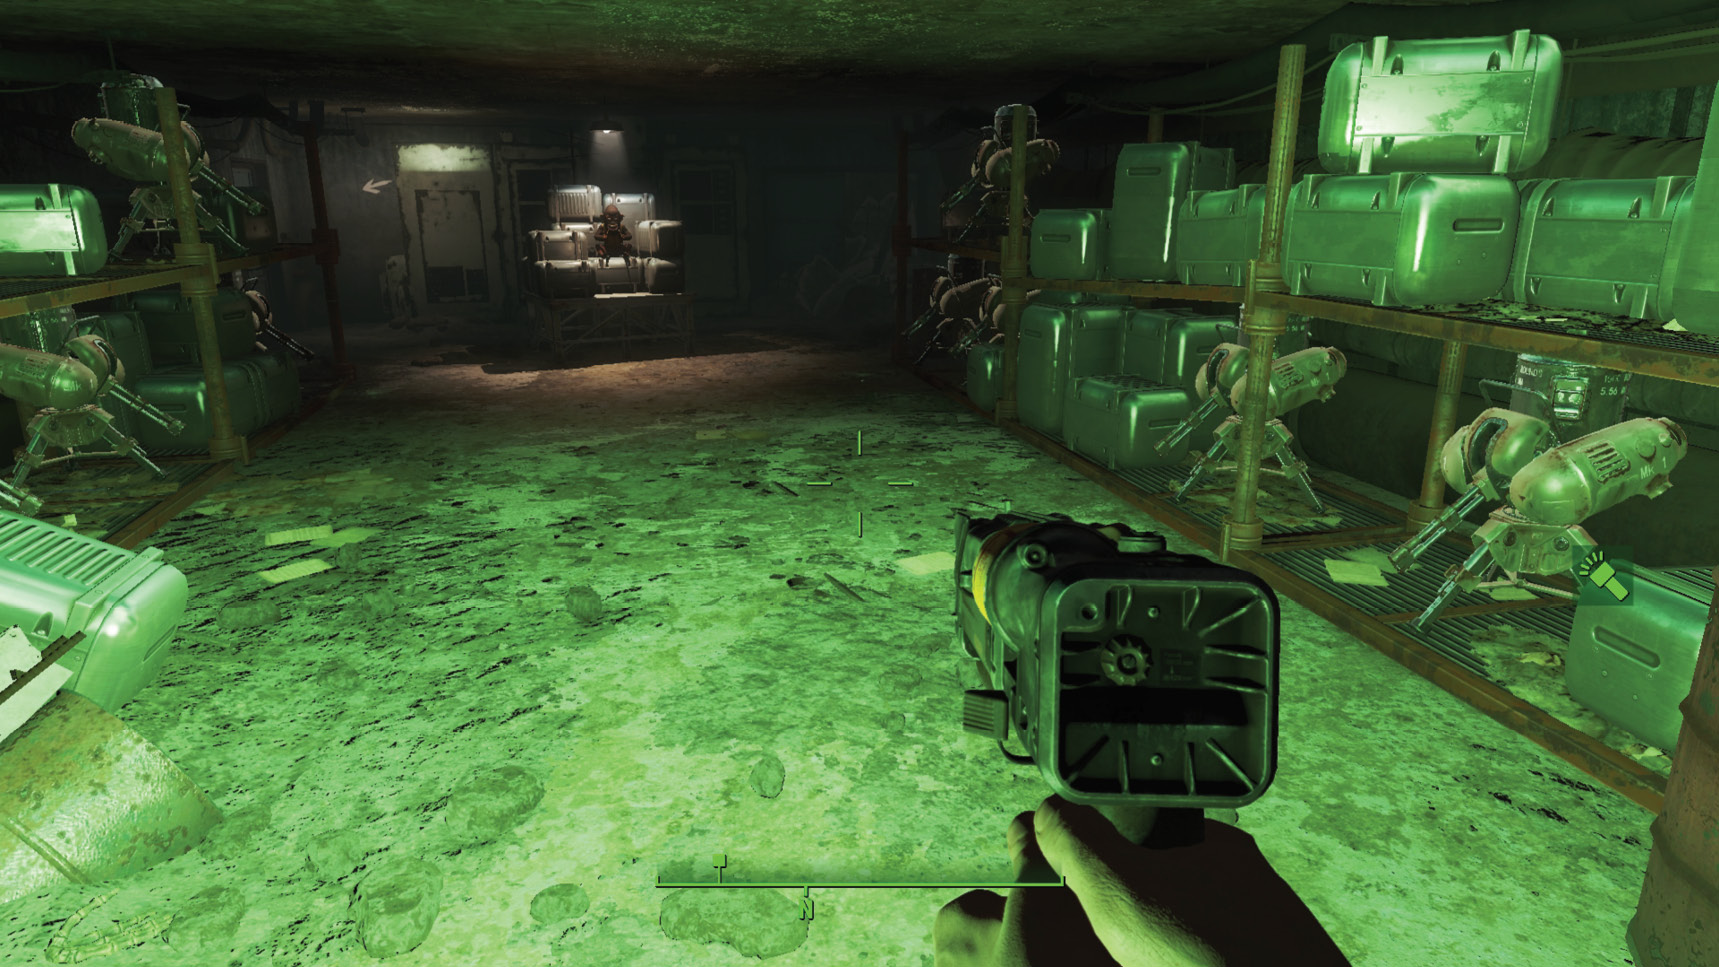
Head past the heads on stakes, and into a larger chamber with generators positioned into pathways. Watch for pressure-plate traps and rad-rats, as well as a strange animatronic alien that you can shoot. Negotiate the corridors and leap across to an exit tunnel (find the alien near this exit), firing at the turret ahead of you as you enter. Unlock the security gate (Advanced) if you wish, then enter a rubble-filled subway station.
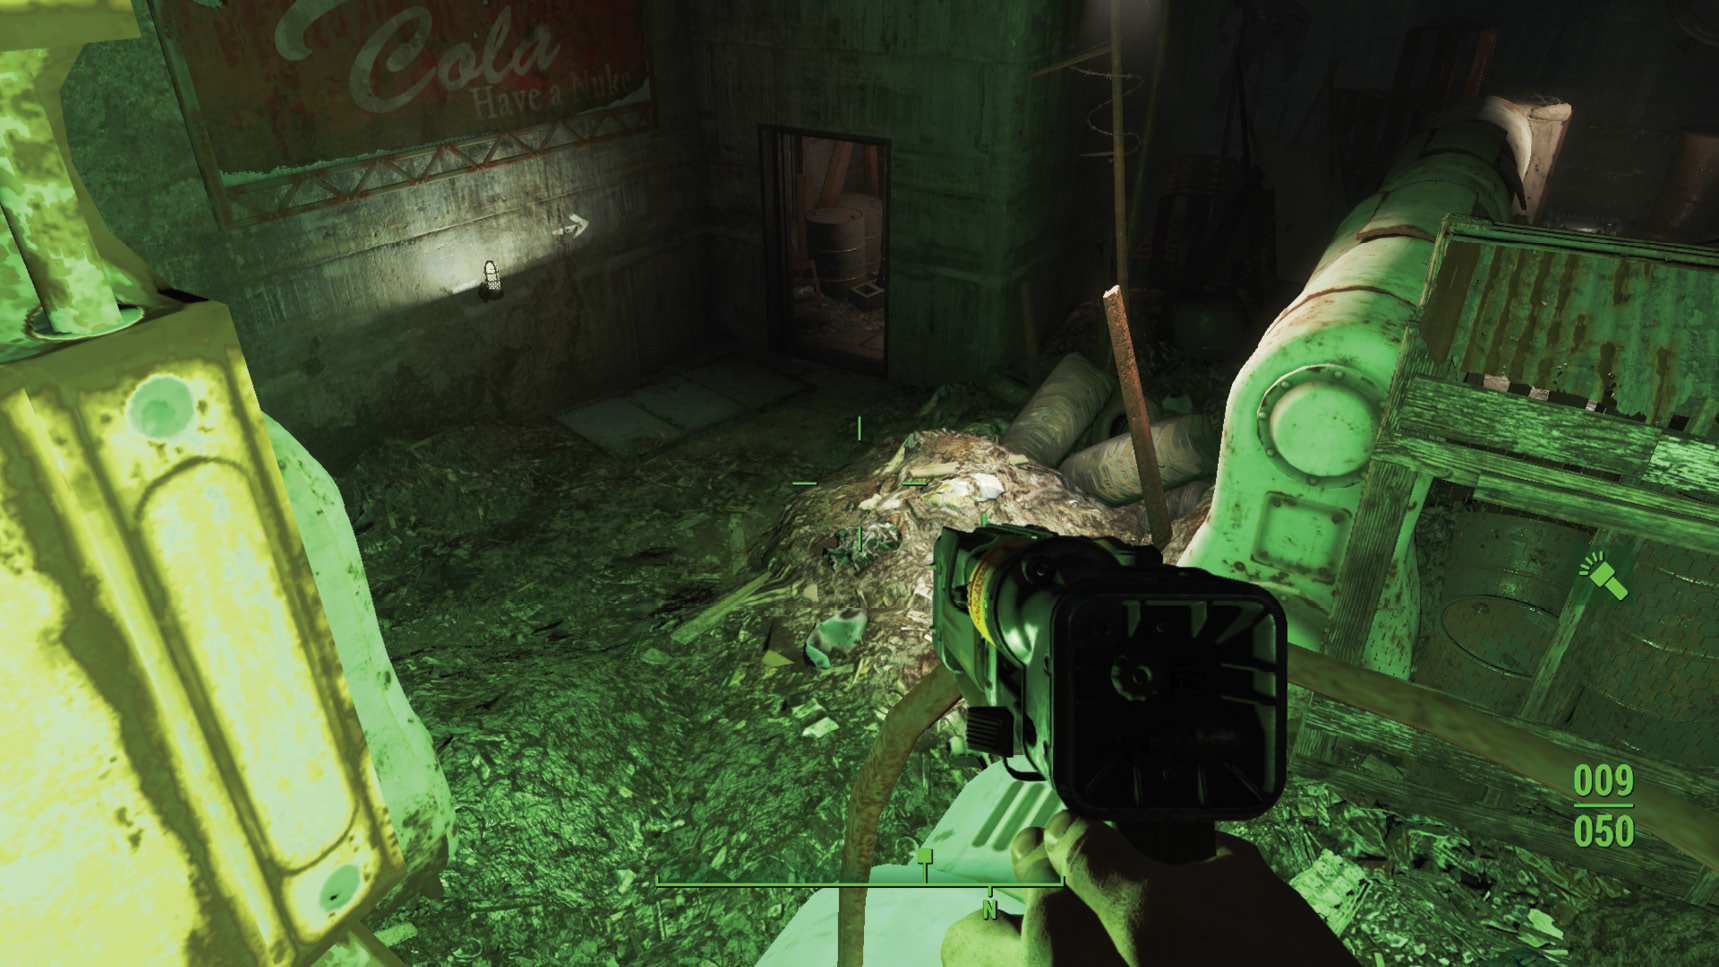
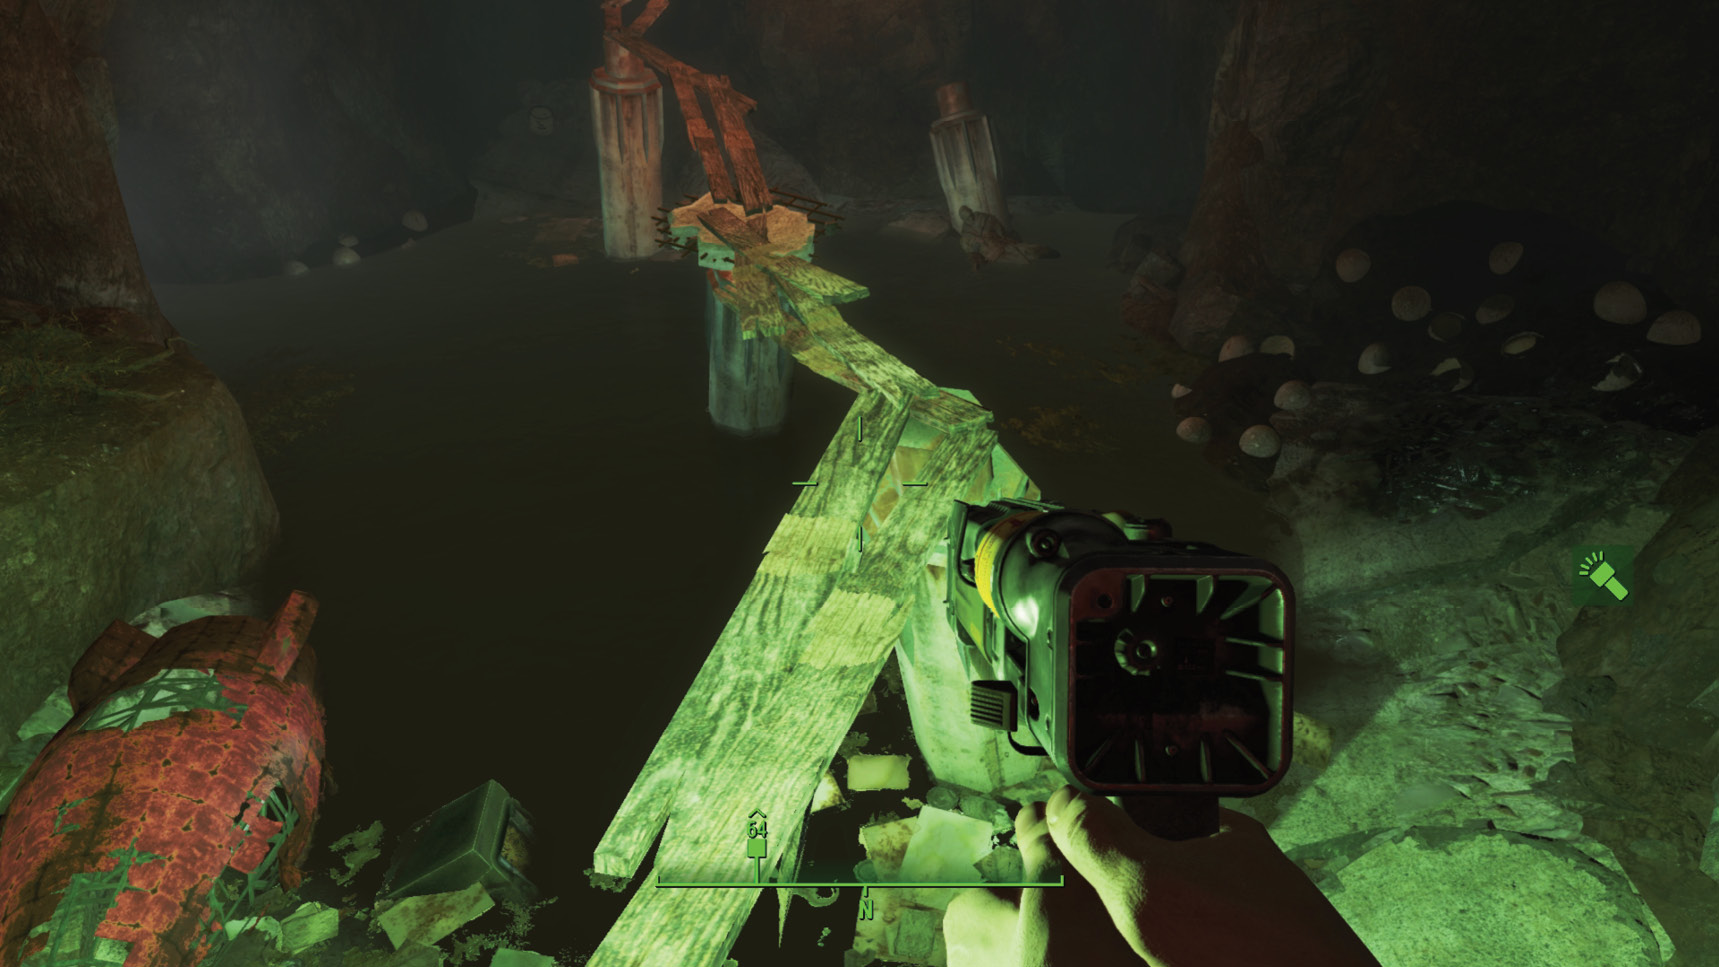
Watch for mines as you weave past the ruined trucks en route to a waterlogged exit with Mirelurks. Try not to have any explosions occur as you enter the nest room, and you can use the unsteady plank path to circumvent the water below and reach a door (Expert). Pick that and RedEye is somewhat impressed. Otherwise, prepare for a small amount of Mirelurk combat. Then head up the sloping cave tunnel to exit.
Enter the next room and open the metal door, but only after disarming the tension trigger attached to it. Head up the narrow corridor, watching for grenade bouquets and pressure-plate traps, and into a substation chamber. This area is particularly problematic, as once you venture into the room, gas starts to pump in from the ceiling. There are radroaches to cause you further problems.
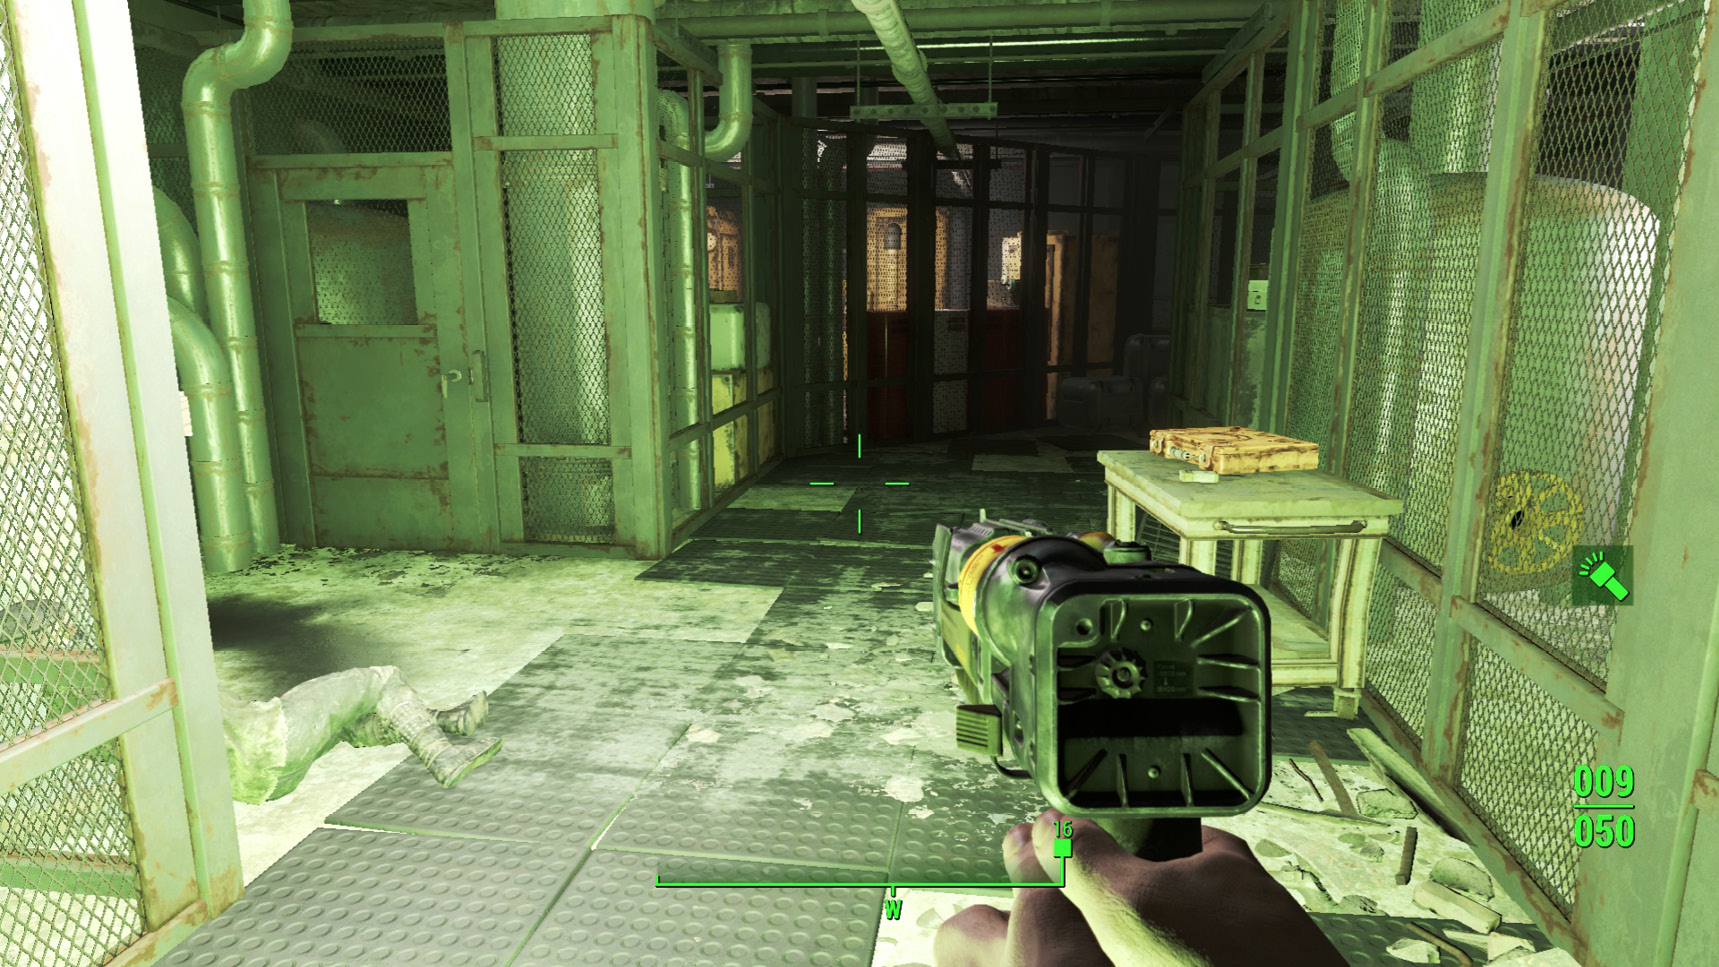
You need to open the security gate (Expert; on your left as you enter). If you don’t have sufficient Lockpick skill, try to find the Nuka-World Substation Key; venture ahead to the far-right end of the main area, into an alcove on the left where the key is found on a darkened door. Before returning, head east and search for a Holotape with the Utility Substation Password; it’s on a desk. Only then should you head back, open the security gate (Expert), unlock the Substation Terminal (Expert), then use the terminal to unlock the station door. It swings open, allowing an exit up into the Maintenance Shed.
The Home Stretch
Exit into the dilapidated shed, fighting off swarms of flying ants; fight them with fire if you want to quickly dispose of them. Before weaving past the debris and large fairground cups, seek out the door (Novice) if you want to use a sleeping bag for the bonus.
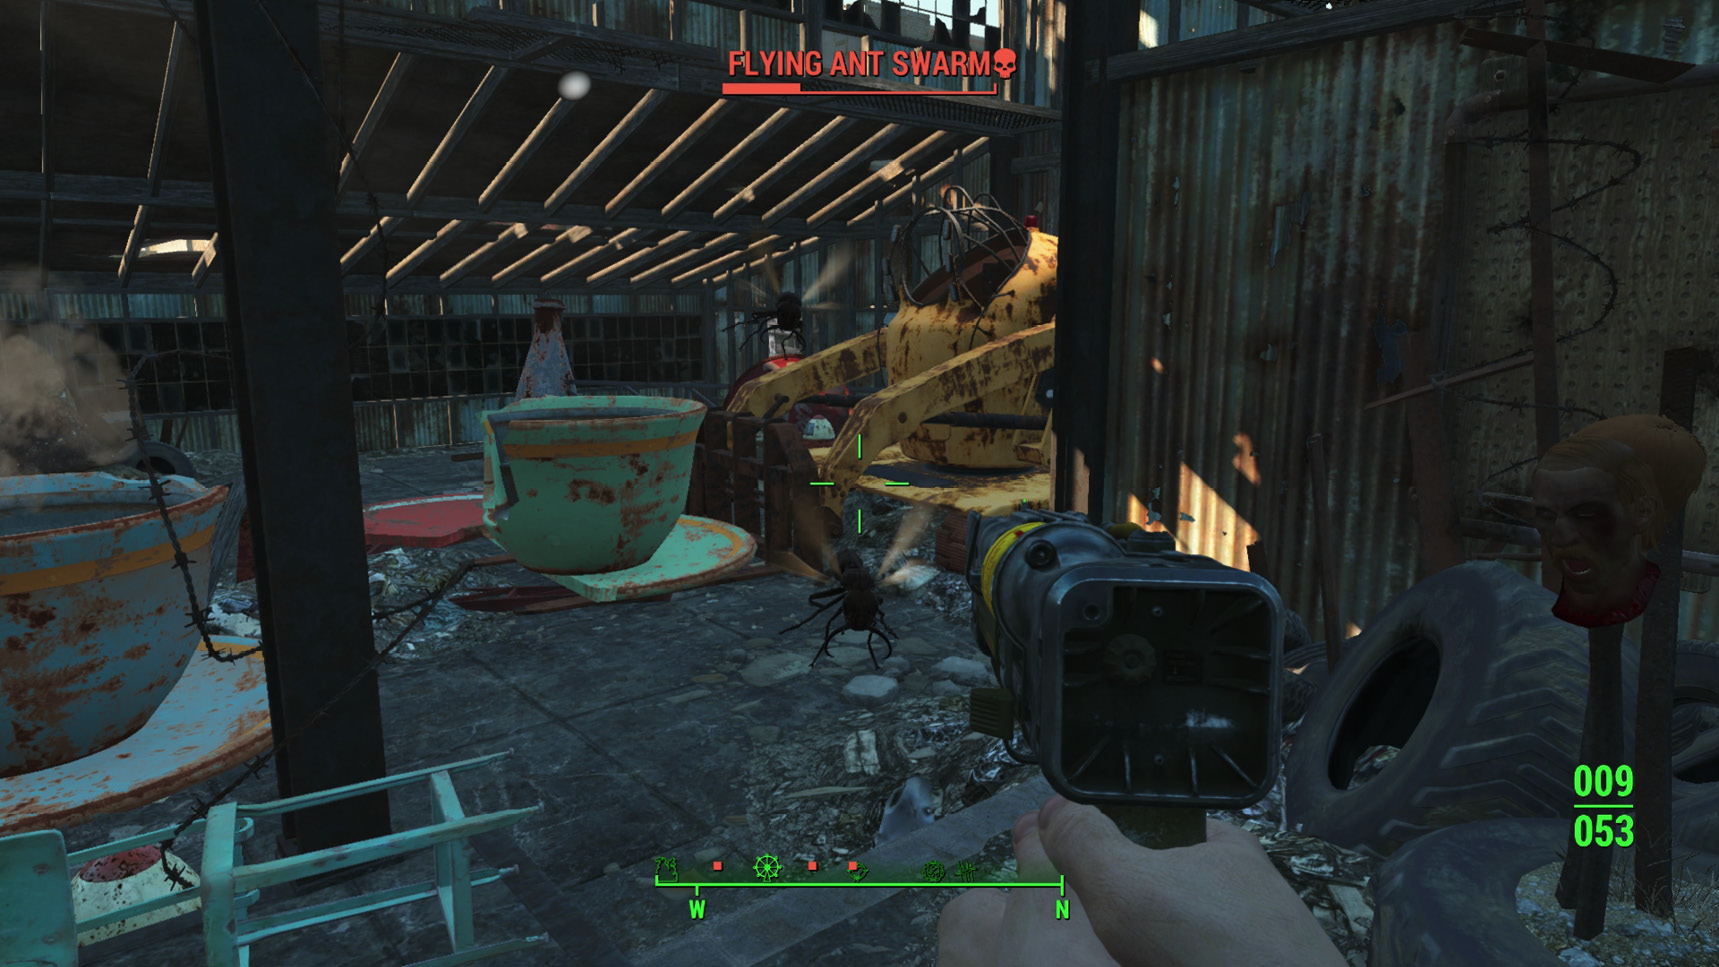
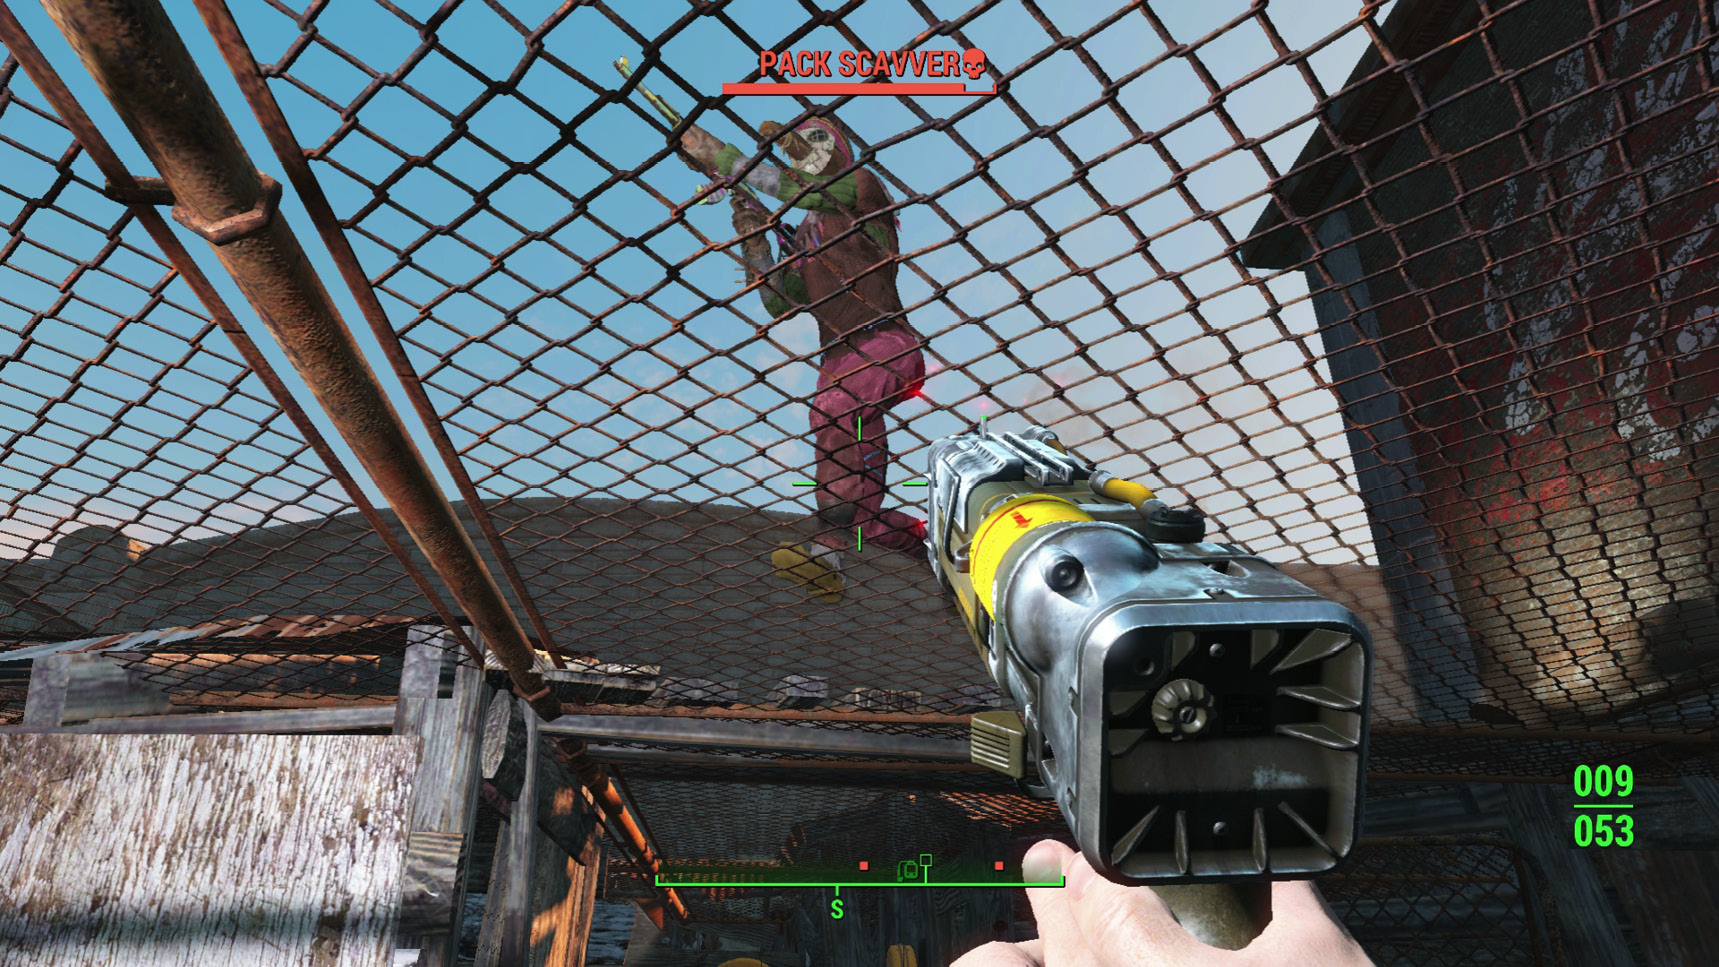
Move into the next area with the mesh ceiling, and start slaying the gang enemies that are firing on you. Disarm any grenade bouquets you see, along with any turrets. Feel free to continue to fight these foes, or flee from them (assuming the grenades and turrets are removed). Then exit up into the Cola-Cars Arena.
Overboss Colter: An Electrifying Fight
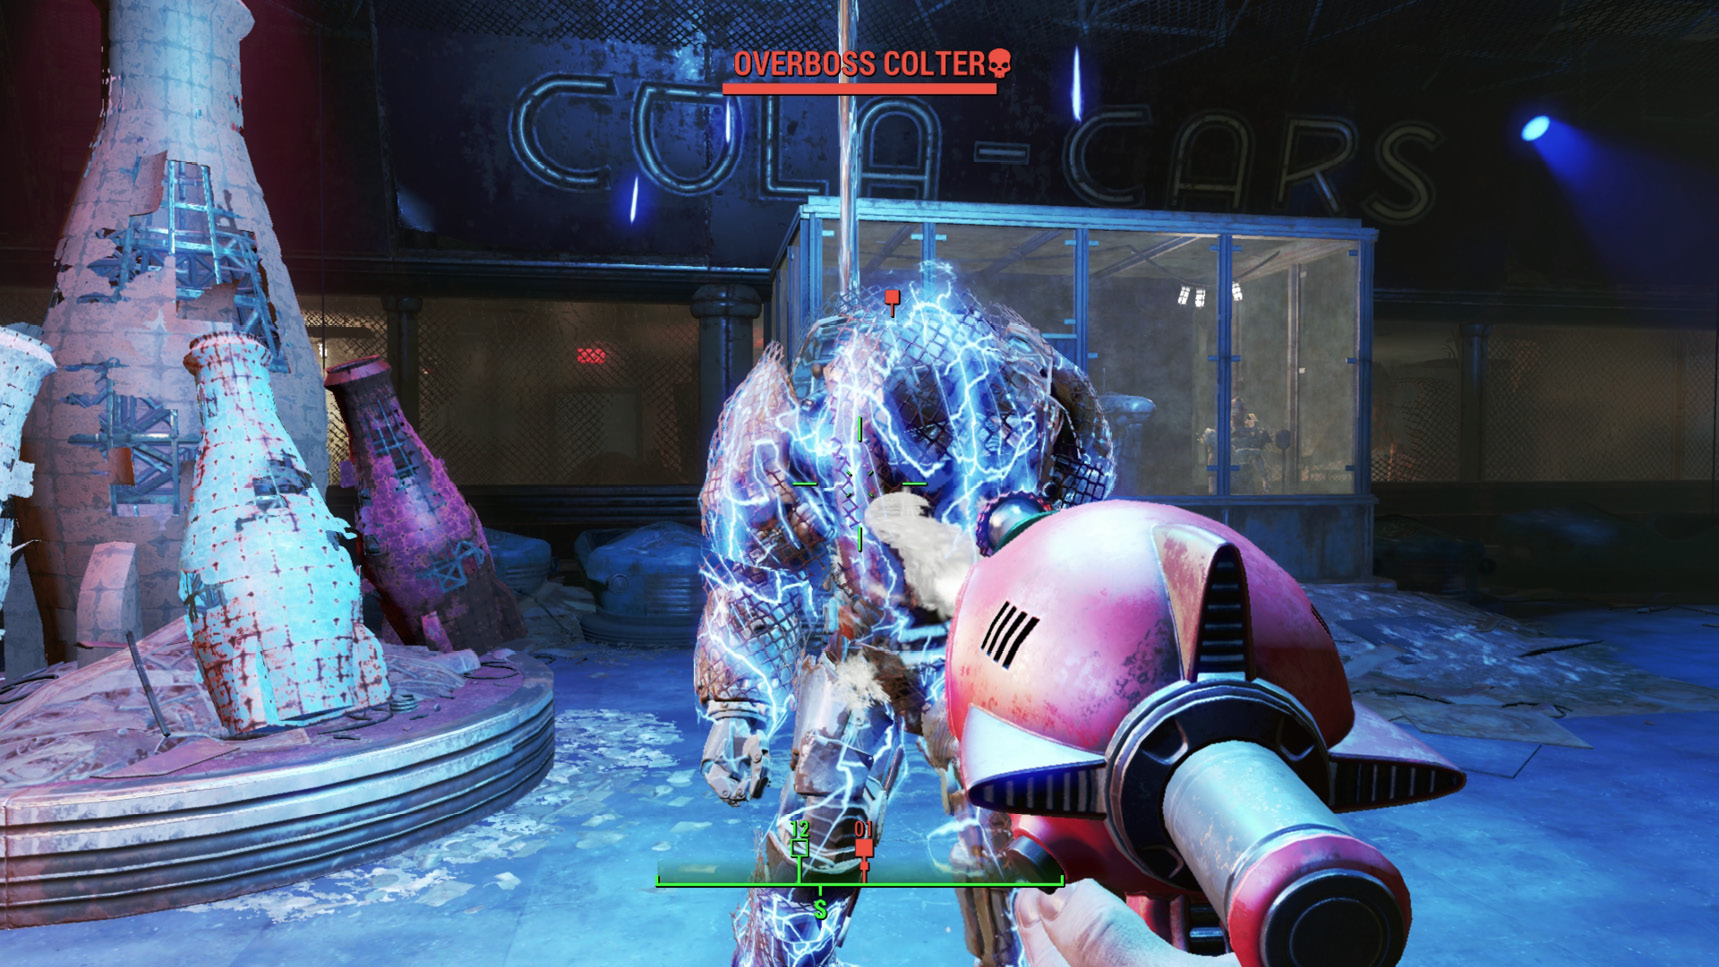
Enter the arena and study the main Cola Cars chamber; an armored foe named Overboss Colter is readying himself for an unfair fight. Once you activate the intercom, you speak with Gage (completing the conversation as you wish), who informs you that the battle is distinctly one-sided and not in your favor. Even the odds by locating the Thirst Zapper weapon in one of the red lockers, and equip it. This water pistol doesn’t appear to be impressive, but Colter does have an electrical suit.
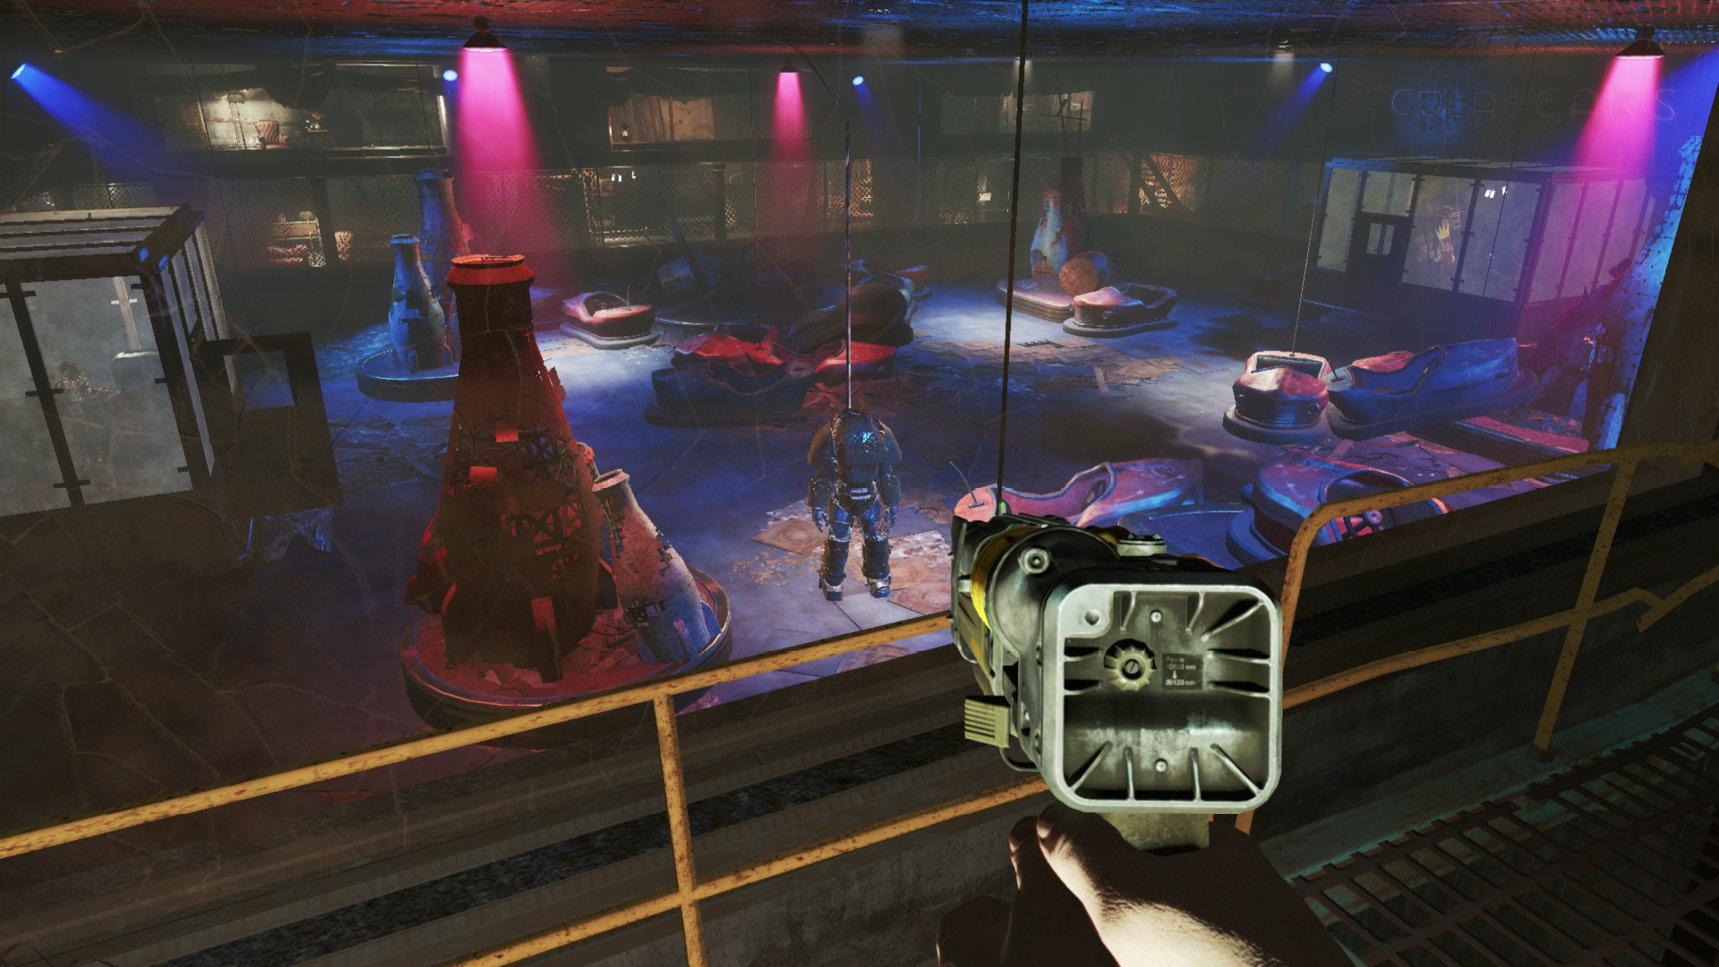
Chat to Gage over the intercom again, before venturing out to face down Overboss Colter in an epic battle of water versus electricity. Here’s the optimal plan of attack against Colter’s fighting style:
- Colter is pretty much invincible at the beginning of the battle, with incredible resistance (including to critical hits). So the fight is distinctly one-sided, bordering on impossible, if you aren’t able to temporarily stun him.
- If you don’t have the Thirst Zapper, remove the Fusion Core from the reactor in the back room, allowing you to actively damage Colter. The battle is still incredibly difficult and protracted, but Colter is less impervious to damage.
- A better plan by far is to start by using the scenery as cover, then rush towards the Overboss and squirt him around six times with the Thirst Zapper. Do this manually (not using V.A.T.S.) until you see the suit explode and electricity dissipate off it.
- Then switch to your favorite conventional weapon(s) and shoot him. Feel free to use V.A.T.S. at this point, if critical hits to the head are your thing. Colter’s offensive weaponry includes grenades and relatively moderate-damage gunfire.
- After a few seconds of damage, Overboss Colter powers up again, and becomes impervious. Switch back to your Thirst Zapper, and repeat the combat until one of you is dead.
Overboss Wastelander: It Just Feels Right
Your reward is loot from Colter’s corpse, which includes the Overboss Power Torso, an incredible piece of Power Armor that you can modify. It has excellent energy resistance and inflicts damage on enemies at melee range. Don’t leave the arena without it!
With the battle over, speak to Porter Gage; and after the conversation, he opens up the exit and leads you into the main theme park, where you’ll be crowned Overboss of the various Raider factions in this zone. Main Quest: An Ambitious Plan begins immediately. Main Quest: Open Season is also available at this point, if you wish to rid the area of the three faction leaders, though careful considerations are recommended first.