Fallout 4 Guide DLC Nuka-World Nuka-World Main Quests
Star Control
- Investigate the battle site
- Read Tiana’s Log
- Locate Star Control
- Investigate the Mainframe
- Find a Star Core
- Install the Star Core
- Reboot the Mainframe
- Repair the Mainframe
- (Optional) Clear the Galactic Zone
- Find Star Cores in the Galactic Zone: Grounds
- (Optional) Clear the Galactic Zone Grounds
- Find Star Cores in Nuka-Galaxy
- (Optional) Clear Nuka-Galaxy
- Find Star Cores in the Starlight Interstellar Theater
- (Optional) Clear the Starlight Interstellar Theater
- Find Star Cores in Vault-Tec: Among the Stars
- (Optional) Clear Vault-Tec: Among the Stars
- Find Star Cores in the RobCo Battlezone
- (Optional) Clear the RobCo Battlezone
- Find Star Cores outside the Galactic Zone
- Use the Mainframe to Secure the Zone
- Assign a Gang to the Galactic Zone
Command and Control
Once you step forth into Galactic Zone, inspect the corpses on the brick-paved courtyard just left of the entrance. One of the dead is Tiana Alston. Search her corpse to acquire her log, then read it. Now venture further into this zone, checking the underside of walkways for turrets, and start defeating eyebots and other automatons that attempt to prevent your progress.
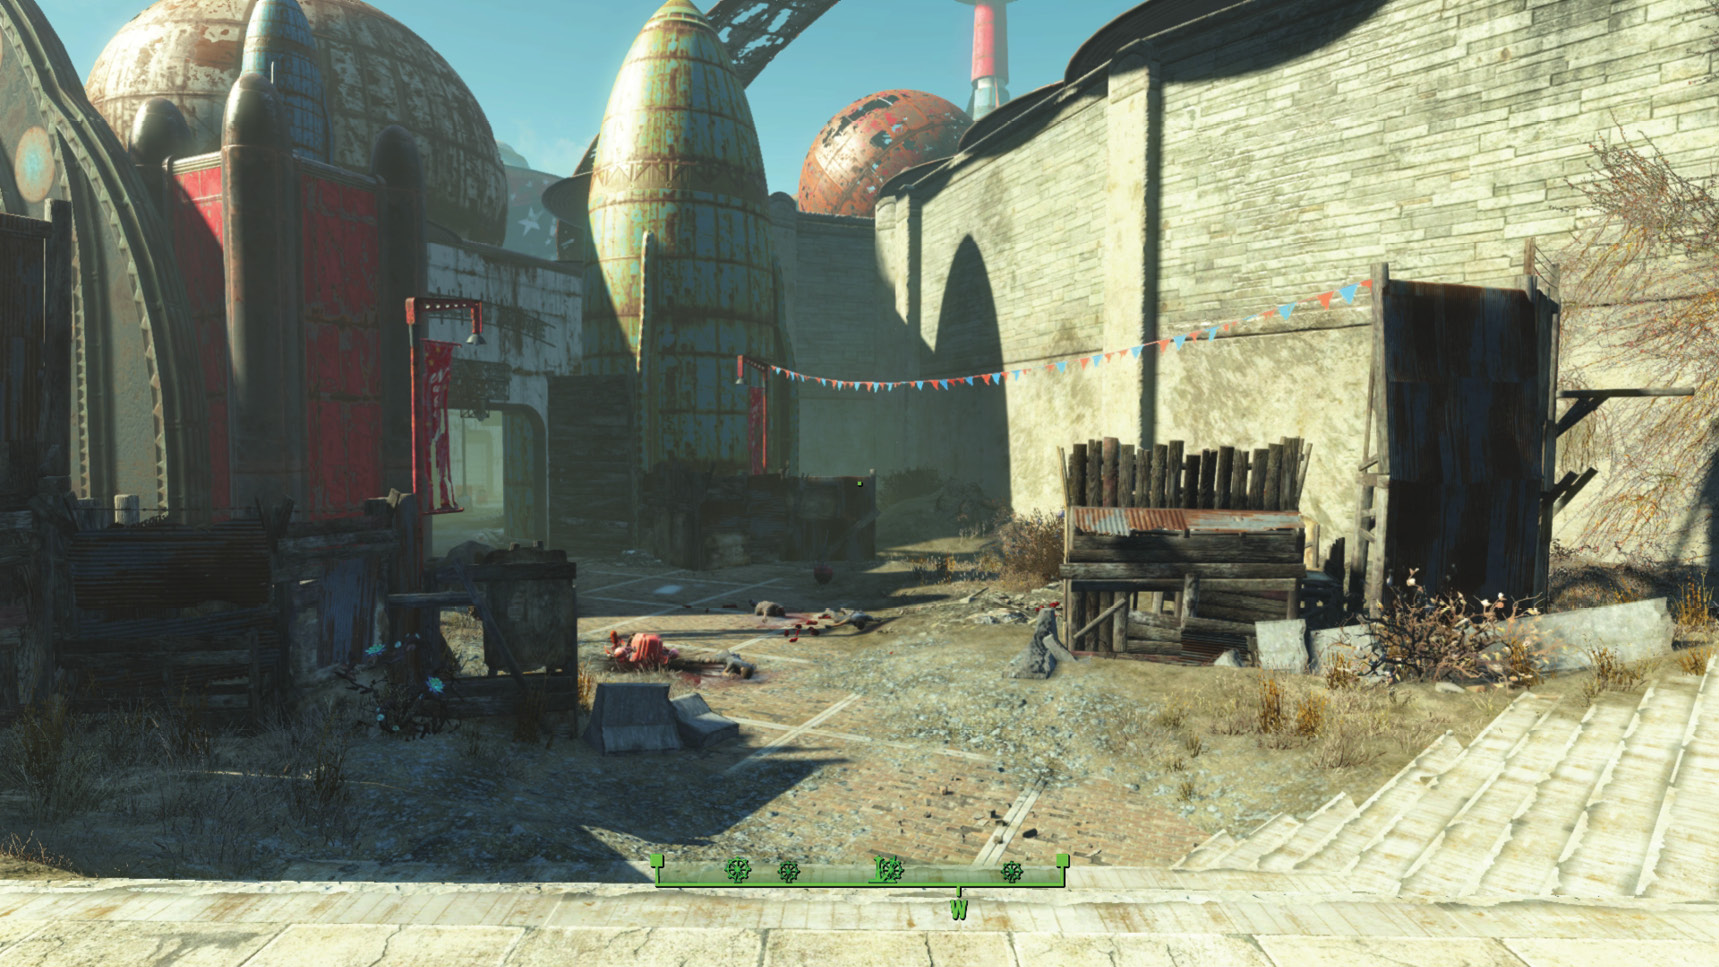
Continue a slow and methodical advance through the main hub courtyard, around the circular raised area with the globe, to the shallow ramp; at the top you reach a section of the zone called Starport Nuka. Open the glass door ahead of you, head inside the cylindrical chamber, up the small set of steps, and around to the Star Control Mainframe. Use it, and the objective updates; you require a Star Core for further information.
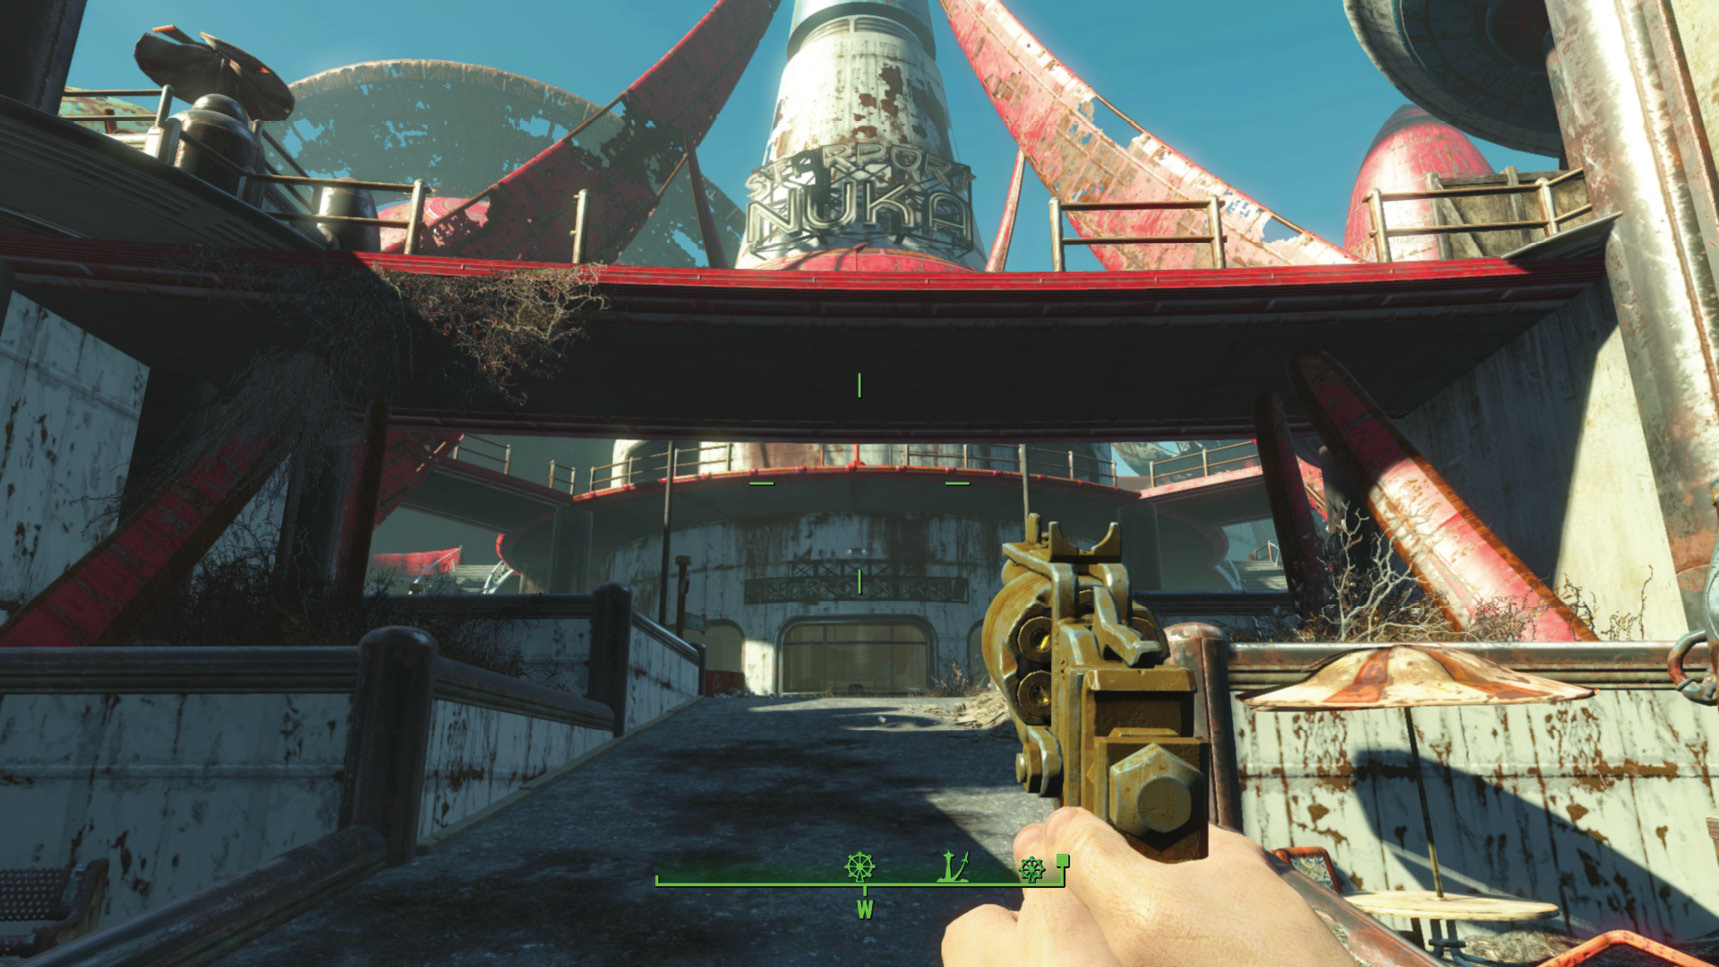
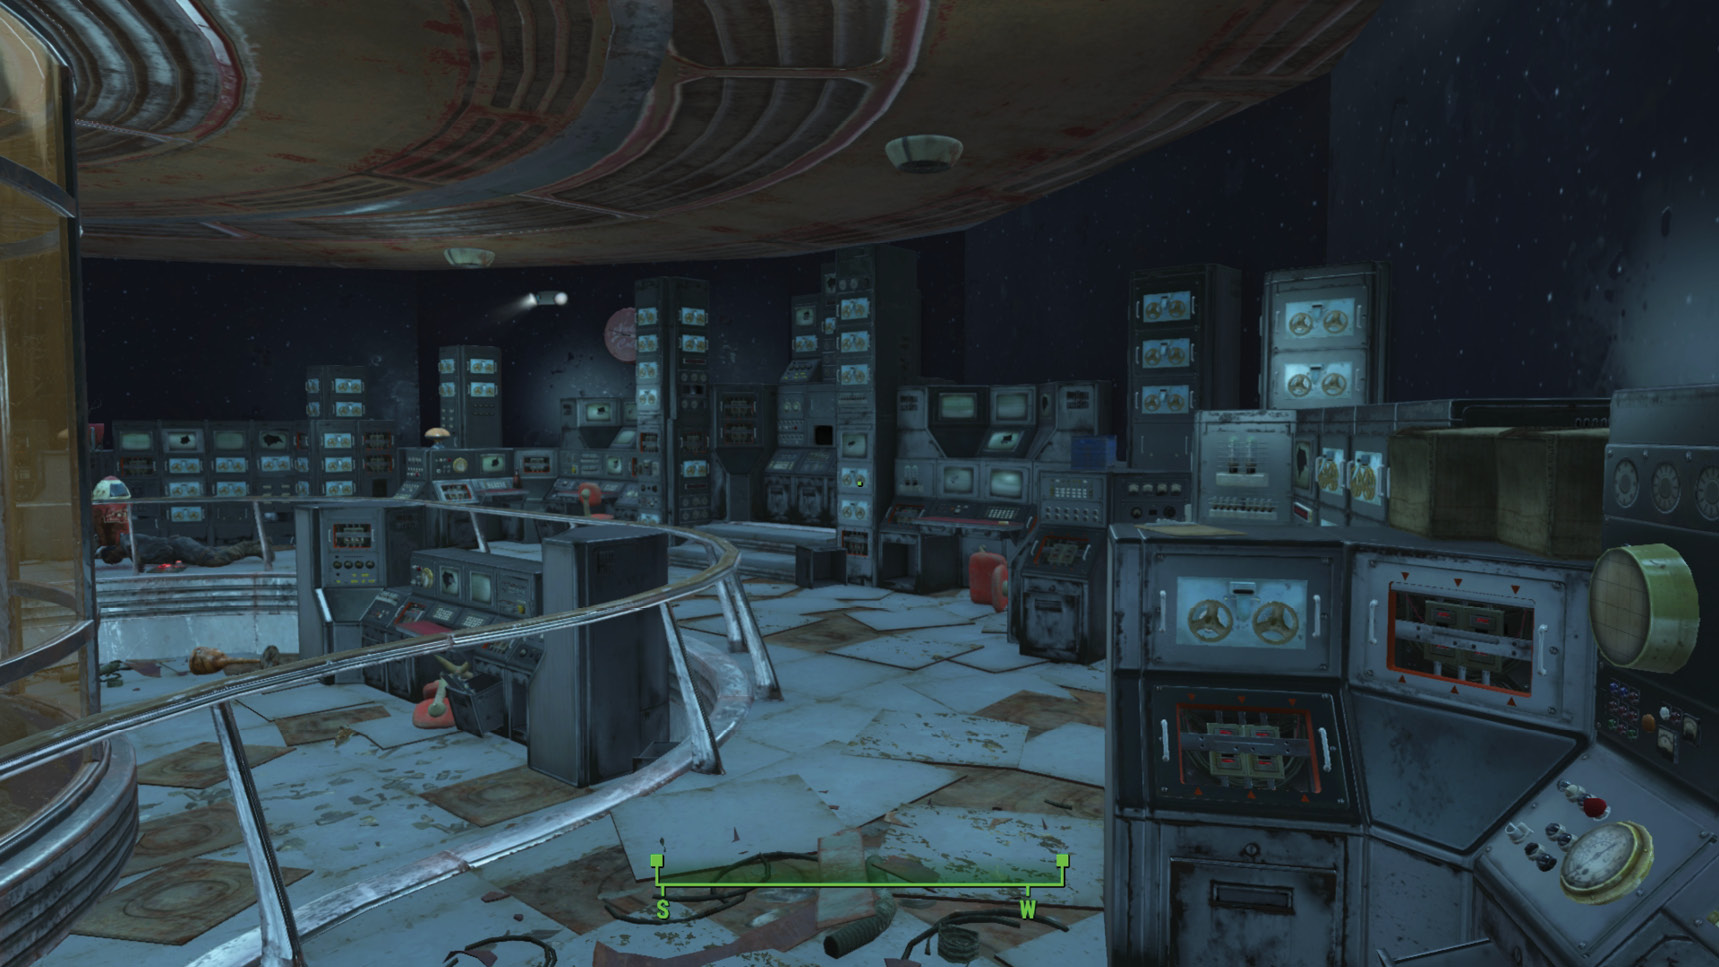
Fortunately, the first Star Core (which is pinpointed on your compass map) is on the ground next to a corpse on the raised railing area you’re standing on. Gather this circuit, install it into any of the wall sections around the mainframe monitor, then use the mainframe for a second time. The mainframe reboots, and you should spend some time reading the log entries inside. Of particular interest are the totals for the remaining 34 Star Cores available. They are scattered in the following areas:
- There are none (0) in the Star Control Chamber.
- There are six (6) in the Galactic Zone Grounds.
- There are seven (7) in Nuka-Galaxy.
- There are four (4) in the Starlight Interstellar Theater.
- There are six (6) in Vault-Tec: Among the Stars.
- There are six (6) in RobCo Battlezone.
- There are five (5) outside the Galactic Zone, in other parts of the park.
At this point, the quest becomes extremely freeform. You have the (optional) choice to clear each of the previously-listed areas within the Galactic Zone of enemies. You should also begin your search for at least 19 of the remaining 34 Star Cores, which can be done in any order you like.
Star Core Collecting: All Locations (35)
Your Star Core collecting spree begins now! Feel free to collect the following Star Cores as you follow other quests, or in one massive hunt. Check carefully for any prerequisites necessary to obtain a few of the more cunningly-hidden Star Cores.
The list pre-supposes you have removed all notable threats within each area first (so the name of the area on your Pip-Boy map is marked “[CLEARED]”), so any robots or turrets are not mentioned. It’s worth completing a thorough removal of all foes first, before grabbing each Star Core.
Star Cores: Galactic Zone Grounds (7)
#1: Star Control Chamber (Starport Nuka): Just to the left of the mainframe, by the corpse of Kendell Alston. This is (usually) the first Star Core you pick up so that the mainframe can be booted up.

#2: Star Control Second Floor (Starport Nuka): Head up the curved exterior steps from the mainframe, enter the second floor above, and unlock the display case with the Star Core. You require the Galactic Zone Manager’s Key, which is in the adjacent closet room.

#3: Campsite Dead End: Head to the base of the Star Control chamber, move clockwise, passing through a gate, past the camp area with the magazine and rusting van, past a yellow piece of digging machinery, to a dead-end and a corpse with a Star Core next to it.

#4: Spacewalk Passage: Head to the upper floor entrance marked “Spacewalk” and head down the covered ramp. The console on the right side just before the exit into the RobCo Battlezone area has the Star Core in it.

#5: Operator’s Hut near Nuka-Galaxy: Head around the perimeter of the RobCo Battlezone to a ramp leading up to the entrance to Nuka-Galaxy. To the right of that ramp is a small, open operator’s hut with a Star Core inside.

#6: ArcJet G-Force Gantry Steps: Opposite the entrance to Nuka-Galaxy is the ArcJet G-Force ride; enter it and climb all the way up the gantry steps to the console at the very top (with a view down to the “Splashdown” ride).

#7: Star Control Observation Deck (Starport Nuka): Once you’ve finished the Main Quest and restored power to the Nuka-World power plant, the elevator on the second floor of the Starport Nuka tower is accessible. Step into it, activate it, ride it up to an observation deck, and pry the Star Core from a control panel console. You’ll likely find this Star Core last because it’s inaccessible without completing the prerequisite quests.
Star Cores: Nuka-Galaxy (7)

#8: Ride Operator’s Booth: Head into the initial waiting area for the ride and turn left, heading through the doorway with the Nuka-Cola machine to the right of it. Ascend the steps, weaving through the corridor to the main ride entrance, and head down the ramp to the ride operator’s booth. Pry the Star Core from the corner console area.

#9: Narrow Console Room: Turn and run across the entrance railing area where the ride starts, through a door, and up some narrow concrete interior steps on your left. Turn right at the top, entering a small control room with a Star Core on the monitor bank. Check the adjacent areas for a key if you can’t get in.

#10: Main Console Room: Then step out into a larger console room with a red console in the far-left corner and an easy Star Core to grab.

#11: Nuka-Cola Rocket Area: Head back down the small L-shaped concrete steps and ahead (roughly southwest) is a Red Rocket area with Nuka-Cola signage. Check the console near the low metal railings here for the Star Core.

#12: Ride Room: Head southwest onto the roller-coaster girders of the ride itself, turn right at the corner, and drop down and to the left toward an open door. Head all the way down the gantry steps, across the perimeter, and turn left toward the middle of the ride chamber. Cross the planks of wood, turning left at the rocket, go down the steps, turn slightly left and find the small gantry steps to a corner console with the Star Core on it.

#13: Rocky Bottom: Head down the adjacent metal gantry steps, all the way to the very bottom. Move along the right side of the perimeter wall heading roughly southeast, through a doorway and out into the rocky area. Run left, and make a roughly counter-clockwise route around until you spot gantry steps ahead. Head up the first set of them to a small console with the Star Core.

#14: Elevated Maintenance: Continue up the gantry steps into a room with a forklift. Access the elevator and ride it to a covered, concrete-walled gantry. Head right, up the metal ramp, entering the ride chamber at the far end on the left. Move under the ride girder and up more steps, to a long maintenance corridor. Immediately right of you is a console and the Star Core.
Star Cores: Starlight Interstellar Theater (4)

#15: Bathroom Rubble Alcove: Head left from the entrance, following the corridors to the bathroom, and turn left into the broken wall section. The Star Core is in the rubble-filled alcove next to the corpse.

#16: Theater Room Stand: Head into the main rocket-filled central theater chamber where the movie plays, turn and look right (west) and head to the console bank under the theatre room stand, under the hut roof.

#17: Food Prep Console: Turn and head across and out of the main theater room to the right (southeast) to an elevator. Ignore that and move to the side corridor to the right, heading left to the small food prep area and through the metal door in the left corner. The storage room has a Star Core console.

#18: Projection Booth: Retrace your steps to the corridor and head left, passing the large globes to an elevator on your right. Activate and ride it up to the projection booth, and pry the Star Core from the console there.
Star Cores: Vault-Tec: Among the Stars (6)

#19: Spaceman’s Maintenance: Head right from the entrance, into the room with the spaceman and rocks, and into the locked maintenance room with a space-suited mannequin. Check the console to the left for the Star Core.

#20: Living Quarters (Alcove): Continue along the main path as it winds forward and down, turning right and right again, and head down the stairs through the doorway marked “Residential.” Head left as you enter the living quarters, into the small alcove to grab a Star Core from a console.

#21: Living Quarters (Kitchen Hole): Head through the living quarters kitchen, through the hole in the wall, into the adjacent room with the spaceman in it, and gather another Star Core from a console.

#22: Living Quarters (Storage Room 1): Head back out of the hole into the living quarters kitchen and jump the railings, heading diagonally across into an open doorway to the right of the main-ride conveyor path. Pass through the tiny bedroom, turning right into the storage room. Search the nearby areas for a key before opening the storage door and accessing a Star Core from another console.

#23: Living Quarters (Storage Room 2): Pick up a second Star Core from the large console bank here.

#24: Living Quarters (Storage Room 3): Grab a final Star Core from the same console bank inside the storage room.
Star Cores: RobCo Battlezone (6)

#25: Alcove Red Console (left) (Arena location): From the entrance, head forward, down the steps slightly to the left, and work clockwise around to the center of the chamber and arena room. A red console has two Star Cores on it.

#26: Alcove Red Console (right) (Arena location): Grab the second Star Core from the same red console.

#27: Concrete Basement: Turn back, head to the covered concrete stairs with the yellow wall unit at the top and head down to the basement. Jump over a low railing to a red console with the Star Core on it.

#28: Bleacher Concession Stand: Head up the ramp to the arena, through the entrance beneath the bleachers, and turn right. Proceed to a concession stand near the RobCo Battlezone exit. The Star Core is on a metal shelf behind the counter.

#29: Director’s Cut (Wall Monitor Bank): Head to the bleachers, up the steps to the doorway marked “Employees Only,” enter the director’s studio, and pry another Star Core from the red wall bank of monitors and recording equipment.

#30: Director’s Cut (Red Console Window): While in this director’s studio, turn and check the console beneath the arena window; on the right is the last Star Core for this area.
Star Cores: Outside of the Galactic Zone (5)

#31: Nuka-Town Market: Head to Nuka-Town Market and inspect the table of scattered items at the northern edge of the market area. The Star Core is on the wooden table, next to a bread bin.

#32: The Parlor (Nuka-Cade): Once in the Parlor, locate the Nuka-Cade, enter it, and move past the main desk. Turn right and locate two doors ahead of you (the first has “Employees Only” above it). Check the weapons workbench to the right in the room you immediately enter, for the Star Core.

#33: Nuka-World Junkyard Barn: Move southwest to the Nuka-World Junkyard, and enter the large barn with a magazine and robots inside. Head inside the main entrance, keeping to the left and opening a door on the left perimeter interior with broken glass in the window. Climb the metal steps, turn right and proceed around, crossing the long balcony with an animatronic alien at the far end. To the left of him is a magazine and a console with the Star Core.

#34: Dry Gulch Lamppost: Enter the Dry Rock Gulch zone, and follow the main open path to the right, turning left at the remains of the roller-coaster, and left again to the dead-end shooting gallery arcade (exterior). By a lamppost are corpses and a Star Core near a cooler.

#35: Nuka-Cola Bottling Plant: Enter the World of Refreshment, wade into the river of Nuka-Cola (passing or shooting mirelurks on your way) and continue to weave your way down the river until you spot a hole in the right wall, under a Nuka Grape sign. Head up the concrete steps, to a door at the top (left) and into a control room with a low ceiling. Head out into the Nuka-Cola Bottling Plant, down a gantry, and drop down two floors to a sleeping bag and corpse, where the Star Core is.
Hard-Core Power
Obviously, you can return to the Starport Nuka mainframe when you’ve found multiples of five Star Cores to disengage the various robots of your choosing, and complete this part of Main Quest: The Grand Tour once 20 are found. Then collect up to 34 total Star Cores, finish the Main Quest line, and (finally!) return to the mainframe once the power is on and the 35th Star Core has been secured from the observation deck two floors above the mainframe. Slot the final Star Core in, then open the casing to obtain the amazing Quantum X-01 Power Armor. This quest then concludes.