
Fallout 4 Guide MAP Zone 15: Neighborhood: Financial District Primary Locations
Side Quests: Freeform Activities: Goodneighbor
[01] Old State House
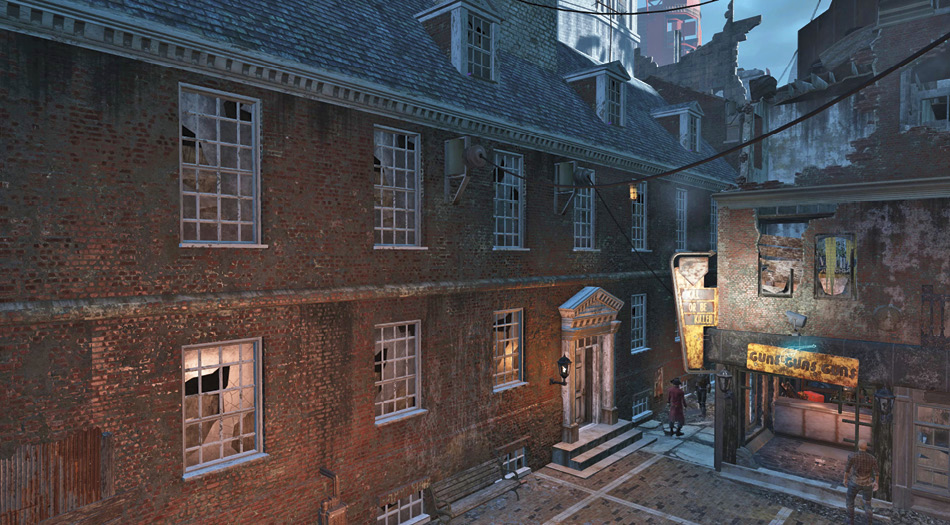
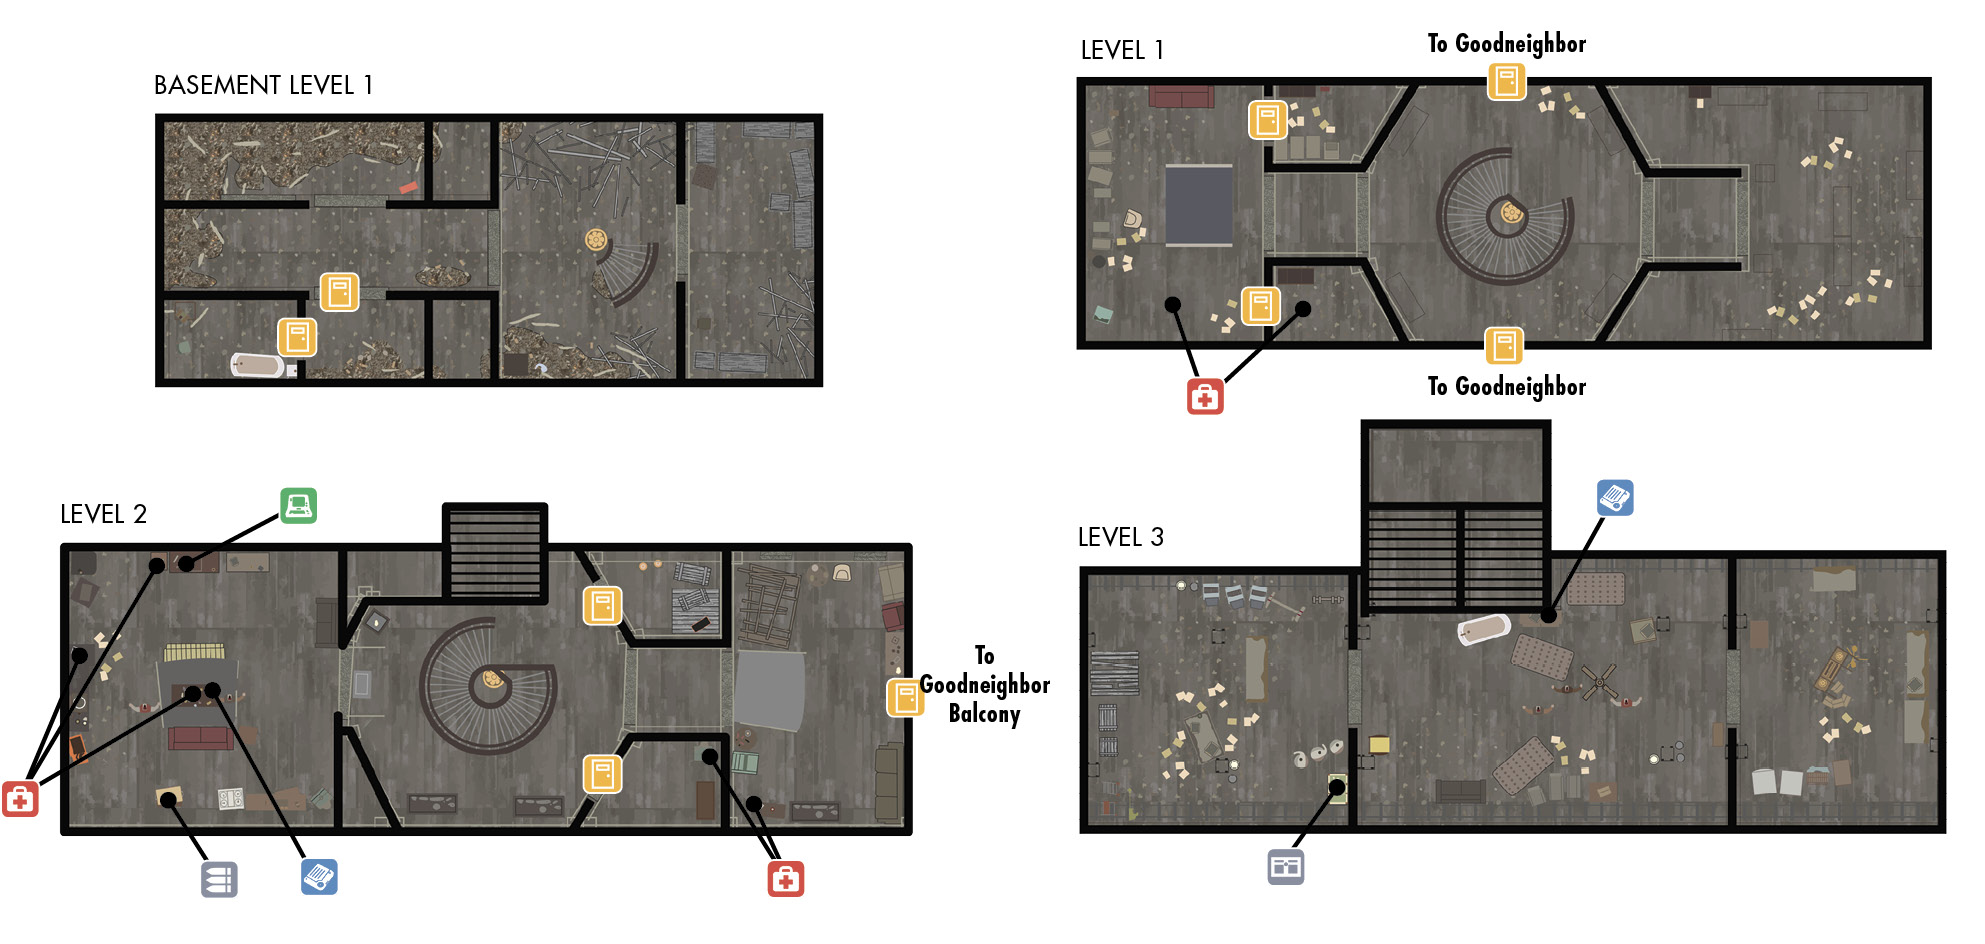
Mayor Hancock and his squeeze Fahrenheit are holed up here. The mayor is well liked, if a little cutthroat. He is guarded by the Neighborhood Watch; don’t confuse them with the less friendly Triggermen! This four-floor mansion has a lot of chems to steal if you’re so inclined and Holotapes extolling the virtues of the Railroad.
[02] Kill or Be Killed
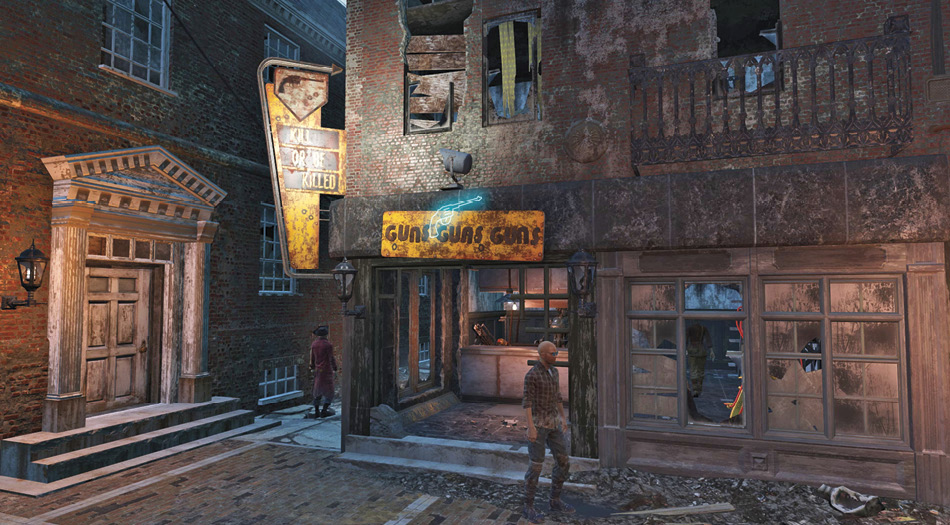
Everything here is guaranteed to kill or maim at your discretion except for the trader KL-E-0. This Assaultron has an excellent number of weapons and ammo to barter, including the unique weapon Partystarter and pieces of the infamous Devastator armor. There’s a weapons workbench and Power Armor station here, as well as a Mini Nuke and Fat Man to steal. Upstairs there’s little but a Railroad Holotape.
[03] Daisy’s Discounts
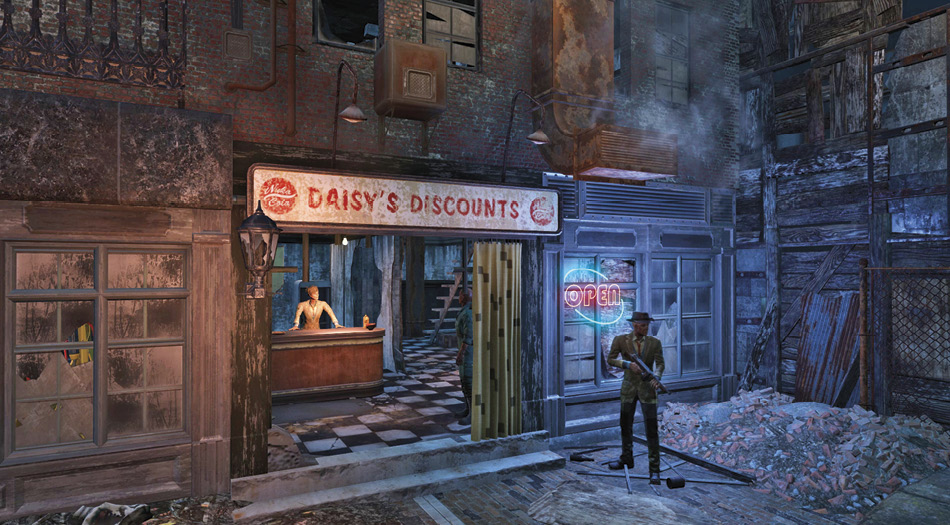
Daisy is a friendly, fresh-faced trader who deals in armor (including part of the Devastator armor) and comestibles. Barter with her, cook on her stove, or hammer out an armor improvement on her workbench.
[04] The Third Rail
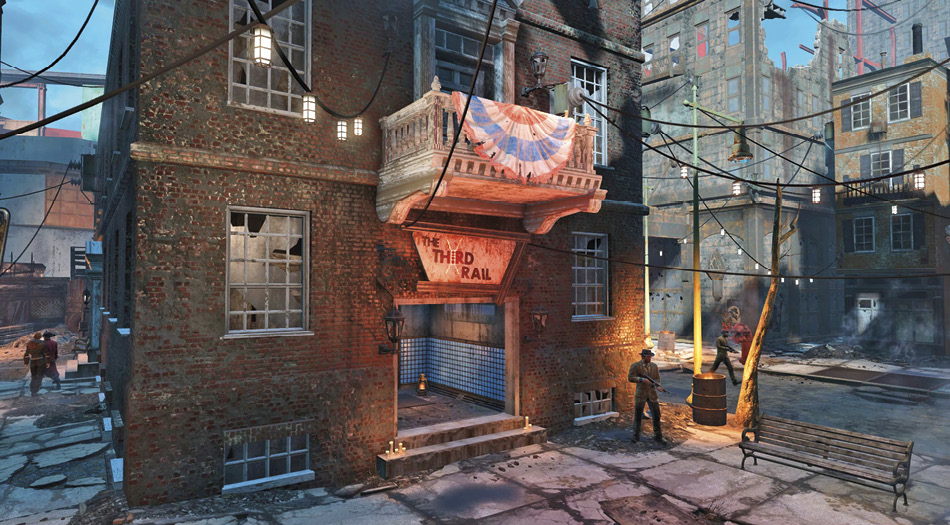
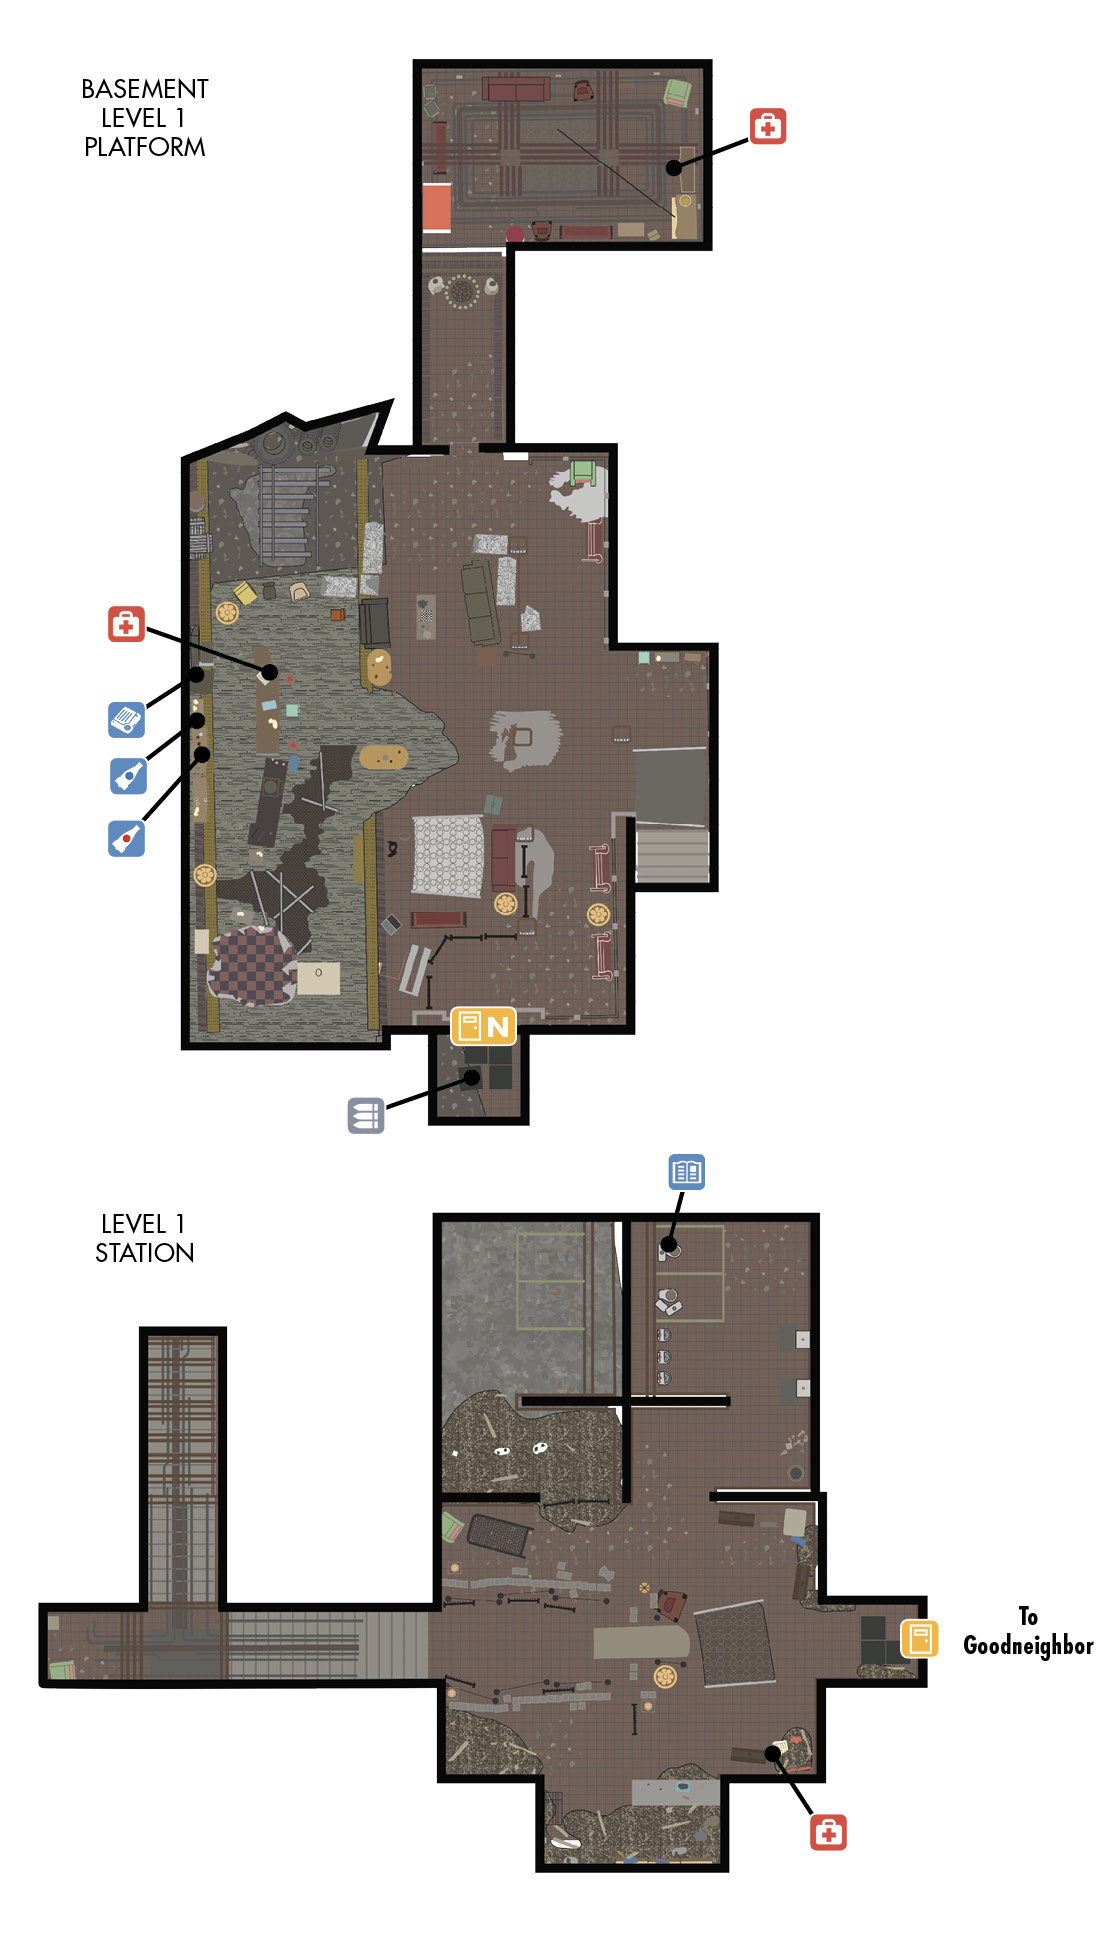
After Ham the doorman lets you in, take a restroom break for some light reading before visiting Whitechapel Charlie’s bar, constructed from the remains of Scollay Square subway station. Downstairs you can chinwag with the governor (Charlie has a task he’d like assistance with), flirt with Magnolia the lounge singer, or steal a Holotape with a Gwinnett Pils recipe on it. The VIP area has MacCready and some rough types hanging around.
[05] The Memory Den
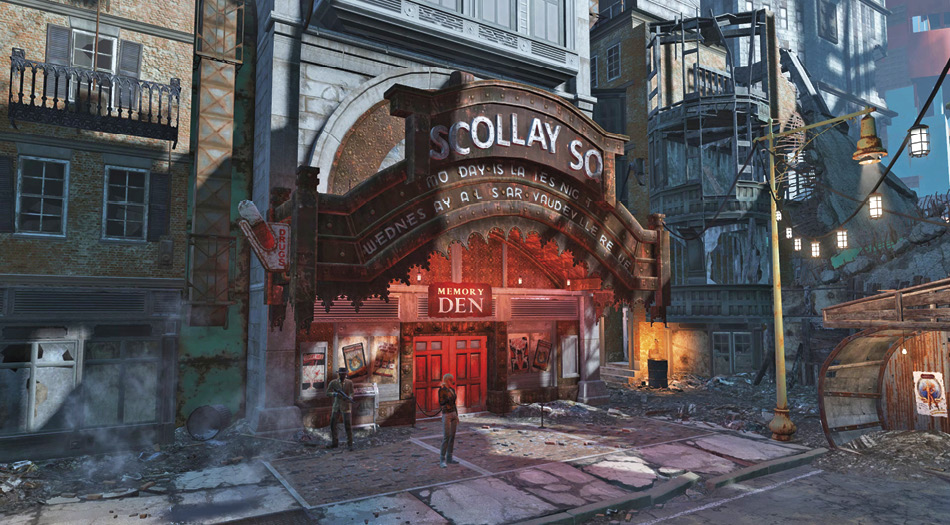
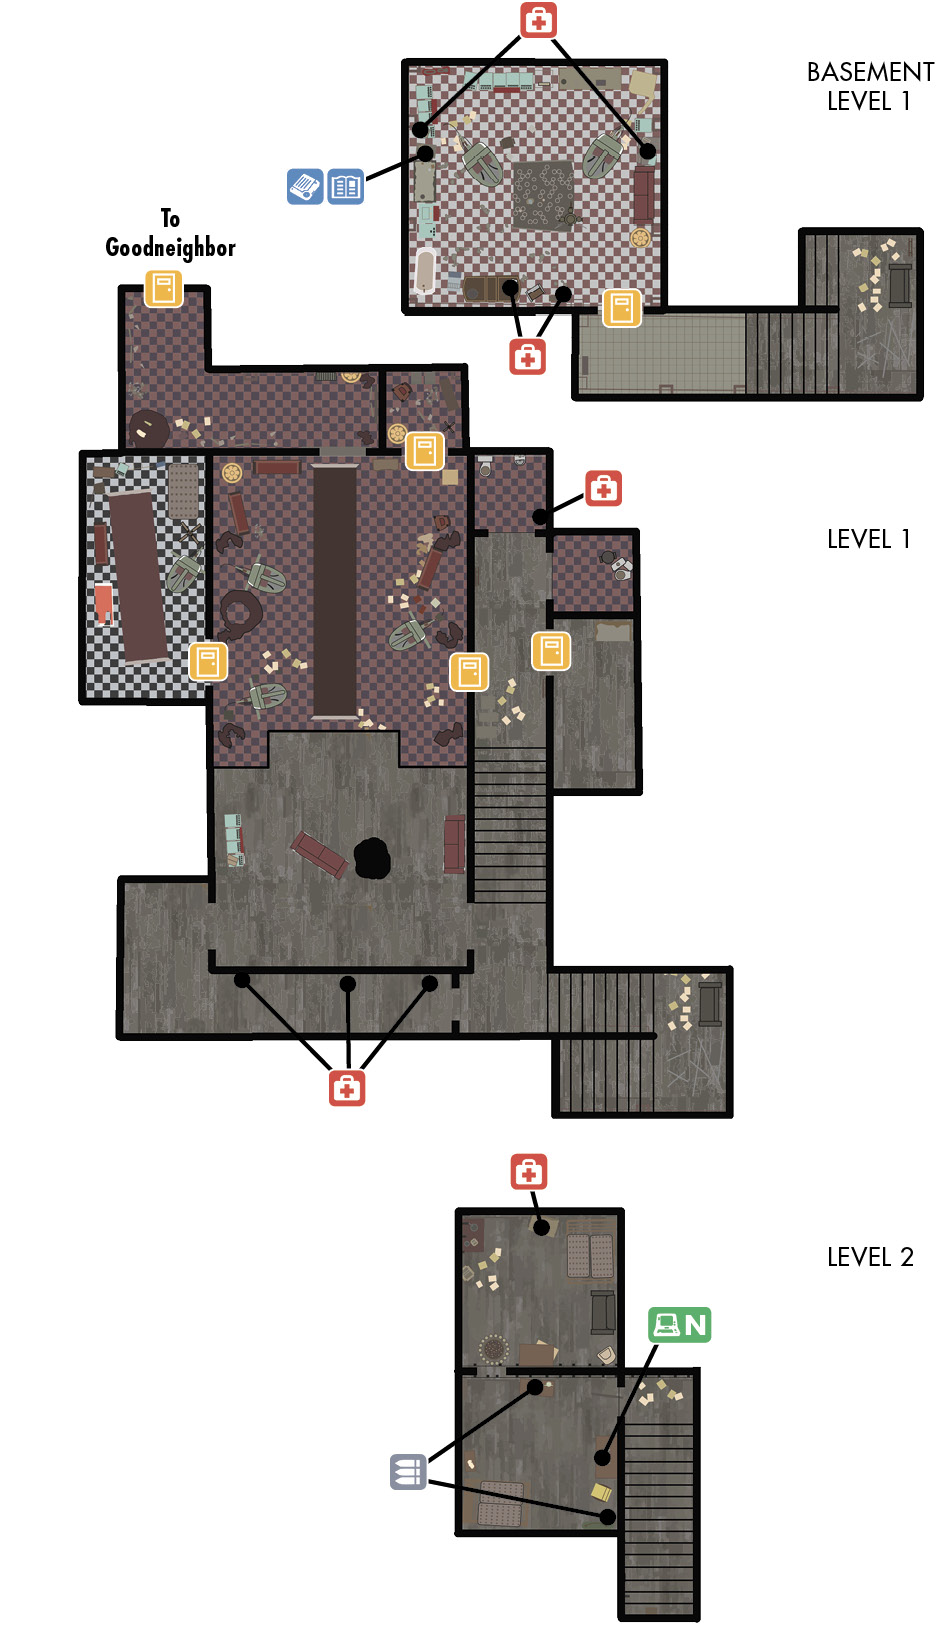
If you’re here to mooch around, Irma isn’t happy to see you (unless you bribe or persuade her to take a trip down memory lane). Otherwise, this old theater holds few secrets. The mirrors behind the stage have chems, and Irma’s upstairs room has a terminal to unlock (Novice), some ammo, and chems; otherwise, it’s best to come here during the Main Quest with a detective friend in tow.
Kent Connolly, the Commonwealth’s number one Silver Shroud fanatic, is in a side room. Speak to him to start the side quest.
Downstairs is the laboratory and two memory loungers, along with a good deal of chems, a copy of RobCoFUN! to read, and the Holotape Grognak game to play. The door is locked until the Main Quest is active.
[06] Hotel Rexford
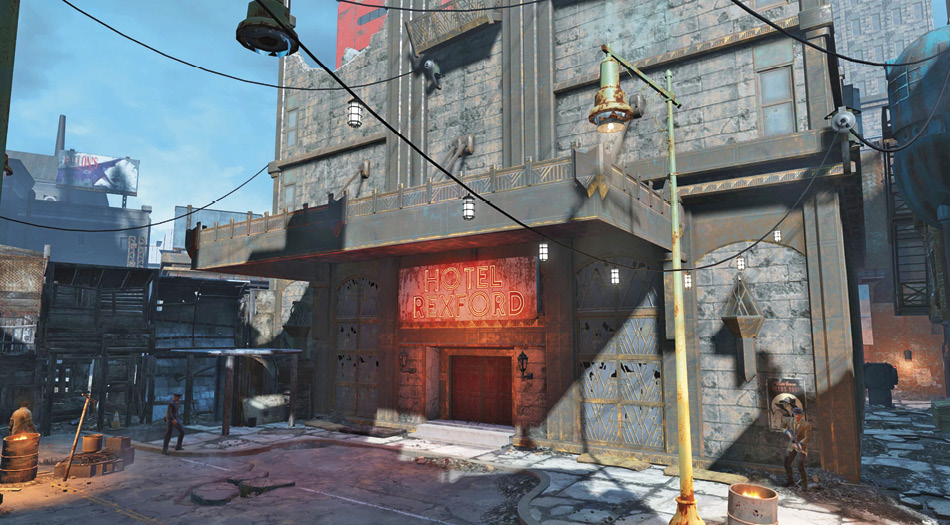
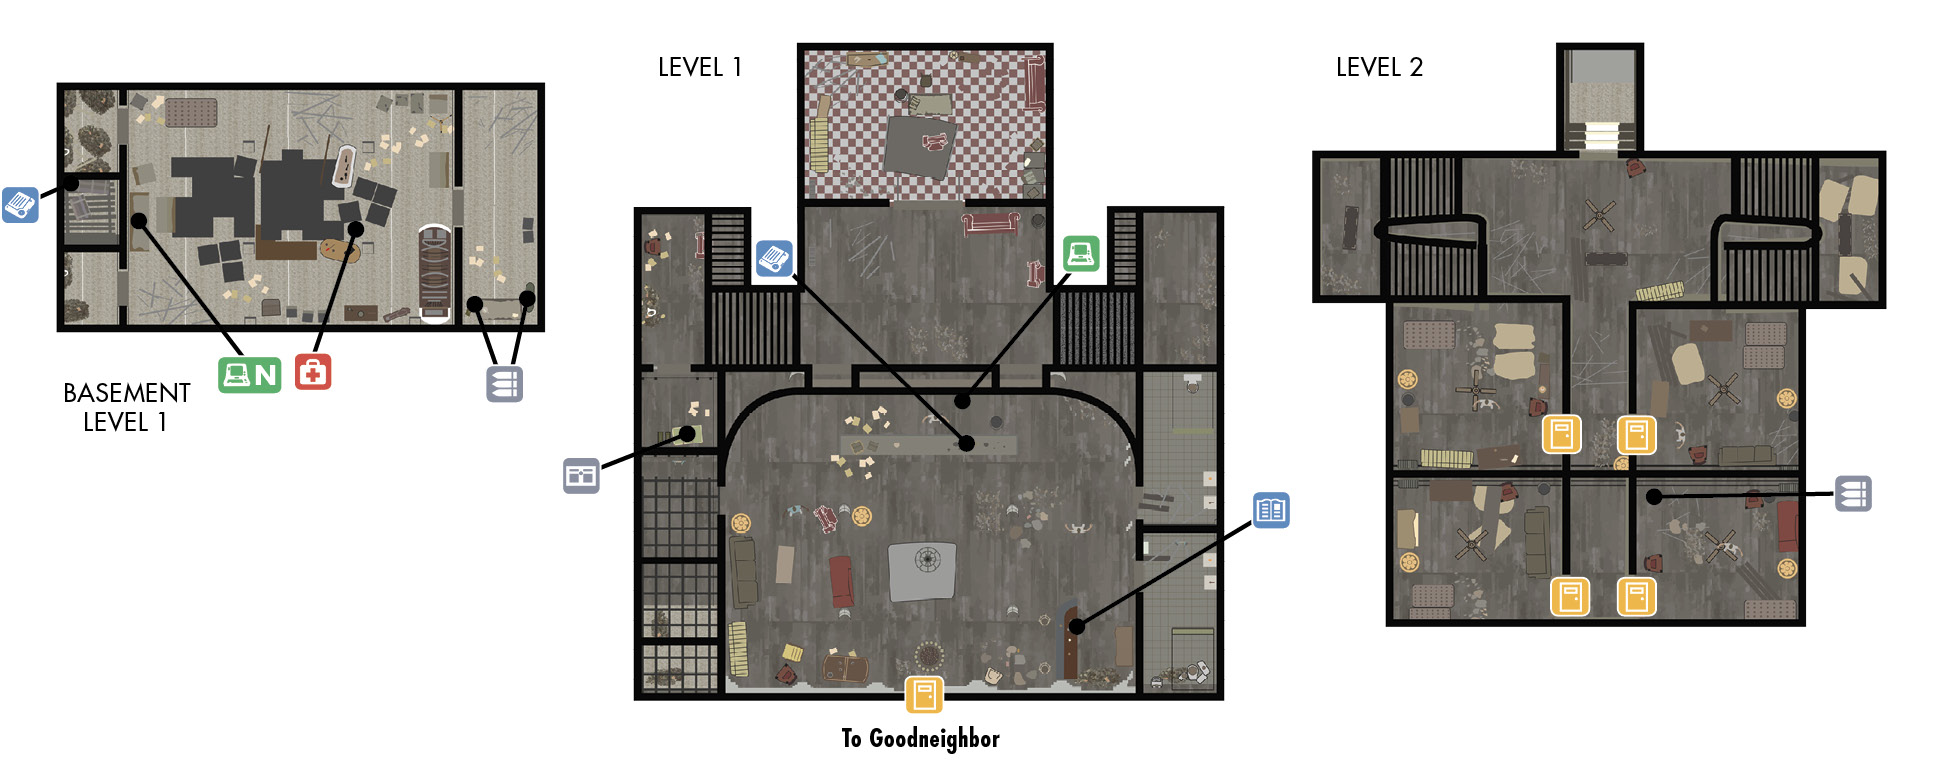
The place to sleep off your adventuring, this hotel lobby has a number of interesting folks to speak to. Rufus, the town’s mechanic, has a job for you as well as items to trade. More abrupt is Clair Hutchins, who can offer you a room for the night, for a price. Don’t forget the magazine behind the lobby bar and the password for the registry under the counter. A couple of known gangsters sometimes hang out here, too. And there’s a special friend to say hello to (again) up on the top floor. He hasn’t aged well.
If you need chems or a quick task to complete, seek out Fred Allen in the lobby or downstairs in his makeshift laboratory. He sells chems too. There’s a Holotape under the stairs with his password.
[07] Triggerman Warehouse #1
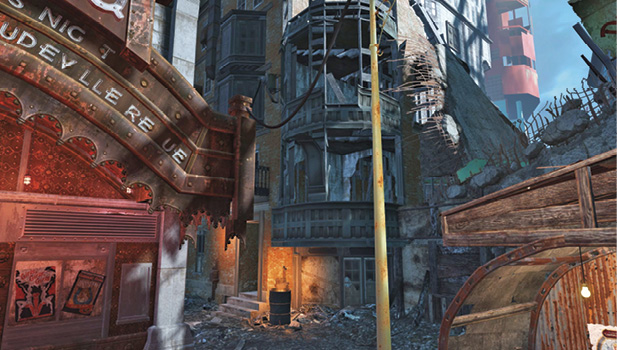
There’s a chem cooler under the fallen ceiling ramp on the second floor, and chems plus a duffel bag are on the third (and final) floor, which consists of two separate rooms.
[08] Triggerman Warehouse #2
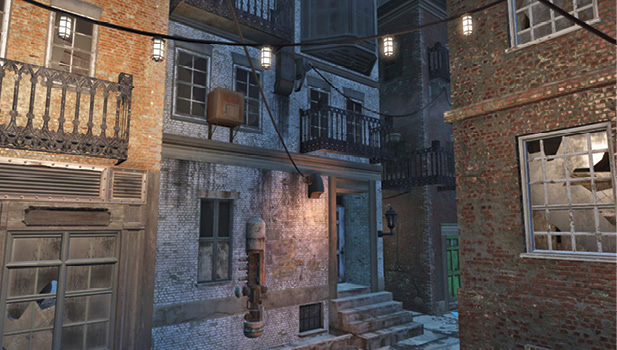
This four-floor warehouse has Triggermen. There’s also minimal chems, but a packed steamer trunk is on the top floor (southwest corner).
[09] Triggerman Warehouse #3
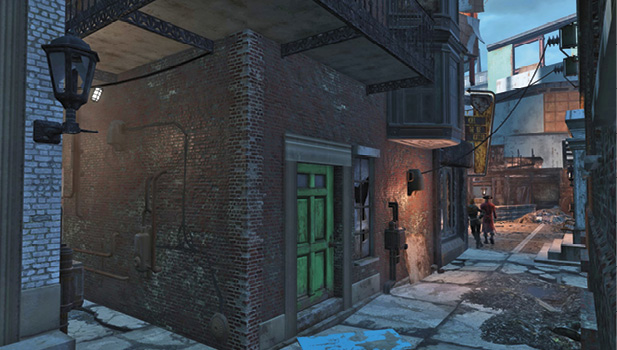
There’s ammo on the second floor, a small amount of scattered chems throughout, and a steamer trunk and duffel bag on the third (and final) floor.
[10] Bobbi’s Place
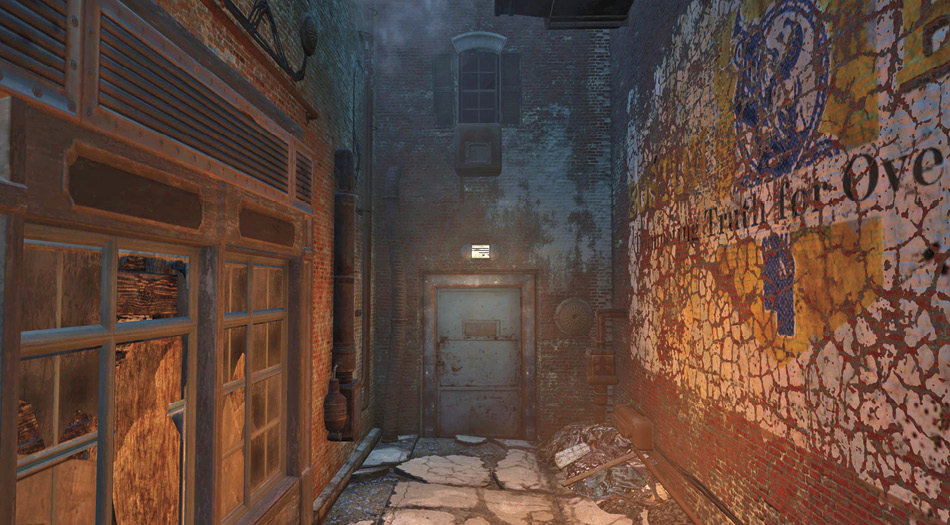
- Armaments and Ammo
- Armaments and Ammo: Trunk
- Armor Part: Fusion Core (3)
- Armor Part: Power Armor (Leveled)
- Collectible: Nuka Cola Quantum (2)
- Crafting: Chemistry Station
- Crafting: Cooking Station
- Danger: Radiation (Mild)!
- Faction: Feral Ghouls
- Faction: Irradiated Wildlife (Mirelurks)
- Faction: Triggermen
- Faction: Character: Mel
- Faction: Character: Sonja
- Health or Chems
- Quest Start: The Big Dig (Side)
- Unique Item: Ashmaker (Weapon)
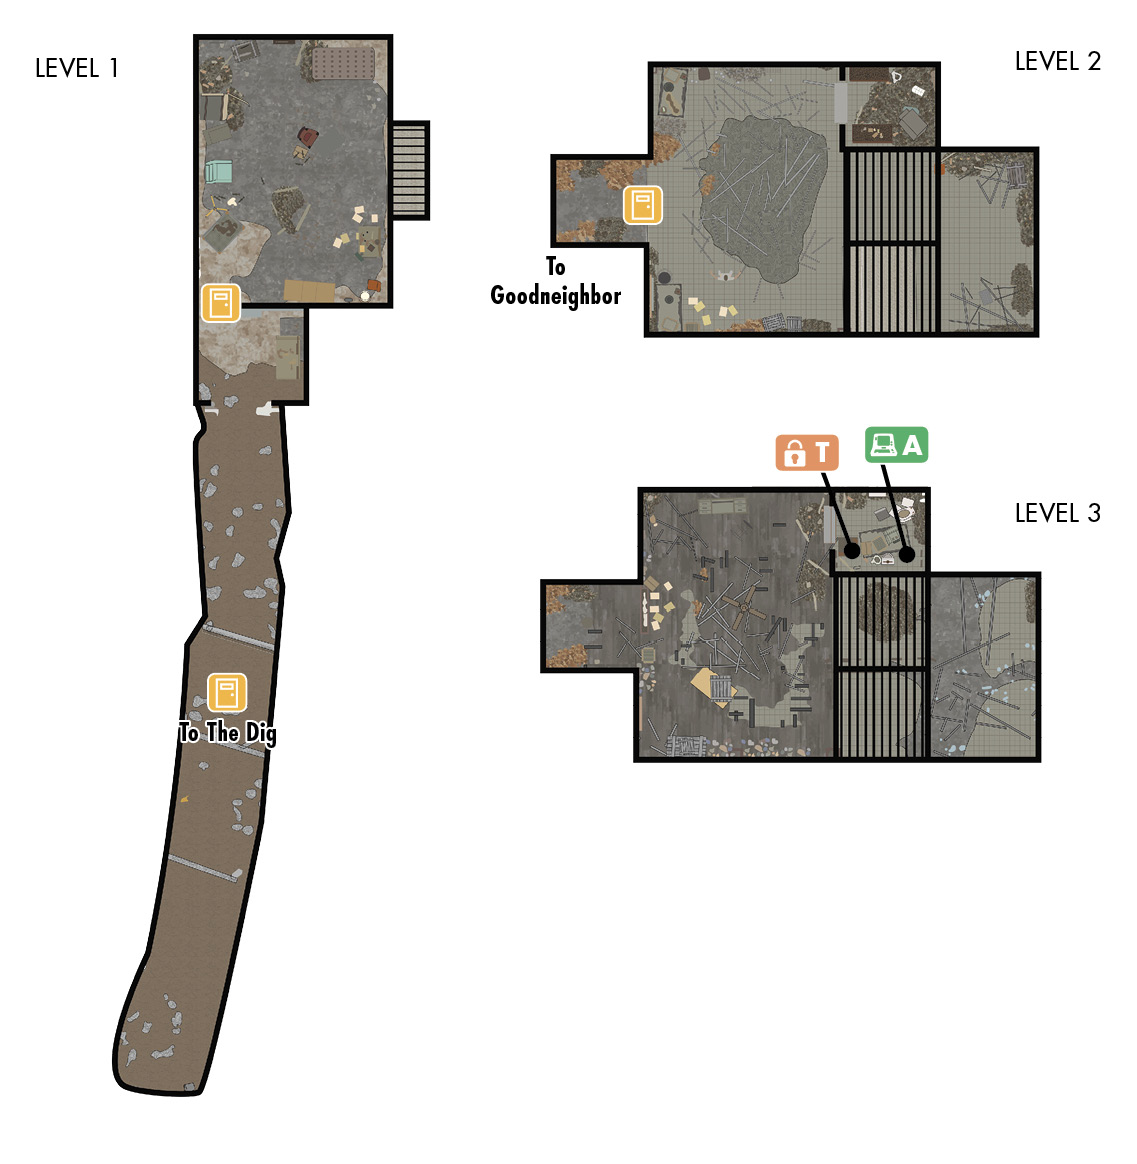
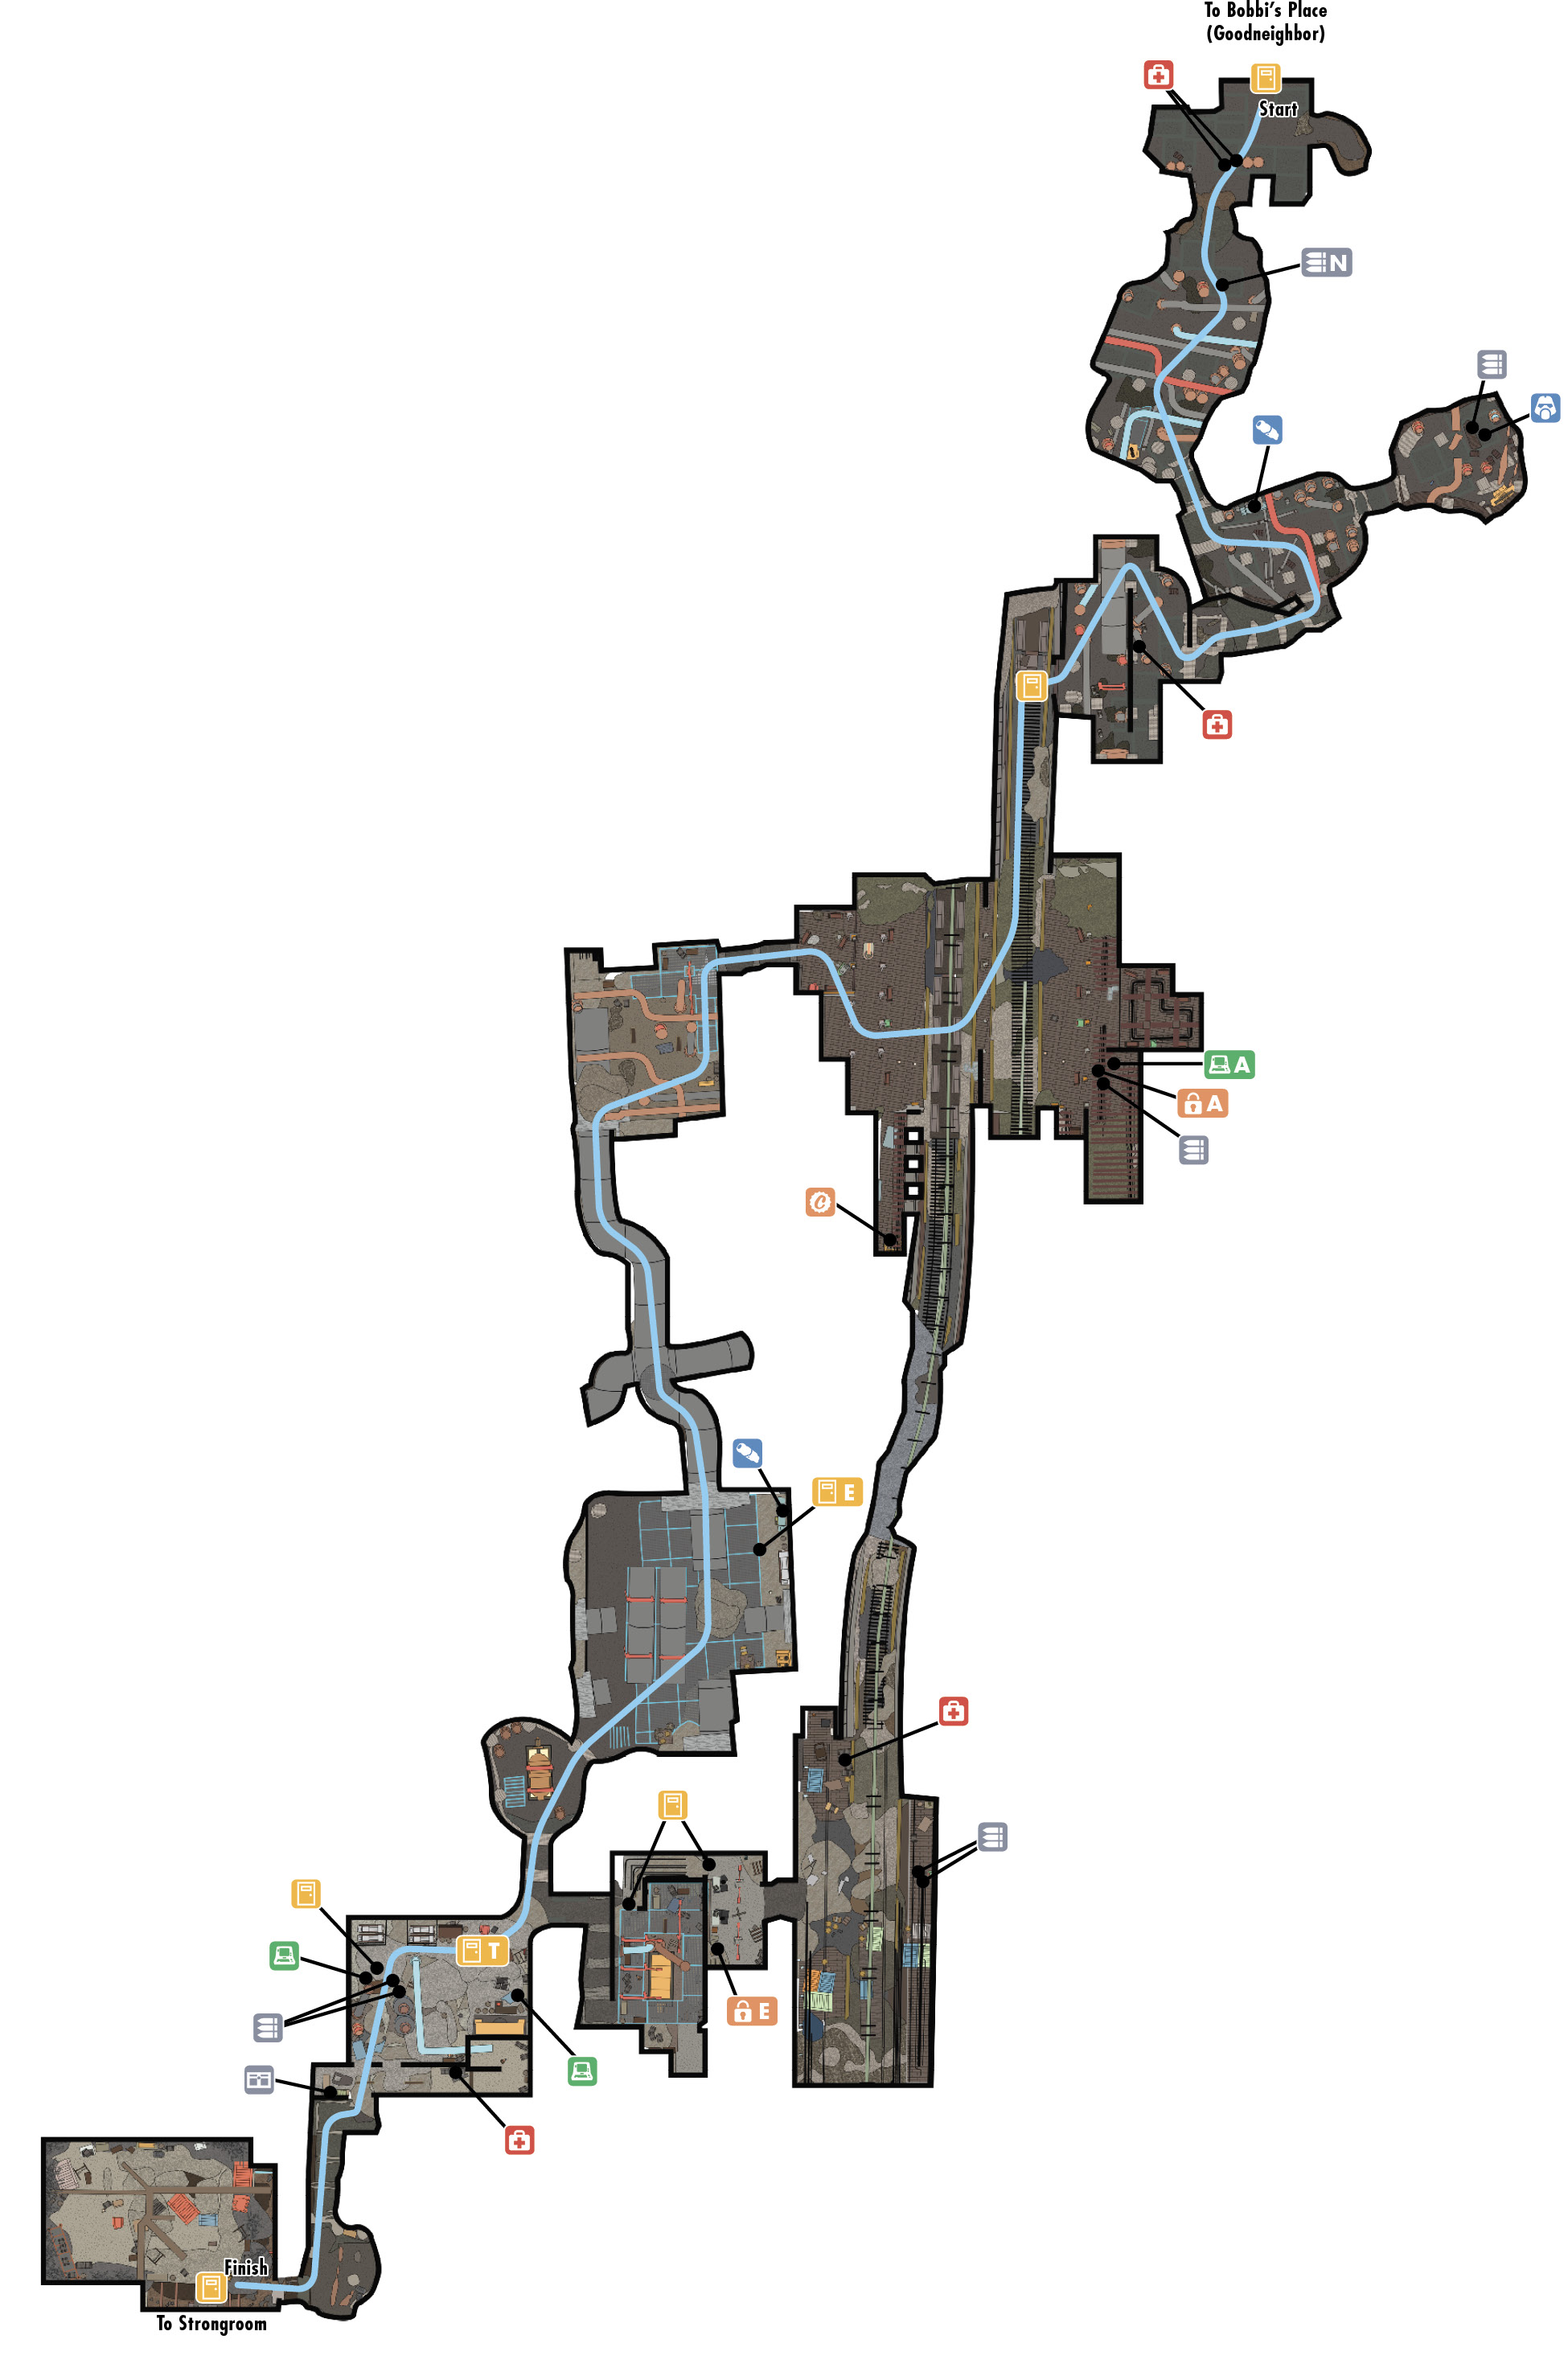
Enter this location when you agree to help Bobbi as part of Side Quest: The Big Dig. This massive tunnel exploration involves digging through numerous fragile walls; finding three Fusion Cores, a steamer trunk, and two Nuka Cola Quantums; and eventually emerging at the NH&M Freight Depot, just south of the Mass Pike Tunnel East. If ever there was a need for a map, it’s during this excursion!
Freeform Activities: Goodneighbor
The Memory Den
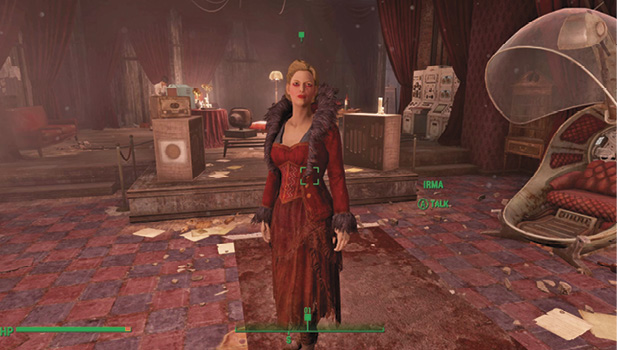
1. Sit in the memory lounger
2. Relive your memories
3. Talk to Irma
You must attempt this quest before the end of Main Quest: Reunions. Enter the Memory Den, and relive a past memory from Vault 81. Afterward, speak to Irma.
Tough Times*
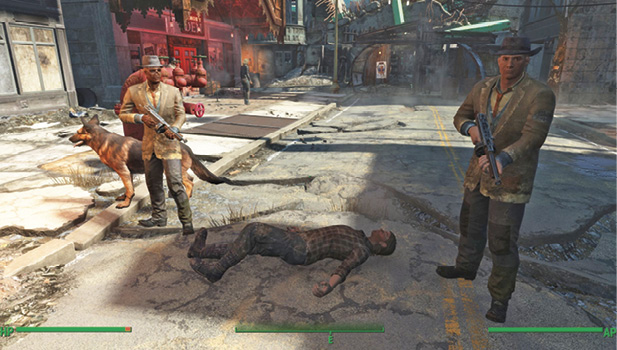
After visiting Goodneighbor for the first time and talking to Hancock, watch Hancock’s speech from the balcony above the Third Rail. Leave Goodneighbor, then return. In the street close to Hotel Rexford, the Neighborhood Watch have slain a synth pretending to be a citizen.
Public Knowledge
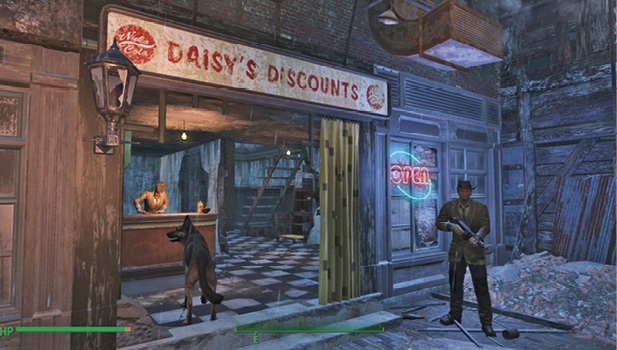
1. Go to Boston Public Library
2. Return the overdue book
3. Clear the library of Super Mutants
4. Return to Daisy
Speak with Daisy in Goodneighbor and agree to help her: She has asked you to clear out the Super Mutants that are threatening the old Boston Public Library. She also wants you to return her overdue book.
O verdue Book
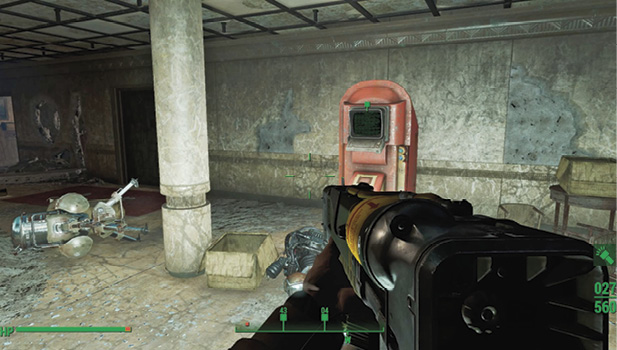
Access Boston Public Library from the side door (Advanced) or Copley Station (Advanced).
Beware of Super Mutants, Mutant Hounds, Protectrons, and machine-gun turrets. Access the book return terminal and deposit the book to receive tokens. Collect more to receive prizes from this machine.
 Book Return Token (5)
Make a sweep of the library and remove all Super Mutant threats. Then return to Daisy for your reward.
 Bottlecaps (200–400)
Hazardous Material*
1. Miscellaneous: Bring a HalluciGen Canister to Fred Allen
2. Miscellaneous: Return to Fred Allen
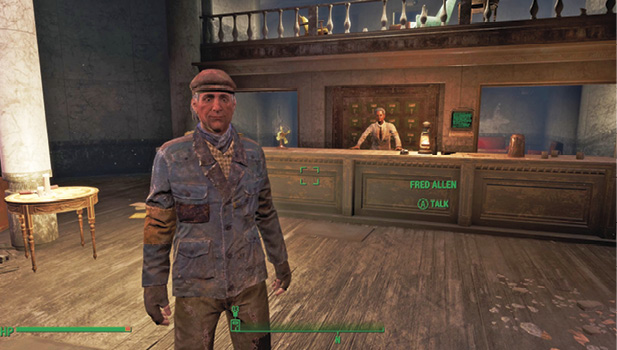
Visit Hotel Rexford and locate Fred Allen. Ask about work. He wants you to find a special canister for him.
Head to the HalluciGen. Beware of Gunners. Battle your way to locate the HalluciGen Canister. Return to Fred for the reward.
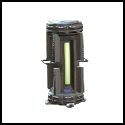 HalluciGen Gas Canister
 Bottlecaps (200–400)
The Cleaner*
1. Miscellaneous: Clear out the Goodneighbor warehouses
2. Miscellaneous: Return to Whitechapel Charlie
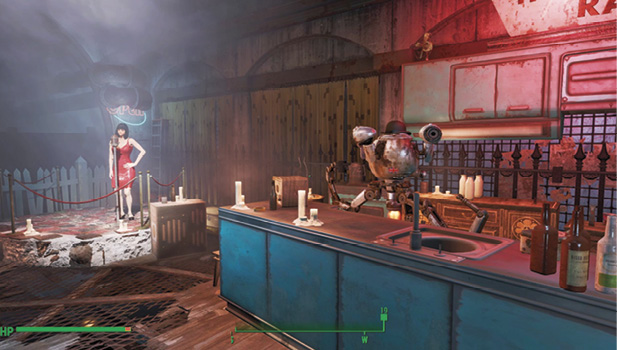
Visit Hotel Rexford and speak to Whitechapel Charlie. Agree to barter, then agree to help him.
Ask him who this warehouse clear-out is for.
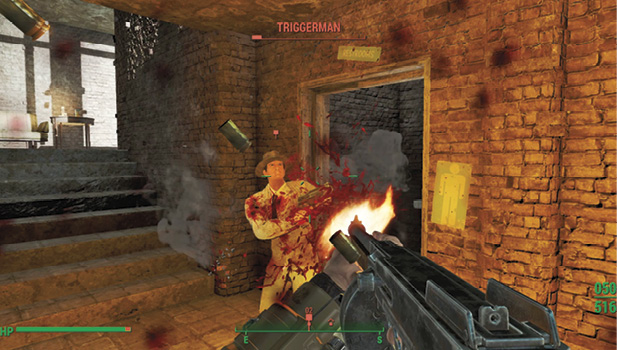
(Novice) Pick the lock of each door. Enter and clear the warehouses of Triggermen. There are three warehouses to unlock and clear. Return to Whitechapel Charlie for your reward.
Bottlecaps (200–400)
Art Appreciation*
1. Miscellaneous: Investigate Pickman Gallery
2. Miscellaneous: Return to Hancock
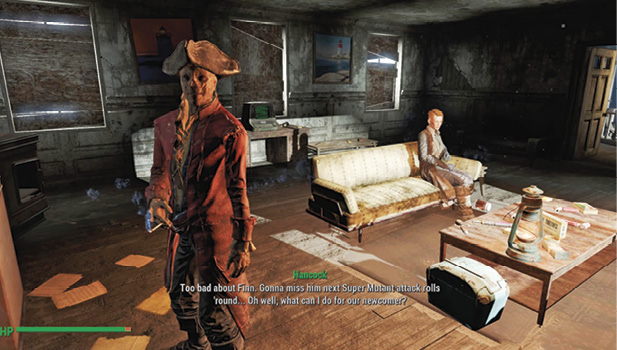
Enter the Old State House in Goodneighbor. Speak to Hancock and ask for work. Agree to help him.
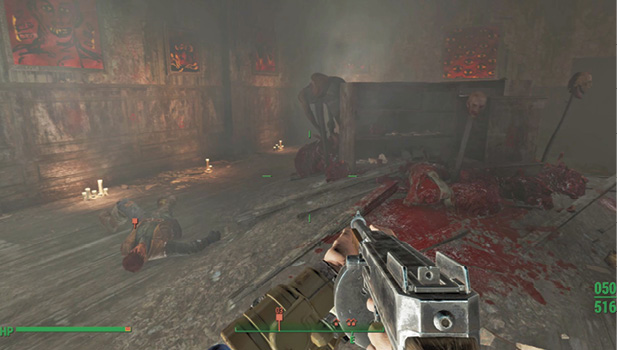
Find the entrance to Pickman Gallery. Beware of Raiders. Take the message from the tagged (and dead) foe. Head back to Hancock for a reward.
 Message to Jack
Bottlecaps (200–400)
MacCready for Action*
1. Miscellaneous: Talk to MacCready
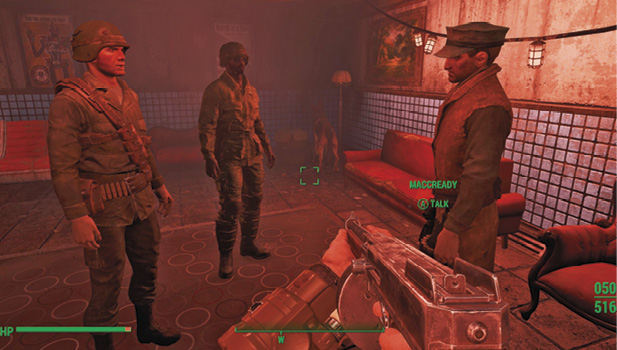
Visit the Third Rail and head into the VIP area. Wait for two Gunners (Barnes and Winlock) to stop talking to a third Gunner named MacCready. Afterward, hire him as a Mercenary Companion if you wish, for 250 Caps.
Familiar Faces*
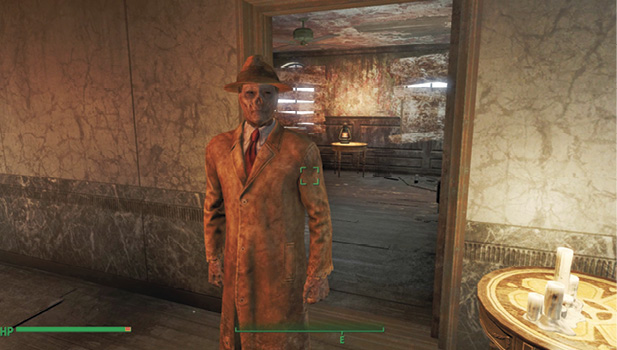
Enter the Hotel Rexford and ascend to the top floor guest rooms. You meet an old friend. Speak with him.
 Settler: Vault-Tec Rep
Recruiting Hancock*
1. Miscellaneous: Talk to Hancock
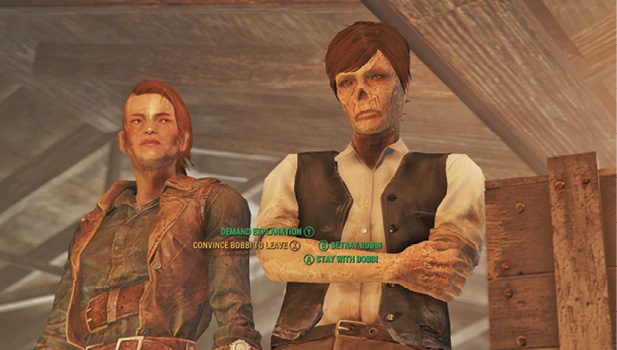
This becomes available once you end Side Quest: The Big Dig.
During the final decision you make at the NHM Freight Depot, you also have a choice to make when speaking to Bobbi. You can:
- Plan A: Betray Bobbi.
- Plan B: Stay with Bobbi.
Choose Plan A, then speak to Fahrenheit. Answer her as you wish. Complete Side Quest: The Big Dig. Now return to Hancock in Goodneighbor.
Choose Plan B, then kill Fahrenheit and all others except Bobbi. Complete Side Quest: The Big Dig. Now return to Hancock in Goodneighbor.
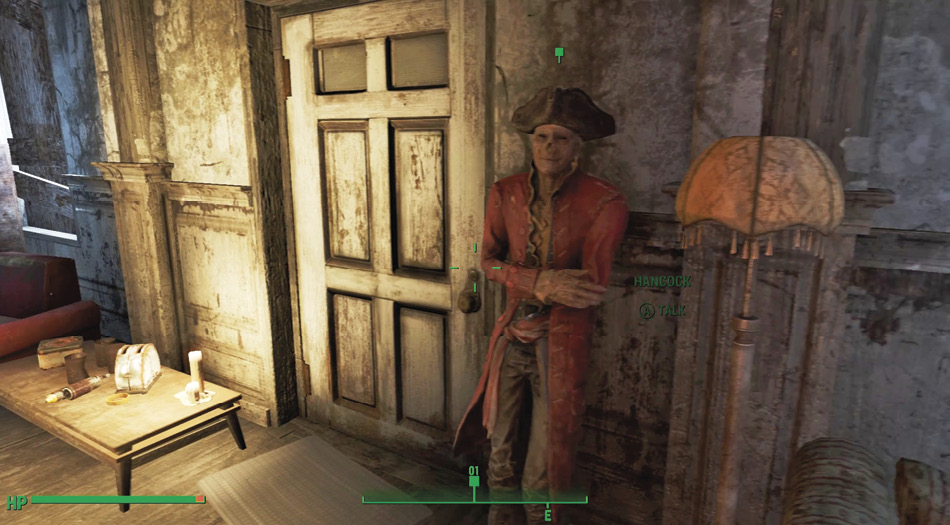
Plan A (continued): Speak to Hancock in the Old State House. Accept (or refuse) his offer to join you as a companion. The quest concludes.
Plan B (continued): Speak to Hancock at the entrance to Goodneighbor. You can:
- Ignore him.
- Agree to pay him the 1,000 Caps he’s out and take care of Bobbi.
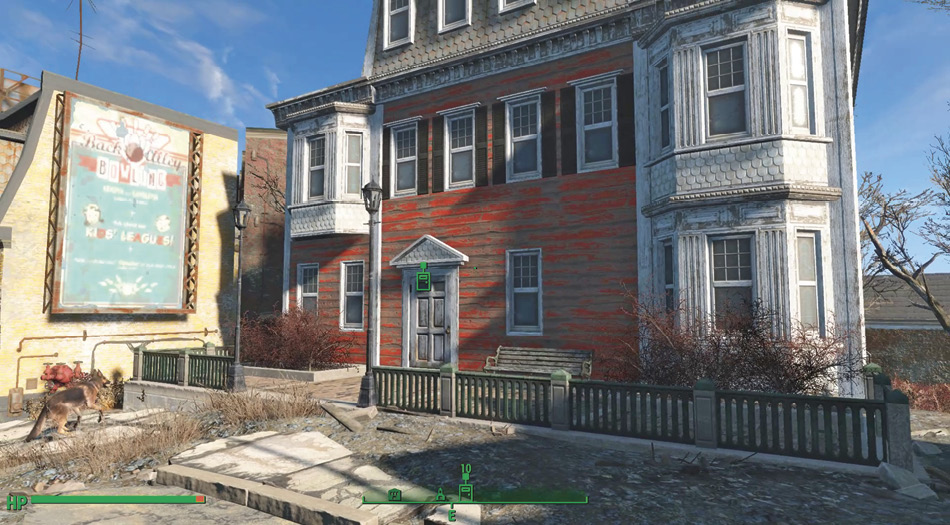
Locate Bobbi at her hideout in the Hawthorne Estate house (just north of University Point). You can:
- Kill her.
- Tell her you’ll negotiate with Hancock.
Return to Hancock. Smooth things over with him, depending on your actions. Accept (or refuse) his offer to join you as a companion. The quest concludes.
Trouble Brewin’
1. Find the brewing machine
2. Send the Drinkin’ Buddy to the Hotel Rexford
3. (Optional) Keep Drinkin’ Buddy for yourself
4. Follow Drinkin’ Buddy to the Hotel Rexford
5. Talk to the staff of the Hotel Rexford
6. Talk to Rufus
7. (Optional) Sell Drinkin’ Buddy to Rufus
8. Bring Drinkin’ Buddy inside the Hotel Rexford
9. Collect your reward from Rufus
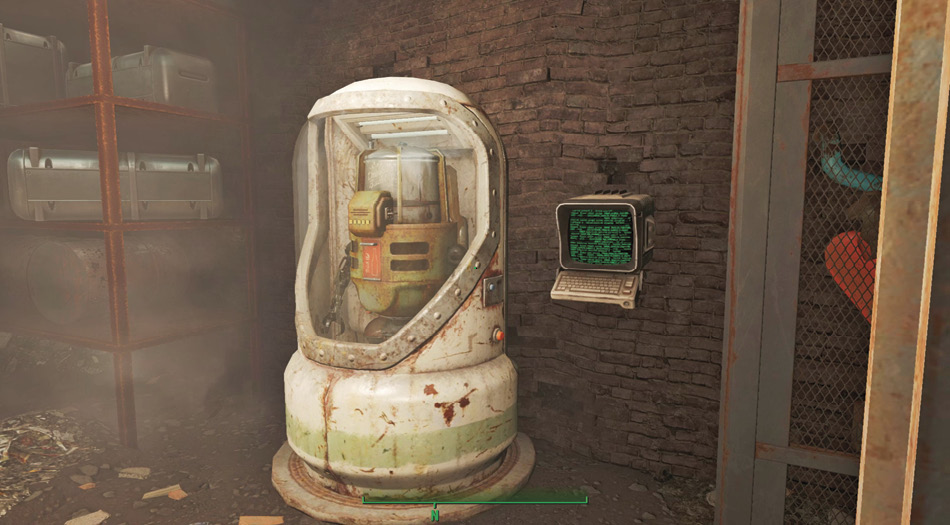
Speak to Rufus Rubins over at Hotel Rexford in Goodneighbor. He wants you to find a brewing machine that was never delivered here. Head to the Shamrock Taphouse in Boston Harbor (Waterfront). In the cellar is the special “Drinkin’ Buddy” Mister Brewer Protectron. Check him out near the terminal (Expert), or use the password from the Holotape on the shelves of the cellar.
At this point, you can chat to your new Buddy, feed him any brewing Holotapes you may have found, and point him in the direction of your nearest owned settlement so he becomes part of the ragtag collection of inhabitants there. Or you can return to Rufus after setting Drinkin’ Buddy on his way back to Goodneighbor, and collect a reward from Rufus instead.
 Bottlecaps
Drinking Buddy is your real reward; he brews ice cold beer every few days, you can chill Nuka Cola (or Nuka Cherries or Quantums) and make it ice cold by putting it in his inventory. Also, why not give him new recipes to try?
Recipes:
| Holotape Recipe | Location |
|---|---|
| gwinnett holotape recipe | location |
| Gwinnett Ale Brewing Subroutines | Colonial Taphouse, Diamond City (Behind the bar) |
| Gwinnett Brew Recipe | Beantown Brewery, in the boss room next to the terminal |
| Gwinnett Lager Recipe | Shamrock Taphouse, behind the bar under the broken railing |
| Gwinnett Pils Recipe | The Third Rail, Goodneighbor (On the counter next to the fridge) |
| Gwinnett Stout Recipe | In a terminal in Gwinnett Brewery |