
Fallout 4 Guide MAP Zone 9: Neighborhood: The Fens
Secondary Locations
[9.01] Fens Subway Station (Outskirts)
- Crafting: Cooking Station
- Faction: Bloatflies
- Faction: Radroaches
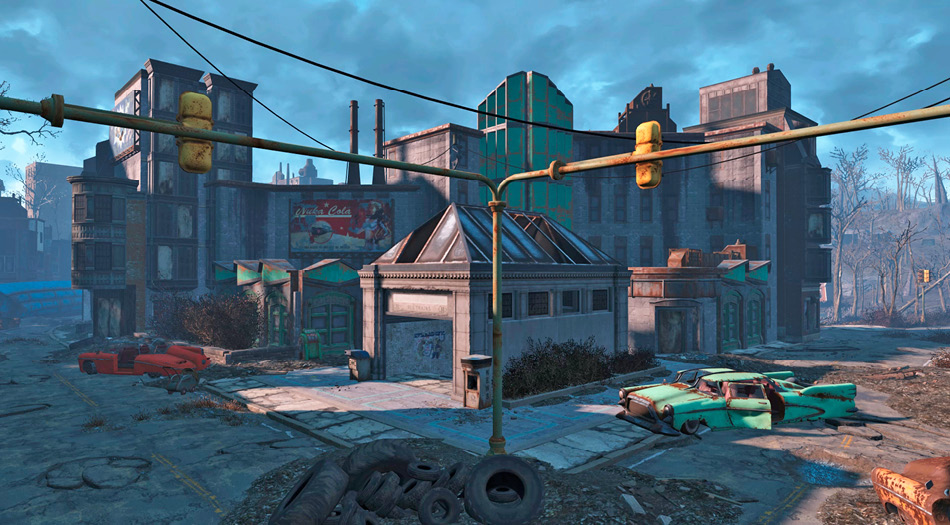
A subway platform infested with irradiated wildlife, this small interior location is mostly blocked with rubble.
[9.02] Fens Tunnel Entrance
- Armaments and Ammo
- Faction: Super Mutants
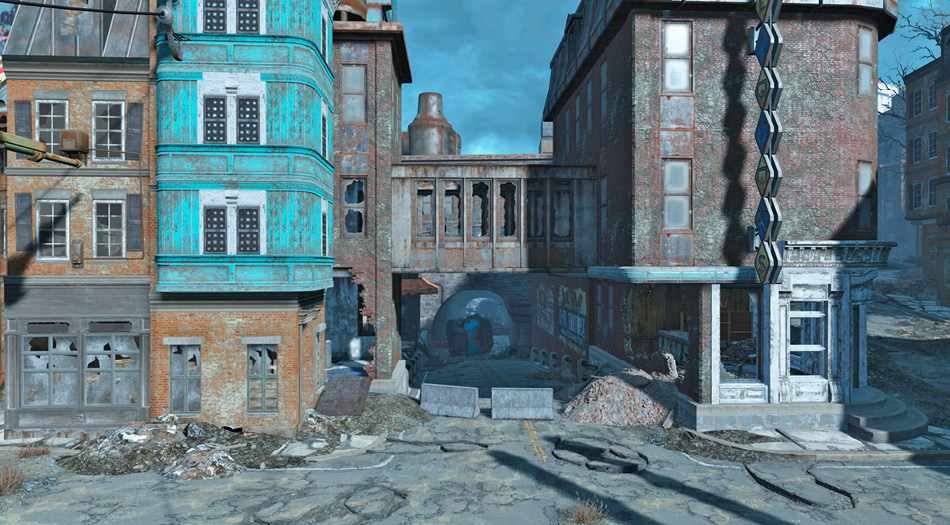
Running east to west under Hangman’s Alley is a small traffic tunnel. Approach from the west and you can cross a small bridge guarded by a Super Mutant hound. Check the south balcony before the tunnel for some loot.
[9.03] Super Mutant Alley Apartments
- Armaments and Ammo
- Armaments and Ammo: Trunk
- Health or Chems
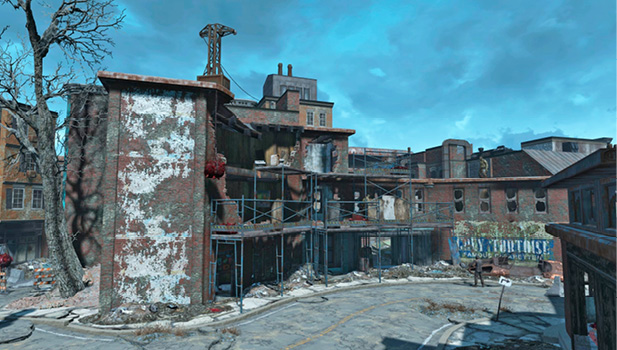
This open-air low-rise apartment complex just northwest of Diamond City has been taken over by greenskins. Clear the scaffold and roof of foes before opening the steamer trunk on the rooftop.
[9.04] Anna’s Cafe
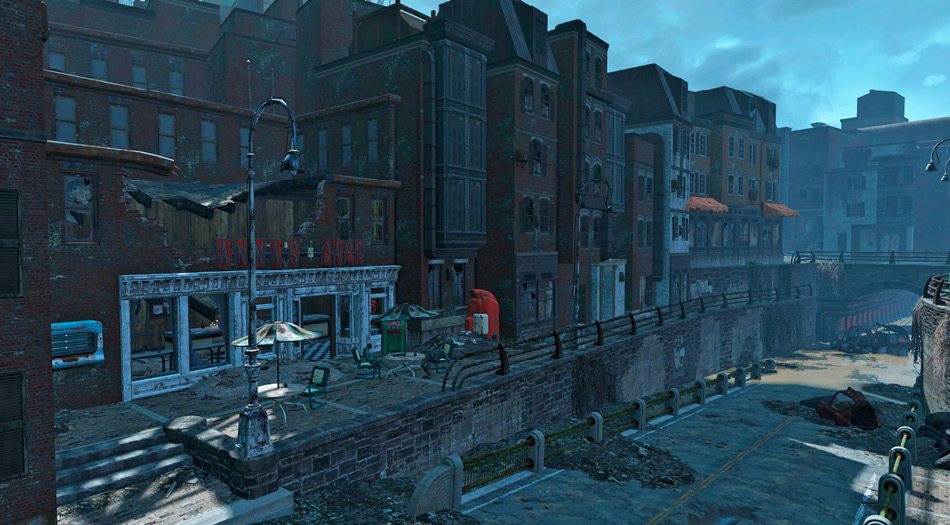
This once-thriving diner has been reduced to a ruin of clutter and rusting equipment. Check behind the counter for some health.
[9.05] Raider Back-Alley Camp (the Fens)
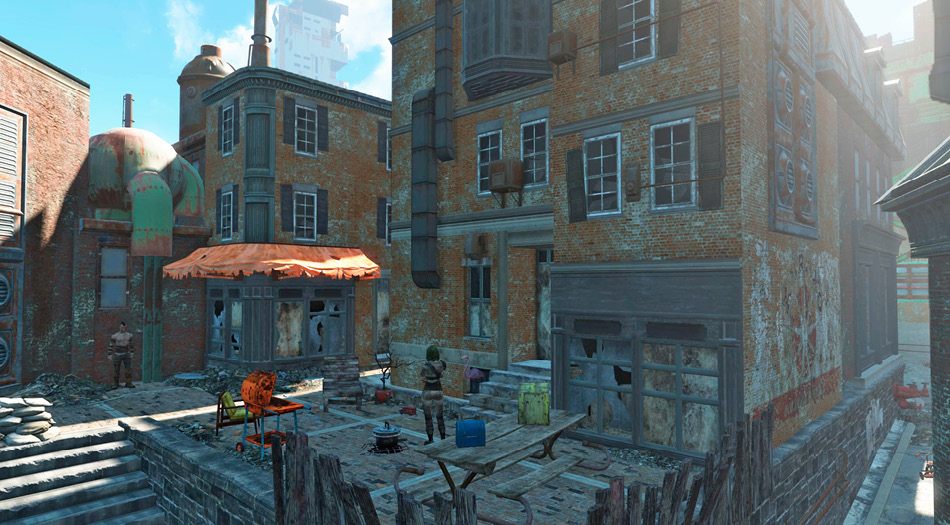
- Armaments and Ammo
- Faction: Raiders
A small group of Raiders has turned a section of old housing into a makeshift base, north of Diamond City.
[9.06] Bridgeway Trust
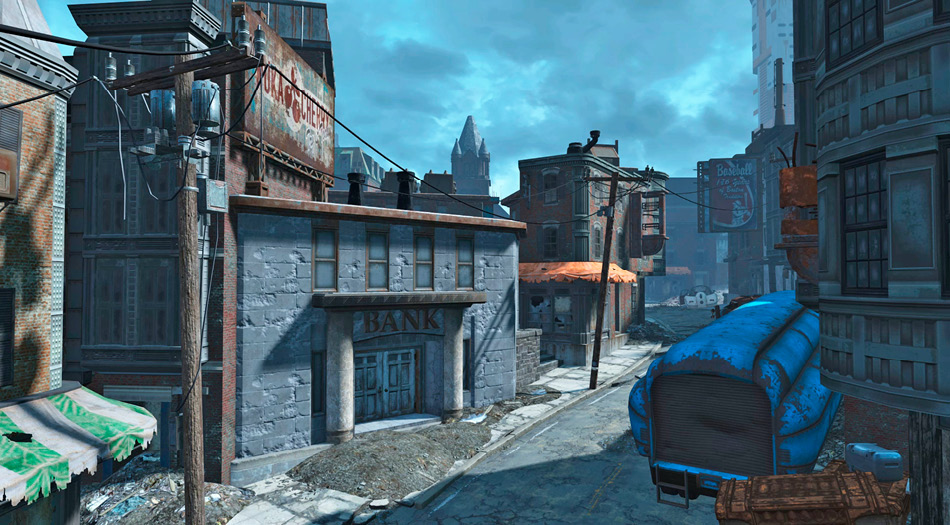
- Armaments and Ammo
- Bottlecaps+++
- Health or Chems
Enter this bank and have a go at hacking the safe room door (Master). It isn’t easy, but once you’ve used the terminal to open the security door, you can ransack a new kind of vault. Aside from the gold bars, the following wall safes are accessible (along with the number of safes of each type):
- Wall Safe (Open): 1
- Wall Safe (Novice): 5
- Wall Safe (Advanced): 5
- Wall Safe (Expert): 3
- Wall Safe (Master): 2[9.07] Bridgeway Garage
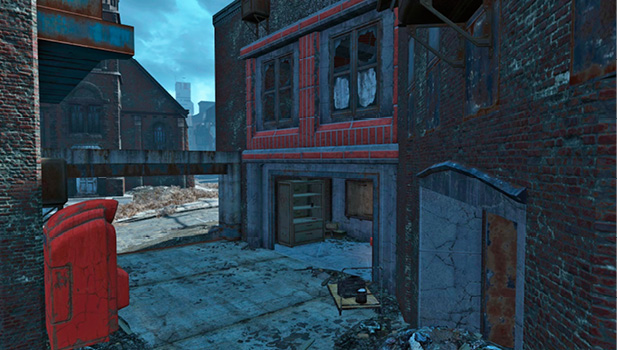
- Crafting: Power Armor Station
This small garage is close to the bank. Park your Power Armor here and tinker for a bit.
[9.08] Diner and Apartments (the Fens)
- Armaments and Ammo
- Faction: Super Mutants
- Health or Chems
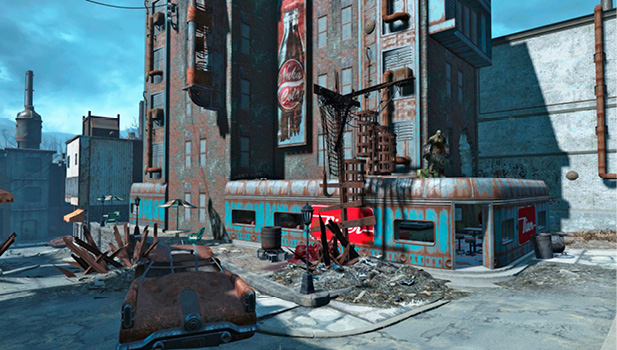
Just north of the main Super Mutant forces is a small courtyard with a diner attached to an apartment building. The place is awash with blood, and the diner has access to the grim interior. This is a two-floor apartment complex with an upper west door leading to a balcony and an east (red) door leading to the area above the diner, where you can grab some explosives from a box (Novice), once you abate the greenskin threats.
[9.09] Settler’s Stop (the Fens)
- Bottlecaps
- Crafting: Cooking Station
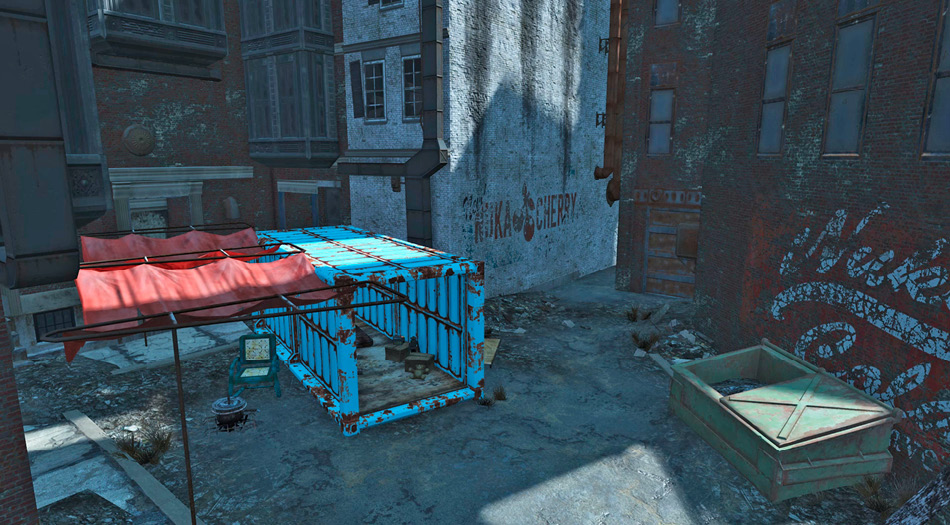
An open cargo container offers protection from the elements, but not the greenskins roaming the bloody courtyard to the west.
[9.10] Raider Cul-de-Sac (the Fens)
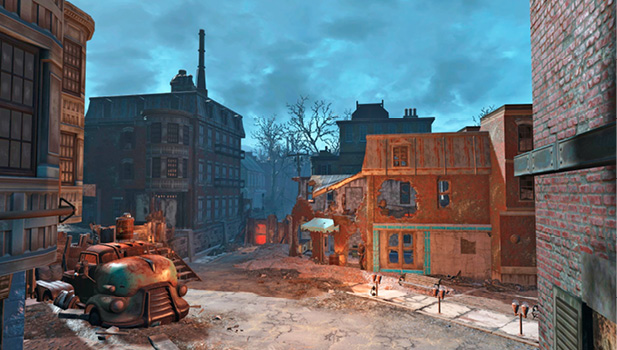
A band of Raiders believe they’re sealed in tight in the southern cul-de-sac close to Zone 6. Though you can unlock any of the doors (Expert), you are able (with some patience and clockwise jumping) to drop onto the rooftops from the high office (scaffold bridge, below), and work your way around the roofs before landing on the western Raider roof. The height advantage is helpful.
[9.11] Scaffold Bridge (the Fens)
- Danger: Mines!
- Danger: Tripwires!
- Health or Chems
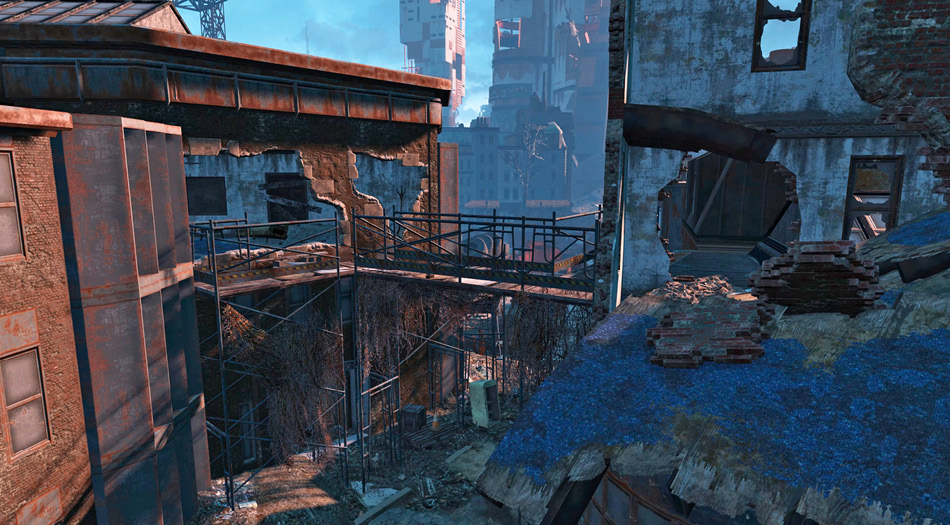
Climb the metal scaffold steps and check the ruined building to the north and south, watching for traps. From the office atop the flights of stairs, you can leap through the hole in the window and access the rooftops to the south of Diamond City.
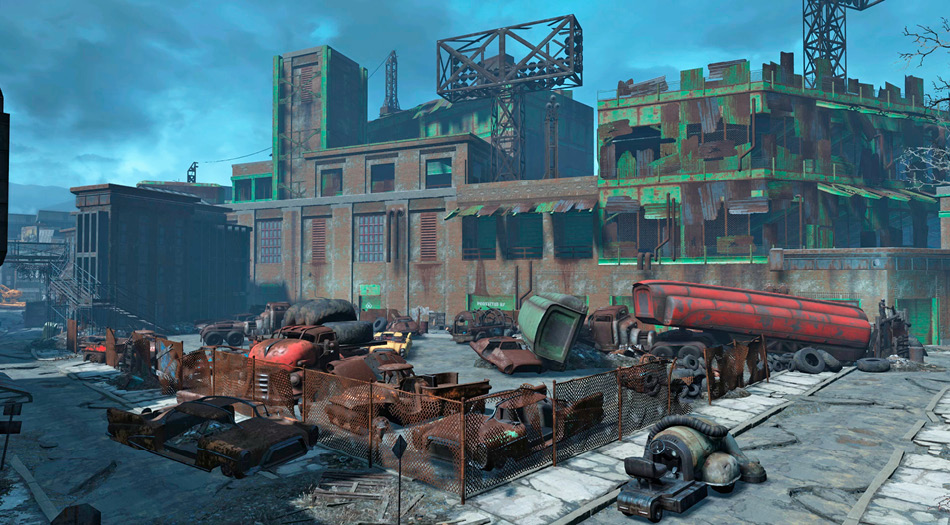
[9.12] Diamond City Scrap
- Armaments and Ammo
- Health or Chems
- Faction: Radroaches
- Faction: Vicious Dogs
A collection of rusting vehicles gives the southern side of Diamond City a certain unkempt appearance.
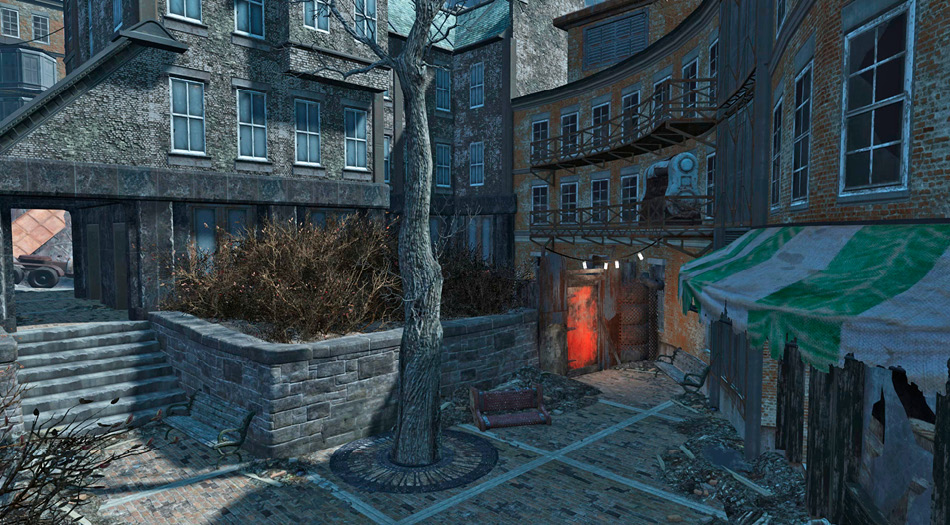
[9.13] Scavenger’s Rest (the Fens)
- Crafting: Cooking Station
This small open-air alcove is nestled behind a low stone wall, southeast of Diamond City.