
Fallout 4 Guide DATA Workshops
Managing Settlements
You’re free to run a settlement in whatever manner you see fit. You can address problems as they arise or ignore them completely—your settlers will survive with or without your help. For a settlement to thrive, however, you’ll need to play a more active role. Developing a settlement takes effort; juggling the needs of multiple settlements takes careful planning and a watchful eye.
Recommended Perks
Effective management takes time, effort, and ample resources, but rebuilding the Commonwealth also takes considerable know-how. If you’re looking to make the most of your settlements, you’d do well to invest in these perks:
- Local Leader: At Rank 1, this Charisma-based perk grants the ability to establish supply lines between your settlements. Rank 2 is required to build the stores and workstations found in the workshop menu. If you’re serious about settlements, make this perk a priority.
- Hacker: Rank 1 of this Intelligence-based perk is required to build terminals. Terminals can interact with a variety of devices, but they’re most useful when combined with switches. Whether you’re looking to streamline your automated defenses or design custom audio/visual elements, you’ll need at least one terminal to access all of the available options.
- Science!: Rank 1 of this Intelligence-based perk is required to build large generators, industrial water purifiers, laser tripwires, and many other particularly handy items. Rank 3 is required to build heavy laser turrets.
- Gun Nut: Rank 3 of this Intelligence-based perk is required to build missile turrets. These powerful weapon systems generate more Defense than any of the other items contained in the Workshop menu.
Of course, these perks are just the beginning. Medic is needed to build any clinic, and most of the largest stores require Rank 2 of the Cap Collector perk. Perks like Scrapper, Fortune Finder, and Strong Back make it easier to maintain a supply of building materials. Balance your needs against those of the settlers to determine which perks are right for you.
Basic Construction
Workshops make building fun and easy—just open the Workshop menu and select the desired item. As long as you have the required materials, construction is done in a flash. But where should you build an item? When should you build it? Is it the best use of your materials? How will it affect your settlers?
Of course, the answers to these questions are determined by your specific goals. Whether you favor form or function, there are a few steps you can take to minimize wasted time, effort, and resources.
Scrap for Success
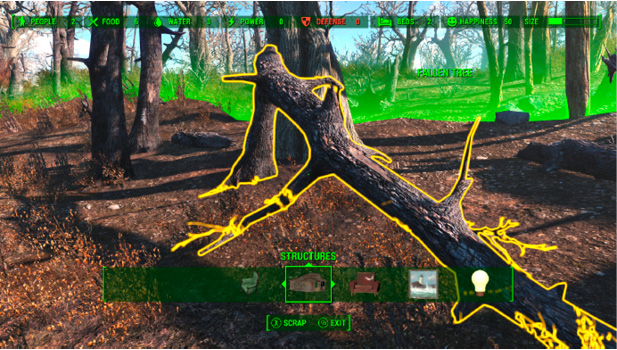
Once you take control of a settlement, open the Workshop menu and search the area for items to scrap. Most settlements contain several items that serve no practical purpose. Scrap trees and crates for wood. Scrap cars and mailboxes for steel. Scrap cinder blocks for concrete and tires for rubber. If you feel an item adds to a settlement’s aesthetic, by all means, keep it. Otherwise, scrap it for materials. Old appliances, broken furniture, damaged fences—scrap anything and everything that you don’t need.
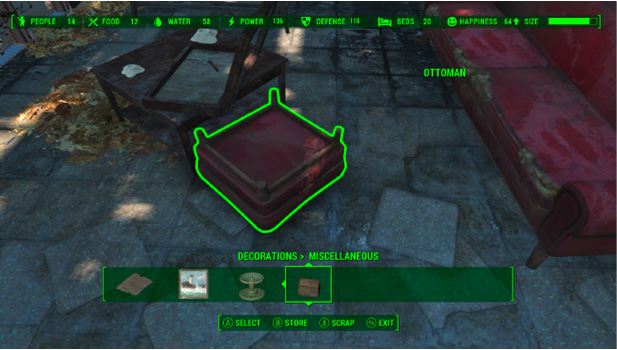
After you finish with scrap items, decide what to do with a settlement’s usable items. Again, if you feel an item has some decorative value, leave it where it lies. Otherwise, scrap, sell, store, or rearrange usable items until you’re satisfied.
Plan for the Future
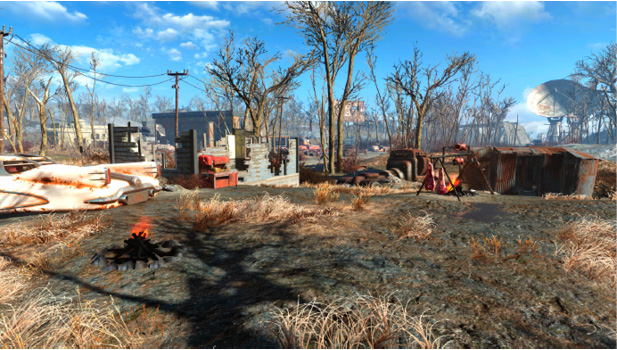
Before you start building, consider your goals for a specific settlement. If you aim to develop a self-sufficient settlement, set aside areas for farming and water collection. If you plan on establishing a supply line, decide which resources a settlement will contribute or require. Look for ways to exploit the terrain or utilize existing structures. Imagine the completed settlement before you place so much as a floor panel.
Start Small
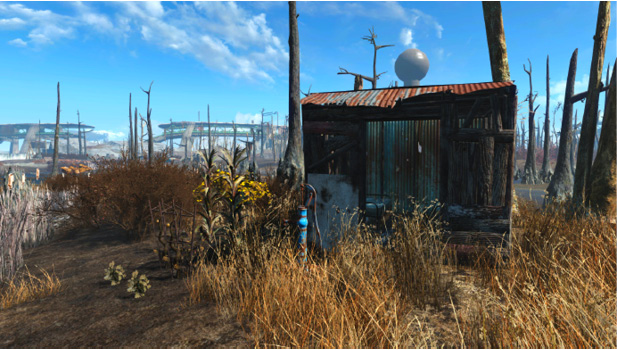
Efficiency is important when you’re juggling multiple settlements—building a massive bunkhouse for a few settlers probably isn’t the best use of materials. But even if you can spare the materials for massive projects, it’s usually best to improve a settlement a bit at a time. Each settlement can only accommodate so many items. Reaching a settlement’s size limit halfway through construction can turn your glorious vision into a costly miscalculation.
When in Doubt, Start from Scratch
When it comes to convenience, it’s hard to beat a prefabricated structure. If you have the space and materials to construct a ready-to-use shack, you can have a settlement up and running in no time. It is, however, much easier to modify a structure built from scratch. Rearrange walls, floors, and roofs to change a building’s layout, or build new pieces to turn a humble shack into an ornate tower.
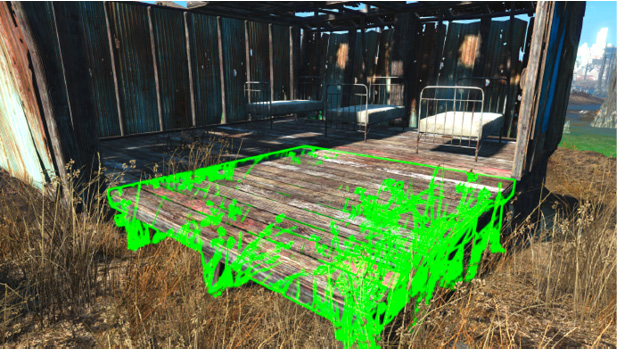
Build from the Ground Up
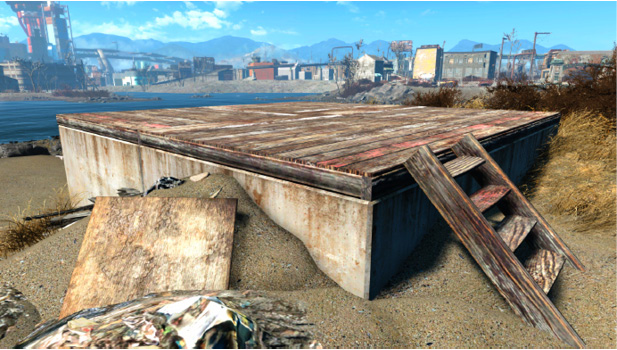
Use shack foundations to level rocky terrain. If you want a structure with a clean, sleek look, you’ll want to start your project with these versatile floor pieces.
Waste Not, Want Not
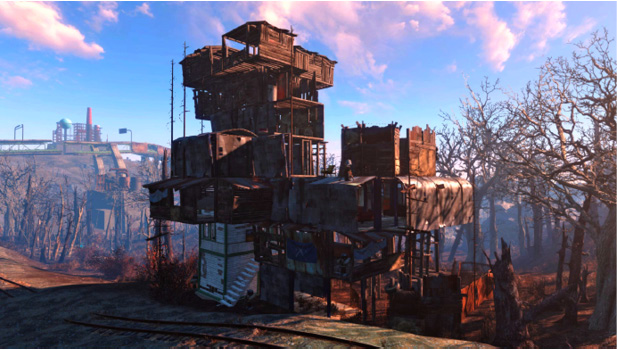
Most settlements contain established structures that can’t be moved or altered. They can, however, be incorporated into larger structures. Try building on or around existing structures when you need to save space or reduce construction costs.
Think Vertically
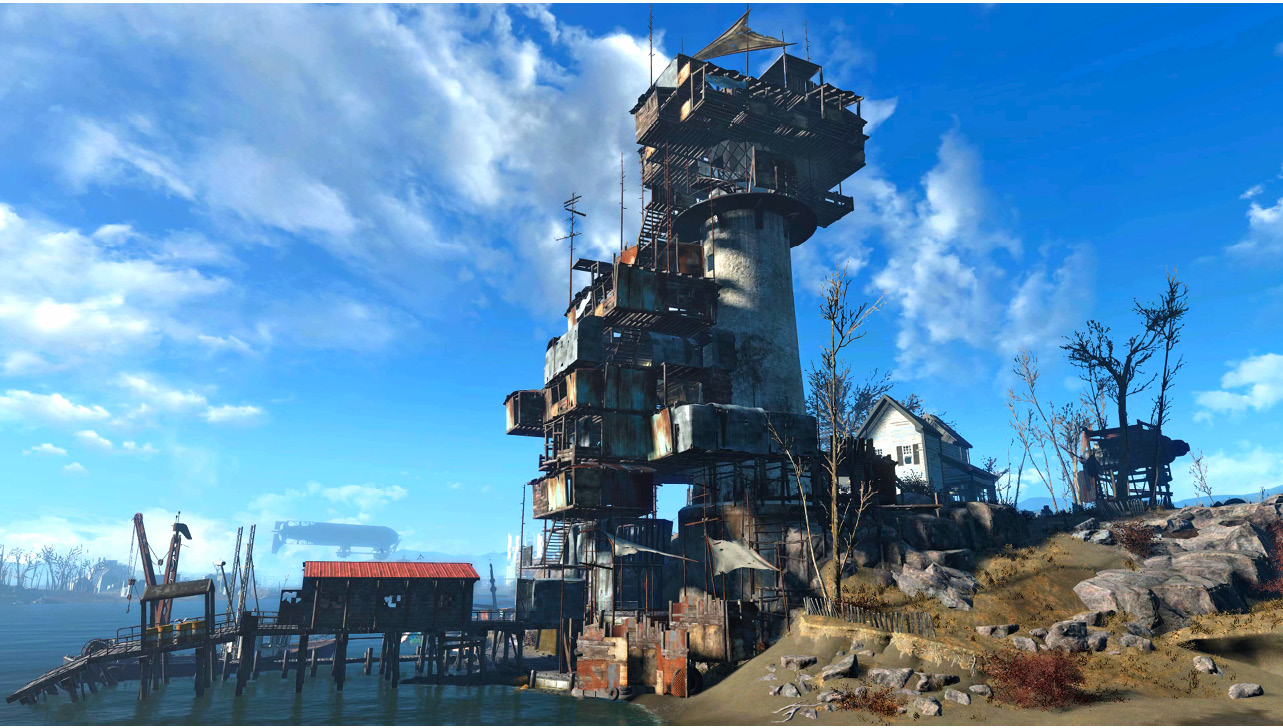
In some smaller settlements, farmable dirt is hard to come by. When space is at a premium, consider building raised platforms or narrow, multistory structures to leave enough room for crops and water pumps.
Ratings and Resources
How you run a settlement is entirely up to you, but your residents do expect a certain level of comfort and security. Happy settlers are productive settlers, and over time, effective management can yield significant rewards.
The state of a settlement is determined by a combination of factors:
- People: The number of people living within the settlement.
- Food: The amount of food produced by a settlement.
- Water: The amount of water produced by a settlement.
- Power: The amount of power produced by a settlement.
- Defense: The defensive strength of a settlement.
- Beds: The number of beds in a settlement.
- Happiness: The overall happiness of a settlement’s residents.
People
A settlement’s population determines the amount of food and water needed, as well as how many beds you’re expected to provide. Meeting their needs can take time, effort, and a considerable amount of building materials, but your people also serve as a valuable resource. Many workshop items only function when a worker is assigned. People without assigned tasks automatically generate salvage, so a large, happy population can provide a steady stream of building materials.
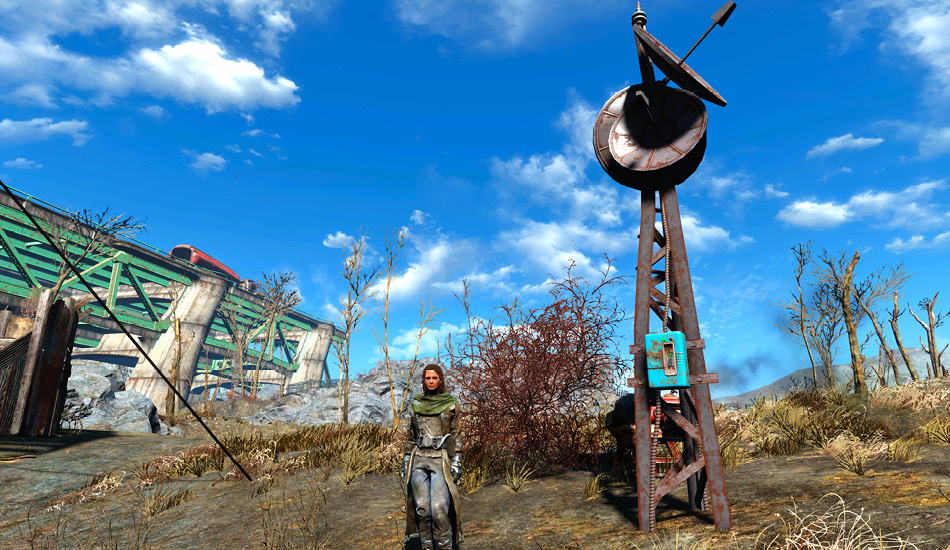
Settlers are naturally drawn to well-established settlements, but populations tend to grow very slowly. Build recruitment radio beacons at key locations to accelerate population growth. Some of the people you encounter during your travels can also be convinced to join one of your settlements.
Speak to settlers to receive available quests, hear about their concerns, or initiate trades. During a trade, you can have a settler equip any clothes, armor, or weapons you’re willing to provide. Weapons and armor don’t affect a settlement’s Defense rating, but well-equipped settlers are much more effective in combat.
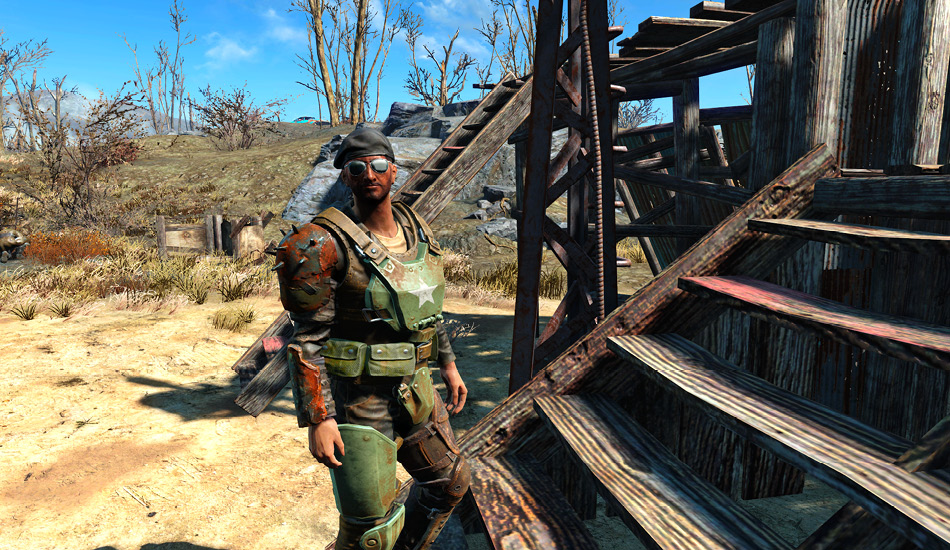
Use the Workshop menu to issue commands to a specific settler. You can assign settlers to items like beds, guard posts, artillery pieces, salvage stations, and stores. You can also command a settler to walk to a specific spot or relocate to a different workshop settlement.
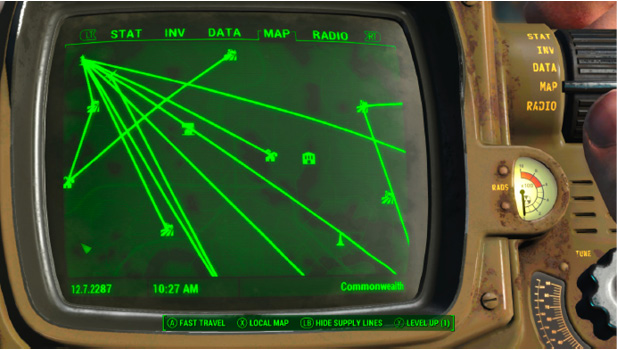
If you’ve invested in the Local Leader perk, you can also assign a settler to a supply line. Two settlements connected by a supply line can share food, water, and any of the building materials stored in their respective workshops. Settlers you assign to supply lines become provisioners, moving back and forth along their assigned routes. To cancel a supply line, simply assign its provisioner to a different task.
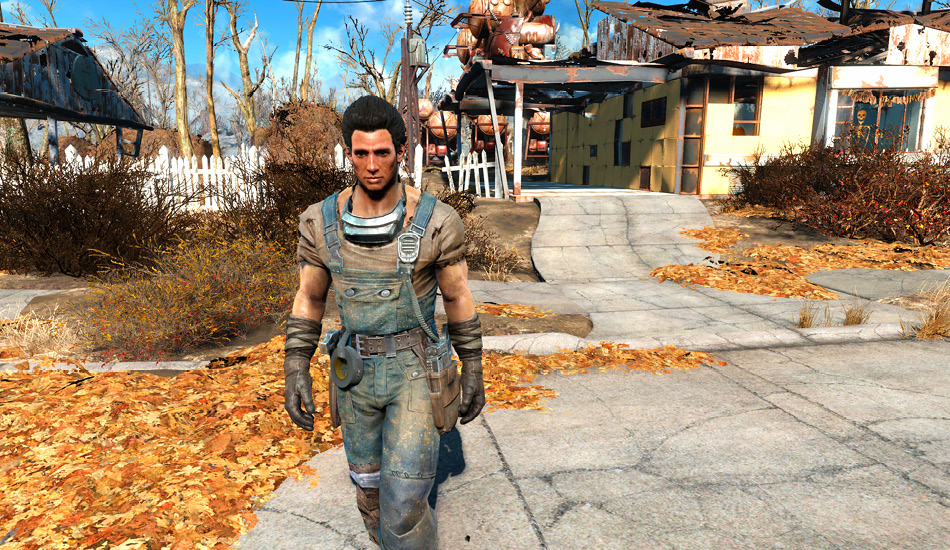
Not all of the people in your settlements can be relocated or assigned to specific tasks. The available commands depend on the individual in question, but key figures like settlement leaders and idle traveling companions tend to be less flexible than common settlers. It’s important to note, however, that these people still count toward a settlement’s total population.
Food
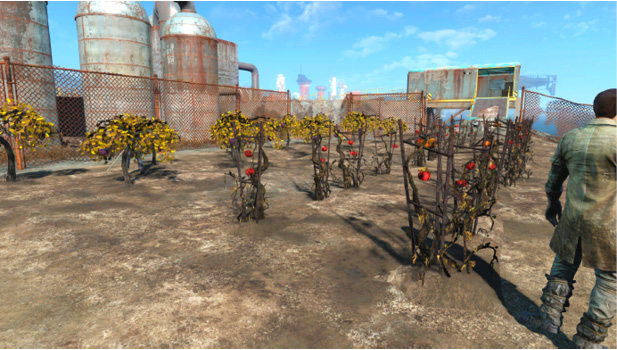
A settlement’s Food rating reflects how much food a settlement produces. In most cases, it’s best to maintain a Food rating that’s at least as high as a settlement’s current population. Establishing supply lines splits the burden between multiple settlements. Settlers will be satisfied with a very low Food rating as long as the connected settlements produce enough food to make up the difference. In either case, food shortages lower a settlement’s overall happiness and productivity.
To raise a settlement’s Food rating, simply plant and assign crops. A single worker can generate up to 6 Food, and he or she can tend any combination of crops that doesn’t exceed this limit. Assigned crops also produce food that you can harvest yourself. These aid items can be eaten, sold, stored, replanted, or used to craft new items at workstations.
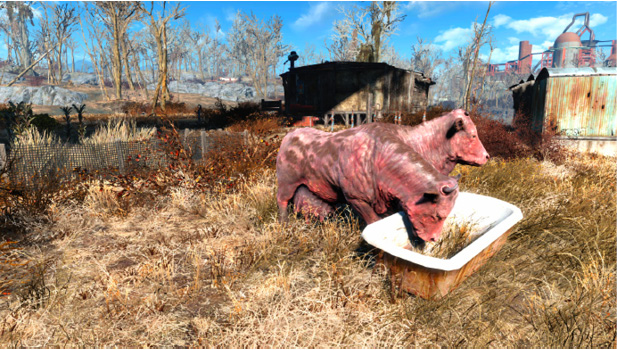
Brahmin often appear in settlements with high Food ratings. These bovine beasts are docile enough, but they can get in the way from time to time. Build feed troughs to prevent Brahmin from aimlessly wandering around your settlements.
Crops are vulnerable to attack, and they’re often damaged during enemy raids. Use the Workshop menu to repair damaged crops to resume food production.
Water
A settlement’s Water rating reflects how much water a settlement produces. Your settlers expect a Water rating that’s at least as high as the current population. Again, establishing supply lines splits the burden between connected settlements, but any water shortages will make affected settlers less productive.
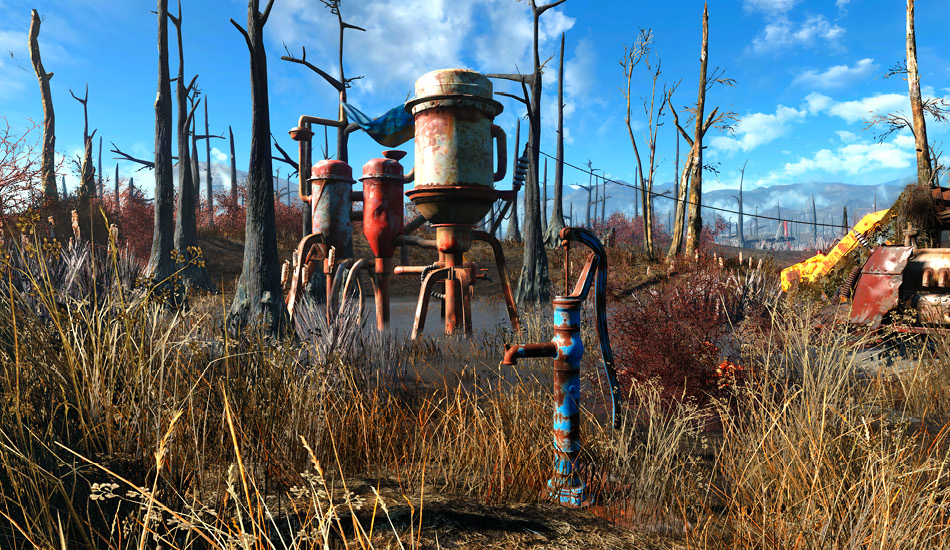
Water-producing items don’t require assigned workers. The moment you build a water pump, it raises a settlement’s Water rating. Water purifiers only function when they’re connected to an adequate power supply. Still, with the right materials and appropriate terrain, it’s fairly easy to meet a settlement’s water needs.
Like crops, water pumps and water purifiers are susceptible to damage. Use the Workshop menu to make repairs as needed.
Power
A settlement’s Power rating indicates how much power a settlement produces. You obviously need to provide enough power for connected devices to function, but your settlers will be satisfied with any Power rating.
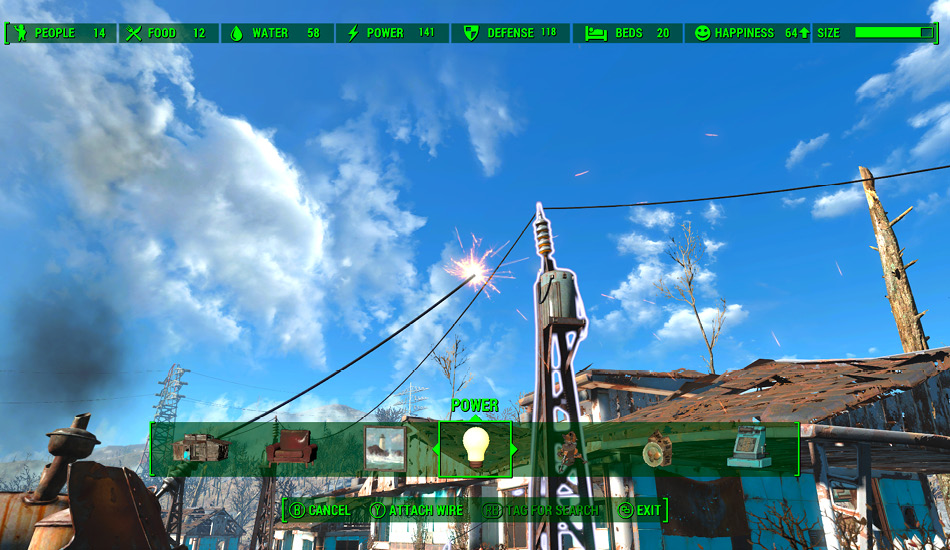
Use the Workshop menu to attach wires to generators, connectors, switches, or powered devices. It takes 1 Copper to create a wire. The Workshop menu can also be used to remove and store unwanted wires. Any device that can accommodate a wire can transmit power. This means that you can link powered devices to each other—as long as enough power is available, all of the devices in the chain will function.
Generators are susceptible to attacks, and they’re often targeted during raids. This can be a serious issue for settlements that rely on traps and powered turrets to keep hostiles at bay. Place key generators safely out of sight and use the Workshop menu to make repairs as needed.
Defense
A settlement’s Defense rating represents the combined strength of its defensive items. A settlement’s Defense rating should be at least as high as its current population. Anything less not only makes settlers less productive, but it also increases the odds of a settlement being attacked.
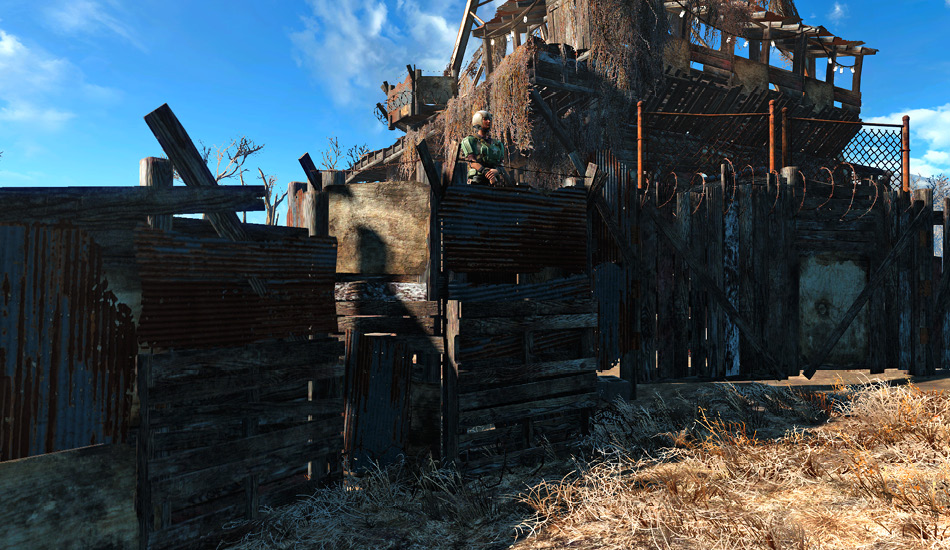
Requiring only wood and steel, guard posts are relatively easy to build. They’re easily incorporated into fences and structures, and they provide decent cover from enemy fire. A single guard assigned to three posts produces 6 Defense. Even when you have the materials for more powerful defensive items, it’s usually worth building a few guard posts.
With an assigned worker, an artillery piece generates 6 Defense. Of course, its real value is in the utility it provides while you’re out in the field. If you can spare the space and materials, build an artillery piece to boost a settlement’s Defense and improve the coverage of your artillery support.
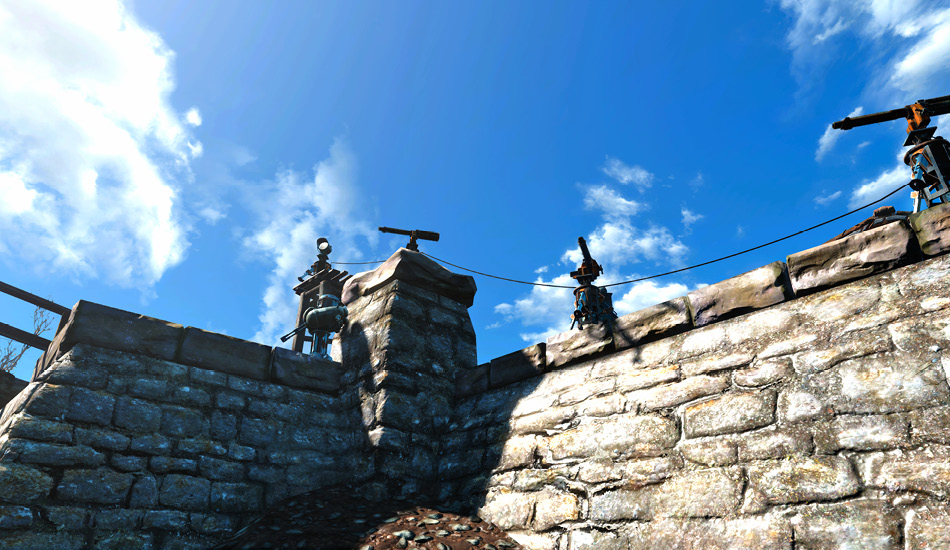
Unlike guard posts and artillery pieces, turrets are fully automated. If you can spare the materials, building a turret is the simplest way to boost a settlement’s Defense rating. Special perks and rare materials are required to build most turrets, but these powerful weapons are well worth the cost.
Traps break each time they’re triggered, and they’ll damage any friendly units within range. However, a trap only needs to be undamaged and wired to a power grid to count toward a settlement’s Defense rating. Install a switch between a trap and its power source to control exactly when it’s triggered.

Guard posts and artillery pieces don’t take damage, but turrets are vulnerable to attack and traps break after each use. Watch for any drops in a settlement’s Defense rating and use the Workshop menu to make any necessary repairs.
Maintaining an appropriate Defense rating will cut down on enemy raids, but every settlement is likely to be attacked from time to time. Use structures and junk fences to funnel invaders toward turrets and traps. Build Fast-Travel targets to ensure that you arrive in the safest possible location whenever you visit a settlement, and equip your settlers with high-quality weapons for a little extra firepower.
Beds
A settlement’s Beds rating simply indicates how many beds are located in the area. You’re expected to have one bed for each resident. A shortage of beds lowers a settlement’s productivity.
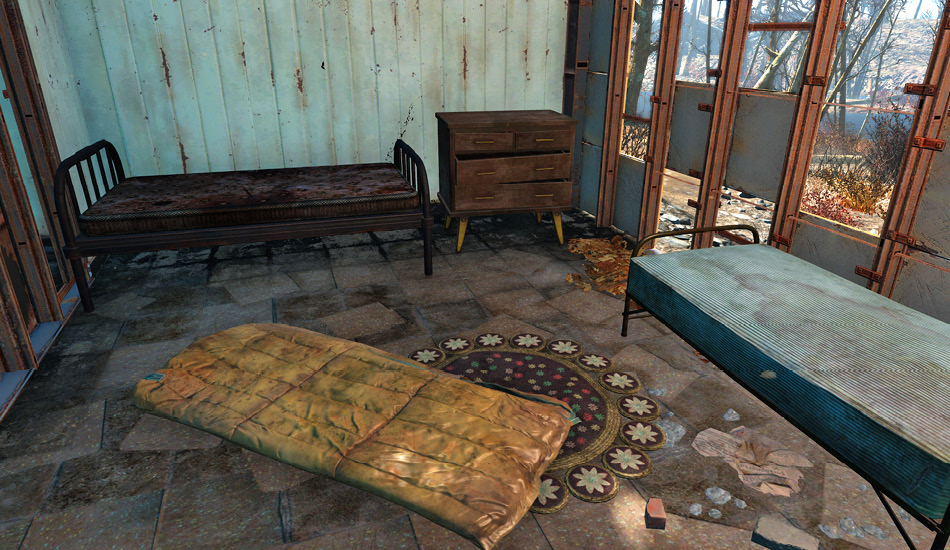
The Workshop menu contains a variety of beds, but they all serve the same function. It isn’t necessary to assign settlers to specific beds, but doing so can prevent others from sleeping in a bed you’ve claimed as your own.
To keep your settlers happy, it’s important to place each bed under some sort of roof. Placing beds outside doesn’t affect your Beds rating, but it does reduce your settlement’s happiness and productivity.
Happiness
A settlement’s Happiness rating indicates the residents’ overall satisfaction. A high Happiness rating improves food production, and the salvage generated by idle settlers and workers assigned to salvage stations. Your rewards are automatically deposited in related workshops.

The best way to keep your settlers happy is to meet their basic needs. Provide enough food, water, and beds for all of your residents, and make sure a settlement’s Defense rating meets or exceeds expectations.
Actively helping a settlement also improves its Happiness rating. Monitor Radio Freedom and check your Pip-Boy for updates and alerts about the settlements you control. Help fend off invading enemies and complete any quests your settlers offer.
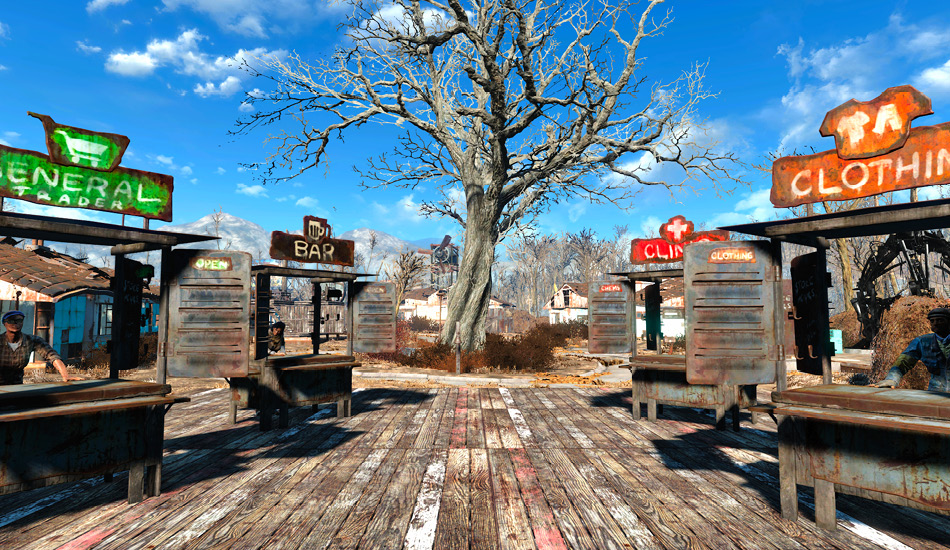
Some of the items in the Workshop menu can increase a settlement’s Happiness ratings. Clinics, clothing stores, trading stores, and stores that sell food and drink all improve your settlers’ moods. If you manage to purchase a dog for one of your settlements, its arrival will have a similar effect.