
Fallout 4 Guide DATA Workshops
Workshop Settlements
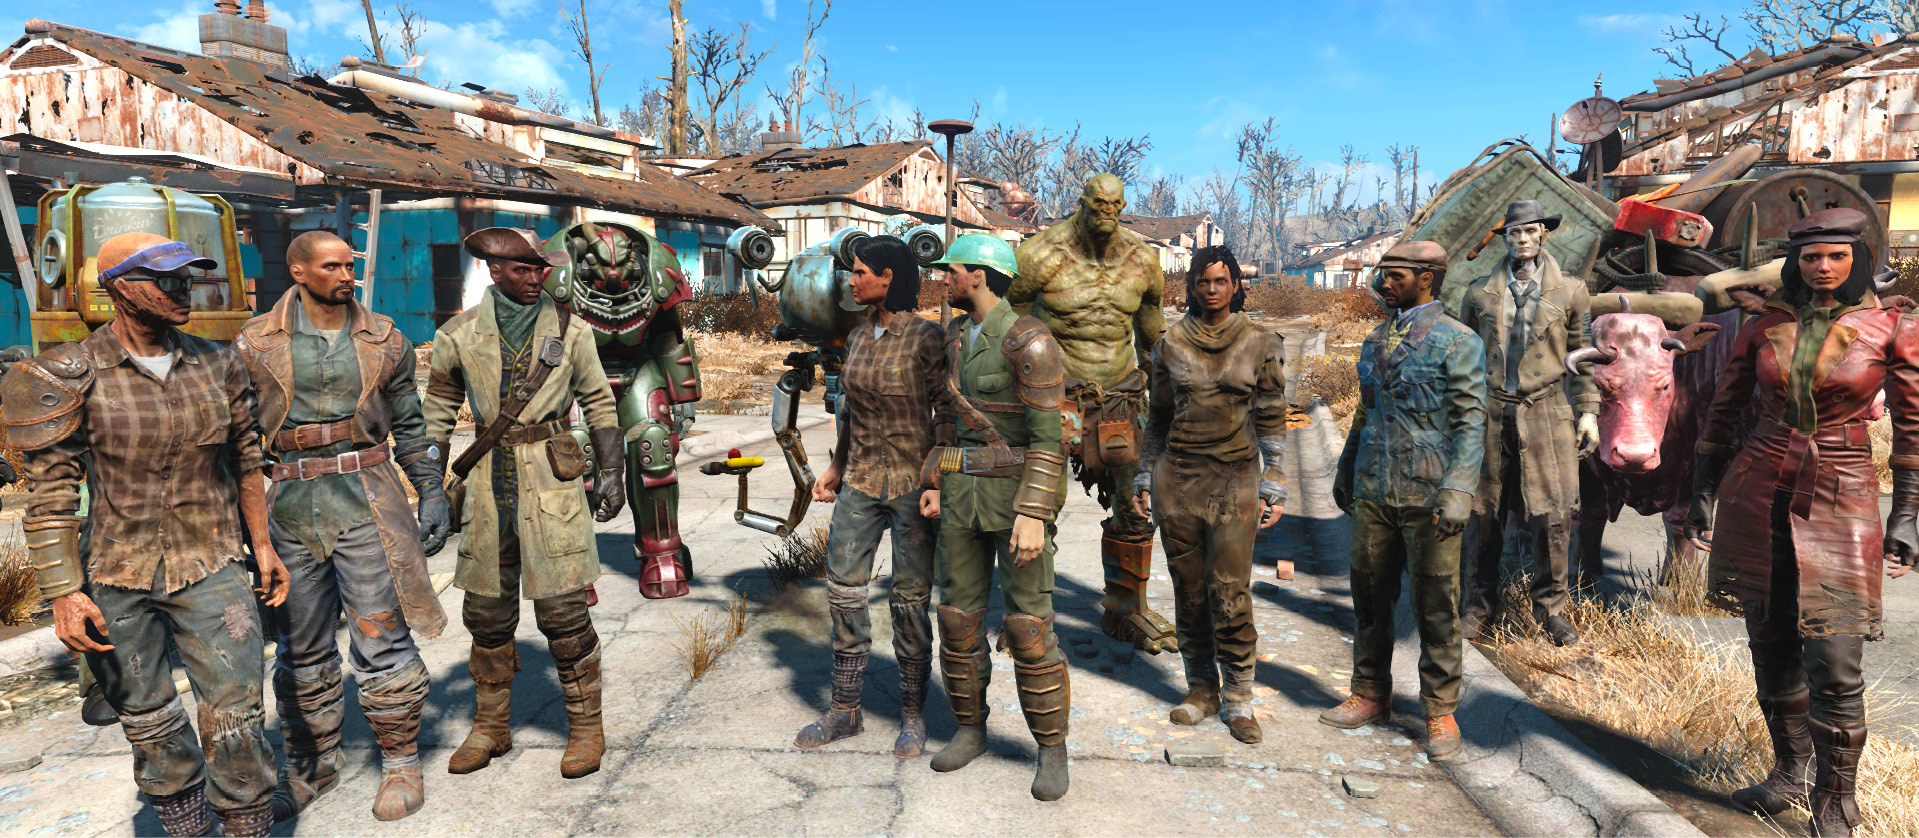
Workshops are powerful construction tools that allow you to build, scrap, and rearrange items within a specified area. Whether you create an idyllic utopia or a fortified stronghold, it all starts with a workshop.
Once you control a workshop, you control the settlement that holds it. Build farming communities to feed settlers and produce cooking ingredients. Build industrial complexes packed with salvage stations. Build stores to turn a humble settlement into productive and profitable center of commerce. Or, if you prefer, don’t build anything. The choice is yours.
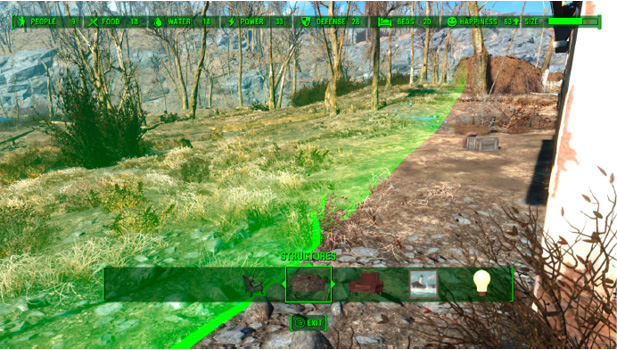
Open the Workshop menu to reveal a settlement’s buildable area. This border represents the workshop’s maximum reach. You can build and move items anywhere within this area. Each settlement also has a size limit, meaning that it can only accommodate so much construction.
Unlocking Workshops
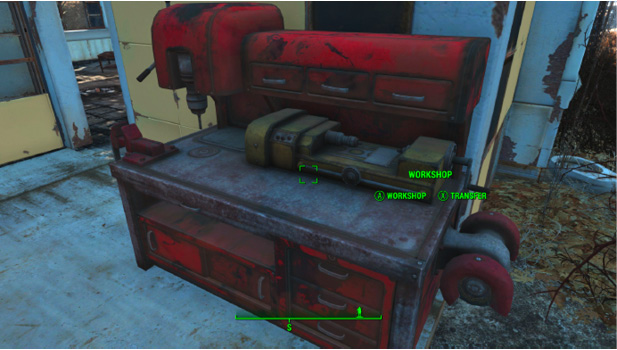
If a settlement is occupied by an enemy gang or dangerous creatures, you generally have to eliminate all threats before you can access a workshop. When a workshop is located in an established settlement, you usually have two options: earn the right to use the workshop, or eliminate the current population and claim the workshop as your own. There are, of course, exceptions. Some workshops can only be used once you’ve completed certain quests. In rare cases, unlocking a workshop is as simple as walking up and activating it.
Most workshops share a standard set of features and options, but some offer limited functionality. In all cases, you can use a workshop to build new items or store unneeded gear. Junk items stored in a workshop are automatically applied to any crafting and construction projects within the settlement.
Available Workshops
| Location | Prerequisite | Notes |
|---|---|---|
| Abernathy Farm | Complete the quest “Returning the Favor.” | Offers a large buildable area and plenty of dirt. |
| Boston Airport | Complete the quest “Shadow of Steel.” | An unestablished settlement that can’t support crops or artillery. |
| Bunker Hill | Complete the quest “The Battle of Bunker Hill.” | Features several established structures and a variety of vendors. |
| Castle, the | Clear the area of hostiles. | Features a large structure, a radio transmitter, and a variety of useful items Plays a key role in several quests. |
| Coastal Cottage | Clear the area of hostiles. | An unestablished settlement. |
| County Crossing | Complete the offered radiant quest. | A simple settlement. |
| Covenant | Complete the quest “Human Error” or defeat the current residents. | A small but well-established settlement. The existing population includes some vendors. |
| Croup Manor | Clear the area of hostiles. | An unestablished settlement featuring a large three-story structure. |
| Egret Tours Marina | Placate or defeat Phyllis Daily. | Features multiple buildings, a large body of water, and numerous booby traps. |
| Finch Farm | Complete the quest “Out of the Fire.” | A simple settlement. |
| Graygarden | Complete the quest “Troubled Waters.” | Features an established robot population, high food production, and a vendor. |
| Greentop Nursery | Complete the offered radiant quest. | Features two large buildings and well-established crops. |
| Hangman’s Alley | Clear the area of hostiles. | An enclosed settlement featuring several simple structures to modify or scrap. |
| Home Plate (Diamond City House) | Purchase a housing permit from Geneva in the Mayor’s office (2000 Caps). | A personal space that offers limited workshop functionality. |
| Jamaica Plain | Clear the area of hostiles. | Features a two-story building and a sizable parking lot. |
| Kingsport Lighthouse | Clear the area of hostiles. | Features multiple large structures, open water, and uneven terrain. |
| Murkwater Construction Site | Clear the area of hostiles. | An unestablished settlement with a large body of water. |
| Nordhagen Beach | Complete the offered radiant quest. | A simple settlement with plenty of dirt and access to open water. |
| Oberland Station | Complete the offered radiant quest. | A simple settlement featuring a small two-story structure and established crops. |
| Outpost Zimonja | Clear the area of hostiles. | A small settlement with some basic structures and an established power grid. |
| Red Rocket Truck Stop | — | Features a well-equipped service station. |
| Sanctuary Hills | — | Offers several established structures, a variety of workstations, access to open water, and a very large buildable area. |
| Slog, the | Complete the offered radiant quest. | Contains a sizable Ghoul population and a variety of established crops. |
| Somerville Place | Complete the offered radiant quest. | A simple settlement featuring established crops and a large buildable area. |
| Spectacle Island | Clear the area of hostiles. | Features multiple structures and an established power grid within a massive buildable area. Activate the circuit breakers to reveal hidden enemies. |
| Starlight Drive-in | Clear the area of hostiles. | Features multiple structures within a very large buildable area. |
| Sunshine Tidings Co-op | Clear the area of hostiles. | Offers several structures, a large buildable area, and a unique robot resident. |
| Taffington Boathouse | Clear the area of hostiles. | Features two established structures and access to open water. |
| Tenpines Bluff | Complete the offered radiant quest. | A simple settlement. |
| Warwick Homestead | Complete the offered radiant quest. | Offers multiple structures and a variety of crops within a large buildable area. |
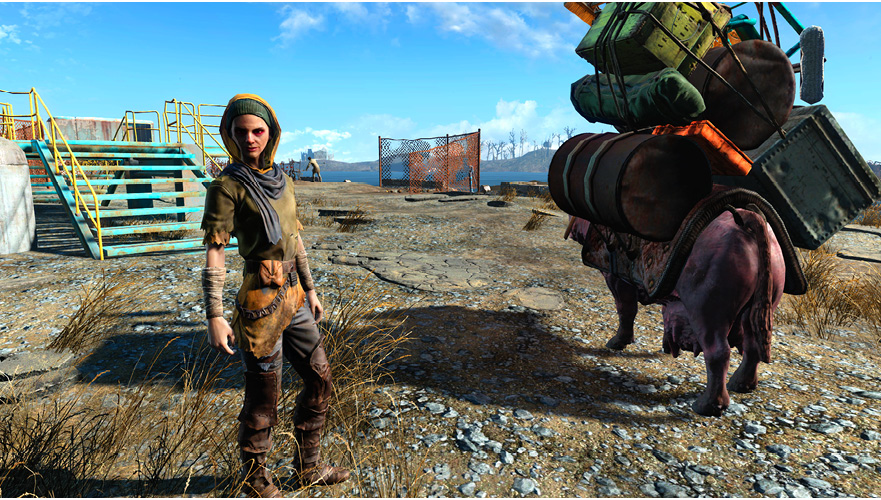
Some settlements are located along caravan trade routes. You don’t need to control a settlement to barter with a visiting trader, but it does allow you to create some safe, convenient stops along their designated routes.
Visited Settlements
| Settlement | Visited By |
|---|---|
| settlement | trader |
| County Crossing | Doc Weathers |
| Covenant | Lucas Miller |
| Finch Farm | Doc Weathers |
| Greentop Nursery | Lucas Miller |
| Oberland Station | Trashcan Carla |
| Sanctuary Hills | Trashcan Carla |
| Slog, the | Doc Weathers |
| Somerville Place | Trashcan Carla |
| Tenpines Bluff | Lucas Miller |
| Warwick Homestead | Cricket |
Noteworthy Settlements
Every settlement offers something of value, but there are some particularly interesting locations. As you expand your influence in the Commonwealth, consider the benefits and challenges offered by these noteworthy settlements.
Abernathy Farm
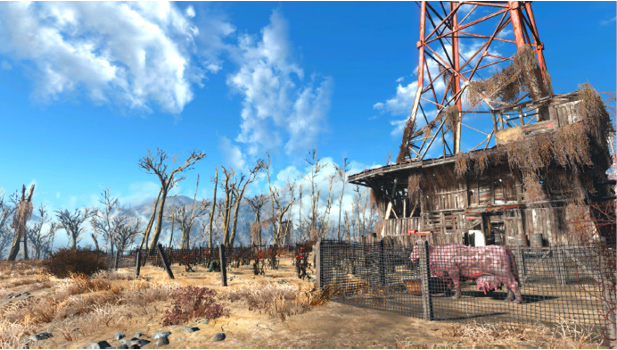
Abernathy Farm is one of your better options for large-scale food production. This family-run settlement features an impressive collection of tato plants, a small patch of melons, and plenty of room to expand. Most importantly, it’s located in the comparatively safe area surrounding Sanctuary Hills. It gets its share of unwanted visitors, of course, but Abernathy Farm is far away from the more powerful enemies you’ll encounter on the other side of the Commonwealth.
Some fresh crops and a few new settlers can dramatically increase food production, and the buildable area has more than enough room to accommodate additional shelters, water pumps, and whatever amenities you deem appropriate—just remember to upgrade the settlement’s defenses as food production increases. Flourishing farms are among the most popular targets of roving gangs.
Boston Airport
The Boston Airport workshop isn’t a true settlement. It can’t accommodate crops, salvage stations, stores, artillery pieces, or recruitment beacons. However, it does contain a fair amount of scrap.
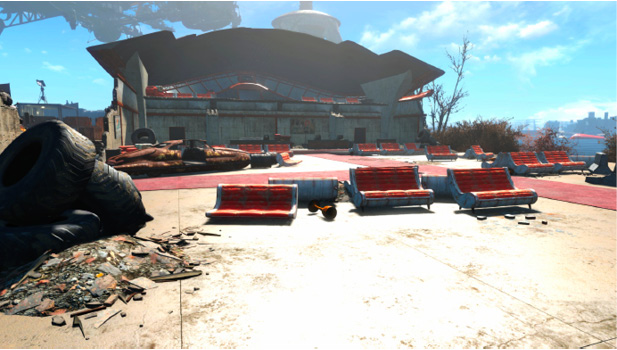
Water pumps can be placed in various piles of gravel, but the lack of food means that you’ll need to establish supply lines if you hope to keep the population happy.
The Boston Airport workshop becomes available during the “Shadow of Steel” quest.
Bunker Hill
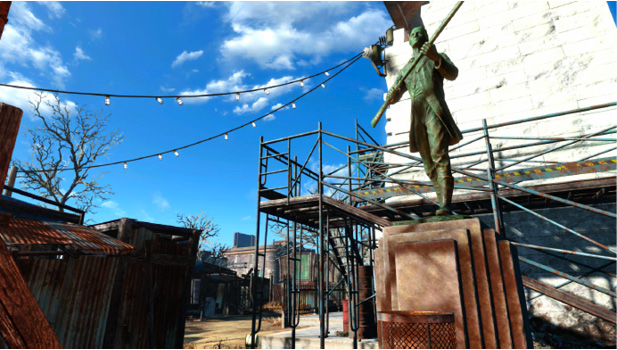
Bunker Hill serves as a base of operations for various caravan traders, and its many vendors offer a variety of goods. It’s a small but well-established settlement with enough beds, food, and water to meet the needs of its current residents. The residents will do business with any peaceful visitors, but they’ll only grant you access to their workshop after you complete the “The Battle of Bunker Hill” quest.
The Castle
The Castle once served as a stronghold for the Commonwealth Minutemen, and many of the items from that era are still intact. The settlement features a first-aid station and a couple of guard posts. Interior lights and an industrial water purifier are already tied to pylons in the courtyard—simply attach a suitable generator to complete the power grid. The existing structures can accommodate plenty of beds, and the courtyard has more than enough space for crops.
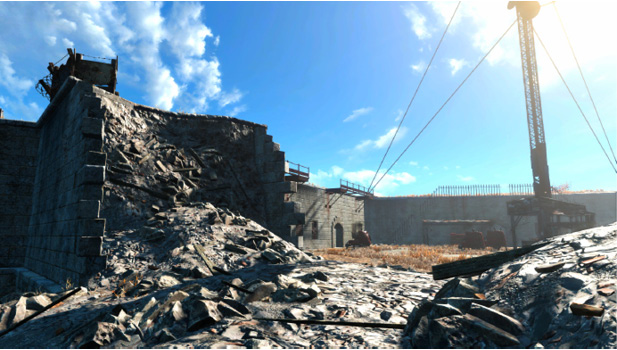
The Castle plays a key role in several Minutemen quests. These are all optional, but completing them will unlock many of this location’s best features. The “Taking Independence” quest provides allies in the battle to reclaim the Castle—completing this quest activates Radio Freedom, which then broadcasts news and alerts about allied settlements. Complete “Old Guns” to unlock the armory and gain access to workstations, weapons, and powerful artillery pieces. This hidden structure even contains laser turrets and Tesla arcs that you can use to bolster the settlement’s defenses.
Covenant
Covenant is another small but well-established settlement—whether it stays that way is largely up to you. The “Human Error” quest begins and ends at this location, and how (or if) you choose to resolve that quest will determine if the current residents are willing to ally with you. Gaining their trust results in a relatively self-sufficient settlement with a few vendors. Otherwise, you’re free to clear out the current residents, take control of the workshop, and draw new settlers into the area.
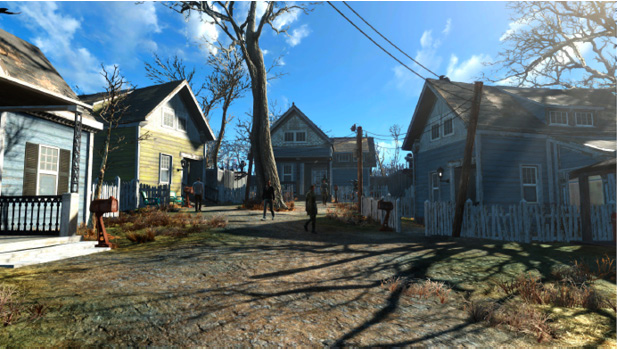
Graygarden
Graygarden is another excellent farming settlement, but what sets it apart is that its starting population is made up entirely of robots. Once you earn their trust, you’ll have a small group of workers that don’t need sleep, food, or water.
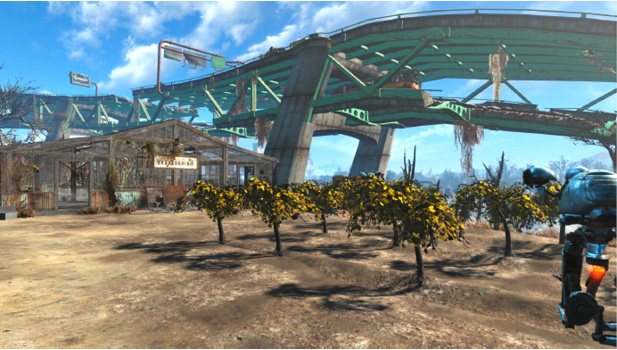
By default, Graygarden produces enough food to support several smaller settlements. If you place a few powerful turrets in the area, this high-tech farm can easily serve as one of your most self-sufficient settlements. New settlers will allow you to increase production, but this supplemental workforce will expect amenities the robots can do without.
Hangman’s Alley
Hangman’s Alley has the distinction of being the only big-city workshop settlement in the Commonwealth. This Raider-controlled camp may not have the pleasant views offered by other locations, but the urban setting does have its advantages. Due to the surrounding buildings, attackers can only approach from two directions. Once you’ve dealt with the original occupants, Hangman’s Alley is sure to rank among the most easily defended areas you control.
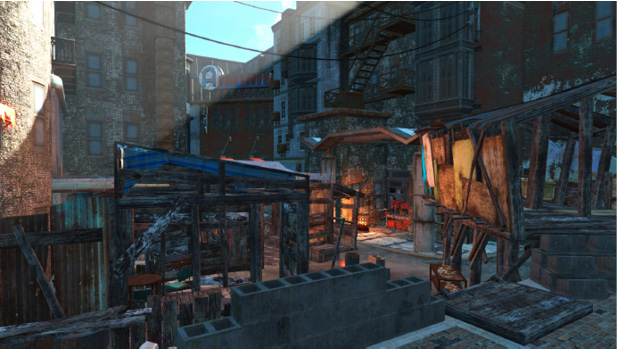
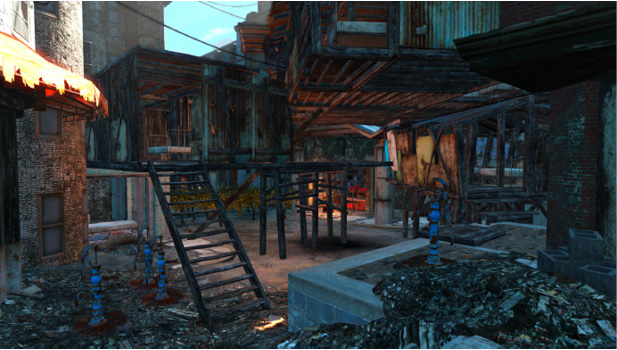
Hangman’s Alley doesn’t start with any water or food, but it does offer several ramshackle structures, most of which include pieces that can be moved, stored, or scrapped. The terrain isn’t ideal for farming, but patches of cracked asphalt can support crops or water pumps. The buildable area extends far beyond the fence on the enclosure’s eastern edge, so Hangman’s Alley has a fair amount of room to expand.
Home Plate
This Diamond City house isn’t actually a settlement, and it won’t appear in your Pip-Boy’s list of workshops. It does, however, contain some handy items, an established power grid, and a workshop with limited functionality. The rights to Home Plate can be purchased once you’ve gained entry to Diamond City. Simply visit Geneva in the mayor’s office to discuss the transaction.
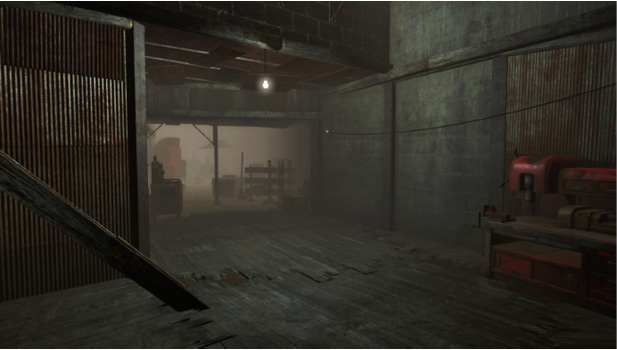
Home Plate can’t accommodate structures or resource-production, but its workshop can be used to build a selection of furniture, decorations, and power-related items. Home Plate offers ample space, and it includes a fuse box wired directly into the Diamond City power grid. With the right materials, you can turn this simple space into your dream home.
Red Rocket Truck Stop
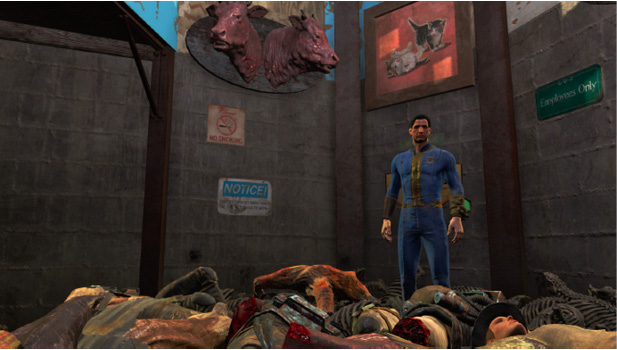
Located just outside Sanctuary Hills, the Red Rocket Truck Stop is an unestablished but very well-equipped settlement. It features numerous workstations, a good amount of scrap, and one of the Commonwealth’s few friendly canines.
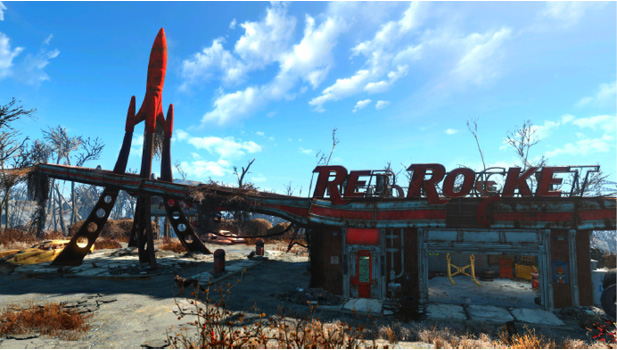
In its initial state, the Red Rocket Truck Stop serves as a great place to store surplus Power Armor. With a bit of time and effort, you can transform this abandoned service station into a thriving settlement.
Sanctuary Hills
Located just outside of Vault 111, Sanctuary Hills is likely to be the first workshop settlement you discover. This sprawling suburban neighborhood offers multiple structures, a variety of workstations, access to open water, and a considerable amount of scrap. It also plays an important role in several quests. All of these factors combine to make Sanctuary Hills an excellent choice as a base of operations. At the very least, it’s a great place to learn the basics of settlement management.
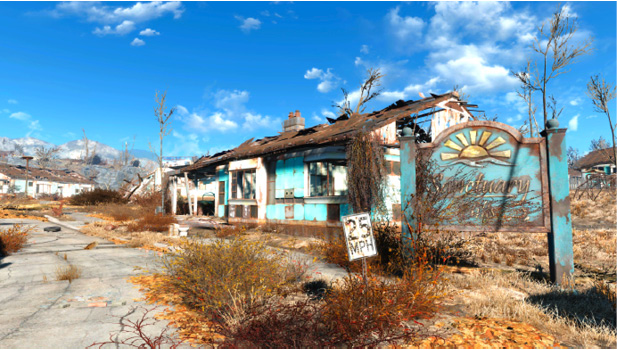
You can take control of Sanctuary Hills at any time after you leave Vault 111, and some of the early Minutemen quests will task you with improving Sanctuary Hills to accommodate new residents. Even if you opt to ignore Preston Garvey and the people he’s protecting, Sanctuary Hills can easily serve as a productive and easily defended settlement.
The Slog
The Slog is a humble but productive farming settlement populated entirely by Ghouls. This isn’t a matter of policy, however. Once you gain access to its workshop, the Slog welcomes any and all new settlers you draw to the area.
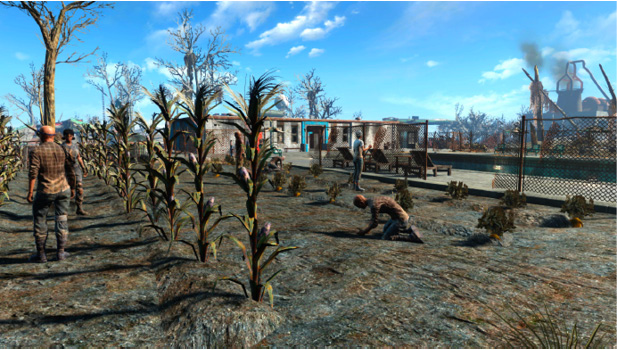
The Slog features one large structure and a considerable number of crops. The settlement can accommodate several upgrades, but items like turrets and junk fences can quickly push the buildable area to capacity. Scrapping the existing workstations can free up a bit of space, but careful planning is the best way to ensure that your settlers’ needs can always be met.
Spectacle Island
Spectacle Island features a massive buildable area with plenty of open water. It also contains some formidable enemies, so it’s likely to be one of the last settlements to fall under your control.
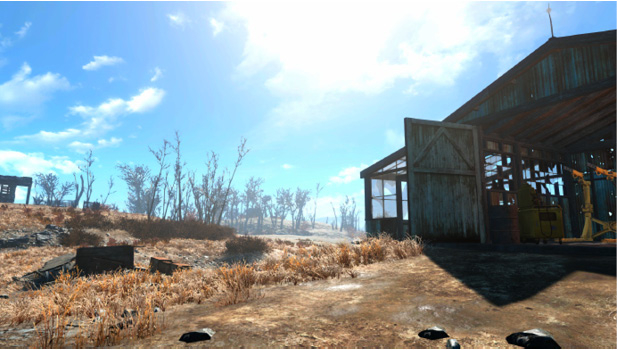
Spectacle Island contains several structures and a variety of useful objects. The ship near the island’s southern edge holds an onboard generator that produces a small amount of power, and there are a few workstations scattered around the area. Even with all of these elements in place, Spectacle Island is largely undeveloped. If you’re looking for a chance to flex your creative muscle, you’d be hard-pressed to find a better option.
Sunshine Tidings Co-op
The Sunshine Tidings Co-op features a large buildable area with several structures—many of which already contain beds. With ample shelter and plenty of scrap items, Sunshine Tidings Co-op makes it fairly easy to properly support new settlers.
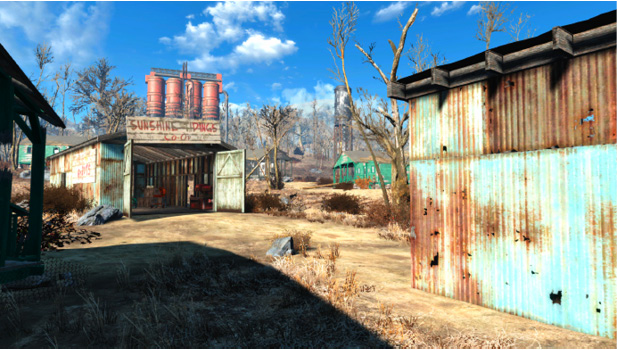
Convenience aside, this settlement’s most interesting feature is Professor Goodfeels—a malfunctioning Mr. Handy unit linked to the Sunshine Tidings terminal. Unlock the terminal to learn more about Professor Goodfeels or alter its protocols. If you haven’t yet discovered Hesters Consumer Robotics, you can even use Professor Goodfeels’s maintenance protocols to mark the location on your Pip-Boy’s map.