Fallout 4 Guide MAP Zone 18: Neighborhood: South Boston Primary Locations
[18.09] University Point

- Armaments and Ammo
- Armaments and Ammo: Mini Nuke
- Armaments and Ammo: Trunk
- Bottlecaps
- Collectible: Holotape: Jacq’s Holotape
- Collectible: Holotape: Sylvia’s Holotape
- Collectible: Holotape: University Point Council Meeting
- Collectible: Nuka Cherry
- Collectible: Required Reading: Tesla Science
- Crafting: Armor Workbench
- Crafting: Chemistry Station (2)
- Crafting: Cooking Station (3)
- Crafting: Weapons Workbench (2)
- Danger: Mines!
- Danger: Radiation (Mild)!
- Danger: Tension Trigger!
- Faction: Mirelurks
- Faction: Synths (the Institute)
- Health or Chems
- Unique Item: Prototype PA77 (Weapon)
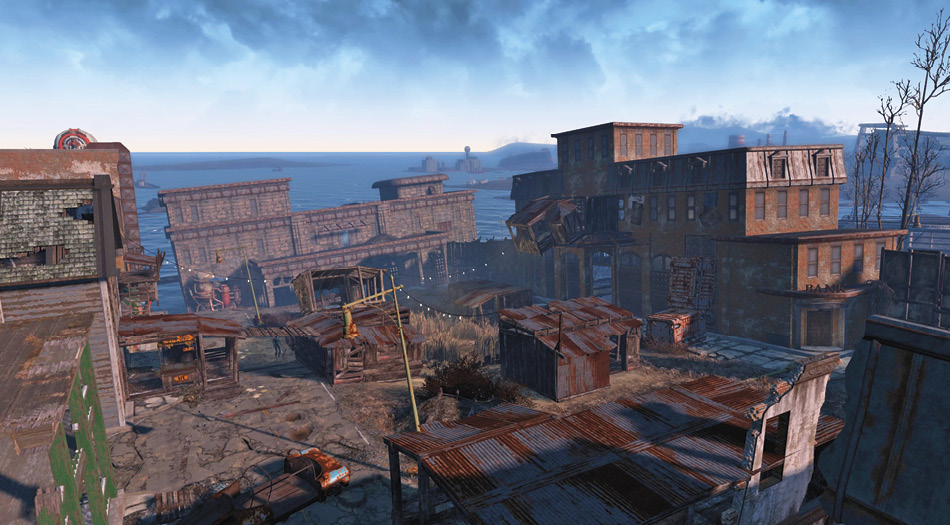
This once-thriving settlement was built into the ruins of the old university. Approximately one year before current events, synths from the Institute wiped this trading post off the map after a disagreement regarding classified research. An explosion in the service tunnels under Sedgwick Hall killed many, released a large amount of radioactive material, and caused the building to partly collapse.
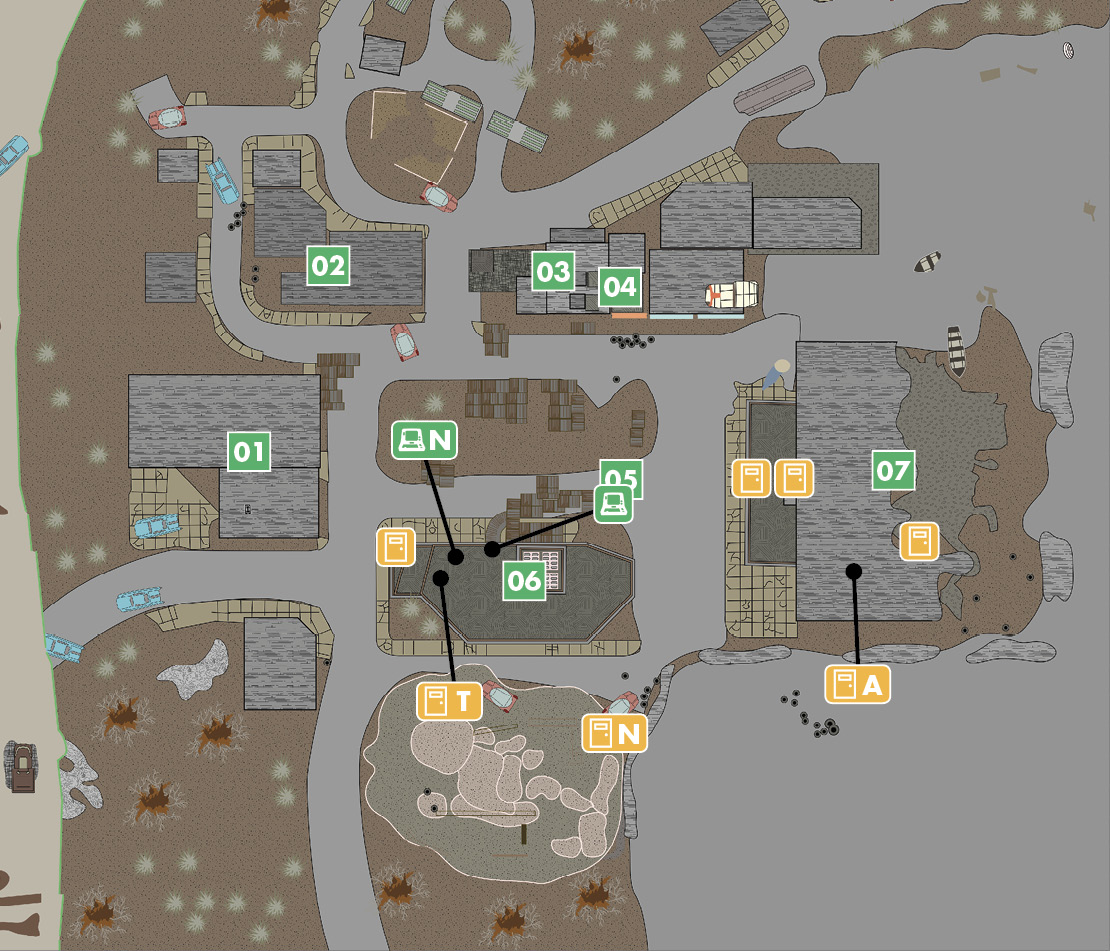
[01] Traders’ Welcome (Basketball Court)
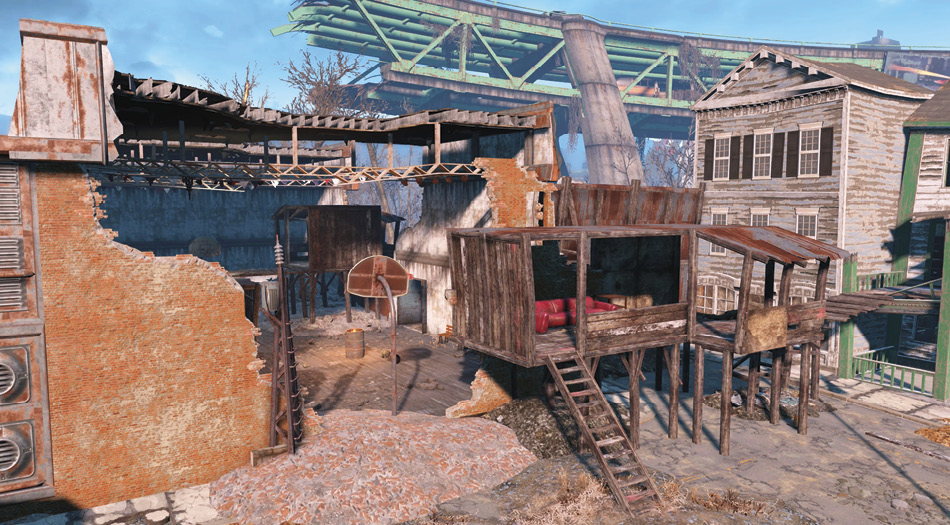
The main entrance to this settlement was through a repurposed basketball court and hall. The place is deserted now. You can also enter via the Credit Union (south) or water (east).
[02] The Armor Store
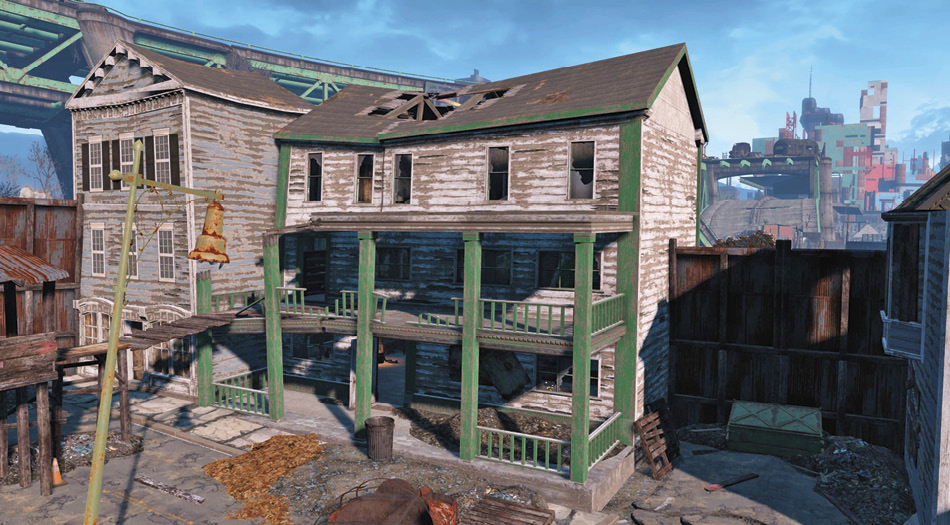
Synths have removed any settlers from this location, though the trappings of an armor trader still remain. There are some clothing options and an upstairs access to an elevated shack.
[03] The Weapons Store
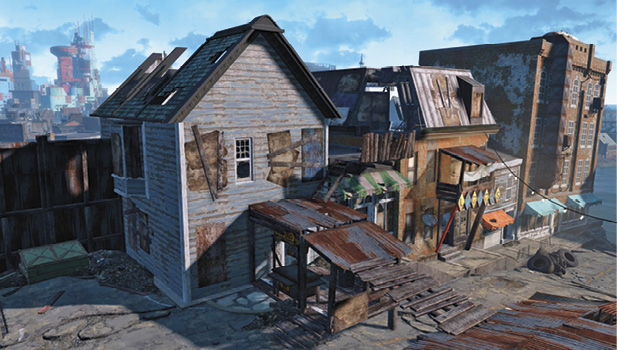
This location has almost been picked clean, but there’s a weapons workbench and a couple of ammo boxes to pilfer from. Upstairs has access to the roof of the liquor store.
[04] The Liquor Store
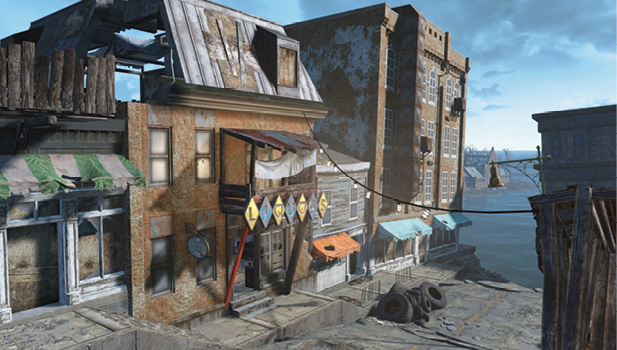
The place is in a real state, but the abundance of alcohol makes up for it. Open the toolbox on the counter to find Sylvia’s Holotape. Upstairs, you can access the interior of this location or escape to the north.
[05] Settlement Shacks
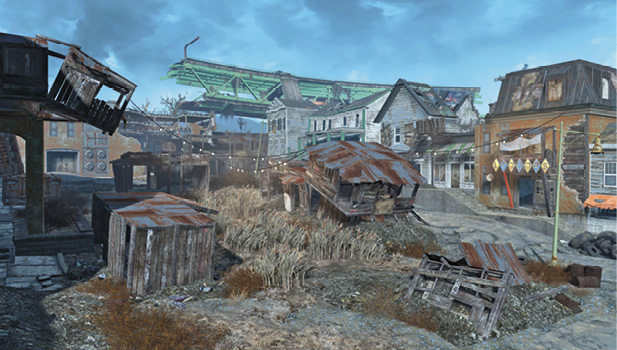
Warning! Hostile synths may have taken over the four ruined shacks at this location.
[06] University Credit Union
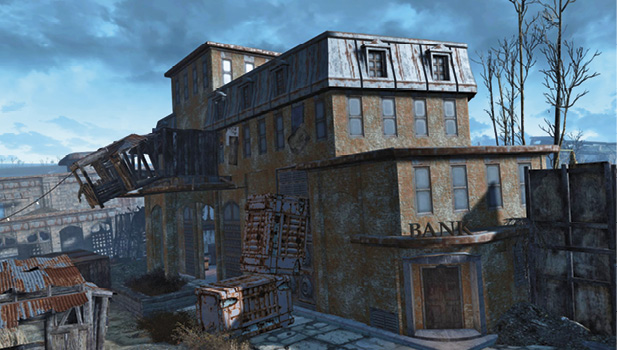
The customer entrance (northwest) only allows you to the counter. Instead, enter the Credit Union via the hackable terminal (Novice). Before entering, climb two floors to reach the mayor’s office. His terminal and Holotape within illuminate your knowledge, and there’s a shack built onto the side of this building you can shoot from.
The interior of the credit union features a vault to ransack and a strange laboratory accessible if you look hard enough. Did you find a strange prototype weapon in here?
[07] Sedgwick Hall
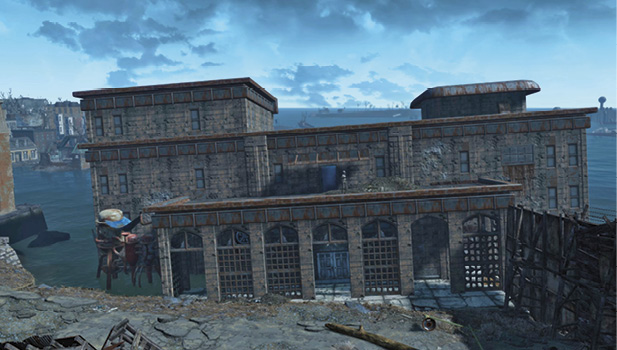
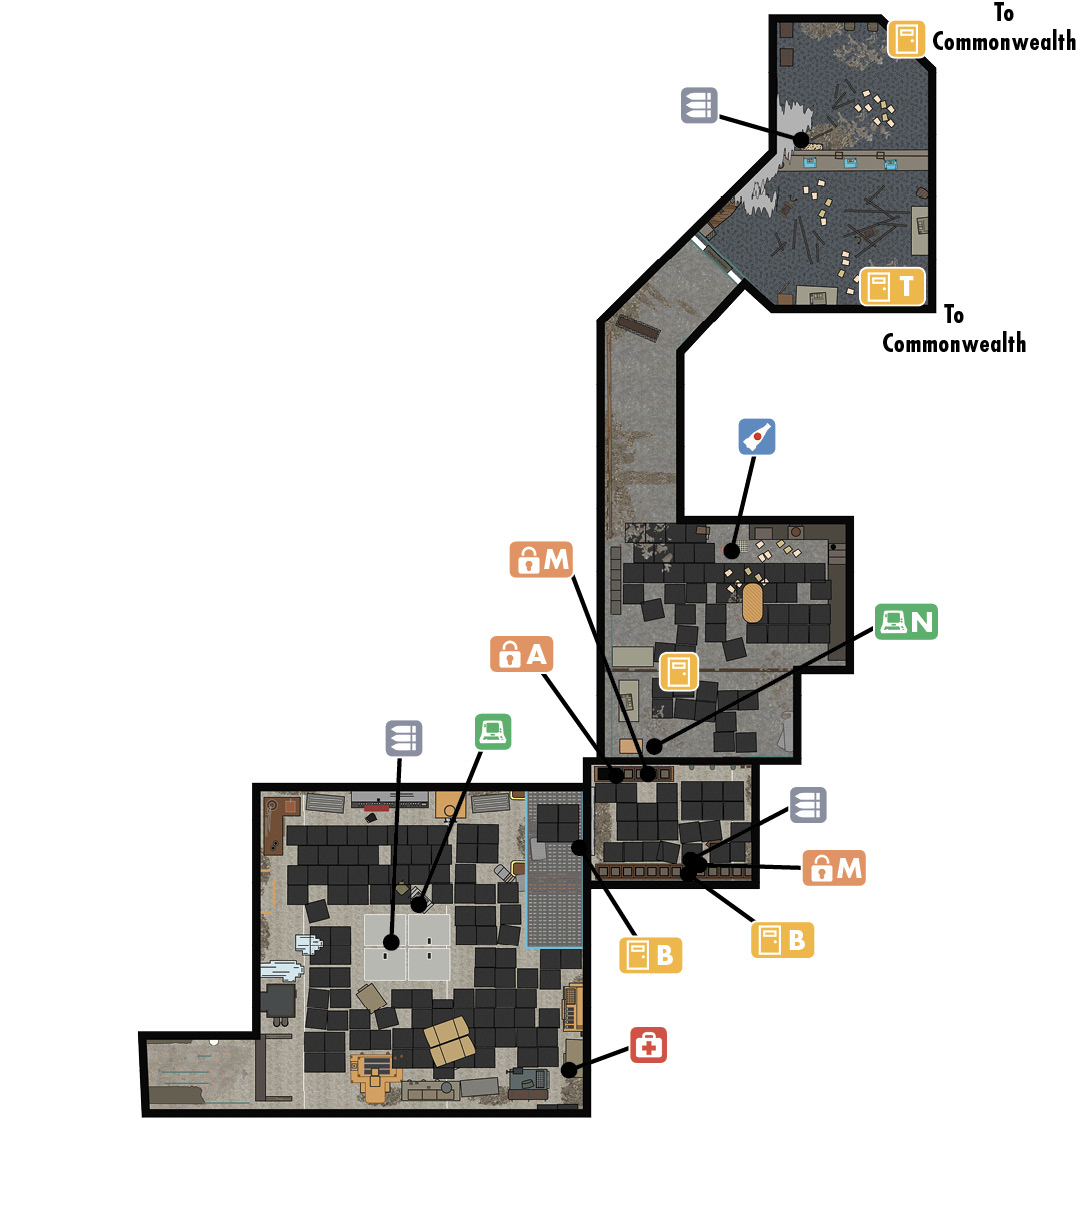
Slowly sagging and slipping into the waters, this once-grand hall is a mess of barricades and broken floors. The entire eastern side has already fallen away, allowing access up to the roof and an upper door. There’s an undisturbed safe (Expert) on the hall’s southeast exterior corner; reach it by carefully leaping the ruins of the upper floors overlooking the bay.
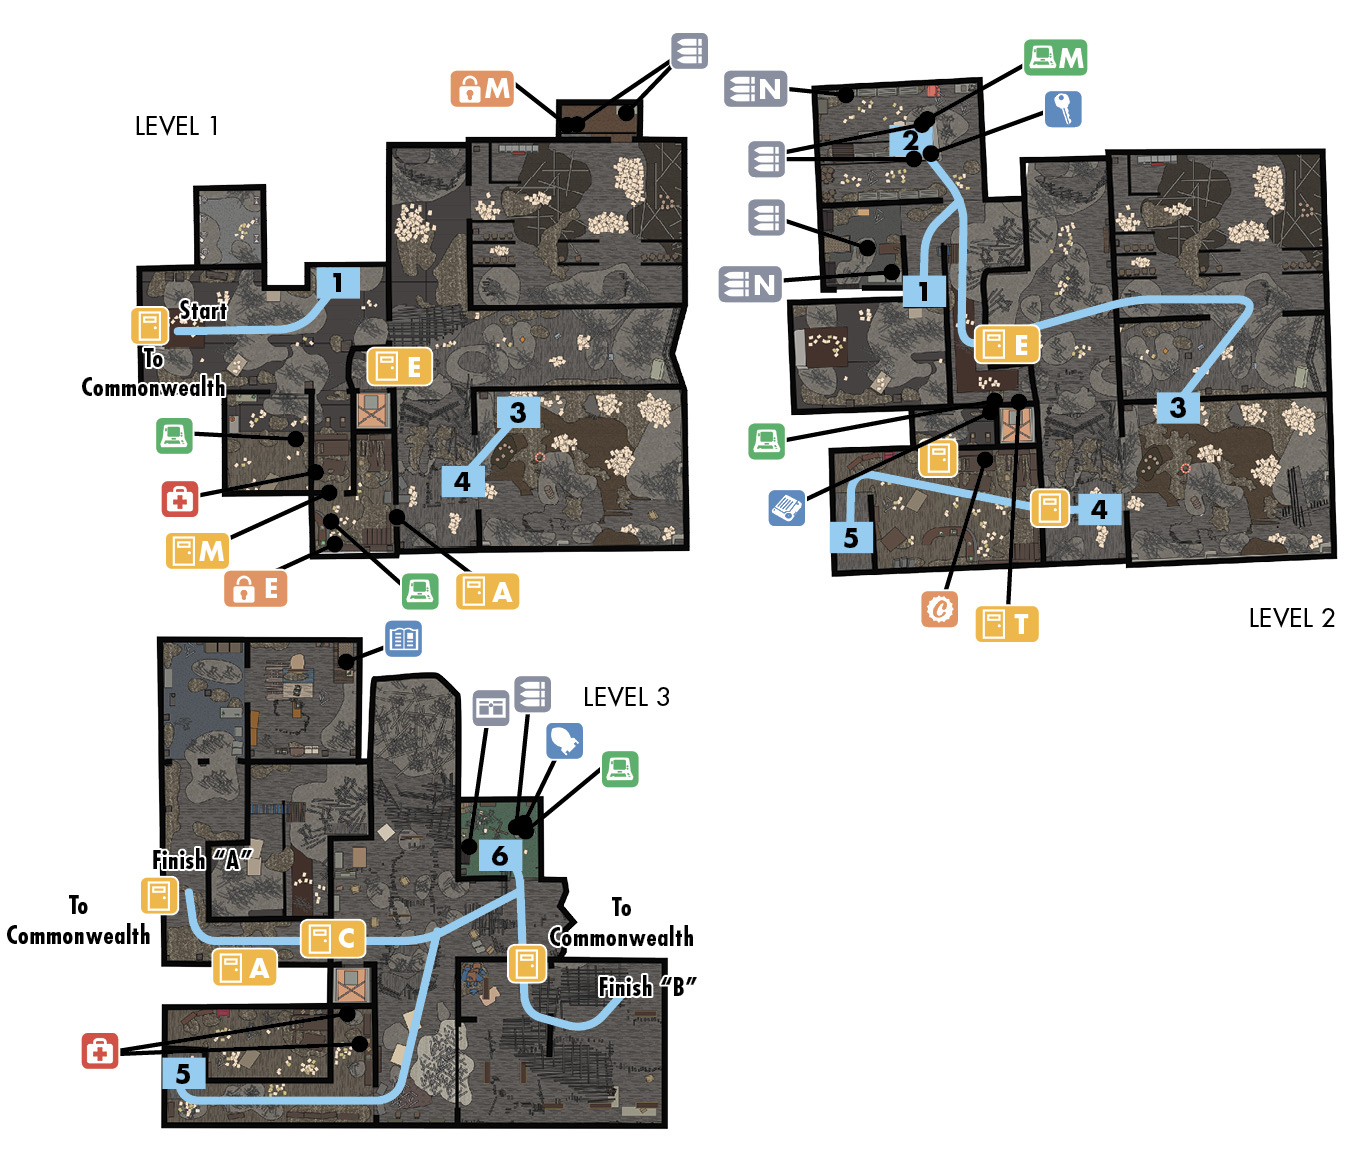
Make methodical work of this Mirelurk nest. Gerald’s barricade key is in the tool shop upstairs (northwest).