
Destiny 2 Guide World Quests Titan World Quest: Enemy of My Enemy
Mission 5: Chances and Choices
Starting Location
Recommended Power
- 220
Prerequisite
- Complete World Quest step “Lighting the Dark.”
Reward
- Cascade Cell +1, Glimmer
Description
- Find the methane reactor for Sloane before the Fallen Captain does.
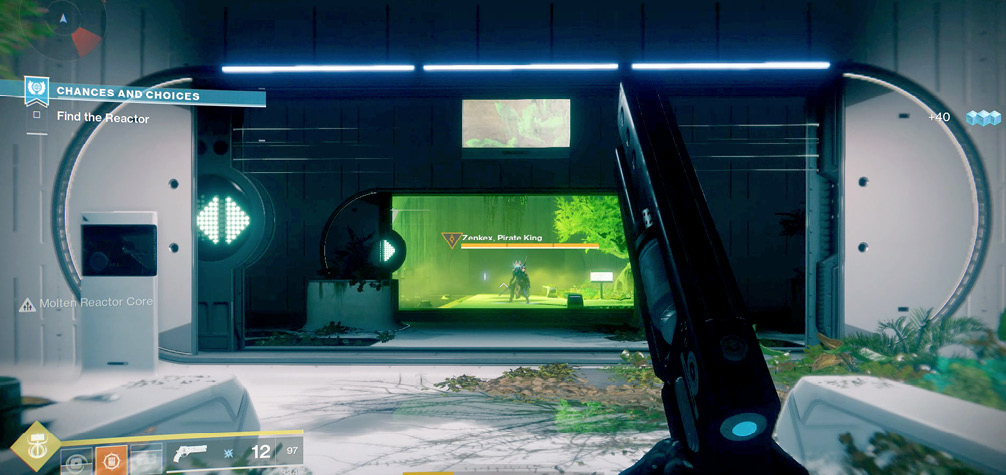
 Move to the flag at the gantry platforms near the broken LED wall to begin this next mission. Then, take a sprint through the wall and into the forecourt of Solarium, where Fallen dropships are depositing Dregs and a Heavy Shank to waylay you. Don’t let this happen; instead, sprint left (north) and take care of these foes. Use the pillars on the perimeter as additional cover opportunities. As time is of the essence, concentrate on heading into the green-colored entrance to the Arboretum Sector.
The Fallen Captain has been spotted! He flees the botanical entrance chambers, leaving around six Marauders and a Servitor for you to deal with. You can’t defeat the Captain yet, but once the Servitor is down, the barrier that’s preventing progress is removed. Head through the connecting corridors and into the Arboretum Sector.
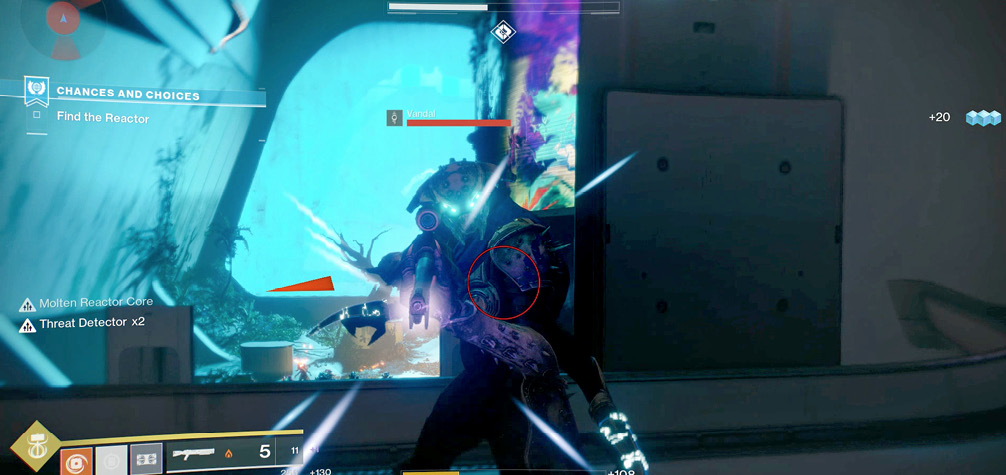
 Once in the pinkish corridor, remove all minor Fallen threats (Dregs and Shanks), and then focus on damaging the Warden Servitor guarding a barrier. It needs to be destroyed so the barrier deactivates. Head into the massive main hall (with the huge screen) where Hive forces (Acolytes and a Wizard) are moving right to left, attacking Dregs and Vandals. Venture too far forward too quickly, and you’re overwhelmed, so deal with the Wizard at the hall entrance. Then, turn left, and tag the scattered Vandals around the stairwell.
It’s at about this time that you’re rudely introduced to the Thrall Exploder; imagine a fast-moving Cursed Thrall with the same deadly detonation potential. This rarely encountered foe is a priority target. Back up and jump so you aren’t caught by this charging bomb, and quickly retaliate before it explodes too close for comfort. There are around four of these, so ensure that they die far away from you. Use the height of the stairs and bridge to drop the remaining toughened Vandals and Dregs, or rush in and use the scenery as cover. Then, make a controlled drop into The Pit.
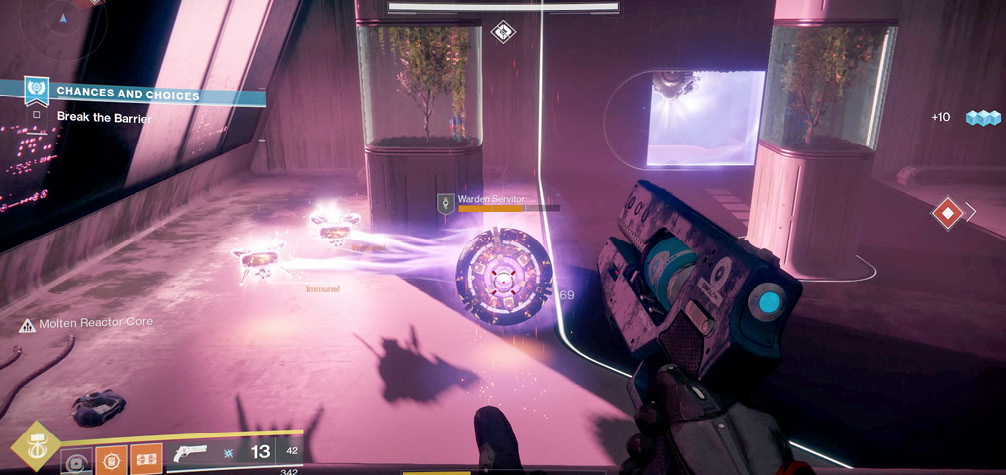
 Check the Hive sputum-covered tunnel with the laser traps. Shoot one so a cluster explodes before you enter and as you venture down the tunnel, killing Dregs before they retaliate. Farther down the tunnel are more laser traps, Wretches, and Shanks, so slow and steady progress is recommended. This is especially true because there’s a Servitor that you must destroy; it is keeping a barrier up at the end of the tunnel. Close-combat weaponry is encouraged to shorten this fight.
Step into the upper mezzanine through the blue and pink light, switching to ranged weaponry to drop Vandal snipers as you work your way through the open plaza. When a cluster of Exploder Shanks drops in, shoot them immediately so that groups explode at once. Use the low walls at the top of the exit stairs for cover, and lob in a grenade at the additional Vandals, Shanks, and a Servitor that must be destroyed. The latter is keeping the exit doorway barricaded.
With the barrier down, head into the lower mezzanine. There are another two Servitors, which should be priority targets because they keep a duo of nearby Shanks invulnerable. When you’ve destroyed both foe types, another barrier disappears, allowing access. Head down the stairs, and keep your Servitor-killing plan intact for an Elite Servitor down here with three segments of health.
Stay at the doorway and sidestep into cover while demolishing this foe. When one-third of its health is removed, watch for a cluster of Exploder Shanks reinforcing the Servitor, which teleports farther into the stepped corridor. Use jumping and cover, and follow the Servitor down the corridor. When you’ve removed the last third of the Servitor’s health, a final group of Exploder Shanks appears behind you.
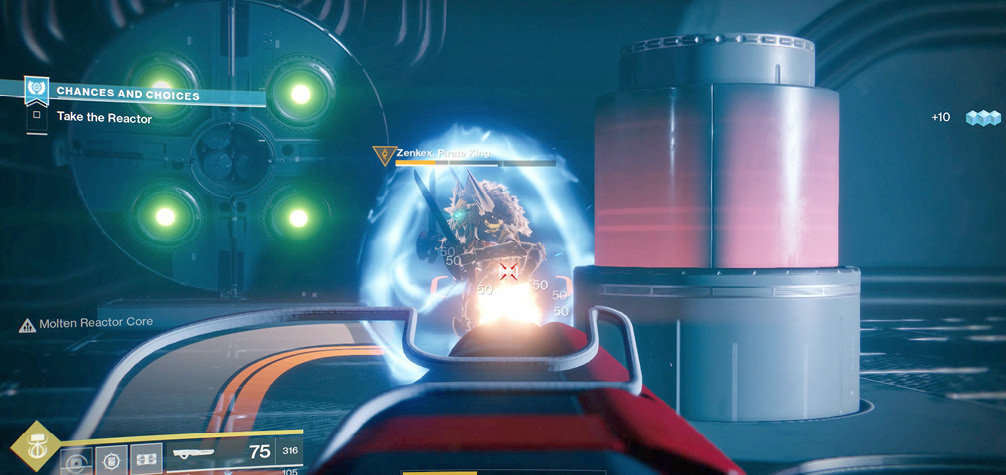
 The reactor room has been discovered! At the lowest point of the stepped mezzanine corridor, expect Acolytes and Thralls (from the left) attacking Exploder Shanks and Dregs (on the right). Stay back, let the battle commence, then step in and mop up the foes before turning right into the reactor room entrance. You’re greeted by Dreg stragglers and a Heavy Shank. Sidestepping behind the door entrance guarantees some protection as you waste these hostiles.
Inside the reactor room itself, it seems the Hive has sent its own champion (an Elite Knight) to battle the Fallen Captain you’re here to defeat. Let them battle before stepping in with a Super and every major offensive capability you have, as this is the last fight of the quest. The Captain has an Arc Shield, so plan your attack wisely; a rapid-fire weapon to demolish the Captain is recommended. With both foes defeated, interact with the reactor, gathering it up and finishing this mission.