
Destiny 2 Guide Campaign Spark—Pt. 2
The Dark Forest
European Dead Zone
Objectives
- Enter the Dark Forest.
- Continue exploring the Dark Forest.
- Clear out the enemy force.
- Enter the portal.
- Explore farther into the forest.
- Clear out hostiles around the Dark Shard.
- Commune with the Traveler’s Shard.
- First Trip: Defend the Shard from the Fallen.
- First Trip: Leave the Dark Forest.
- Second Trip: Fight your way out of the Dark Forest.
New Actions to Learn
- First Trip: Titan Subclass: Striker
- Second Trip: Titan Subclass: Sunbreaker
- First Trip: Hunter Subclass: Gunslinger
- Second Trip: Hunter Subclass: Nightstalker
- First Trip: Warlock Subclass: Voidwalker
- Second Trip: Warlock Subclass: Stormcaller
Enemies Encountered
- First Trip: Fallen: Dregs, Vandals, Captains, Shanks, Tracer Shanks, Shanks (Large), Servitors
- First Trip: Fallen: Sub-Boss: Servitor
- Second Trip: Taken: Psions, Vandals, Captains, Wizards, Goblins, Phalanxes
- Second Trip: Taken:Sub-Boss: Haraal: Venom of Oryx (Wizard)
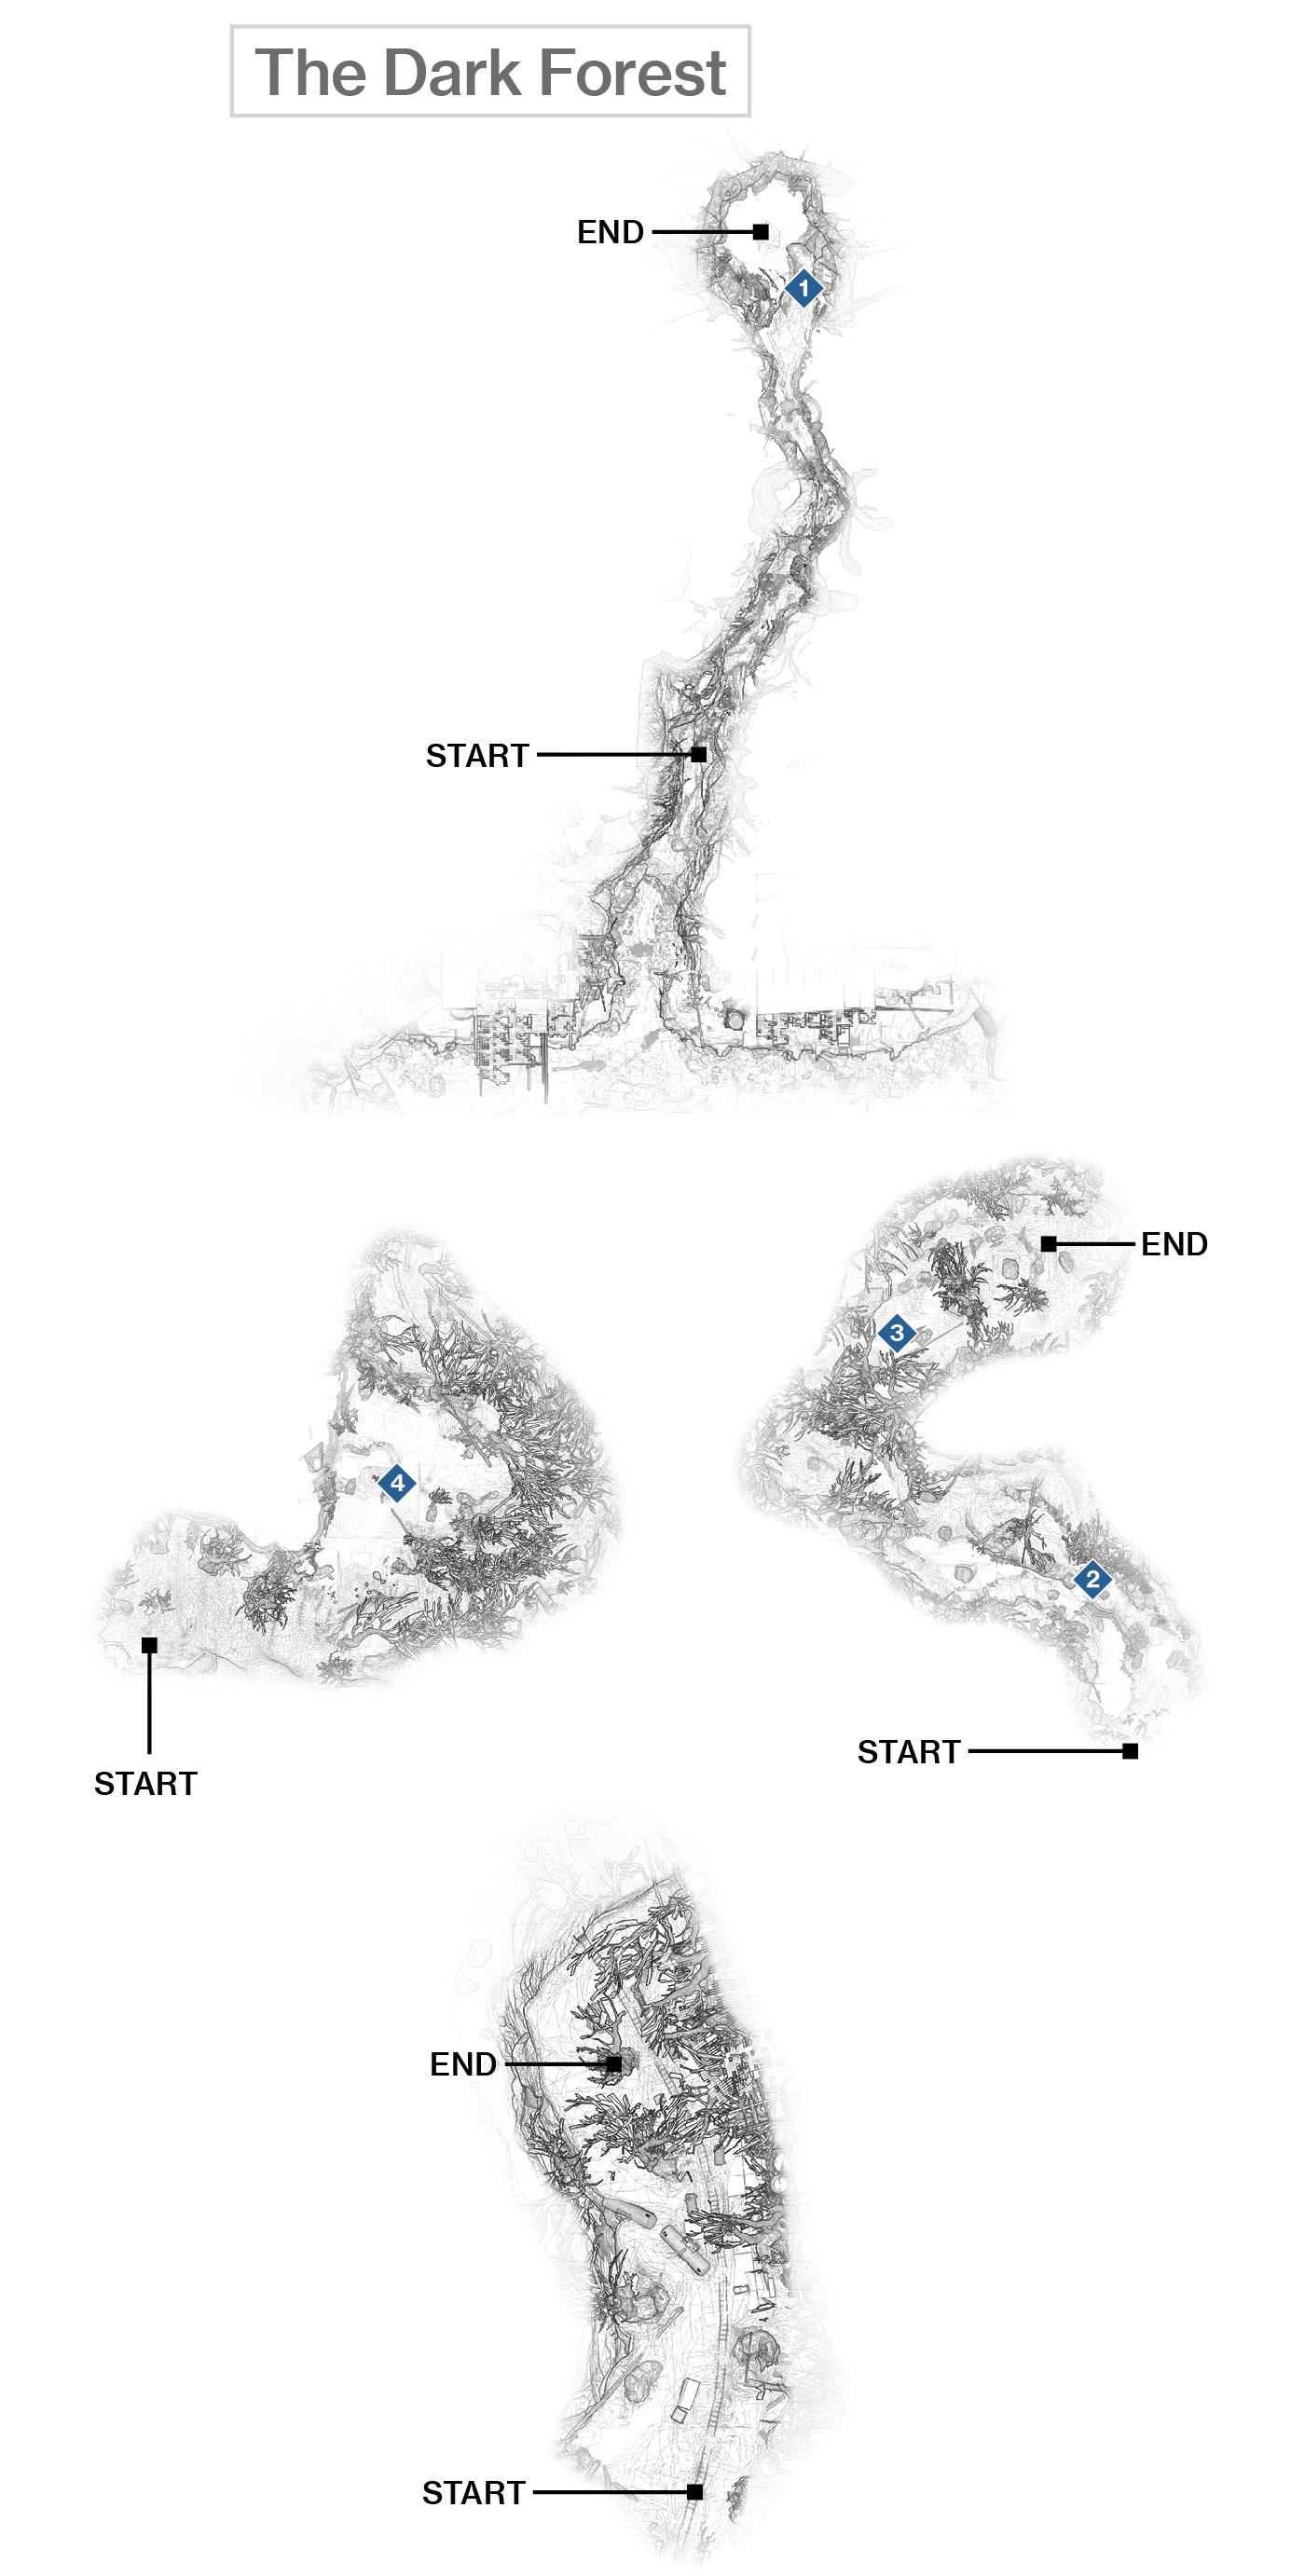
 Entering The Dark Forest
Super: Optional
Grenades: Optional
A strange power from the Artifact you’ve collected is drawing you toward the Dark Forest. Locate it by visiting the Sludge Sector of the EDZ and heading toward the northern side of this area, jumping up a narrow waterfall, through a narrow crevasse, and into a strange, grotto-like cavern with a glistening and shallow pond. A small island at the far end of this area has a Taken Portal. Step into it to transport yourself deeper into the forest.
 Exploring The Dark Forest
Super: Not recommended
Grenades: Not recommended
You appear in a strange and ominous glade. Wander along the riverbank. You encounter an oddly ethereal statue of your Guardian Mentor (Zavala, Cayde-6, or Ikora). It tells you more about what you want to know. A second statue of your mentor is waiting to be discovered farther along the forest glade. Find a third statue of Lord Shaxx, and then a fourth of a Centurion. They too reveal secrets: the revelations of the Artifact and the possibilities you could gain by unlocking your Guardian’s remaining two Subclasses.
 Combat at the Lake
Super: Recommended
Grenades: Recommended
After finding the second Subclass statue, turn your attention to the arriving enemies.
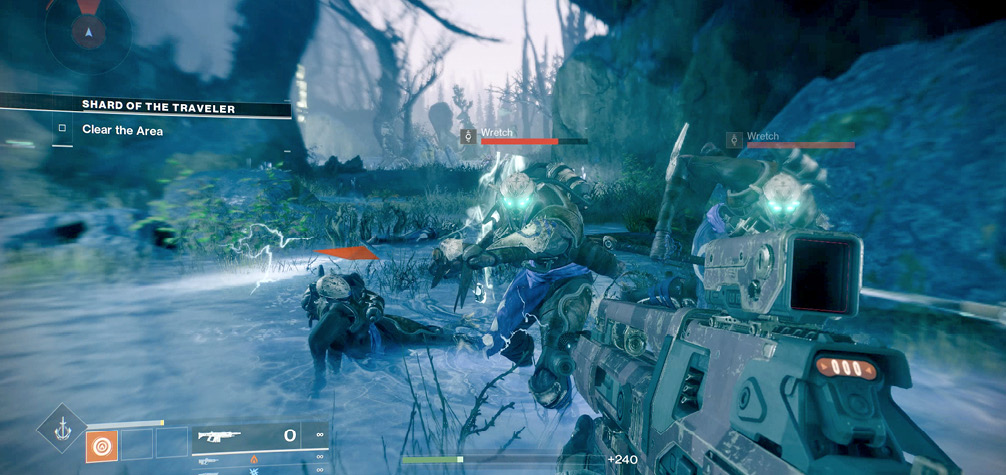
First Trip: These are Fallen, a cluster of Dregs scurrying around in the shallow lake. Tackle them, along with a couple of Vandals (who can impede your progress with their nasty ranged rifle fire). Continue to fight more Dregs and two more Vandals, and expect Dregs with a Captain who employs an Arc Shield.
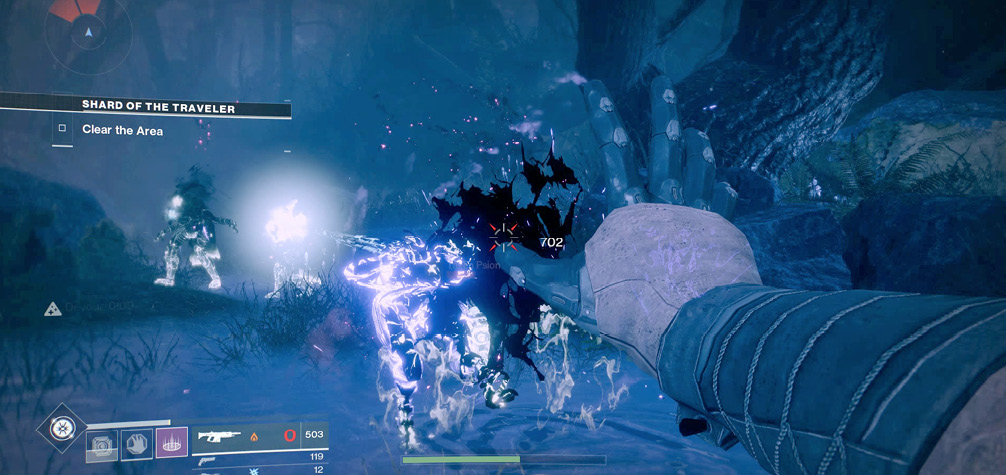
Second Trip: These are Taken; four Psions are blinking into existence in the shallow lake. Tackle them and a couple of Taken Vandals. The Vandals can conjure a dark dome of protection that you must run through to reach and attack them, as your ranged weaponry bounces off.
Tackle more Taken Psions, two more Taken Vandals, and then a cluster of Psions and a Taken Captain with a Solar Shield. Think of them as tougher versions of the Cabal and Fallen counterparts.
With the lake area cleared, a portal opens. Enter it.
Head out of an ancient railroad tunnel and along the forest floor, pausing to hear some words of wisdom from more statues on your way to another portal.
 The Traveler’s Shard
Super: Recommended
Grenades: Recommended
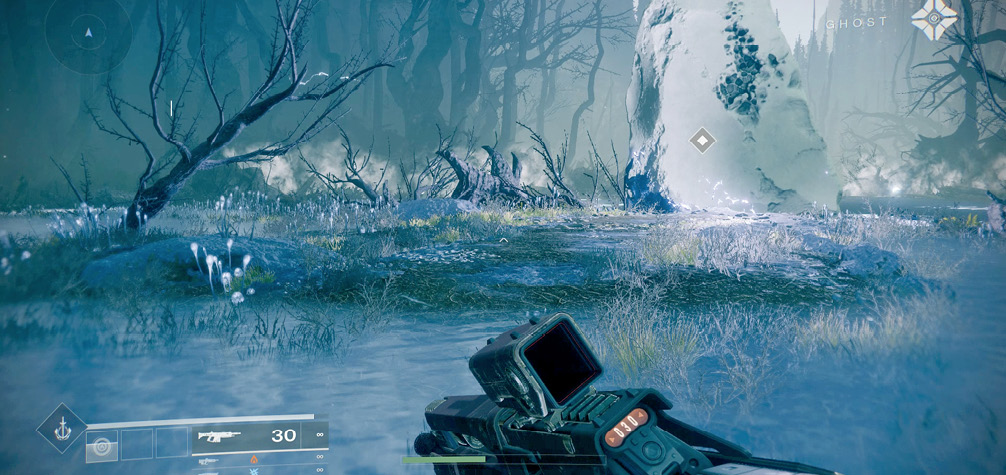
This portal transports you to a glade of twisted trees where the remains of a Dark Shard are present; its power has beckoned foes to the vicinity. This is where the action begins to get consistently dangerous.
First Trip: Approach a Captain with an Arc Shield flanked by two Shanks, and defeat them. Then, scour the trees around the lake for Vandals and additional Shanks to dispatch. Another Captain (Arc Shield) and Shanks arrive.
Second Trip: Approach a Taken Trap (a ball of writhing blackness), and shoot it. If you step too close (which is especially problematic because you can stumble into them while in combat), it can damage you. Either way, it explodes, and a small contingent of Taken emerges.
Expect to face a couple of Taken Captains at a time, a half-dozen Taken Psions, a quartet of Taken Vandals, and other clusters of these foe types. For this reason, clear each area methodically, and don’t rush or run into another Taken Trap.
Defeat foes until the objective updates, enabling you to commune with the Traveler’s Shard. Approach and interact with the Shard. You immediately acquire a new Subclass!
You also immediately acquire an influx of foes that must be quelled before you can escape this place.
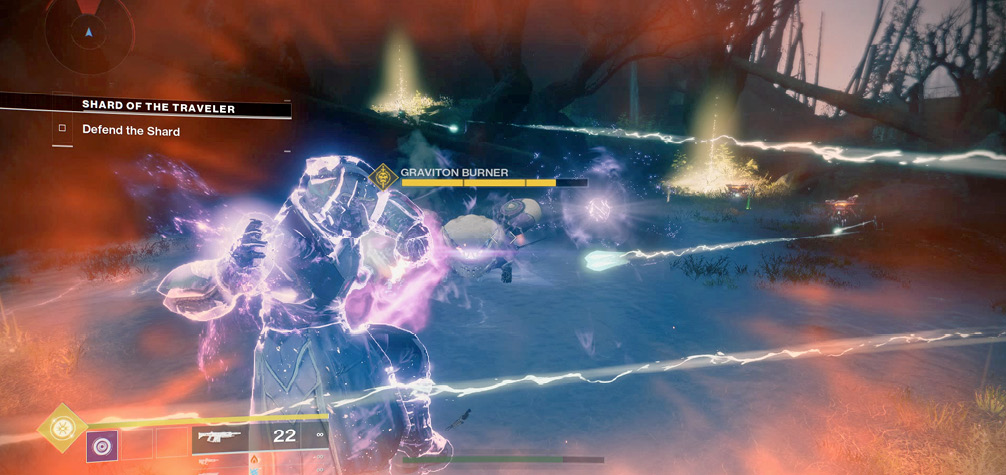
First Trip: Vandals and Shanks (and periodically, a Heavy Shank) appear, but these are soon superseded by Servitors. The Servitors have a small cluster of foes they are linking to, giving the entire cluster invincibility (aside from the Servitor).
Expect around a dozen Servitors to appear, around two at a time, from different parts of the forest perimeter. Shoot the Servitors first, then take out the rest of the foes. The last Servitor is a Sub-Boss with more enemies surrounding it, though the tactics to defeat it are the same. When all Fallen are defeated, take the portal and escape this place, concluding the mission.
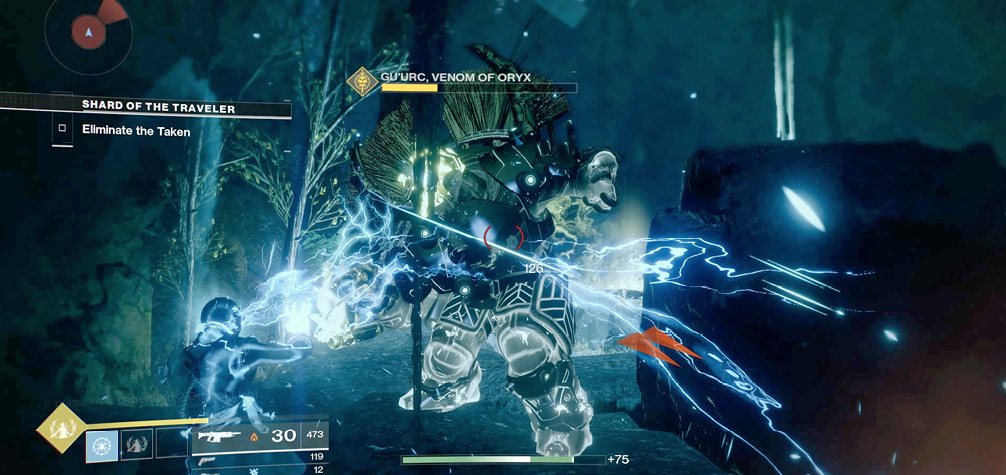
Second Trip: Taken Wizards (with Void shields) and Taken Goblins appear. These can be most dangerous because the Goblins tend to link to their Wizard masters. If you see them linked with green energy, shoot the Goblins, since the Wizards are more or less indestructible. Obviously, you should employ your new Super at every opportunity. Once you’ve culled around four or five groups of Wizards and Goblins, a portal opens up.
Second Trip: The action hasn’t let up yet! There are around four groups of Taken (Goblins and Phalanxes) on the railroad tracks back toward the tunnel. All must be defeated; focus on the Goblins if they are linked to the Phalanxes, and sidestep the latter’s shield blast or face serious damage. As ever, rush into the Columns of Boundless Light, replenish your Super and grenade, and use both immediately. When you’ve defeated all foes, enter another portal.
Second Trip: The initial lake and forest glade is now teeming with Goblins protecting their Wizard masters. Produce your Void weapon when removing Wizard shields, and drop the Goblins protecting Wizards before turning your weapons on the Wizard itself. Better yet, use continuous Supers and grenades as you wade through five clusters of these foes.
The last cluster involves around eight Taken Goblins all adding to the power of a Sub-Boss, a hardened Taken Wizard named Haraal, Venom of Oryx. He tends to summon Taken Thralls and also has reappearing Taken Goblins. Stay on higher ground, use Supers and grenades, and then continuously bombard the foes with regular weaponry as you head to the next light column. Once you’ve slaughtered his Goblin minions, ensure that he dies like the rest! When you’ve defeated all Taken, take the portal and escape this place, concluding the mission.