
The Cistern and Pools of Luminance
Nessus, Unstable Centaur
Enemies Encountered
- Vex: Harpies, Fanatics, Goblins, Hobgoblins, Minotaurs
Objectives
- Deactivate the Vex teleporter.
- Find Cayde-6.
 Radiolarian Stream and Cavern
Super: Not recommended
Grenades: Not recommended
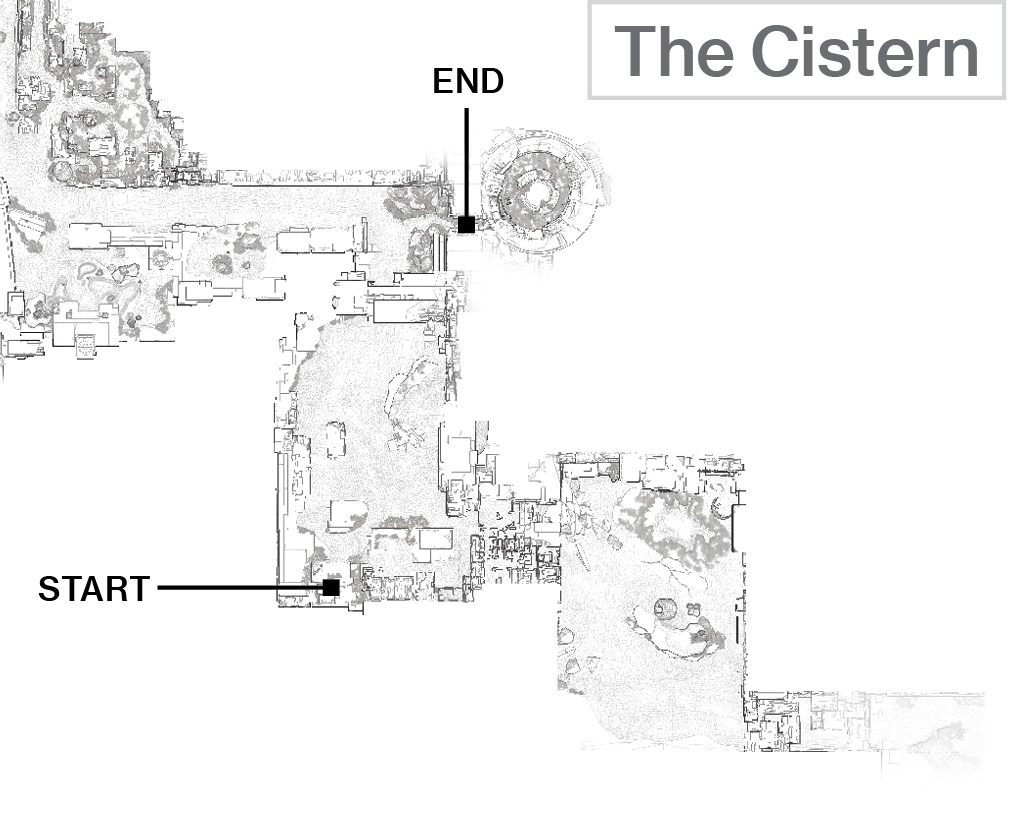
You begin on a platform overlooking a giant Nessus plateau, but Cayde’s signal is coming from a nearby split in the wall. Enter it, stepping into a tunnel-like warren known as Pools of Luminance, where you encounter a white liquid that’s damaging to the touch: Radiolarian (or “Vex mind”) Fluid.
Jump to the rocky outcrops and ledges as you navigate this fluid stream, then jump from the last ledge through a circular doorway and into an unstable-looking cavern.
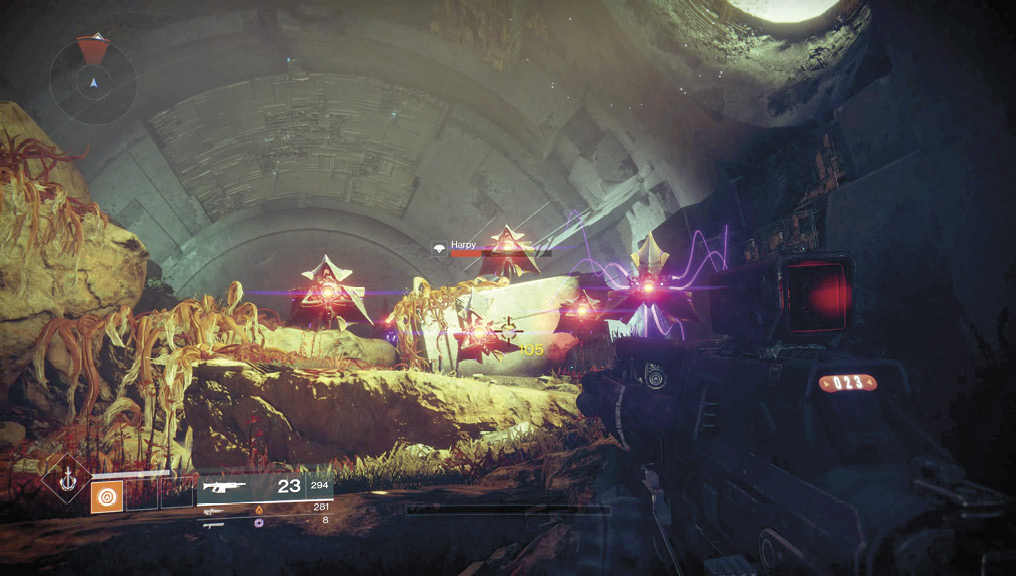
 Fortunately, the floor is firm, but the air is filled with the screeching of around a dozen Vex Harpies (which appear in flocks of about four or five at a time). Seek nearby cover, and methodically thin their number by firing at their central eye; the precision hit location. These foes are more of a nuisance than a threat, although their laser rifle-like beams are damaging. When you’ve cleared the cavern, seek the small connecting chamber with fluid on the floor, and head to the narrow golden wall.
 Luminance Arena
Super: Recommended
Grenades: Recommended
Warning!: Restricted Zone
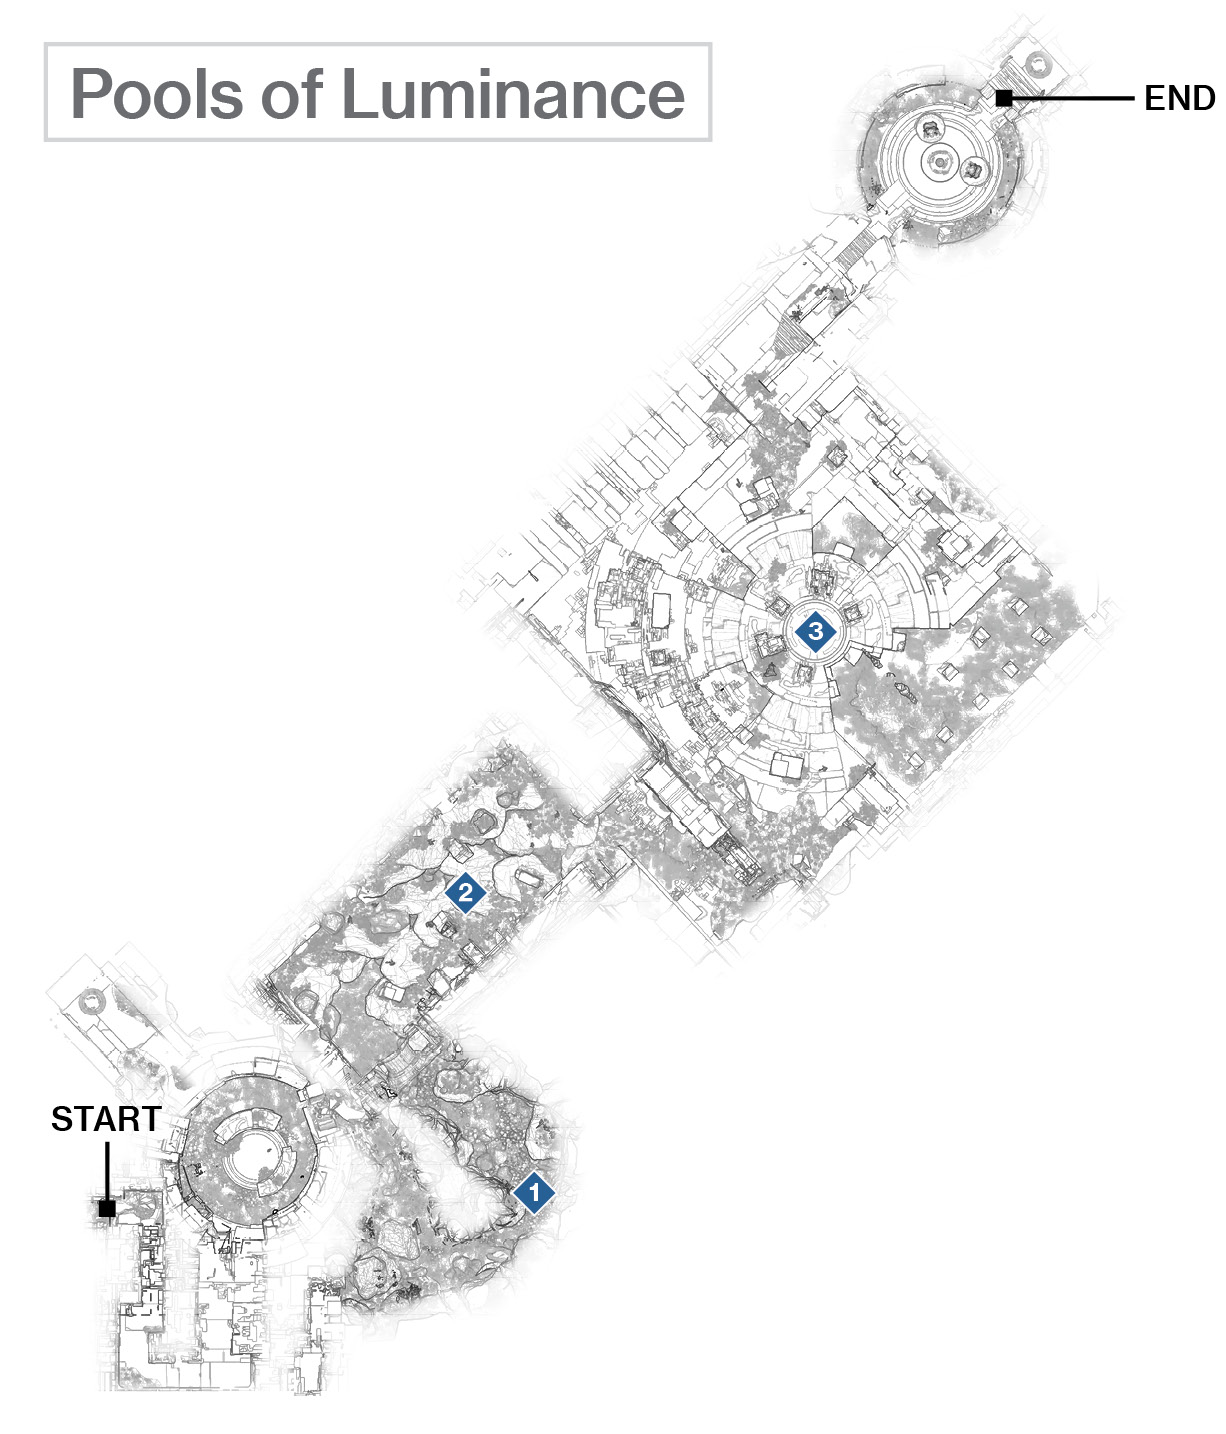
Enter an arena-like room with a central circle on the ground raised from the entrance and a higher area at the far side of the chamber. There’s a platform to your left and stepping stones to the right (the route to the left is more accessible).
Note the block-like wall sections because these cover opportunities are crucial for the carnage to come. Prepare for a protracted and extremely difficult battle with waves of incoming Vex.
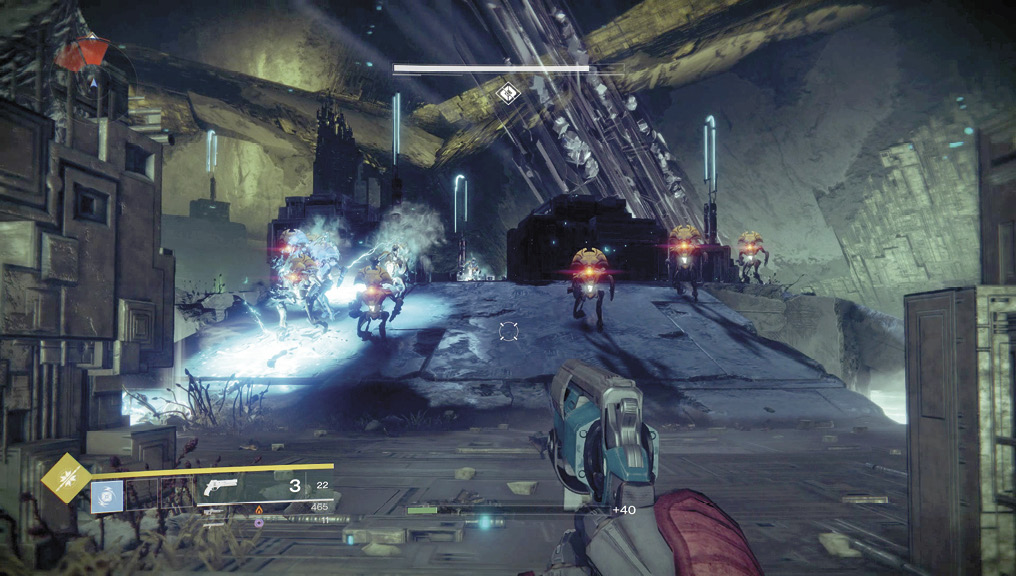
The first wave teleports in as you advance on the central circle. These are a new type of Vex, the Fanatic. Think of a Vex Fanatic as a headless Goblin, but not quite as furious. Fanatics use the same weaponry as a Goblin and will track and march directly toward you, exploding at close range and leaving an area of effect that damages others for a few seconds afterward. Aside from blasting them at range before they detonate and harm you, you can effectively defeat them by bringing them down in between the pillars. That way, other foes (particularly Goblins) are harmed and hopefully destroyed by a Fanatic’s explosion and area of effect that stays active.
Blast the first wave (Fanatics) with accurate gunfire from your starting position cover. The second wave (Fanatics and Goblins) then appears; execute the same plan, dropping Fanatics as priority targets and ensuring that their ongoing explosions strike the Goblins. During the second wave, you will be outflanked and overrun by multiple Goblins. Start at the top of the ramp from the lower block wall, then retreat to it and melee attack any Goblins (but not Fanatics!) that get through. Your primary escape route is to your left, by which time, the third wave arrives.
By this point, you have groups of Fanatics, Goblins, and a couple of Minotaurs all converging on your location, with Harpies providing a long-range annoyance. Keep moving from the lower island with the two block sections of cover back and forth to the starting position, and drop Fanatics so they explode and take a couple of Goblins with them. When you’re overwhelmed, sprint over to the other area you’re comfortable holding, and block chokepoints with exploding Fanatics and headless Goblins (anything to cause a chain reaction).
Other options include bringing out the big guns, AKA your preferred Power weapons (grenade launchers for longer-ranged foes, and shotguns to quell any foes trying to overrun you, though you run the risk of being struck by their exploding damage). A thrown grenade is also useful to detonate at the feet of multiple foes. You can also leap atop one of the larger block defenses, crouch down, and tag foes quickly from this partial cover. Since you’re atop a block but crouched, much of the Vex’s ranged firepower hits the block instead of you. However, you’re usually surrounded, so watch for flank attacks and jump away when it all gets too hectic.
Once you clear the incessant waves of Goblins and Fanatics, the final wave consists of the Minotaurs, Harpies, and a few remaining Goblins that remain on the upper platform and may have teleported in earlier. These are actually a little easier to destroy, as they aren’t actively marching on your position. Long-range tagging of Harpies can be done at your leisure; shoot them first so you have fewer enemies firing at you from directions you can’t control.
Then, move to mid-range, and tackle the remaining Harpies and the Goblins. Move to the central circle, but back up when the Minotaurs’ weapon barrage starts to sting. Now is the perfect time to execute your Super, as it can cut through the usually troublesome Minotaurs without you worrying too much about being caught in any explosions. Whittle down the enemies until the room is secure. Then, gather any dropped ammo and items.
Finally, exit via the marked (slightly glowing) stepped tunnel into a Vex temple. Gather the teleporter, which frees Cayde-6, although you need to find him next. Step into the Vex gate behind the teleporter, sending you back to the entrance. From here, retrace your steps back to the expanse of the Cistern, scanning the area so you don’t dash off in the wrong direction, heading left from the wall split entrance. You’re on the right track if you pass by a Vex-like ball structure with a hole in it. Continue your track until you enter the Glade of Echoes.