
The Rupture
Sector Notes:
Adventure: Stravinsky
Lost Sectors: 2
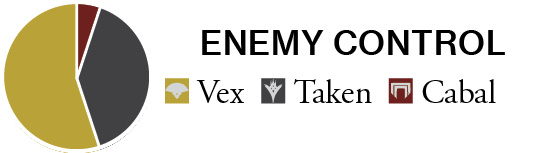
Enemy Clusters: Taken: 6
Enemy Clusters: Vex: 4
Enemy Chests: Available
Landing Zone: Available
Material Nodes: Available
Patrol Beacons: 8
Public Event (Full): 1
Public Event (Secret): 4
Region Chests: 3
Scannable Objects: 5
Vendor: Asher Mir
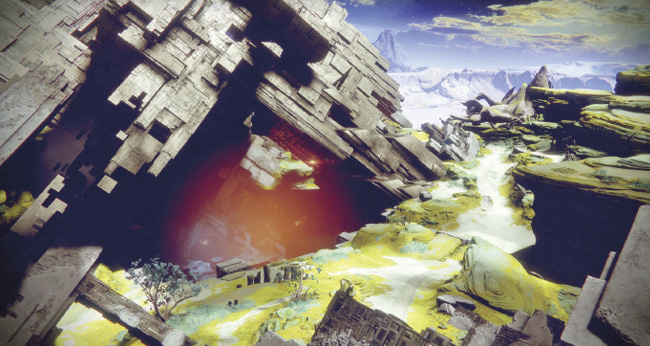
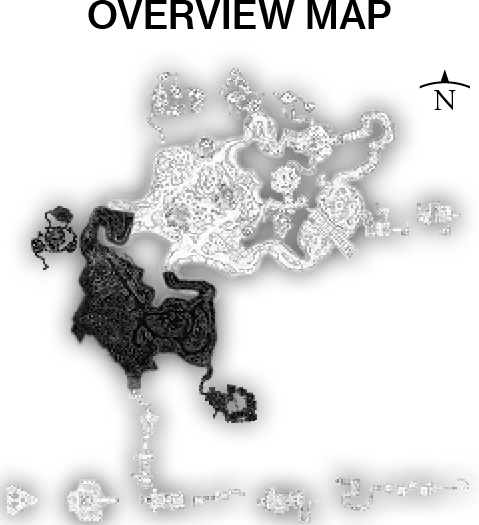
A sprawling plateau of interconnecting dirt roads, rocky outcroppings, and other interesting ancient formations (like skeletal remains and fossilized walls) is nothing compared to a massive Vex pyramid that takes up the entire western perimeter of this large Sector. The pyramid has two (usually inaccessible) Sectors you can enter during certain missions and a large Vex presence, alerted by the encroaching Taken. In the midst of all this is Asher Mir, a no-nonsense scientist and vendor for this world. Note the Landing Zone adjacent to his location. Also, note that there are only two exits to other major land Sectors: both along the north side, and both leading to Lost Oasis. Expect major battles between Vex and Taken forces as you search through Vex architecture and a natural mesa cave near the eastern perimeter.
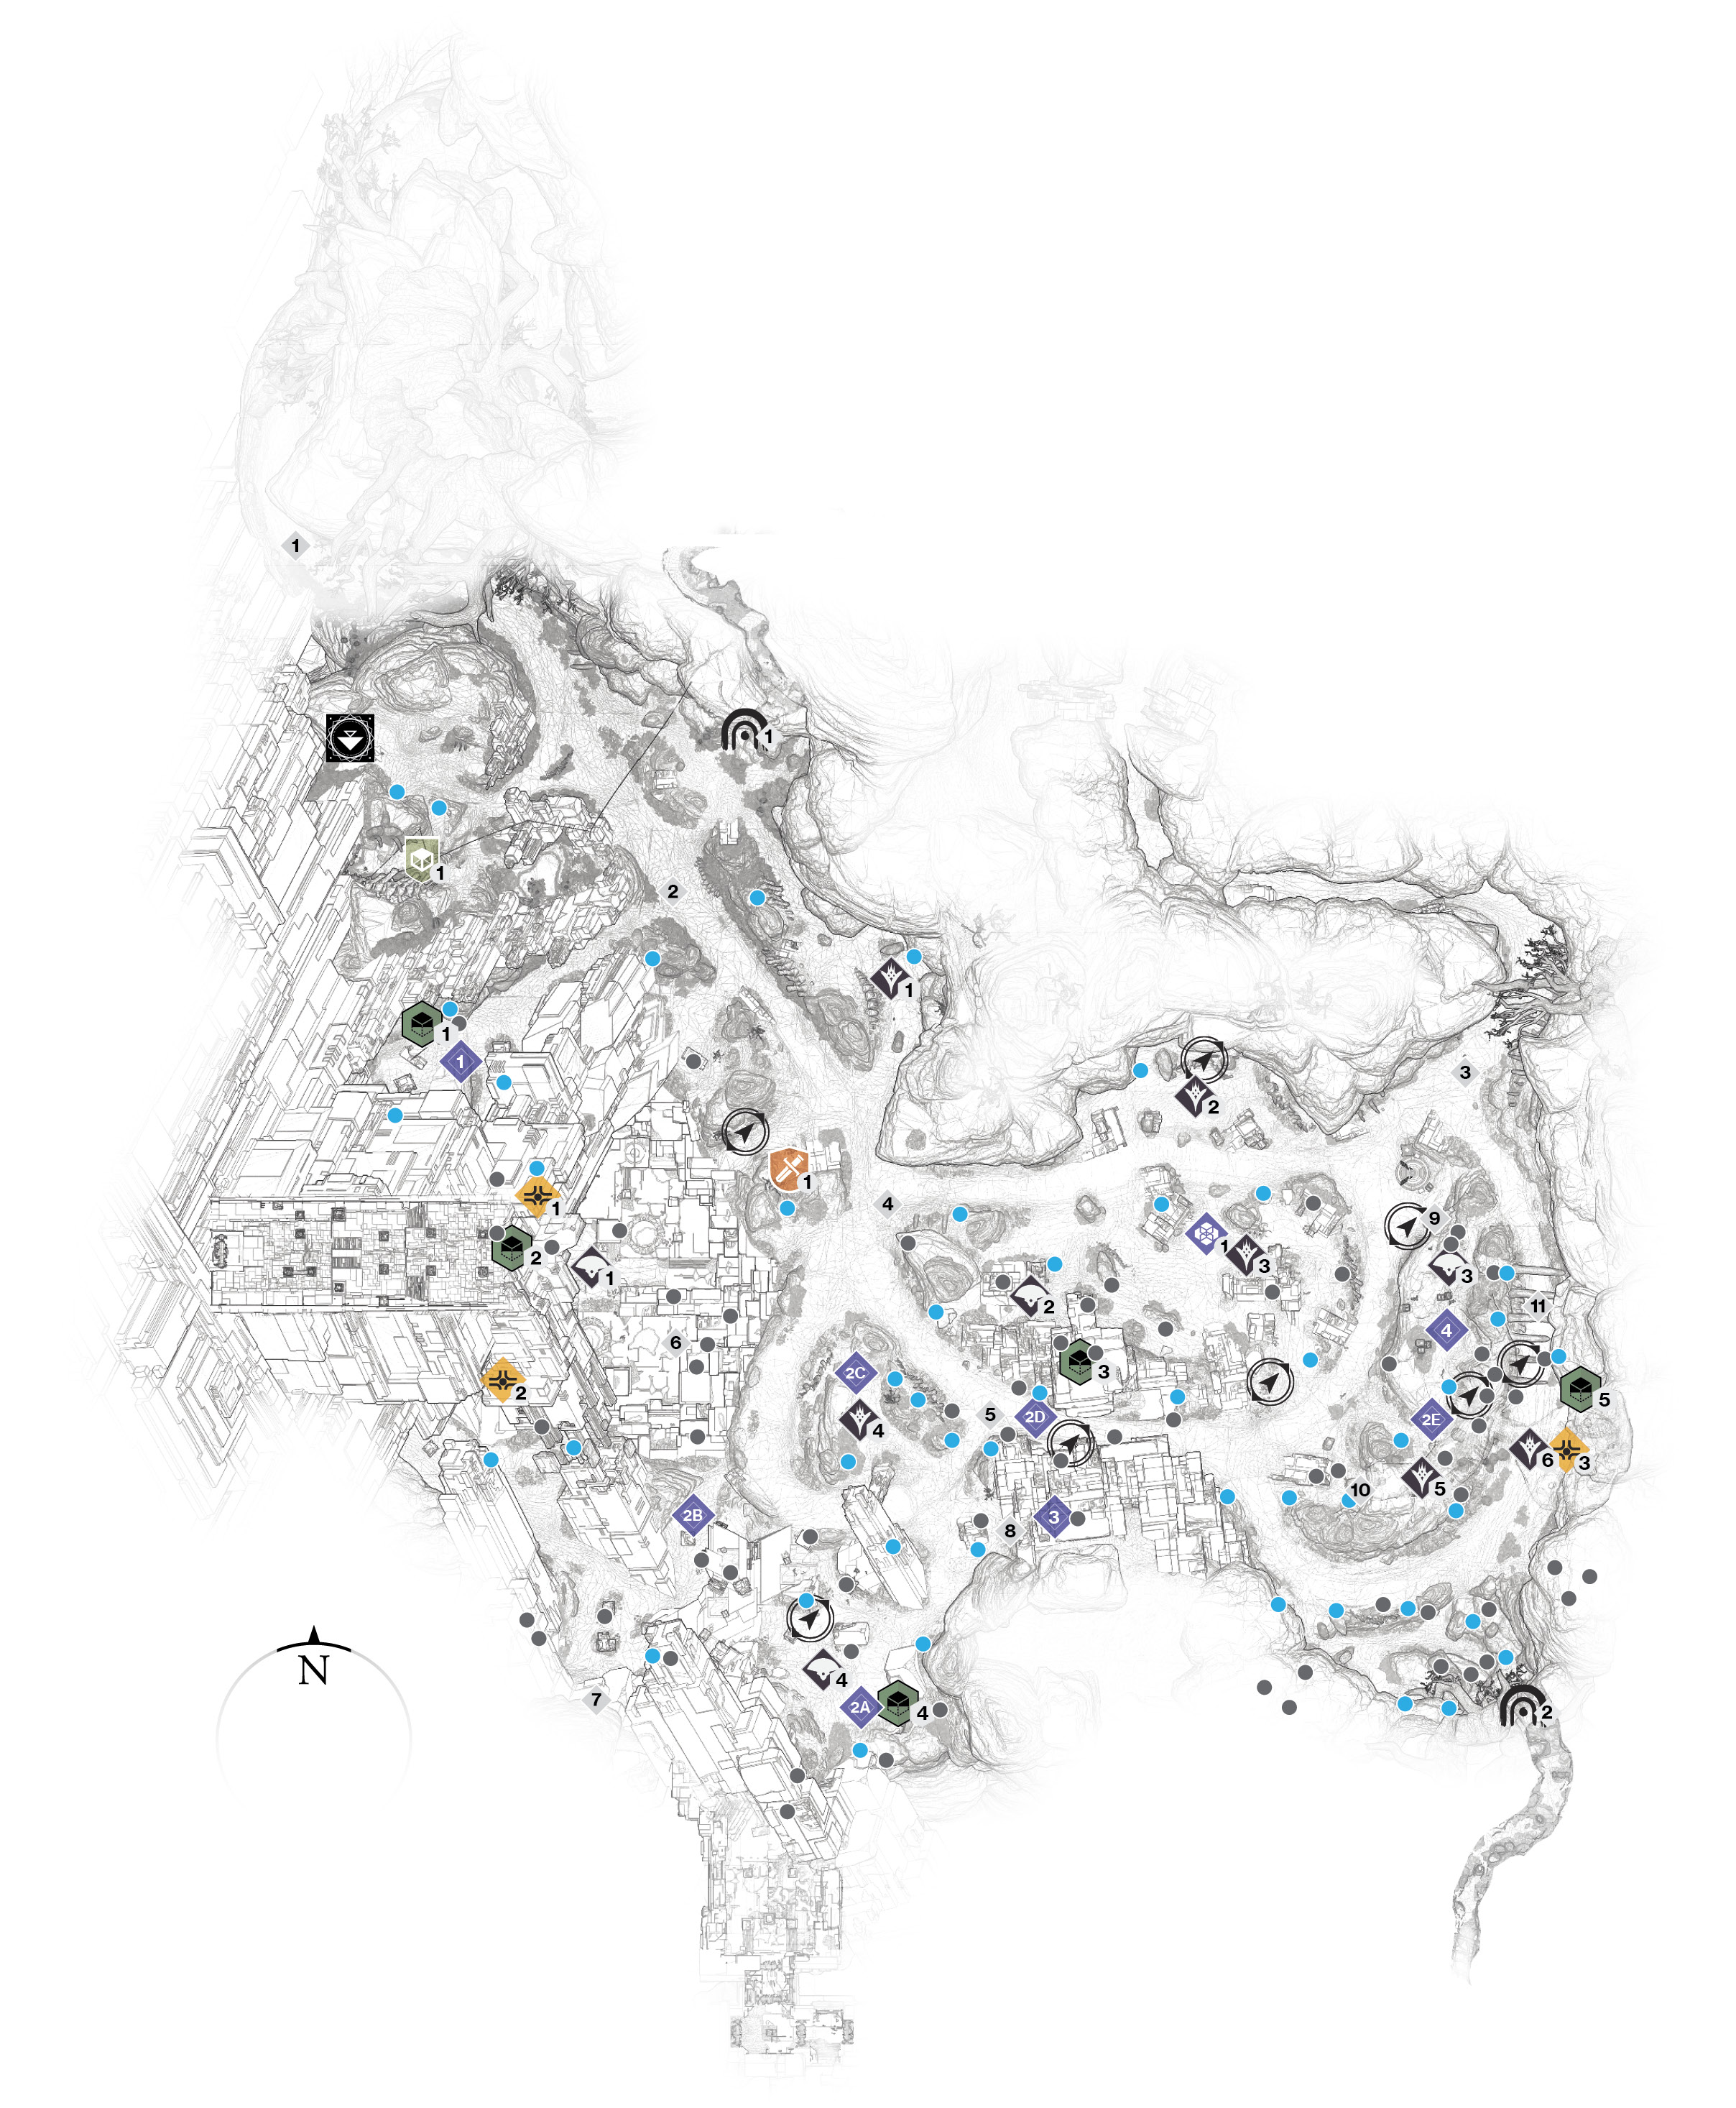
Areas of Interest
 Exit to Lost Oasis (Northwest)
Take this cliff-top road to reach the western side of Lost Oasis, and return here for quickest access to Asher Mir.
 North Road and Pyramid Trail
A relatively straight section of dirt road has a trail heading up and southwest into a Vex gorge and split in the pyramid. This is one route to climb the exterior of the pyramid (for collectibles).
 Exit to Lost Oasis (Northeast)
This is the other exit out of the Rupture and winds its way to the southern crossroads area of Lost Oasis. If you need a quick route to Giant’s Scar, take this exit instead.
 Central Crossroads
Note the Adventure beacon as a landmark, and stop here the first time you’re exploring the Rupture so you know how all the roads link together. This offers reasonable views of the circular paths here.
 South Junction
This road junction bisects the main mesa “island” to the northeast and the Taken outcrop to the east. South is a larger Vex presence. Note the Vex architecture on either side, creating a short gorge-like road to the west.
 Vex Pyramid
This immense structure has a sunken lower area where the entrance to Pyramidion (inaccessible) is located. Either side of that has cube-like ledges and platforms you can leap around, with foes on the ground below. To the southwest corner is a more natural ledge. Above are floating platforms and a teleport at the pyramid roof apex, which leads to a spectacular viewing ledge and collectibles.
 Entrance to The Endless Gate (Southwest)
A circular-like hole in the southwest wall, with tiered ground and sizable Vex presence (including a nearby Hydra) in the surrounding exterior area, leads to a small (and inaccessible) chamber, usually entered during an Adventure.
 Vex Alcove
The black and shiny Vex architecture near the trail point has an easily overlooked alcove where a Storm Hydra appears during a Secret Public Event.

 East Outcrop Tunnel (North and South)
The eastern mesa area has a large outcrop with both Vex and Taken vying for position. However, underneath it is a short tunnel and cavern with further Taken for you to tackle, as well as a couple of collectibles.
 Ribcage Trail
The rarely used eastern perimeter road curves around, heading through the ribcage bones of an ancient beast of yore. Use this trail to avoid combat or to quickly get to the northeast exit or second Lost Sector.
Lost Sectors
 Sanctum of Bones
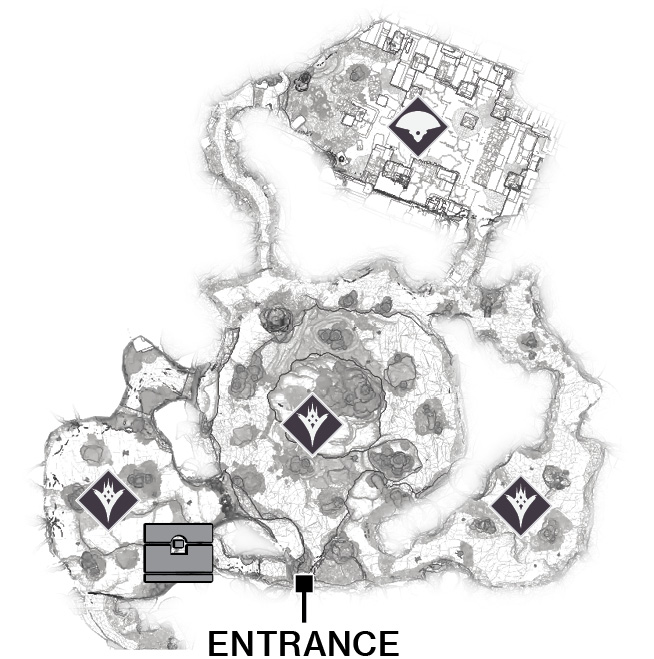
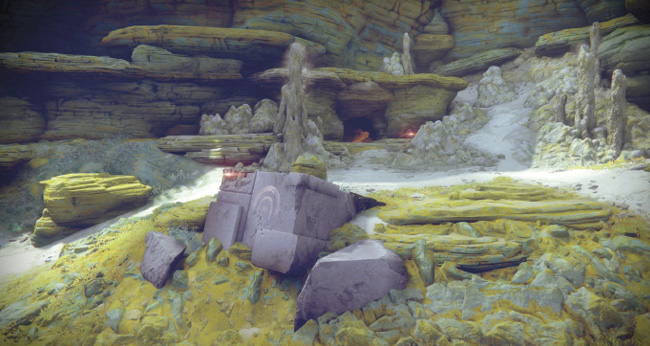
Enter this natural rocky grotto (the entrance is along the north road near Asher Mir) with some considerable height inside. The connecting tunnels ascend to some central platforms, where you can find a Sub-Boss Taken Knight.
 Aphix Conduit
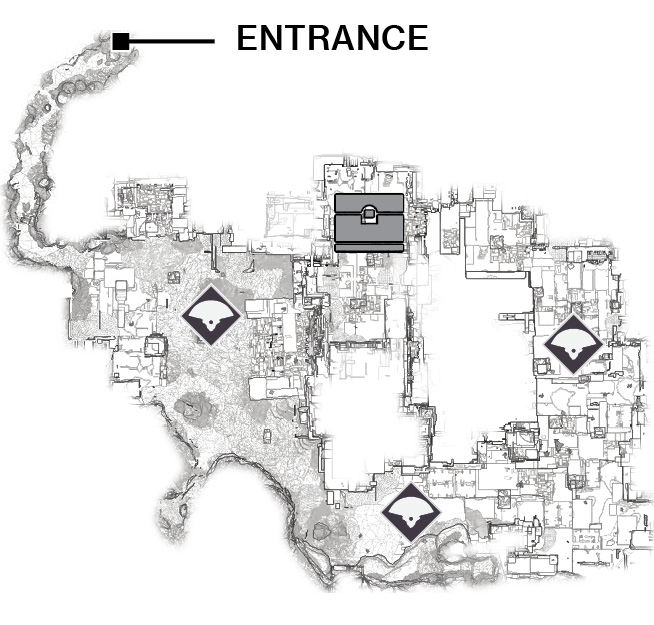
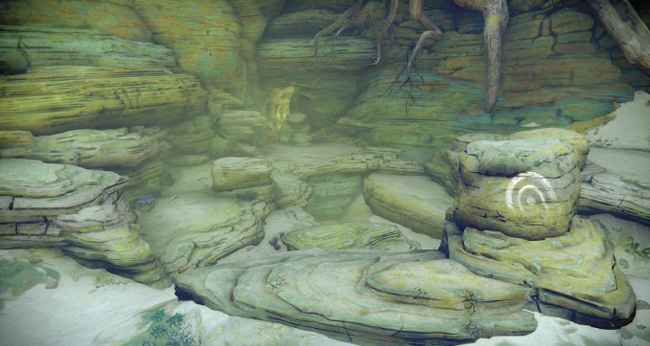
Enter the sunken gully entrance to this natural cavern in the southeast corner of the Sector, and access a rocky cavern filled with Goblins. The Vex presence continues into a sizable cube-shaped cavern with a central chasm and a deadly Hydra that you must defeat.
The Rupture
| Guide Name | Sub-Boss | Reward | |
|---|---|---|---|
|
1 |
Sanctum of Bones |
Taken Knight |
Boss Chest |
|
2 |
Aphix Conduit |
Hydra |
Boss Chest |
Enemy Clusters
 Taken
Taken
Along the main road southeast of the first Lost Sector, a Taken Phalanx and other infantry are lurking in a small dell near the bones of an unknown creature.
 Taken
Taken
Along the northern perimeter of the map by some strange box-like archeology are a Taken Phalanx and some other foes.
 Taken
Taken
A Phalanx and two other Taken are roaming the area where a Public Event sometimes takes place in the cluster of large cubed and flat boulders.
 Taken
Taken
The usual Phalanx and underlings are roaming the small hillock surrounded by pathways, overlooking the main Vex archeological site.
 Taken
Taken
The top of the rock plateau with the tunnel running beneath it (east side of the map) has a Taken Centurion and other Taken for you to worry about.
 Taken
Taken
The interior of the small cavern and tunnel running below the eastern mesa outcrop has a small host of Taken infantry for you to tackle as you reach the Region Chest and scannable object.
 Vex
Vex
The Vex pyramid is guarded by Harpies and Goblins, with the occasional Hydra presence.
 Vex
Vex
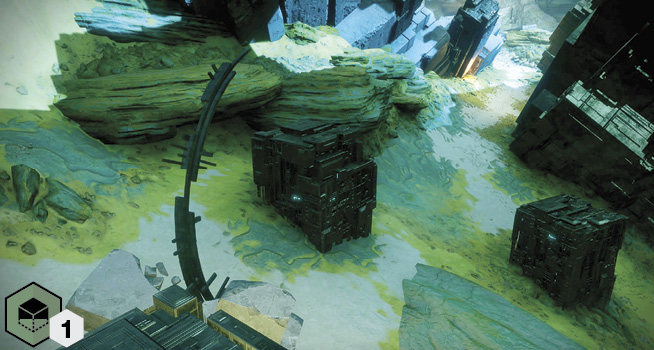
Goblins and a Harpy are checking the area for signs of a Taken infestation. They are on the Vex platform embedded into the main valley plateau, next to the small box-like Vex construction with the scannable object inside.
 Vex
Vex
A small but powerful band of Vex is guarding their ancient construction in the southwestern corner of the map. Expect Goblins, a Minotaur, and a Hydra active on the clifftop mound in this vicinity.
Landing Zones
 The Rupture LZ
You’re fortunate that there’s an LZ just north of where Asher Mir is located. You can then easily acquire or sell items before jetting off to Lost Oasis, which is just north of the Landing Zone.
Region Chests
 Region Chest 1
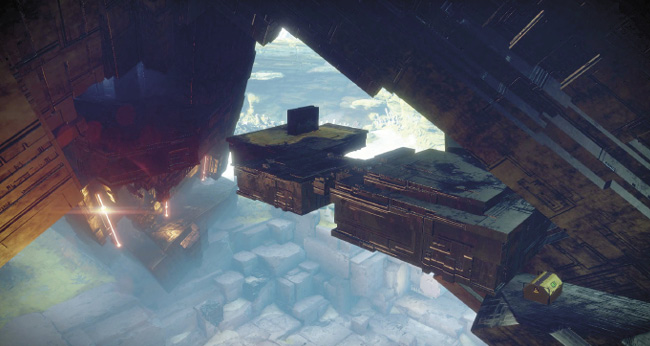
This features an ascent up the darkened side of the pyramid, starting close to Area of Interest #2. Climb into the sharp smooth slopes and up the anti-gravity platforms of the pyramid until you see a Vex teleport wall. Check the first orange-hued anti-gravity platform across from the teleport; there’s a narrow ledge behind and left of it with the chest.
 Region Chest 2
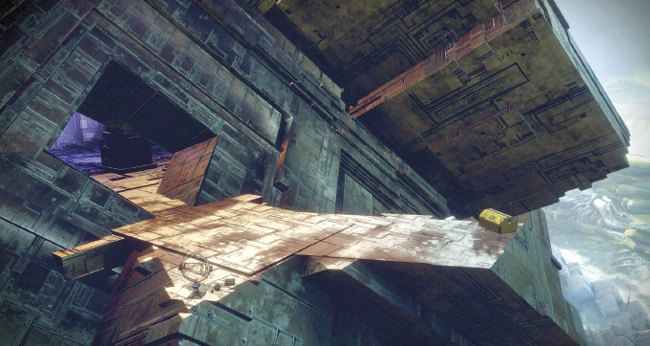
This features an ascent up the darkened side of the pyramid, starting close to Area of Interest #2. Climb into the sharp smooth slopes and up the anti-gravity platforms of the pyramid across to a circular Vex teleport wall, then to a purple-hued chamber atop the pyramid exterior. The chest is on the outer edge of this exterior, along with a scannable object.
 Region Chest 3
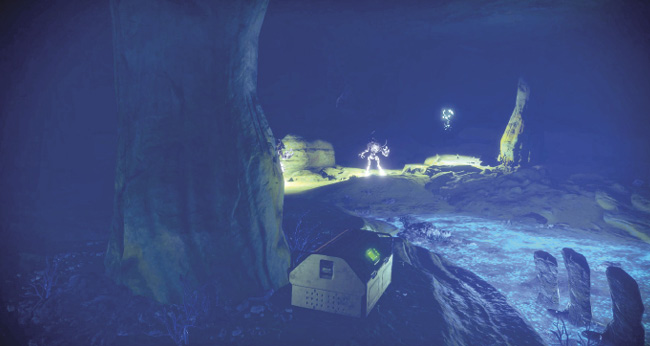
Enter the tunnel and cave system that runs below the eastern mesa area. There are Taken foes in here, along with the chest and scannable object.
Adventures
 Stravinsky
Start the only available Adventure in this Sector by accessing the marker on the low rocky outcropping overlooking the pyramid.
Scannable Objects
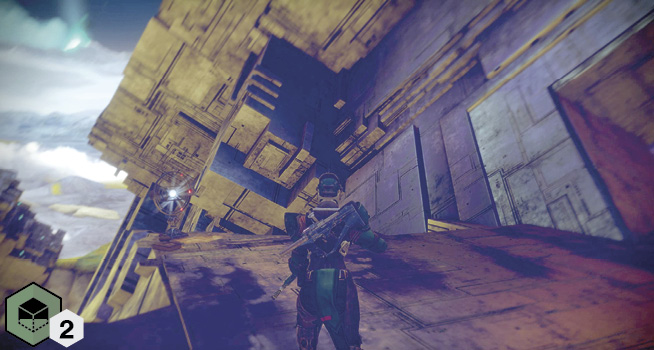
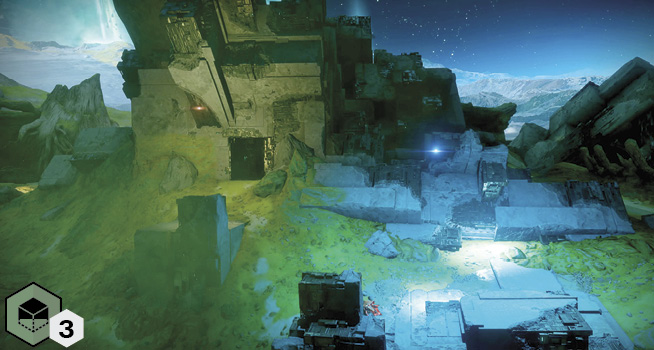
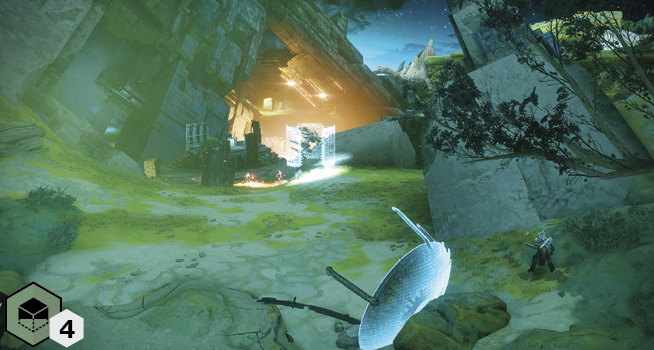
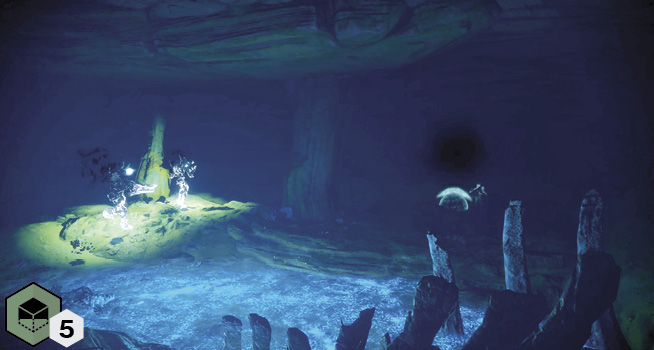
Public Events
 Public Events (Full)
Cabal Excavation: This takes place on the flat east-central plateau. It has you attempting to override a Cabal mining laser while dodging incoming laser fire and Cabal infantry waves that drop in from above, as well as any nearby Taken and Vex.
| Event Number | Event Type | Target | Other Enemies | Reward |
|---|---|---|---|---|
|
1 |
Cabal Excavation |
Mining Lander |
Cabal infantry |
Boss Chest |
 Public Events (Secret)
HVT #1: A Storm Harpy appears in or around the pyramid area. Destroy it at once!
HVT #2: A Vex Storm Minotaur appears at one of the indicated guide map locations (2A, 2B, 2C, 2D, or 2E). Defeat it immediately!
HVT (Tactician): A Storm Hydra teleports in at the short Vex alcove (Area of Interest #8). Watch for the second Hydra at Enemy Cluster #4 as you defeat it.
Jailbreak: A Blighted Taken Centurion is being held in an energy cell on the long east outcropping. Tackle the Vex Goblins and Guard Minotaurs. Then, the cell disappears, leaving you to deal with the Centurion!
| Event Number | Event Type | Target | Other Enemies | Reward |
|---|---|---|---|---|
|
1 |
High-Value Target |
Storm Harpy |
None |
Boss Chest |
|
2 |
High-Value Target |
Storm Minotaur |
None |
Boss Chest |
|
3 |
HVT (Tactician) |
Storm Hydra |
None |
Boss Chest |
|
4 |
Jailbreak |
Boss Taken Centurion |
Guard Minotaurs, Vex and Taken forces |
Boss Chest |
Patrols
 The Rupture (8)
Expect up to eight available Patrol beacons, with up to four active at a time.
Vendor
 Asher Mir
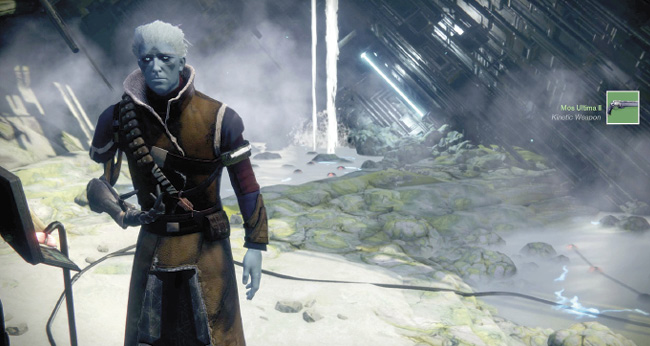
Besides providing instructions and missions, the haughty scientist Asher Mir takes any Tokens you find across Echo Mesa. Bring him these in groups of 10, five, or one. In return, you’ll receive an increase in your Reputation with him, allowing you to purchase unique Echo Mesa armor and weaponry. Asher also decrypts engrams.