
Destiny 2 Guide Strikes Exodus Crash
Prodromus Down
Restricted Zone
Enemies Encountered
- VEX: Minotaurs, Goblins, Fanatics, Hobgoblins, Hydras
- FALLEN: Vandals, Shanks, Captains, Dregs
- Sub-Boss: Servitor (2), Overcharge Shanks
Objectives
- Pass through the electrical fields (100%).
- Fight into the base.
- Infiltrate the hideout.
- Gather Fallen data.
- Defend Ghost (100%).
- Kill the Servitors (2).
- Press onward.
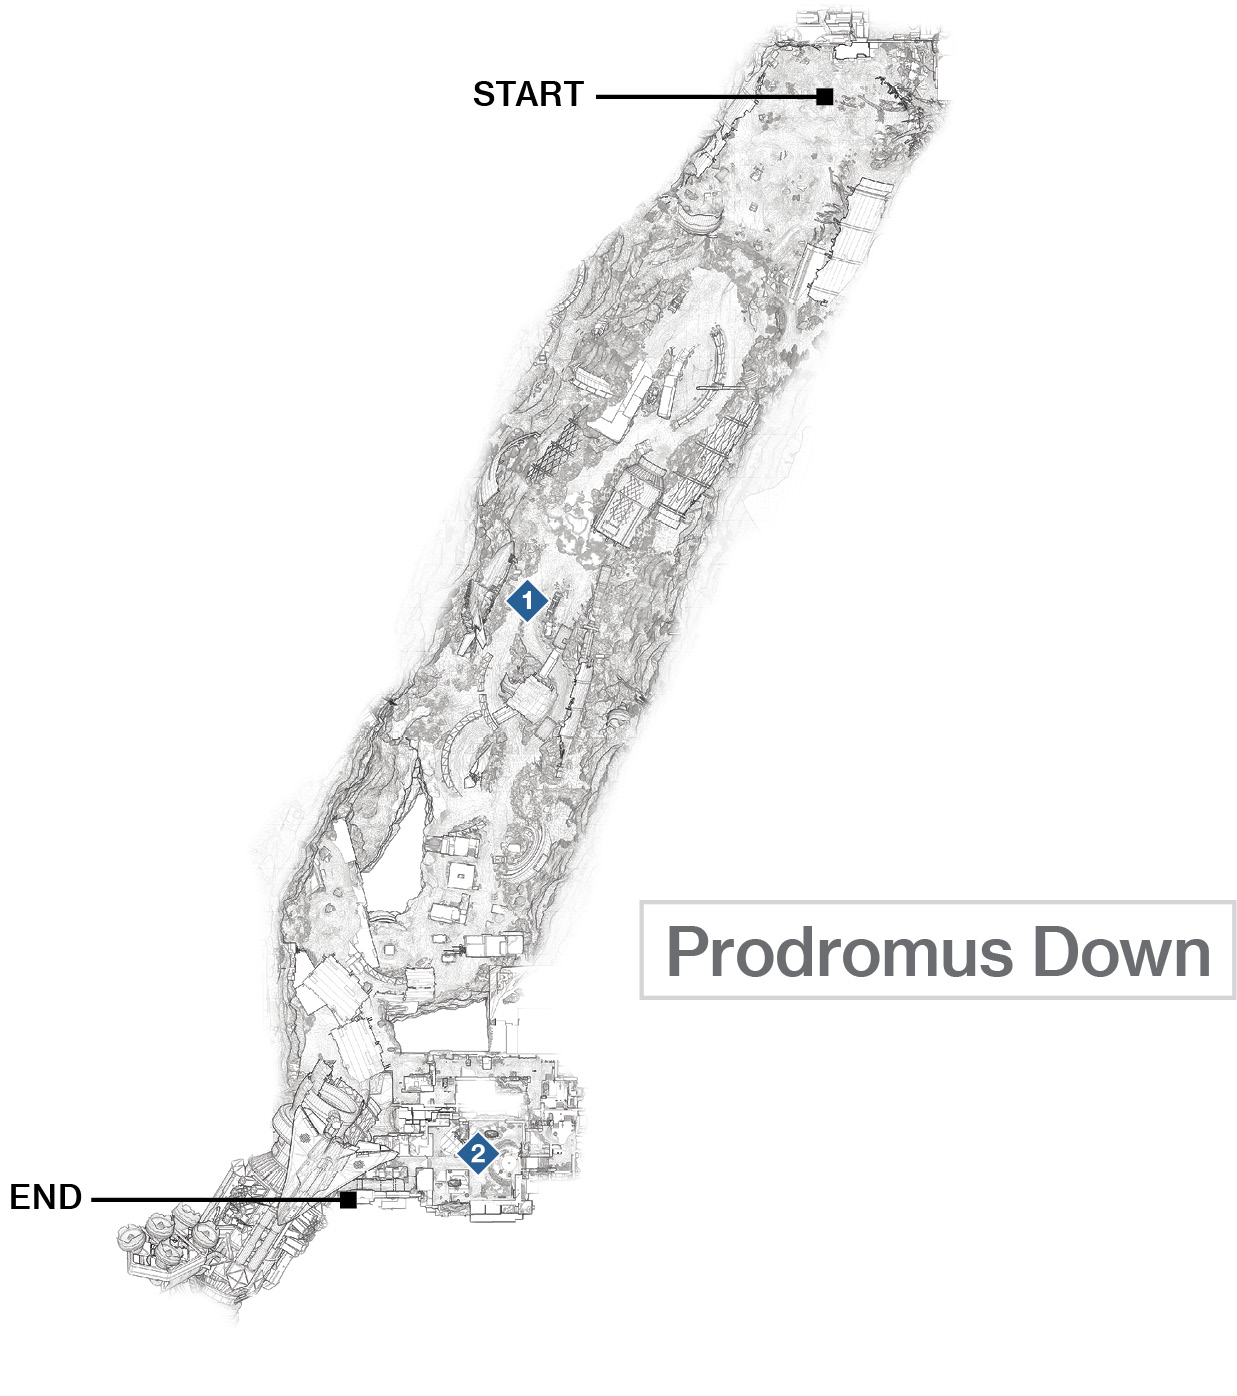
 Main Trench
Super: Optional (one player)
Grenades: Optional
Variations: Fallen foes instead of Vex enemies.
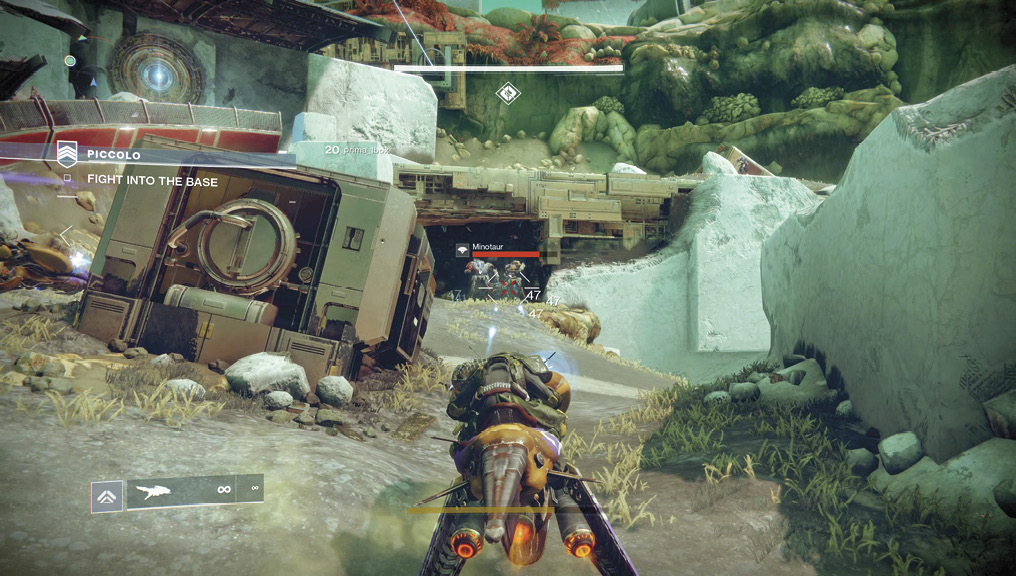
You begin in a rarely visited Sector of Nessus, Prodromus Down. This massive trench has a number of Vex guards. Minotaurs and Goblins (or Fallen Captains and Vandals, if this is a variation) are stationed around the roadways that twist through the scattered ship wreckage all along this massive shallow scar. Though you can race forward, optionally using Sparrows, it’s worth hanging back and methodically tackling the foes one cluster at a time, especially the group of Fanatics (who swarm and explode at close range). Tagging them from distance with long-range fire removes multiple threats at once.
As you progress forward, split up and have each teammate head for a shaft of light. These cylindrical electrical fields are instantly analyzed once you reach one, and there are only a few to find (usually six). You may find it easier to utilize a Sparrow, or better yet, a Pike that is parked in the vicinity with offensive weaponry. Blast another cluster of Fanatics, and watch for more of them if you take the main road (or Vandals, if this is a variation). As you start heading uphill toward a ruined fuselage, remove Minotaurs and Goblins as a threat before starting an assault on some sniping Fallen Vandals. If you can make it all the way to the low ceilings of the cargo storage exit from this trench, so much the better. Battle more Fallen at this entrance; Shanks, Vandals, and a Captain await you before you can head into the interior.
 Cargo Storage and Transmitter Chamber
Super: Recommended (one player)
Grenades: Recommended
Variations: Laser traps throughout the cargo storage, more Wretches, toughened enemies, two giant Shanks after Servitors battle.
Quickly push through the narrow low-ceilinged storage area once the barrier fades at the entrance (after you’ve neutralized all foes outside). Push your way up into the transmitter chamber, fighting Goblins and Dregs as you go. You can actually ram your Pikes up into this area and finish these foes with this vehicle’s weaponry while staying protected by its structure.
Once you’ve killed the Fanatics and Hobgoblins already in the room, park near the yellow transmitter beacon.
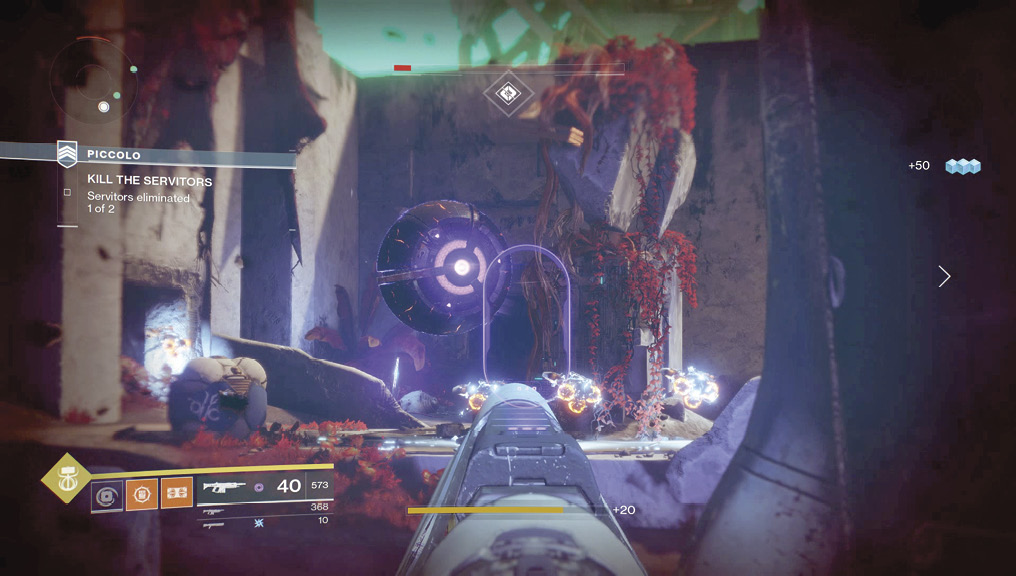
You must now secure the room from an onslaught of both Vex and Fallen foes as Ghost gathers data on the Fallen from the transmitter. Remain close to the raised circular platform at the entrance, and note the dark wall areas around the room that foes can spread out from. Lob in a grenade before the clusters of Dregs and Overcharge Shanks head out of the first one. Overcharge shanks will electrocute some floors in this room: the two spots where the servitors fight from, and the platform you must stand in to progress. You can still use Pikes here to make short work of the foes before they venture too far into the room. Expect waves of teleporting Goblins, Overcharge Shanks from a wall hole, and then two annoying Servitors.
Sub-Bosses: Two toughened Servitors drop in to thwart you. As they are protecting the Overcharge Shanks that also make an appearance, make the Servitors priority targets. A Super and grenades are fine to use at this point. Goblins and Vandals also soon turn up after the Servitors. To prevent this from becoming a bloodbath, remain near the transmitter, using the surrounding cover and hammering the Servitors, then the Overcharge Shanks, and finally, anyone else left standing.
Here comes a Hydra! It teleports in with a couple of Minotaurs, but if all three of you are focusing your firepower on it, defeating it is straightforward. Do this quickly, as a cluster of Fanatics then appears and should be a priority due to their explosive tendencies (just like the Overcharge Shanks). With these foes defeated, the analysis is complete and the barrier retracts, allowing you access into Exodus Black Sector.