
Destiny 2 Guide World Quests EDZ World Quest: Enhance!
Mission 3: Differential Diagnosis
Starting Location
Recommended Power
- 260
Prerequisite
- Complete World Quest step “Show and Intel.”
Reward
- EDZ Token
Description
- Hack into the Fallen communications network to locate a stash of ether caches, then destroy them.
 After you start the mission, follow the objective marker through the nearby building and into Maevic Square.
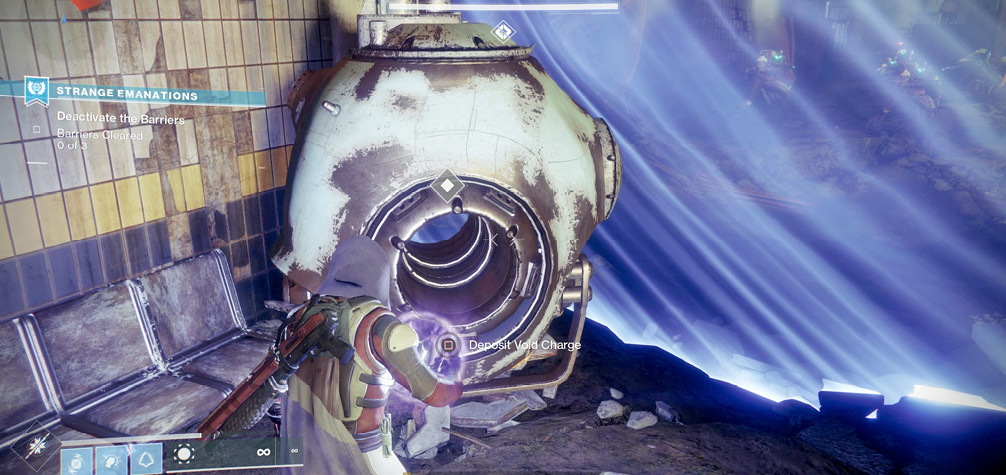
Continue following the objective marker until you reach a large energy barrier. Before you can move on, you’ll need to destroy this obstacle. Turn back, and engage the Fallen gathered in the nearby park.
 While you should eliminate all enemies, note that the objective marker highlights the Captain as a priority target. This enemy holds the explosive you’ll need to move beyond the barrier. After you defeat the Fallen Captain, plant the explosive on the barrier’s power source. Move back to a safe distance, shoot the explosive, and wait for the barrier to fade. Follow the objective marker, and engage the enemies gathered in the next area.
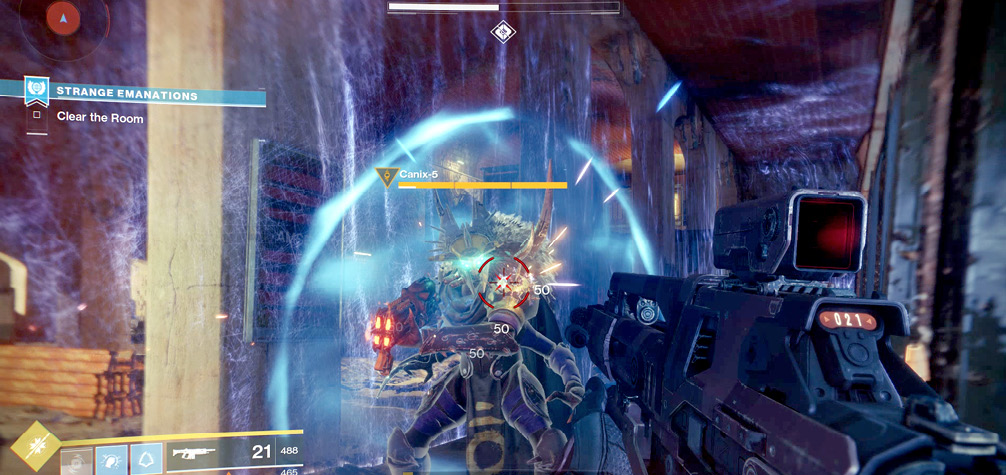
 Again, an energy barrier blocks your path, and again, a nearby enemy holds the explosive you’ll need to clear the way. This time, the objective marker indicates a well-armed and armored Salvage Guard. Eliminate this target, and use the explosive to destroy the next barrier’s power source.
Continue fighting as you follow the objective marker through the area. Once again, the path is blocked by an energy barrier. This time, however, you don’t need to destroy the barrier’s power source. Instead, use the nearby device to hack into the Fallen network. Doing so will draw the attention of a Fallen assault force, so make sure you’re prepared for a fight.
After you hack the Fallen network, a Skiff appears and drops off a small attack force. This is just the first wave of the enemy’s response; expect several new arrivals to appear over the next few minutes. You’ll face a mix of Dregs, Shanks, Vandals, Wretches, and Marauders. Eliminate these enemies as they appear. Eventually, a Servitor designated as “Network Runner” moves into the area.
Network Runner can absorb a fair amount of damage, so don’t hesitate to use your Power Weapon or activate your Super Ability. Focus on defeating the Servitor before you engage with any units under its protection. Once Network Runner is down, cleaning up the remaining enemies is a fairly straightforward task.
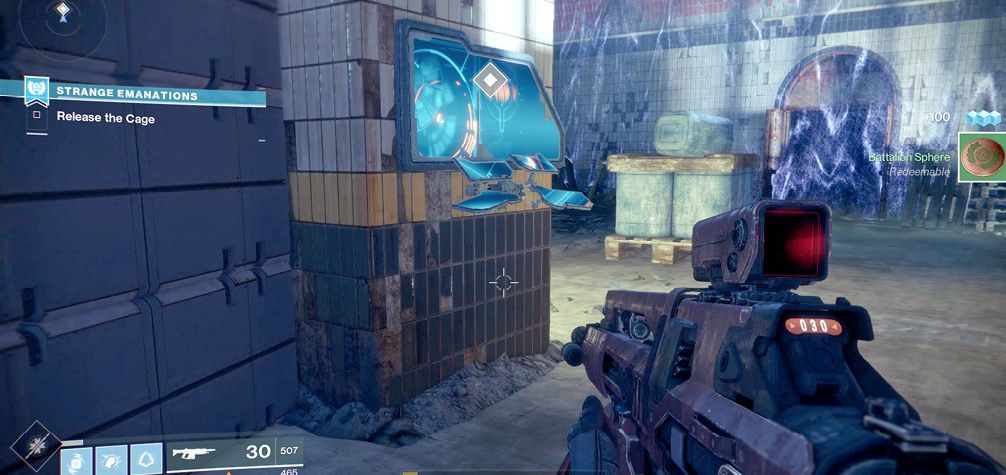
 Once you’ve cleared the area, use the marked transmat pad to travel directly to a stockpile of enhanced ether. Destroy the ether cache from a safe distance, and collect the resulting fragments. When you’re ready, follow the passage back to the streets, and engage the waiting enemies.
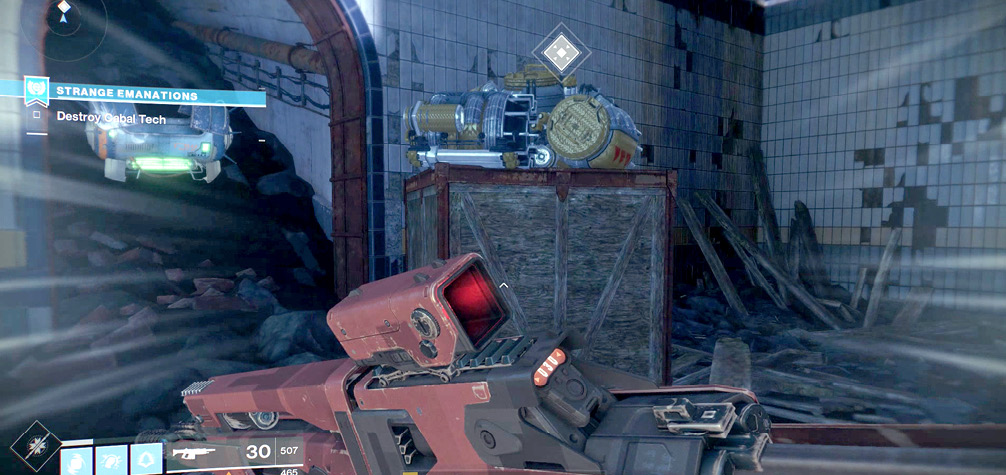
 Along with a significant enemy presence, this area contains another energy barrier. Thin out the weaker units, and then defeat the Salvage Captain to collect another explosive device. Use the explosive to destroy the barrier’s power source and open the path to the next area.
After you deal with the barrier, follow the objective marker back to Trostland and down into Widow’s Walk. Under normal circumstances, this area would be packed with enemies, but during this mission, it’s suspiciously empty. Move to the designated spot and plant a flare. Make a final weapon check, head to the relocated objective marker, and activate the flares to lure the Fallen into the area.
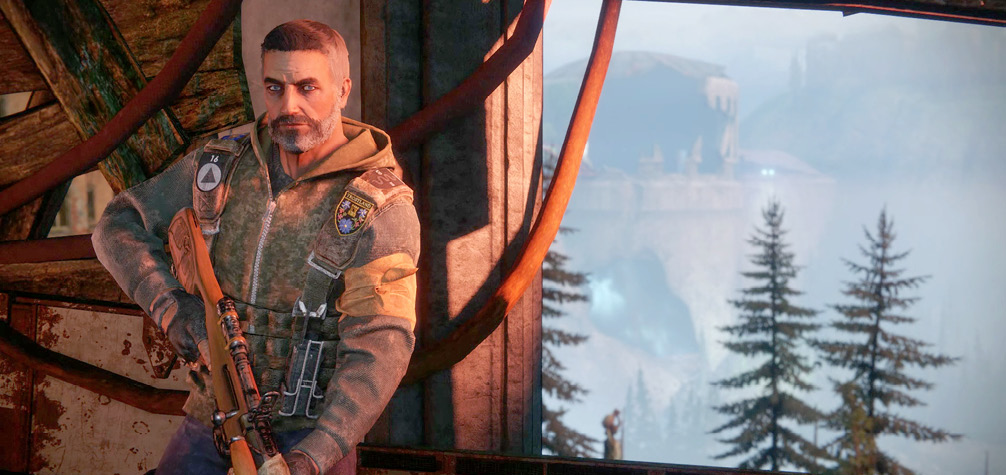
 To complete this mission, you must survive a prolonged and potentially difficult battle. Your objective is to destroy four ether caches that appear over the course of the encounter. To do so, you’ll need to overcome wave after wave of ether-enhanced Fallen and multiple elite units.
Each ether cache is guarded by a group of Empyrean Fallen, but these enemies always arrive just ahead of their ether supply. Move quickly to thin out each squad before its members receive the benefits of enhanced ether. Even after an ether cache appears, stay focused on enemy units. Clear the area, destroy the cache from a safe distance, and prepare for the next target to appear.
 After you destroy the first ether cache, a Red Legion squad led by Commander Kraug joins the fray. If your Super Ability is charged, consider activating it now. Otherwise, make good use of available cover. The second-story enclosures are especially useful, but don’t stay in any one place for too long.
Once you’ve destroyed all four ether caches, you must clear the area of all Fallen units. This includes a Dusk Captain named Maliszan. Take a moment to make sure you’ve dealt with any weaker enemies still in the area, then turn your attention toward Maliszan.
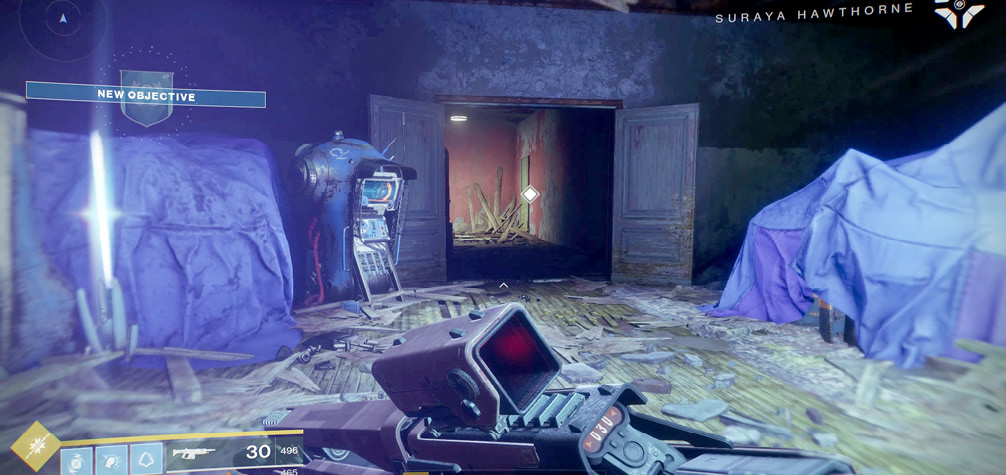
The combination of enhanced ether, heavy armor, and a quick-charging Arc Shield makes Maliszan an extremely durable opponent. Even so, the same basic strategies for battling a Fallen Captain still apply. Use an Arc-based weapon or Ability to deplete the Dusk Captain’s shield, then follow up with your most powerful attacks.
Clear the area of all remaining enemies to complete the mission and unlock the next step of the World Quest.