
Destiny 2 Guide Campaign Combustion
Salt Mines (2nd Mission)
Restricted Zone
Enemies Encountered
- Fallen: Shanks, Dregs, Vandals
Objectives
- Find another elevator (continued).
New Actions to Learn
- Investigating Objects (Scannable)
- Long-range Power Weapons
- Disarming Laser Traps
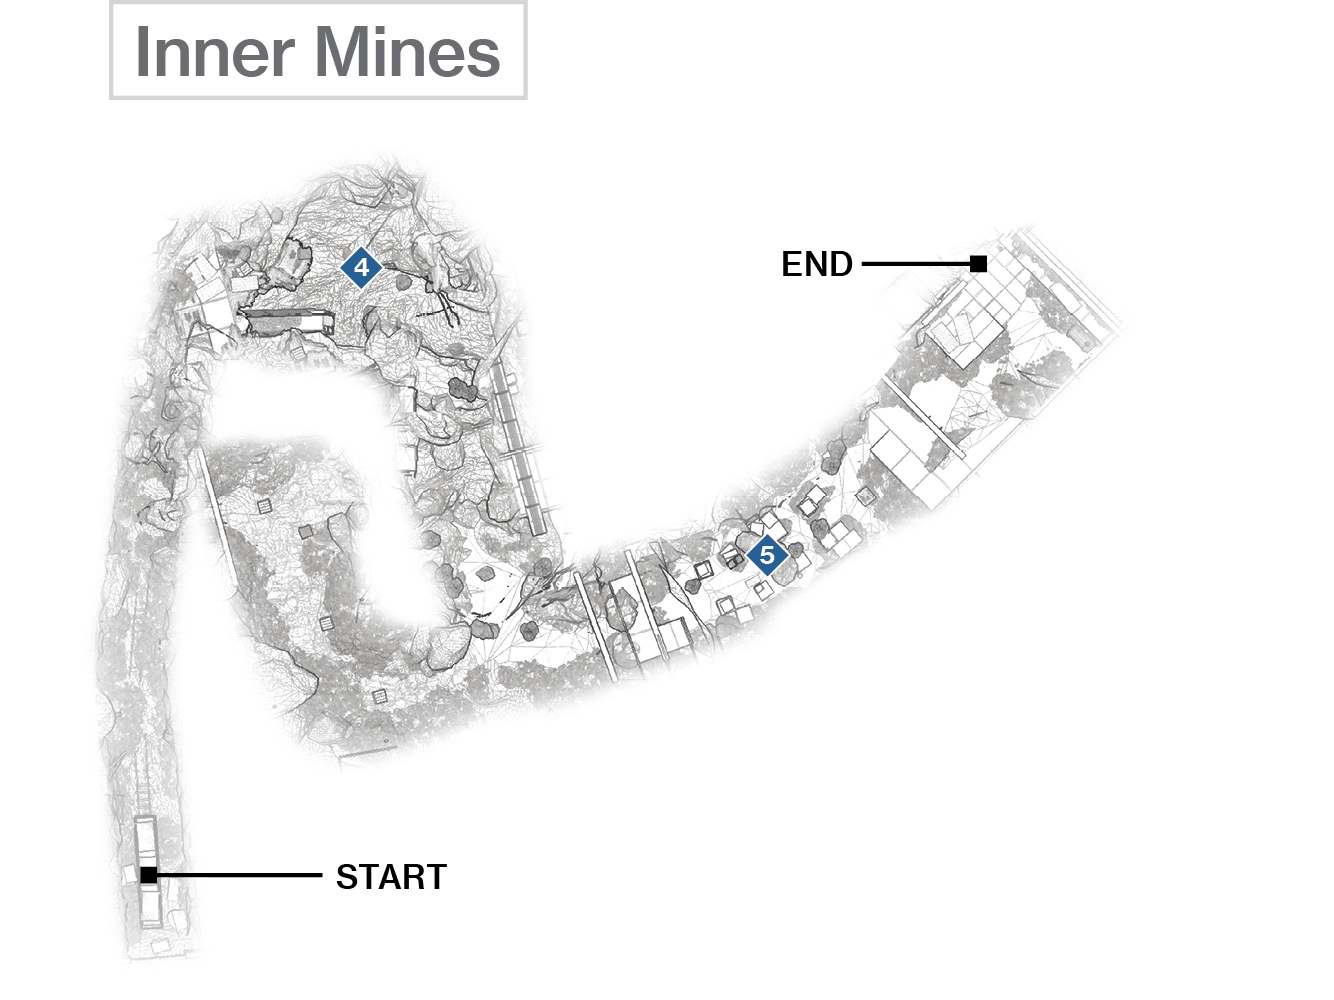
 Sinkhole
Super: Not recommended
Warning!: Restricted Zone
Grenades: Not recommended
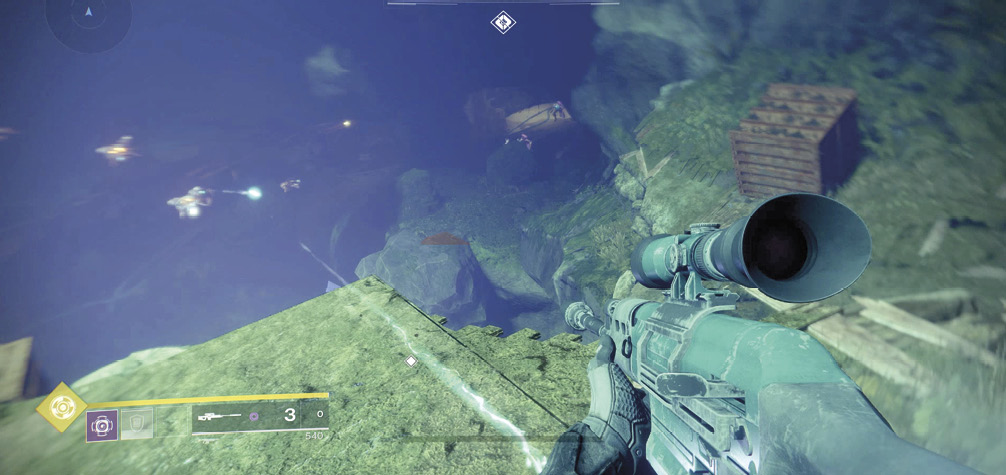
Head through the exit to a broken gantry over a lower mine tunnel. Before you drop down, leap across the gantry gap to an upper ledge where there’s an old computer terminal (scannable object). Investigate it to receive some information, and then drop down. Follow the open tunnel until the ceiling lowers enough for you to crouch, and slide into a tight connecting chamber. The remains of a resistance fighter lie at the exit into a huge sinkhole with light from above. Before you peer down the massive hole, grab the Sniper Rifle.
Step to the edge of the massive hole and peer over; deal with a trio of Shanks first. These Fallen robots shoot moderately damaging turrets and are more of a pest than a real threat. However, they are of priority concern now and should be defeated using sight-aimed gunfire.
Step back from the edge so you aren’t peppered with small-arms fire from the couple of Vandals and Dregs on the lower ledges surrounding the hole deep below you. Only step to the edge once you’ve destroyed the first three Shanks. You have a couple of seconds to lob down a grenade, try extreme-range takedowns with your Kinetic or Energy weapons, or bring out the Sniper Rifle and tag these foes with headshots. Switch (and step) back a few seconds later as six more Shanks appear. Expect a couple more Dregs on the lower ledges, too.
You could also drop down and engage the foes with a shotgun at closer quarters, though the Shanks become more of a problem once you give them the height advantage.
Feel free to perfect the slowing of your fall with a Movement Mode activation before you reach the ground after dropping off the upper ledge. The timing of this depends on your Guardian class.
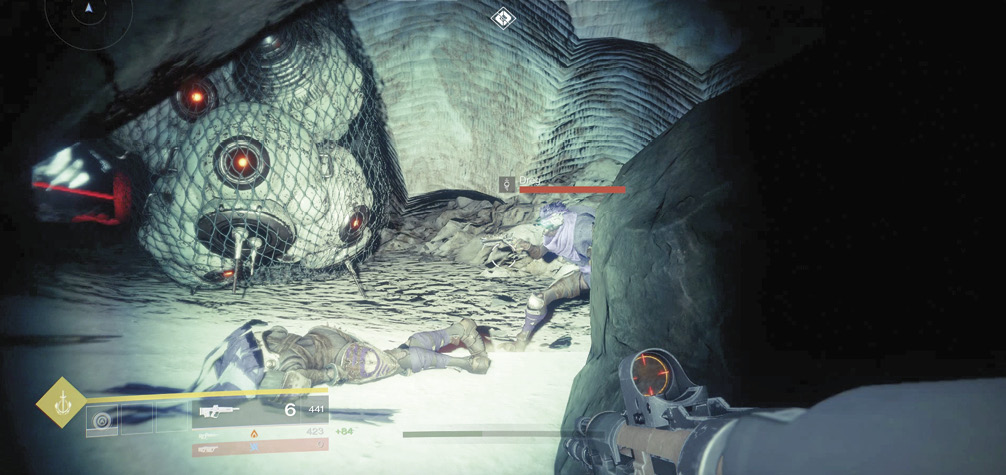
Head deeper into the sinkhole into a pitch-black, steep tunnel with five Shanks at the entrance and five assorted Fallen (Vandals and Dregs) at the far end. Once you’ve dealt with the Shanks, it’s worth tagging the other hostiles from range if you can. Soften the lower foes up with a grenade (if available), and then descend and melee attack any that remain. With the area secured, enter the door marked with a “Vorsicht” sign (“Attention” in German).
 Laser Trap Tunnel
Super: Not recommended
Grenades: Not recommended
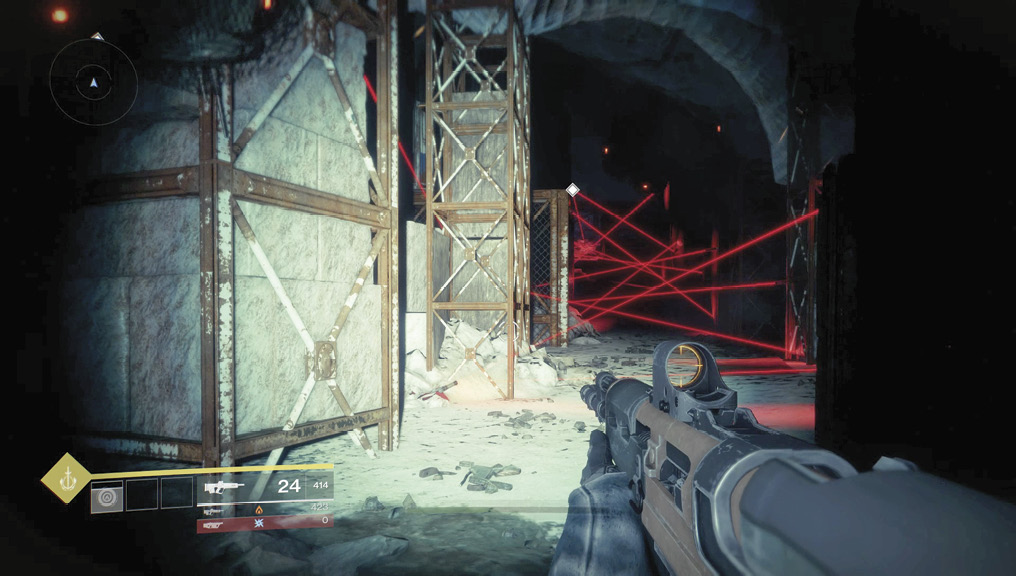
Although the rusting metal doors are swung wide open, the tunnel ahead is less than welcoming, with more than a dozen laser traps for you to contend with. These are easily neutralized, but being caught in the explosion after you fire at the explosive end of the laser can kill you. Step back from the door, and fire at the first laser (lower-right side).
Step through into the main tunnel with a mesh of lasers. Look up and left and shoot one laser, then a second on the limestone ground ahead and left, detonating the first cluster of lasers (ideally, without you being nearby). Then, advance.
When you reach the area shown in the previous picture, you can’t aim at the closest laser trap from your current angle. Stay back and aim at the traps beyond the first one; detonate the one on the ceiling, then two on the rubble, and then skirt to the left of the rusting storage shelving. Look back, and you can now spot the laser, either destroying or ignoring it. Head farther up the tunnel so you aren’t caught by the explosion.