
Glade of Echoes
Nessus, Unstable Centaur
Enemies Encountered
- Fallen: Dregs, Wretches, Marauders, Vandals, Captains, Servitors, Spider Tank (destroyed)
- Vex: Goblins, Minotaurs
- Vex: Boss: Acanthos, Boss Minotaur
Objectives
- Find Cayde-6 (continued).
- Kill the Boss.
Slaying Acanthos the Boss Minotaur
Super: Recommended
Grenades: Recommended
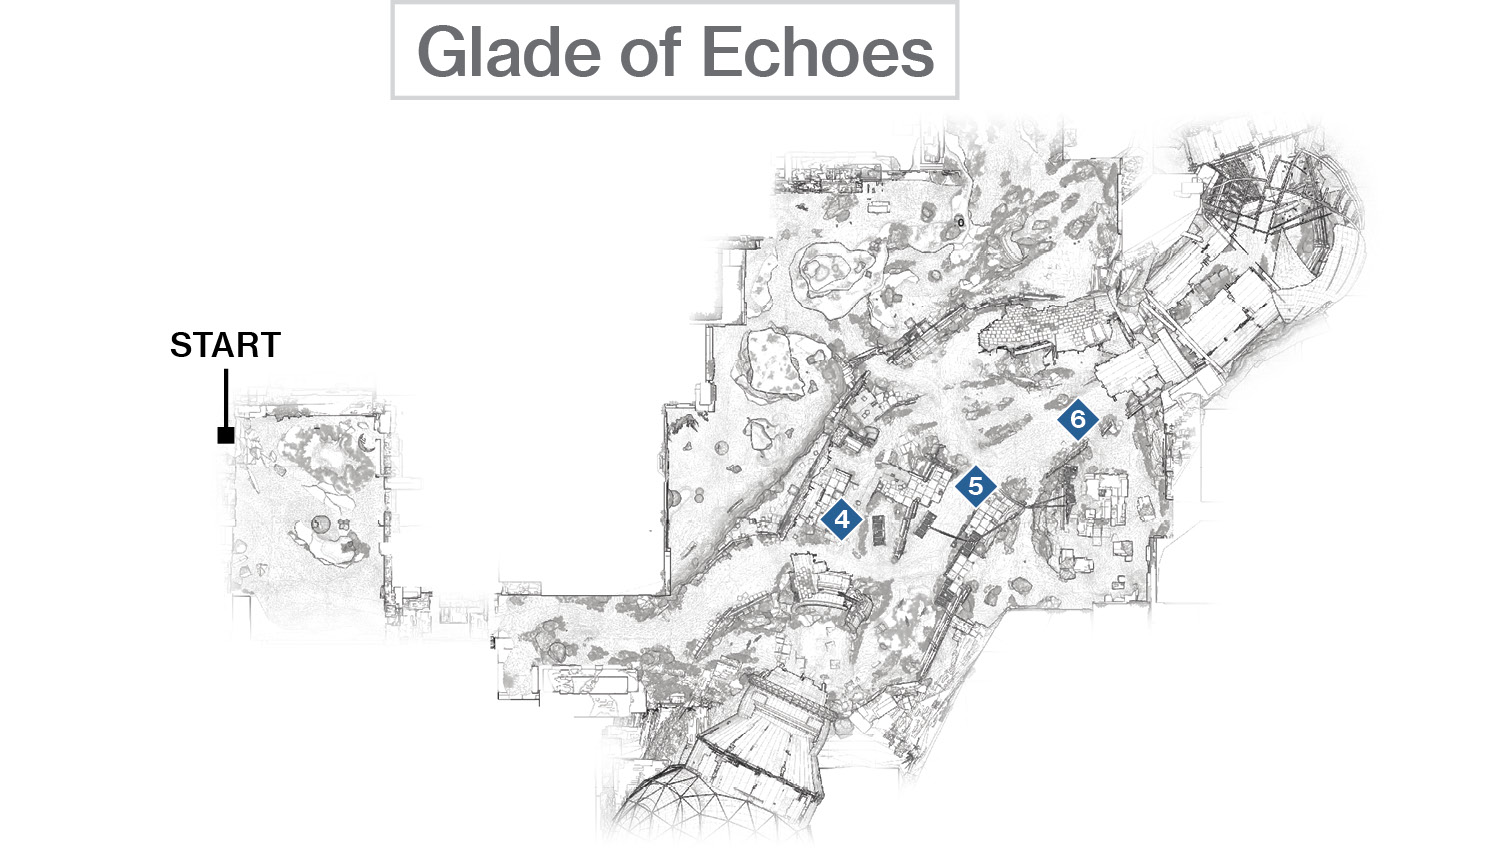
It seems the Vex have a shield up, preventing you from reaching the crash site of the Exodus Black (Cayde’s ship and possible location). The shield is linked to a gigantic, Minotaur Vex known as Acanthos. This Boss Minotaur isn’t the only entity standing between you and the crash site, though. A massive battle between Fallen and Vex is taking place, and you’re caught in the midst of it!
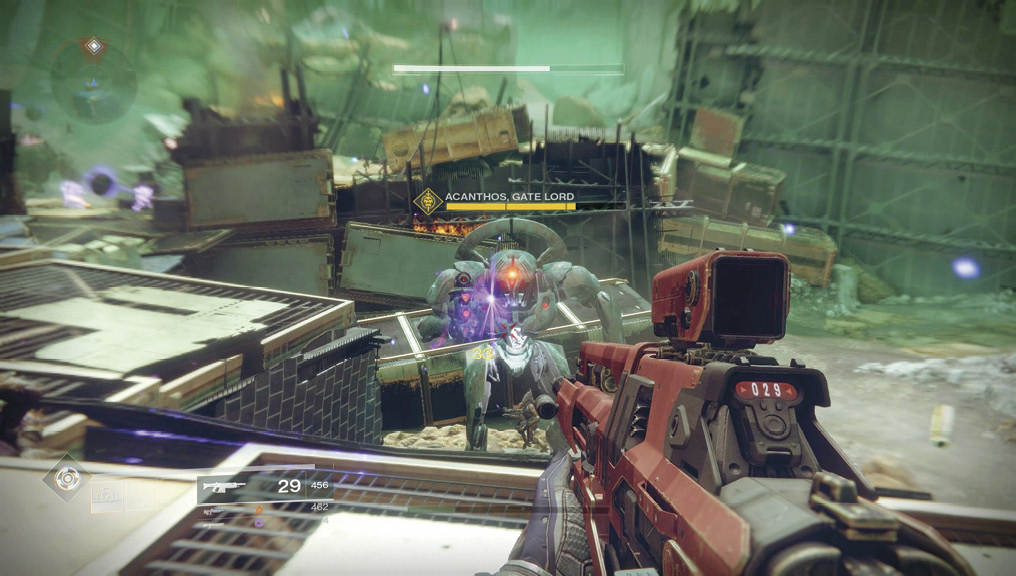
 Battle Cluster #1 (Waypoint #4): The first of the three areas where you must reduce the health of Acanthos is where the Boss Minotaur and a small contingent of Goblins are battling against a Fallen Captain and his trio of Vandals (though other Fallen and Vex forces are in the vicinity). Try one of the following plans:
You can sneak behind the action via the massive skeleton of a spacecraft’s fuselage onto the platforms on the other side where the Captain and Vandals are, and wipe them out. However, Acanthos can simply redirect all his offensive firepower at you. Stay away from the lip of the platform (so the Goblins can’t hit you), and sidestep Acanthos’ gunfire until he disappears. Then, look down and defeat any remaining Goblins now that Acanthos cannot protect them.
The other main plan is to adopt a longer-range, indirect approach. Ignore the main fighting, and circle around to the large stack of cargo containers beyond the Boss Minotaur on the far side of the main ravine road. Jump up to gain some height (and cover opportunities), and start some long-range sniping with a rifle that has low recoil. You can pepper the torso of Acanthos until he disappears without being struck at all, if you’re far enough away. You’ll use up a lot of ammo and can’t hit his weak spot, but it’s the safer option. Or, you can snipe from the gigantic circular fuselage section on the lower part of the zone to the right of where you first saw the Boss Minotaur, using the cover there if Acanthos turns to focus on you. Dart out, shoot his weak spot, then dive back into cover.
Also, be aware that a little farther down the “ravine” of crashed spacecraft parts (between waypoints #4 and #5) is a smaller pitched battle where a Captain and a group of Wretches fight a Minotaur and Goblins. Feel free to remove these on your way to waypoint #5, or leave them to finish each other off.
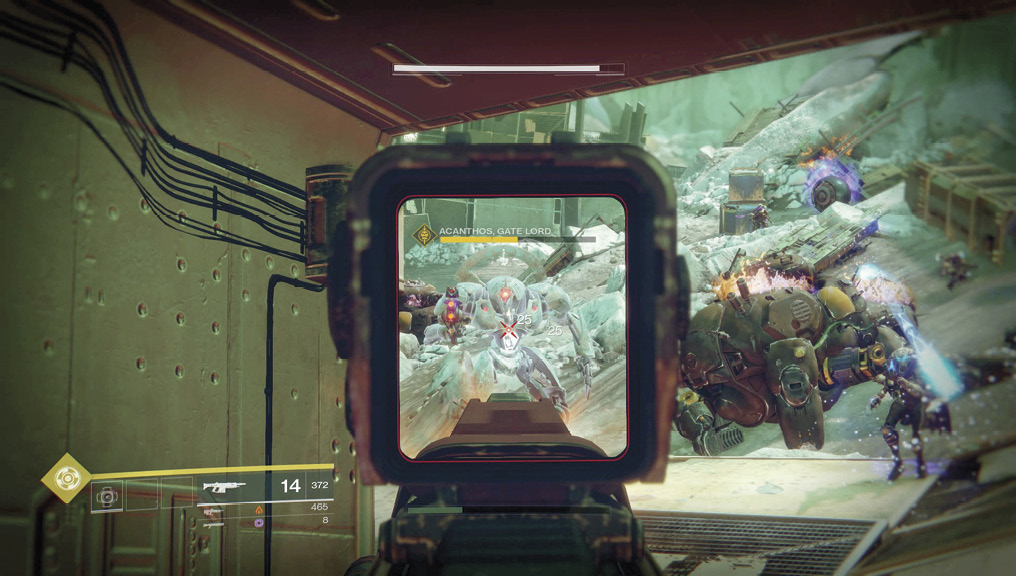
 Battle Cluster #2 (Waypoint #5): The second area is directly in the middle of the battlefield, with multiple flashpoints of combat. Above the dirt road, there are Fallen foes on wreckage platforms, including a Captain with a shrapnel cannon, Vandals, and a Servitor providing protection to some Dregs. The Vex forces are some Goblins with a Minotaur on the dirt road and Acanthos himself near the smoking remains of a Fallen Walker. Your options are similar to before:
Head directly in from waypoint #4 to the platform by the Servitor on the “left” side of the road (if you’re looking uphill), and use cover as you advance. Remove the Servitor as a threat first, then any Dregs. Target the Vandals and then the Captain before a protracted attack on Acanthos, using the same cover sidestepping plan as before. This is a long and drawn-out process, so save some time by lobbing in a grenade at any foe clusters or the Captain for quicker kills.
A variant of the previous plan is to jump on the cluster of strewn cargo containers on the right side of the dirt road, coming up behind the Captain with the shrapnel cannon and Vandals. Before dropping them at closer quarters, stay at range (the entrance through the open container), and shoot the Servitor from distance. Or, jump across the dirt road and land by the Servitor, dispatch it and the Dregs, then leap back. Remove the Vandals and Captain next, leaving only the Vex foes to worry about; concentrate your firepower on the Boss Minotaur, using the interior of the open container as partial cover. Then, use your height advantage to lay waste to the Goblins and Minotaur, or ignore them and press on.
A second variant of the previous plan is to step into the open cargo container near the Captain and two Vandals, removing the Vandals but remaining inside the container. Attack Acanthos next, and then worry about the Fallen Captain, the Servitor, Dregs, and finally showering hot death down on the Minotaur and Goblins on the road itself.
For those with only Acanthos on their minds, skirt the outer edge of the dirt road to the cargo containers, then the gap behind the remains of the fuselage on the opposite (right) side of the road. Find some excellent height and cover on the rocks or other scenery around here so you can easily pepper the Boss Minotaur with gunfire, ducking down or simply sidestepping to easily avoid his return fire. Though you may not be hitting his weak spot, he’s still taking damage, and you can circumvent all other combat once he teleports for the last time.
 Battle Cluster #3 (Waypoint #6): The Boss Minotaur’s final stand takes place farther up the dirt road hill. The forces still battling at this point are Goblins on the road near Acanthos’ feet (near the burning Fallen Walker) and two groups of Fallen: a Servitor and two or three Vandals in each group. You have two options:
- Creep around the left perimeter of the battle and quickly tackle the Servitor and Vandals before facing down the Goblins they were attacking. Do this for both groups, moving continuously and being very aware that you could be overwhelmed. Lobbing a grenade and using your Super are both recommended at this point. Whether you focus your Super on the smaller foes or the Boss depends on the type of Super you’re using. (It’s more proficient to strike Acanthos at his weak spot, which makes airborne attacks much more potent.)
- Or, you can climb the rocks and scenery to the right of the dirt road, firing down from above the fuselage section nearest the exit road. Shoot Acanthos in his weak spot until he yields, ensuring that you aren’t struck by him during this frenzy of gunfire.
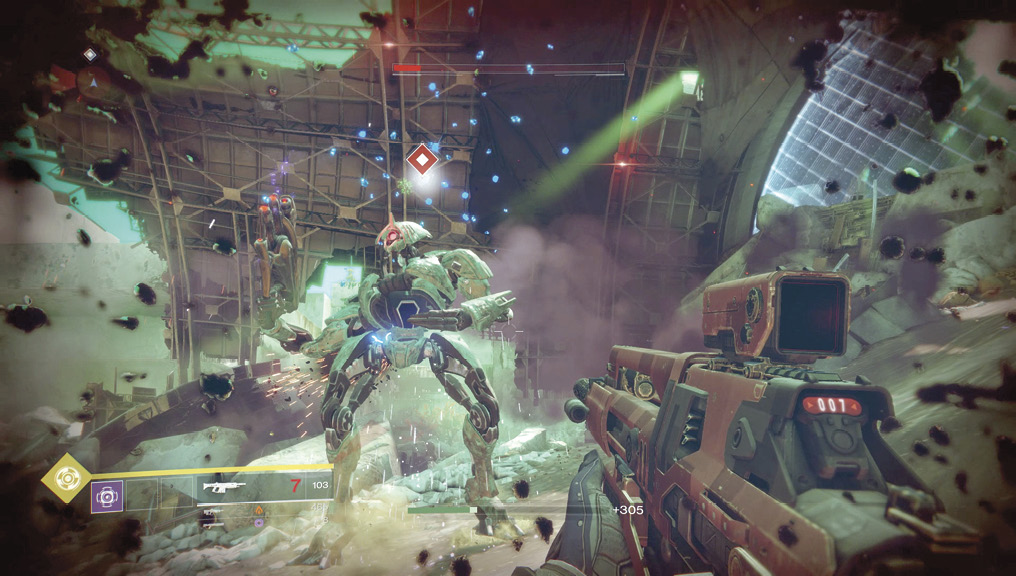
After that, you can leave the remaining enemies and escape through the dissipated energy wall, or you can mop up.
No matter how many enemies you’ve slain, once Acanthos falls, you should head uphill. Exit through the gigantic rib cage-like ruins of a massive rusting spacecraft, and head downhill (or through a large tube) into the crash site itself.