
Destiny 2 Guide Campaign Riptide
The Rig
Seas of Titan
Enemies Encountered
- Fallen: Vandals, Dregs
- Hive: Acolytes, Shrieker, Knights
Objectives
- Restore shipyard power.
 Shrieker Bridge
Super: Optional
Grenades: Optional
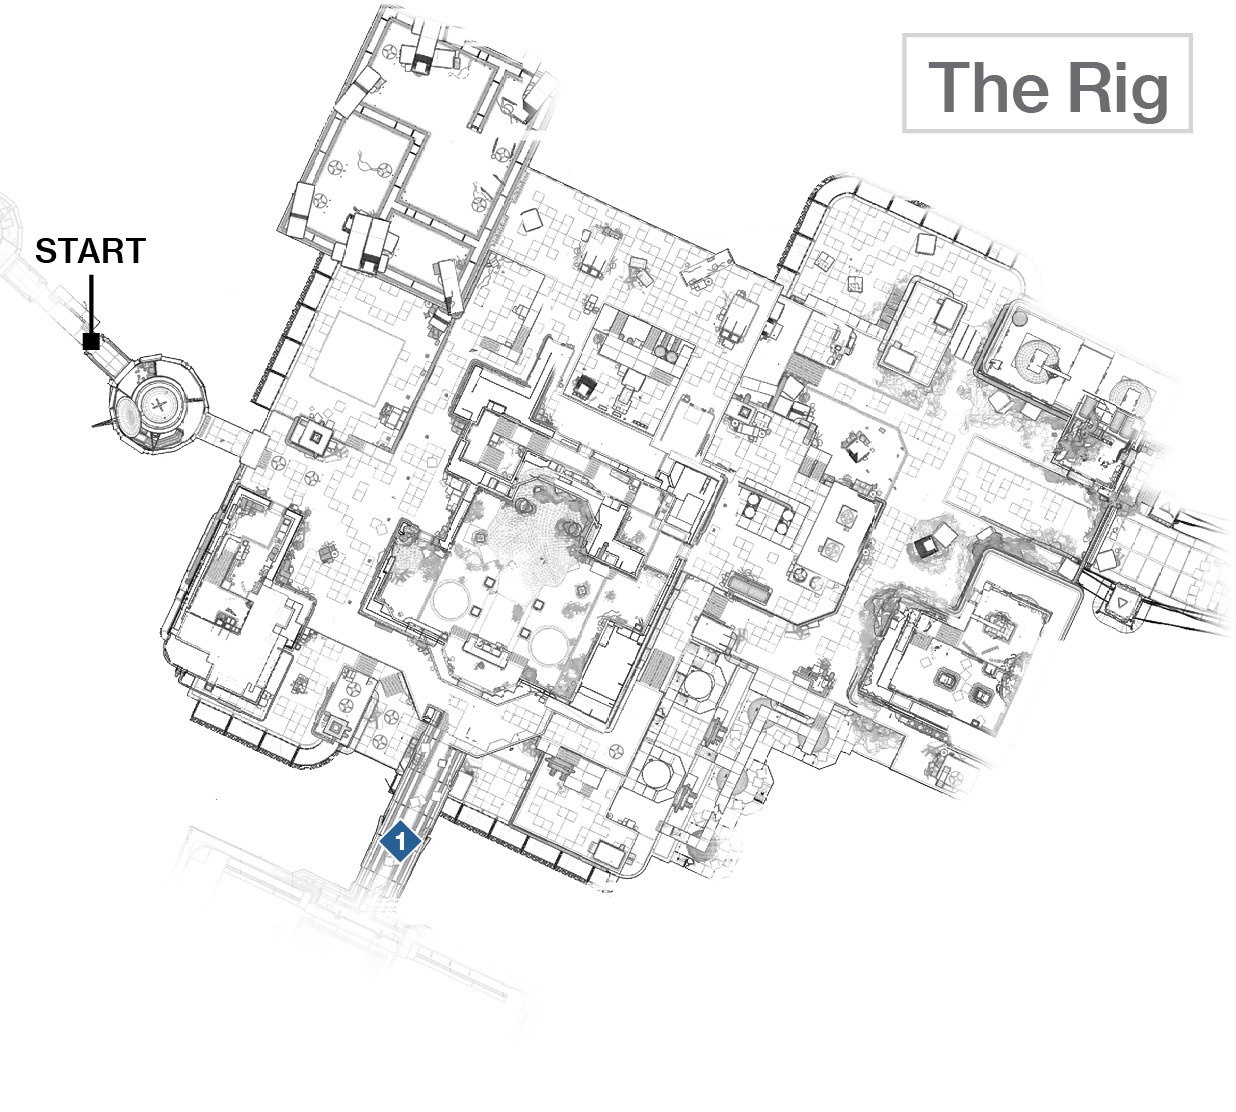
You begin your mission at Siren’s Watch, and it’s a simple drop and sprint down to the two connecting towers (01 and 02) that link Siren’s Watch to the Rig.
Once you’re exploring this new area on Titan, edge forward to witness a pitched battle between Fallen and Hive forces. Acolytes are engaged against Dregs and Vandals. You can watch this, but there are no sides to take; both enemy groups will turn on you. Remove the closer Acolytes first, use the crate to hide behind, and then drop the Fallen foes before moving along a ledge with a view of a bridge ahead and left.
This bridge is being assaulted by Fallen, but the large floating sentry known as a Shrieker with its incredible rate of void projectiles is laying waste to them. Add to the Fallen’s troubles by tackling the Vandals and Dregs on the near side of the bridge, clearing the area so you can focus on the Shrieker yourself. You can choose from several tactics:
Patiently sidestep out from the cover afforded by the bridge pillar with a weapon aimed at the Shrieker’s central “core” (its precision hit spot), then step quickly back again before the Shrieker’s bombardment of orb-like bolts strikes and kills you. Repeat until one of you is dead.
Shoot the Shrieker from distance using a sniper rifle, prior to arriving at the bridge. The crate the Acolytes were fighting from when you first encountered enemies is a good cover spot. A sticky grenade (which only certain Guardians can spend ability points on to choose) is worth lobbing if you can get it to hit the Shrieker itself. Even if you miss, the grenade can damage the Acolytes and Knight you need to pummel next.
A Super is also an option, though Supers that mainly deal damage at ground level aren’t as potent as attacks from the skies, for obvious reasons (the Shrieker is stationary but airborne). This makes short work of the Hive ground forces, however.
With the Shrieker neutralized, optionally turn 180 degrees around and explore the darkened room behind the bridge (for a scannable item or two) before crossing the bridge. The six or so Acolytes and Knight shouldn’t be a problem, as you have good line of sight for ranged headshots and cover across the bridge if you want to tackle them at closer quarters. A grenade is a good way to soften them up. Then, enter the huge rig building with the sunburst logo above the bridge, go into the dark cargo ramp room, and take a left, heading up through the secretion-filled side gantry corridor.