
Destiny 2 Guide Adventures Nessus Adventures
Assault of Black
Starting Location
Recommended Power
- 90
Prerequisite
Reward
- Rare gear +1
Description
- Fallen activity near the Exodus Black has risen.
After commencing the Adventure, tackle the cluster of Fallen ahead and right of you, at the edge of the lake on the southeastern perimeter. One of the Captains here (there are two, along with a group of Dregs) is an Assault Scout. Quickly use your Sparrow and jet across to the Exodus Black entrance area. Fallen dropships have deposited some toughened Vandals (Assault Fallen) and an explosive barrier. Remain at the upper entrance area, and fight them with quick jumping and rapid fire.
Stalk the specific prey (use Ghost to scan for them if necessary), and slay them to increase your percentage. The usual foes (Shanks and a Captain, plus Dregs) that may be active in this area are additional kills. With the central mechanical components of the barrier shot at until it explodes, you’re usually successful and can follow the Fallen signal.
The remaining Fallen and any reinforcements at the Exodus Black are optional kills. Instead, drive your Sparrow across the Sector, through the rickety Fallen base and to the sunken tunnel entrance on the northeast side where the Shanks are guarding. Enter the tunnel, engaging or ignoring the expected Vex Goblins and Minotaur inside the tunnel. Then, enter the Vex portal on the upper ledge.
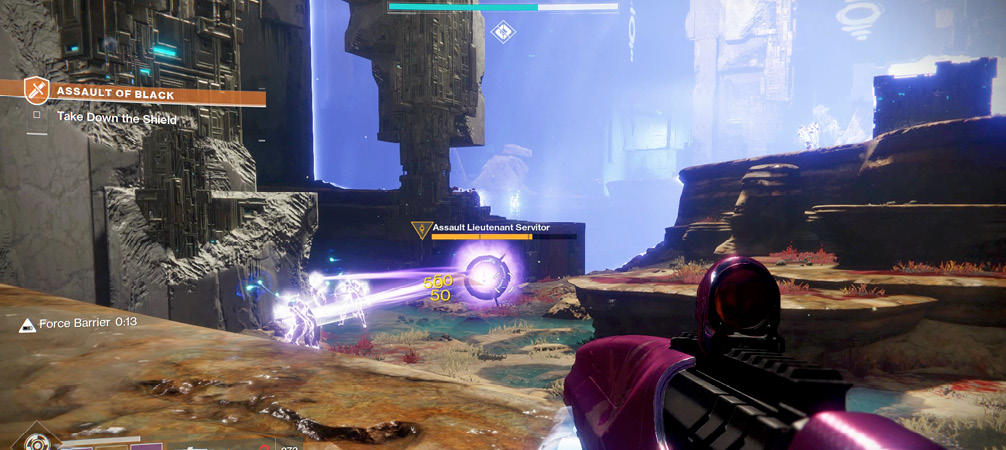
This leads to the Chamber of Sky, which is a Restricted Zone. Continue into this huge arena, skirting clockwise around the left edge of the perimeter and engaging Dregs and a Servitor. Your biggest concern is a Elite Servitor that’s powering the huge energy barrier and preventing progress.
Attack it using grenades and a Super, and watch for Vandals and Exploder Shanks in the immediate area. When the Shanks arrive, back up to the entrance, and defeat them so you aren’t killed in their explosions. Return to finish the Servitor. Watch for Vandal snipers, too. The Servitor leaves its core behind. Pick it up, race to the shield generator, and place the orb inside, deactivating it.
Once the majority of this chamber opens up, you have two generators to deactivate in exactly the same way. But now, you must worry about two Servitors and several Dregs, Vandals, and Exploder Shanks. The scene is chaotic, so use the protruding block scenery to stand on and employ as cover. Back up, and take down the Shanks first. Then, jump around and kill Vandals (especially these sniping fiends) and Dregs away from the Servitors so they don’t distract you later. Next, concentrate on either of the two Servitors, and demolish that one. A Super, rockets, and grenades may be necessary. Attack the remaining Servitor. Mop up any stragglers afterward before picking up the two cores one at a time and inserting them into either receptacle to override the second barrier’s two generators.
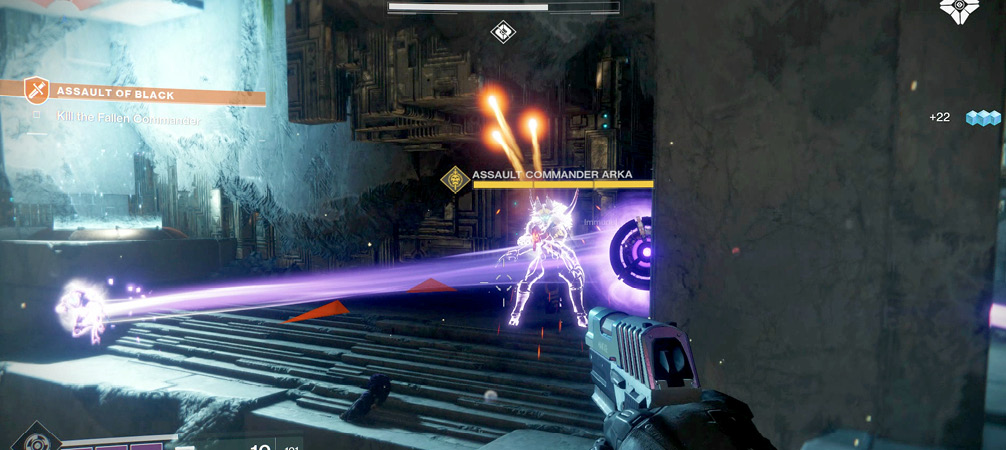
The mayhem isn’t quite over yet! With this Sector fully accessible, you can head to the far end of the chamber and engage a Boss Captain in battle. He’s made invulnerable by a Servitor, so remove that first. Rushing in usually gets you killed, so exploit the scenery, use the upper ledge near the teleport, and keep those headshots going! As each third of his health is removed, expect another Servitor (along with a few Dregs and Vandals) to arrive. Repeat the plan of targeting the Servitor, launch a Super if you must, and throw whatever you can at the Captain. When he dies, the Adventure is complete.