
Destiny 2 Guide Curse of Osiris
Mercury Adventures
Normal Adventures Overview
When players complete the campaign, Brother Vance will grant you access to Mercury Adventures. After you go through all three adventures, Heroic Adventures will unlock.
Heroic Adventures Overview
%20Future_WM-00_00_04%20-00001.png)
Once the campaign is complete and all normal Mercury Adventures are completed, then Heroic Adventures open up. Guardians are recommended to be at Power level 300 with one rotating unique modifier plus one Nightfall-type modifier. You may choose to complete up to three Heroic Adventures within a reset period for a 330 Power Lighthouse Engram reward. Heroic Adventure resets occur on Mondays and Thursdays. You may attempt this solo, but it is recommended that Guardians bring a fireteam.
The simulation will differ each time: past, present , future, or the enemy combatants you may face. You will know the enemy you face based on the description of the adventure when selecting it. Prepare for such eventualities with weapons that break that faction’s preferred shields: for Hive, Solar; for the Fallen, Arc; for the Vex, Void. You may break shields with any elemental, but matching shields with your weapon creates an AoE explosion–and a lot of enemies are closely bunched up within the Infinite Forest. These enemies use other shield types, so do not rely entirely upon one single elemental type to break shields. Crowd control will be a key factor here, as will being able to quickly eliminate long-range type enemies.
Investment
Forge Prophecies
After completing your first Heroic Adventure, Vance will give you a new item, a prophecy verse, to teach you how to charge prophecy verses and forge them into unique weapons. The verse is stored in the consumables inventory. Each verse has an objective progress, and can be previewed to see what material offerings are needed to advance the verse and where to find them. After you've completed the initial verse, Brother Vance will allow access to a maximum of 1-3 different verses to start.
Once players have gone through 4 verses they will unlock a verse that requires a new questline. After the quest line and verse are completed, you can continue with the remainder of the prophecies will continue. There are 11 total verses to fulfill the forge prophecies—As a note, each Prophecy Verse can only be completed once, and only one Prophecy Verse can be accessed across all characters at a time.
There are five different material offerings to collect (see below). Players must complete the corresponding activities to receive materials. When the activity is complete, it will generally yield green material drops (blue ones in rare cases). Players can turn 10 green material drops into Vance to acquire a blue material that will allow them to apply it to a verse.
| Offering name | Quality | Max stack size | Conversion cost | Obtained from these sources |
|---|---|---|---|---|
| Radiolarian Culture | Common (green) | 20 | N/A | Public Event Chests & Destination Chests |
| Concentrated Radiolarian Culture | Rare (blue) | 3 | 10x Common Radiolarian Cultures | Rarely from Public Event Chests & Destination chests |
| Paradox Amplifier | Common (green) | 20 | N/A | Strikes, Crucible, & Heroic Adventures |
| Advanced Paradox Amplifier | Rare (blue) | 3 | 10x Common Paradox Amplifiers | Rarely from Strikes, Crucible, and Heroic Adventures |
| Fossilized Hermaion Blossoms | Rare (blue) | 3 | N/A | Nightfall, Trials, Heroic Strikes |
A Bug in the System (Past)
Objectives
- Look for Trouble
- Step into the simulated past
- Disable the security barrier
- Eliminate the Hive
Starting Location: The Lighthouse, Mercury
Recommended Power: 250+ (Normal), 300+ (Heroic)
Prerequisite: Speak to Brother Vance after completing the Campaign Mission: Omega
Reward: Boss Chest, Lighthouse Engram (Heroic)
The Vex are running a Hive simulation, so get in there and put the kibosh on the Hive. You might be stepping into the dark future of Mercury or the past, depending on random variables in the simulation. This section covers the past.
%20Past_WM-00_09_12%20-00002.png)
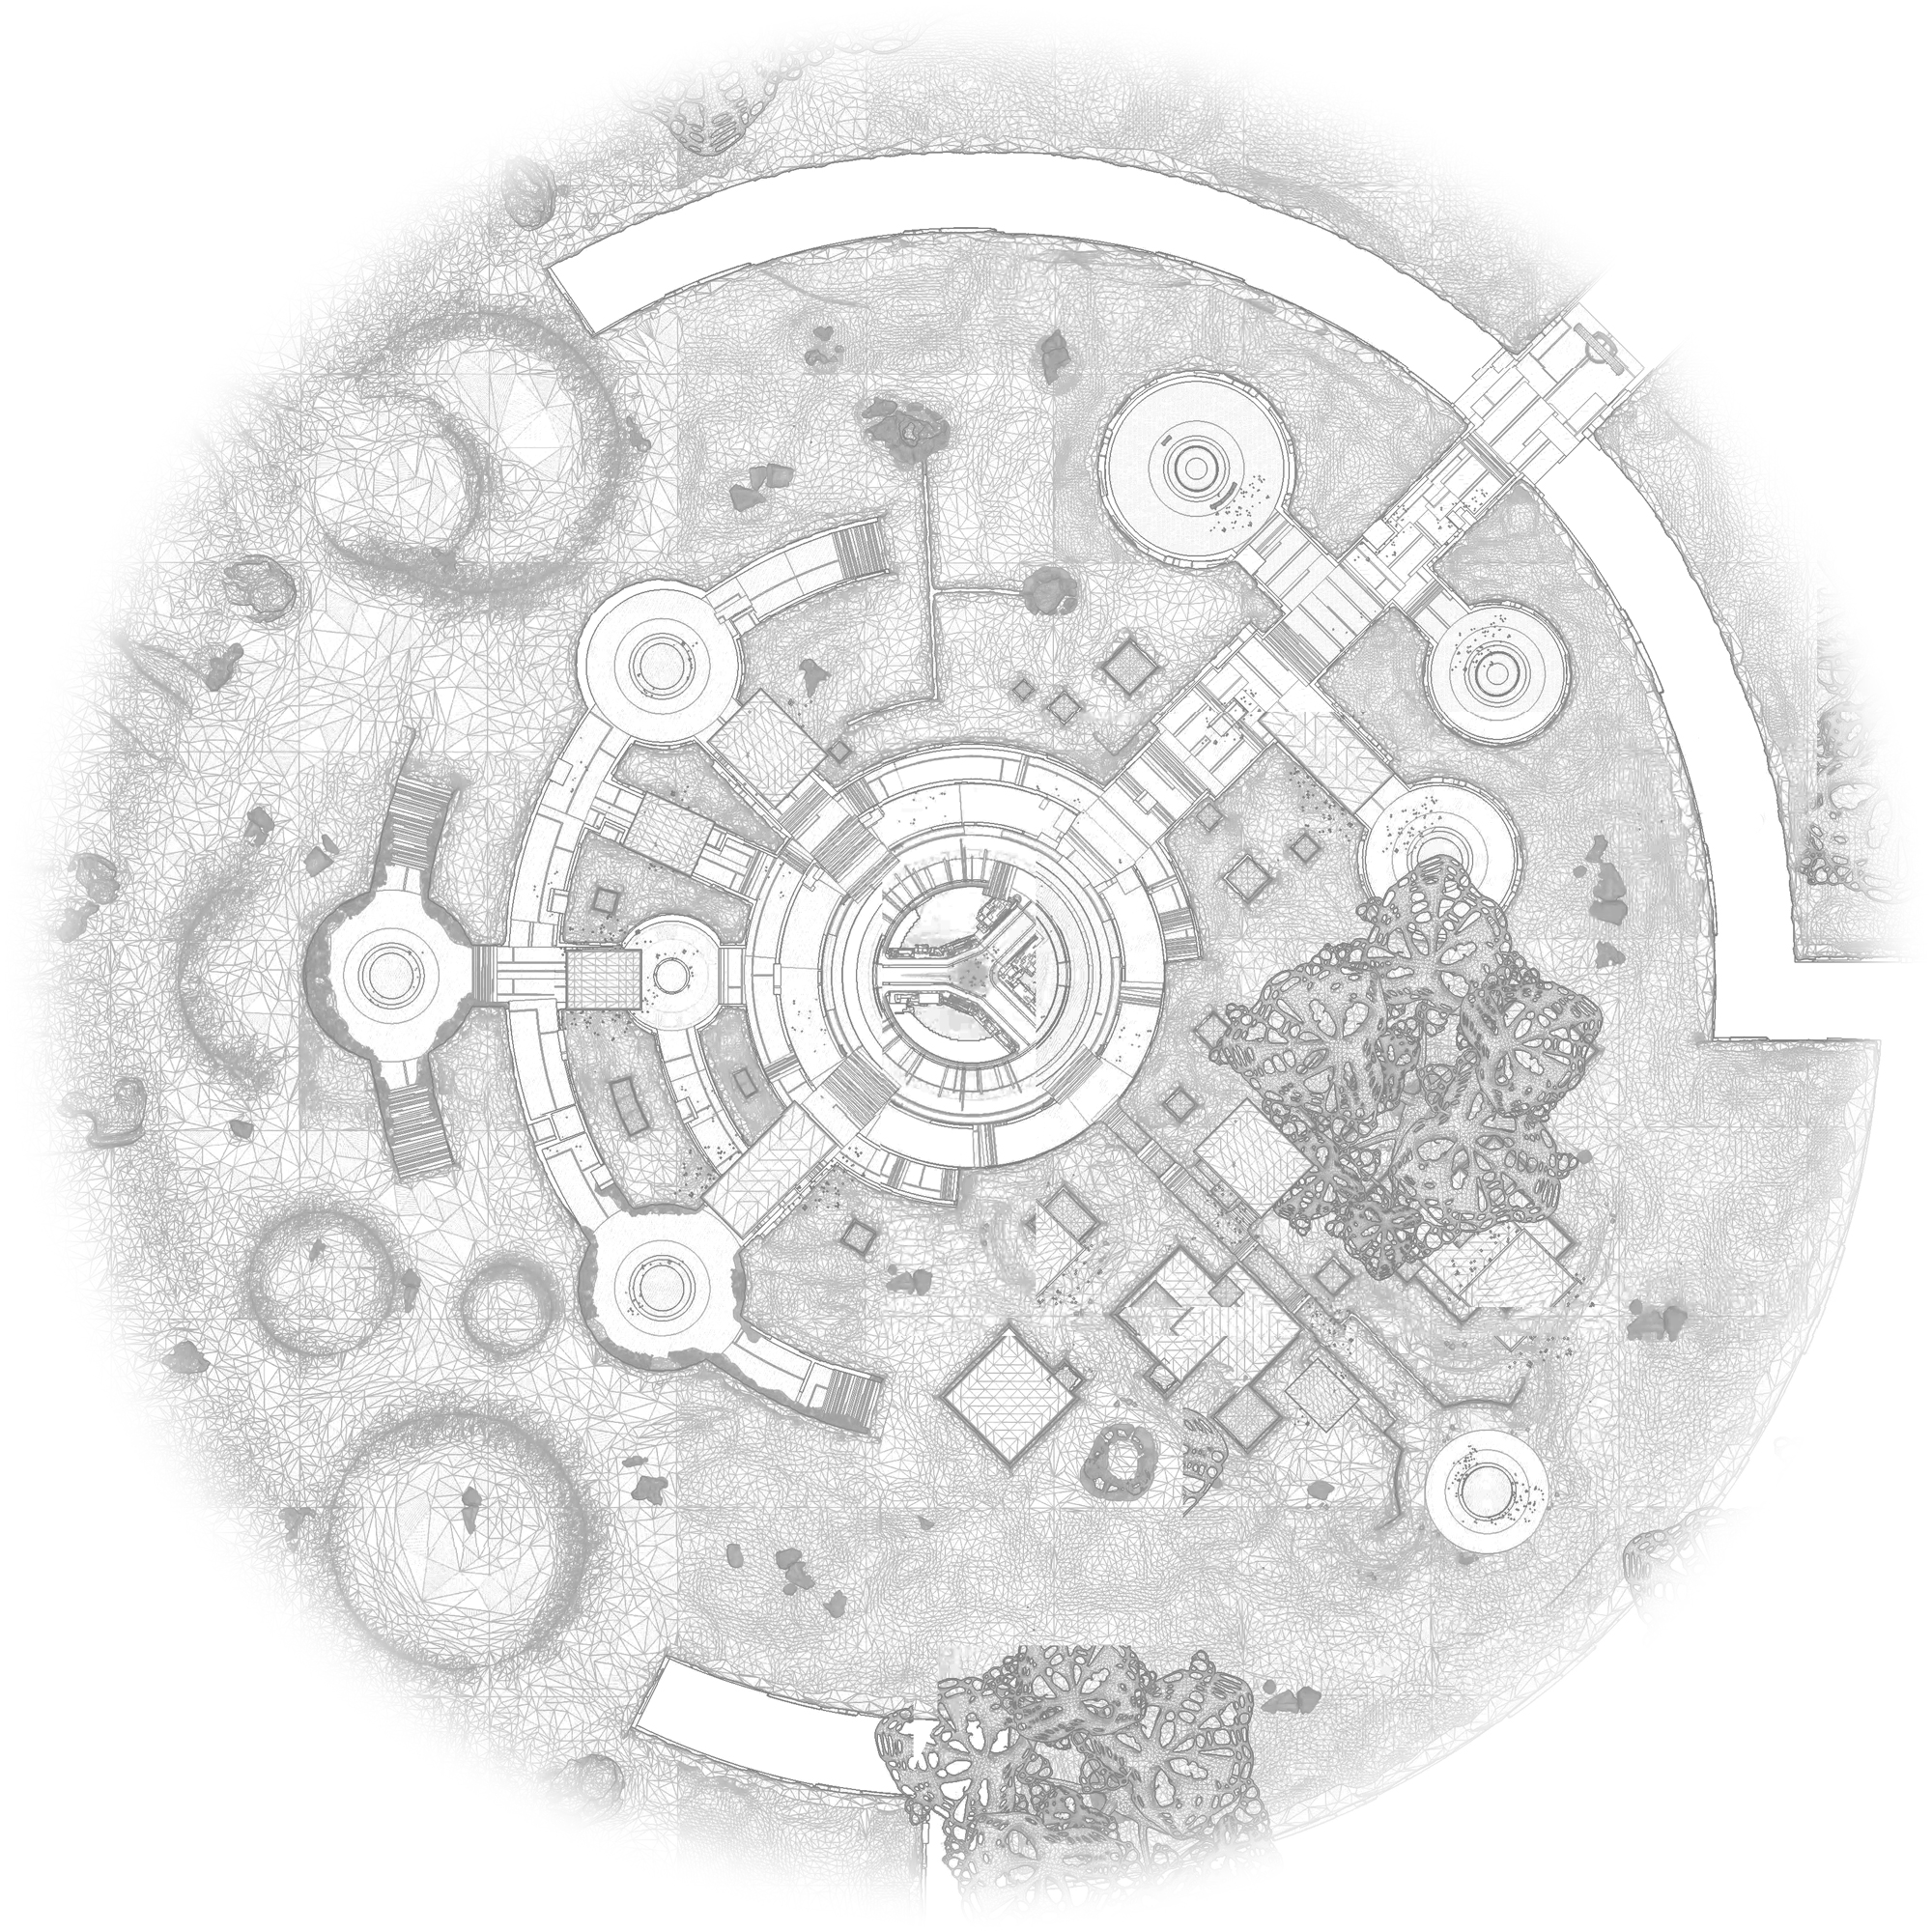
Once you’ve initiated the Adventure, follow the first objective marker to head into the Infinite Forest. The Infinite Forest can vary each time Guardians pass through; however, you may experience increased likelihood of varied Hive during this Adventure. You may want to see our Infinite Forest section for a few more tips. Otherwise, bring your big guns and do what you do, Guardian!
%20Past_WM-00_24_23%20-00001.png)
Step into Mercury’s past, which has been infested by Hive. To proceed, disable the security barrier by destroying the Vex Barrier Mind.
%20Past_WM-00_24_34%20-00003.png)
The Barrier Mind drops an Arc charge, which you’ll need to take up the hill and place into the center of the security barrier. Defend the barrier from being attacked and desynced by the Hive.
%20Past_WM-00_25_16%20-00005.png)
Now that the Hive smell radiolarian fluid, they’ll be coming in droves. Eliminate two waves of incoming Hive. They will begin to rush with many Thrall and Cursed Thrall. Try to detonate the Cursed Thrall to take out the Thrall within proximity. If the Thrall get into the security area ,then they will cause your Ghost to desync. If the Thrall are allowed to desync Ghost from the system, then the security barrier will reactivate, which require you to destroy another Barrier Mind to repeat the first step. Staying within the barriered security area will damage any Guardians.
%20Past_WM-00_27_58%20-00006.png)
The Hive come back with a second wave and bring tougher enemies. Destroy the Thrall along with a few Knights. The Knights are followed by Acolytes, including some tougher Revenant Acolytes. Destroy these while avoiding fire from the Tomb Ships. Generally, three Guardians should be enough to cover each entryway and assist teammates quickly.
%20Past_WM-00_32_56%20-00011.png)
Once the final wave begins, a Herald of Savathŭn with two Revenant Wizards appear to be starting a ritual at the distant pillar. Begin firing on them from afar and do not approach too quickly, as Thrall and Acolyte reinforcements arrive. For this battle, players can position themselves atop the security pillar to pick off approaching combatants. Quickly take out approaching Thrall, then focus fire on one of the two Wizards. Dealing with the Wizards gives Guardians more time to react to the Herald's bombardment.
Alternatively, rather than remaining near cover, anyone with a weapon like a Wardcliff Coil can approach the Wizards with stealth and take them out quickly, making the rest of the bout that much easier. Once the Hive are eliminated, a chest spawns in the barrier room. Pick it up for random loot. It should drop a good number of items.
A Bug in the System (Future)
Objectives
- Look for Trouble
- Step into the simulated future
- Disable the security barrier
- Eliminate the Hive
Starting Location: The Lighthouse, Mercury
Recommended Power: 250+ (Normal), 300+ (Heroic)
Prerequisite: Speak to Brother Vance after completing the Campaign Mission "Omega"
Reward: Boss Chest, Lighthouse Engram (Heroic)
The Vex are running a Hive simulation, so get in there and put the kibosh on the Hive. You could be stepping into the dark future of Mercury or into the past, depending on random variables in the simulation. This section covers the dark future.
_WM-00_03_58%20-00001.png)
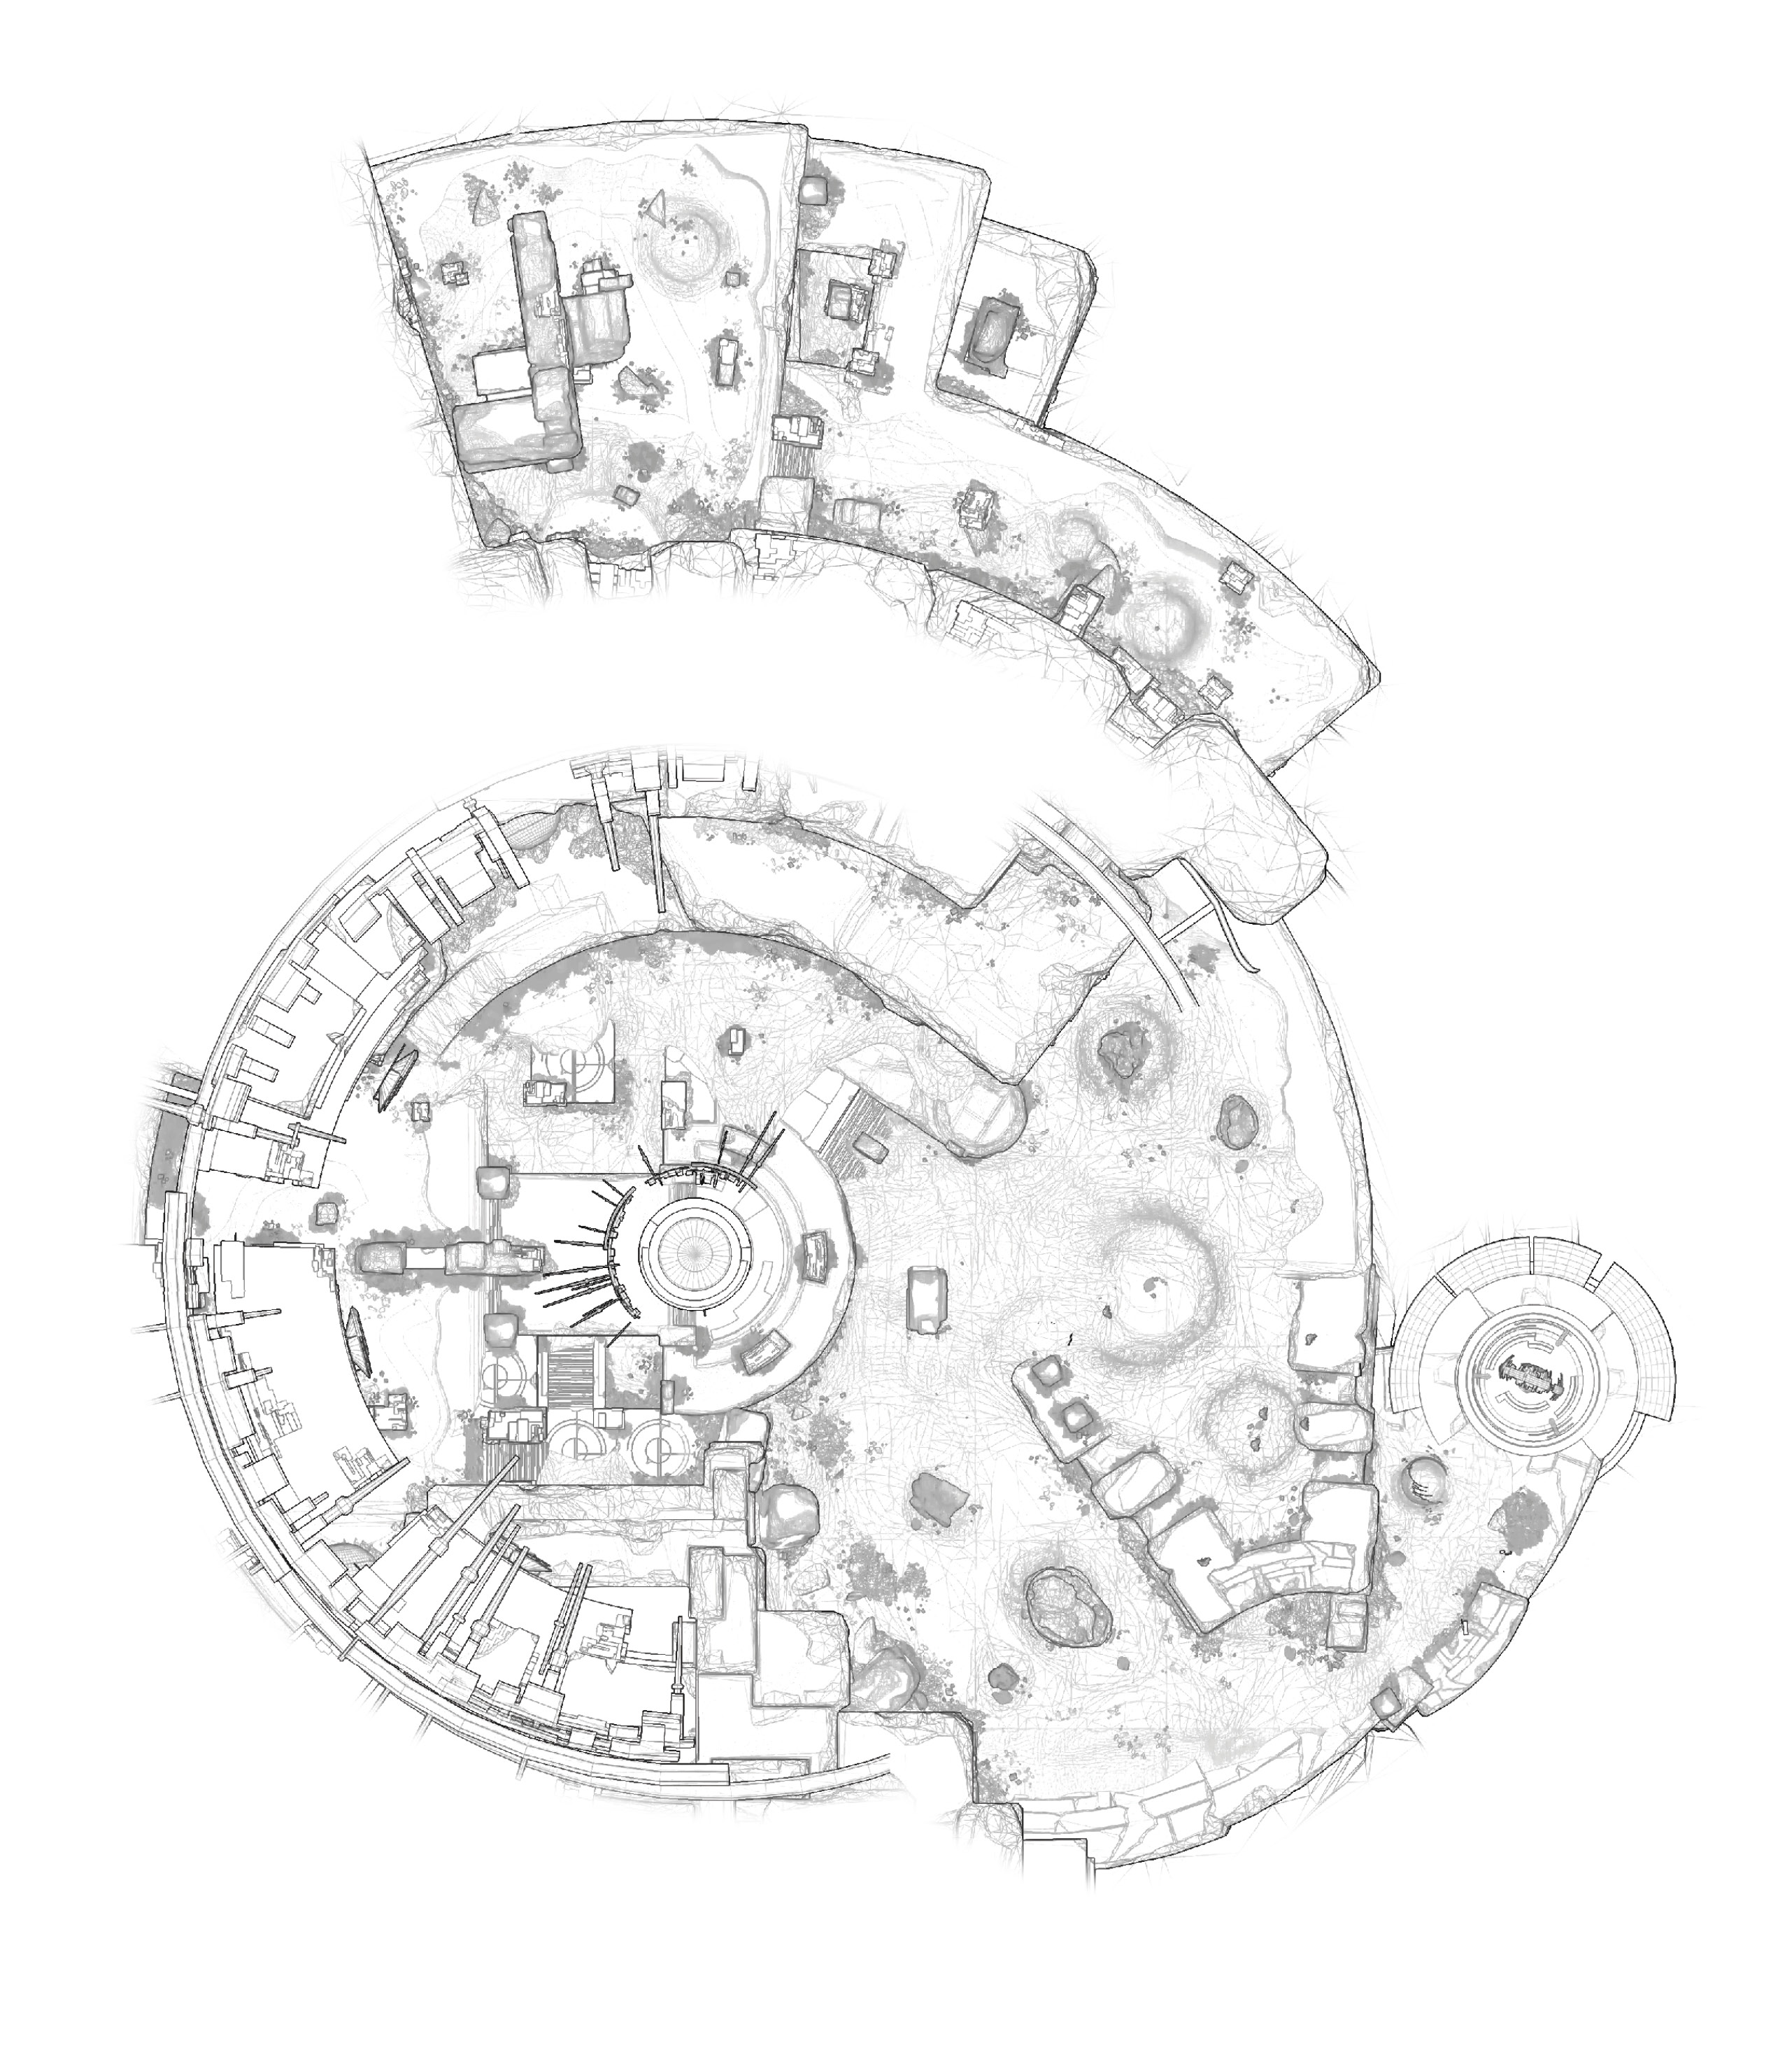
Once you’ve initiated the Adventure, follow the first objective marker to head into the Infinite Forest. The Infinite Forest can vary each time Guardians pass through. You may want to see our Infinite Forest section for a few more tips. Otherwise, bring your big guns and do what you do, Guardian!
_WM-00_15_05%20-00002.png)
Step into Mercury’s future, overrun by Hive. Disable the security barrier by destroying the Vex Barrier Mind.
_WM-00_15_37%20-00003.png)
The Barrier Mind drops an Arc charge, which you’ll need to take up the hill and place into the center of the security barrier. You will need to defend the barrier from being attacked and desynced by the Hive.

The first wave begins with a plethora of Thrall, a Revenant Ogre, and two normal Ogres. The Ogres are simpler to deal with once the meddling Thrall are wiped out. Don’t let the Thrall get away with desyncing the Vex plate. Stand on it to keep it from desyncing.

The second wave is fiercer. Wizards, Thralls, Acolytes, and Knights throw themselves at the barrier. Stay nearby while using cover to face the Knights and Wizards. Be sure to pick up what the Revenant variants are dropping.

A final wave begins.
On the upper hilltop, face-down Proxy Knights of Savathŭn; Sword and Might, fighting alongside Revenant Shriekers from above. Defeat the Shriekers first. They can be a problem if not dealt with. There are also a good number of Acolytes firing on your position. Tear through them with Supers and Power weapons.
Alternatively, rather than retreating, face the hordes with a weapon such as a Wardcliff Coil or your favorite multi-kill weapon or Super. Once the Hive are eliminated, a chest spawns in the barrier area. Pick it up for random loot. It should drop a good number of items.
Up and Up (Future)
Objectives
- Tamper with the Fallen simulation
- Step into the future
- Recon the experiment site
- Eliminate the Fallen
- Eliminate the Fallen Captain
Starting Location: The Lighthouse, Mercury
Recommended Power: 250+ (Normal), 300+ (Heroic)
Prerequisite: Speak to Brother Vance after completing Campaign Mission "Omega"
Reward: Boss Chest, Lighthouse Engram (Heroic)
The Vex are testing the Fallen of the future. Whatever the Vex want to learn you must not allow. Destroy the Fallen. You might be stepping into the dark future of Mercury or the present. The simulation changes depending on which appears. This covers the variables of the future.

%20Future_WM-00_17_14%20-00004.png)
Once you’ve initiated the Adventure, follow the first objective marker to head into the Infinite Forest. The Infinite Forest can differ each time Guardians trespass. You may want to see our Infinite Forest section for a few more tips. Otherwise, bring your big guns and do what you do, Guardian!
After the Infinite Forest, step into the Future. It is dark and full of Dregs and Marauders. Begin by reconning the area and eliminating threats. Move from cover to cover to take these out quickly. Enemies can be taken out from the high ground plateau overlooking their position if retreat is necessary. After clearing enough Dregs, defeat the Rearguard Commander. He wields a standard Shock Rifle, but he can take more damage than a normal Vandal. If you are brave and bold, then you can rush the Commander, take him out immediately, and then deal with the rest of the enemies.

Once the Rearguard Commander is down, further up along the crater is another Rearguard Commander wielding a Molten Launcher. He’ll be trying to hit you with cover fire if you are still dealing with adds. You can either take out the additional foes first, or the team can rush the Rearguard with Supers or Power weapons that stagger.

Jump up the platforms, which appear and disappear in a staggered fashion. Move up them and switch to other platforms before they disappear. Land on the first large platform and eliminate grouped-up Dregs and Marauders. Grenades and Fusion Rifles are effective here. Wiping out the wave of Fallen allows the next set of steps to appear, so you canvreach the next stage.

The second set of steps are just slightly more spaced out, making them a bit more difficult. You are again faced with more Dregs and Marauders, but this time joined by a few Wretches and Fallen Rear Guards using pesky Molten Welders. If the fireteam arrived on the second platform at the same time, or if anyone uses a Super, then these should be quick work.

Jump up the even more spaced-out disappearing platforms to reach the third platform. You face some Dregs and some Shanks and a Servitor as part of the Rear Guard. Smash them up to reach the final encounter.

Travel down the final floating steps to the final fight. The Fallen Captain, Cache Defender, uses an Arc shield and a Shrapnel Launcher. Hit him with Arc energy weapons to break his shield. He’s defended by a large contingent of Dregs, Marauders, Shanks, and Fallen Rear Guards (tougher enemies that drop Power ammo). If you can get close enough to the enemy-controlled area, it is possible to jump up on top of the large rock structure in the center. This can be used to your fireteam's advantage; fire down on enemies from above while the enemies below have a difficult time hitting you back. Going up top is mainly to avoid too much incoming fire while clearing out additional enemies.
Up and Up (Present)
Objectives
- Tamper with the Fallen simulation
- Step into the future
- Recon the experiment site
- Eliminate the Fallen
- Eliminate the Fallen Captain
Starting Location: The Lighthouse, Mercury
Recommended Power: 250+ (Normal), 300+ (Heroic)
Prerequisite: Speak to Brother Vance after completing Campaign Mission "Omega"
Reward: Boss Chest, Lighthouse Engram (Heroic)
The Vex are testing the Fallen. Whatever the Vex want to learn you must not allow. Destroy the Fallen. You might be stepping into the dark future of Mercury or the present. The simulation changes depending on which appears. This covers the variables of the present.

Once you’ve initiated the Adventure, follow the first objective marker to head into the Infinite Forest. The Infinite Forest can differ each time Guardians trespass. You may want to see our Infinite Forest section for a few more tips. Otherwise, bring your big guns and do what you do, Guardian!

After the Infinite Forest, step into the simulated present. Recon the area. Dregs and Marauders are everywhere. Move up to the objective marker. Clear the Dregs, and defeat the Rearguard Commander. He wields a standard Shock Rifle, but he can take more damage than a normal Vandal.

Once the first Rearguard Commander is down, jump up onto the rock structures, following the objective marker. Another Rearguard Commander is guarded by Dregs and Wretches. You can either take out the additional foes first or the team can rush the Fallen Rearguard.

Jump up the platforms which appear and disappear in a staggered fashion. Move up the platforms and switch to other platforms before they disappear. Land on the first large platform and eliminate grouped-up Dregs and Marauders. There may be a Fallen Rear Guard here as well. Grenades and Fusion Rifles are effective here. Wiping out Fallen allows the next set of steps to appear.

The second set of steps are just slightly more spaced out, making them slightly more difficult. You are again faced with more Dregs and Marauders, but this time joined by a few Wretches and Fallen Rear Guards using pesky Molten Welders. If the fireteam arrived on the second platform at the same time, or if anyone uses a Super, then these should be quick work.

The third platform is next. Jump up the even more spaced-out disappearing platforms. You face some Dregs and some Shanks and a Servitor as part of the Rear Guard.
Travel down the final floating steps to the final fight. Follow the markers to fight the Fallen Captain, Cache Defender. He uses an Arc shield and a Shrapnel Launcher. Hit him with Arc energy weapons to break his shield accompanied by a blast. He’s defended by a large contingent of Dregs, Marauders, Shanks, and Fallen Rear Guards (tougher enemies that drop Power ammo). The area is pretty confined; there are very few places for cover. Use whatever means available to wipe out the additional enemies quickly before starting to engage the Fallen Captain.
The Runner (Present)
Objectives
- Investigate the Cabal simulation.
- Track the simulated Cabal
- Pursue your target
- Clear the area
Starting Location: The Lighthouse, Mercury
Recommended Power: 250+(Normal), 300+ (Heroic)
Prerequisite: Speak to Brother Vance after completing Mission "Omega"
Reward: Boss Chest, Lighthouse Engram (Heroic)
The Cabal are being simulated within the present. Are the Vex studying the Cabal, or are they studying us? Regardless of the circumstances, take out Valus Traud, Proxy before he can escape.
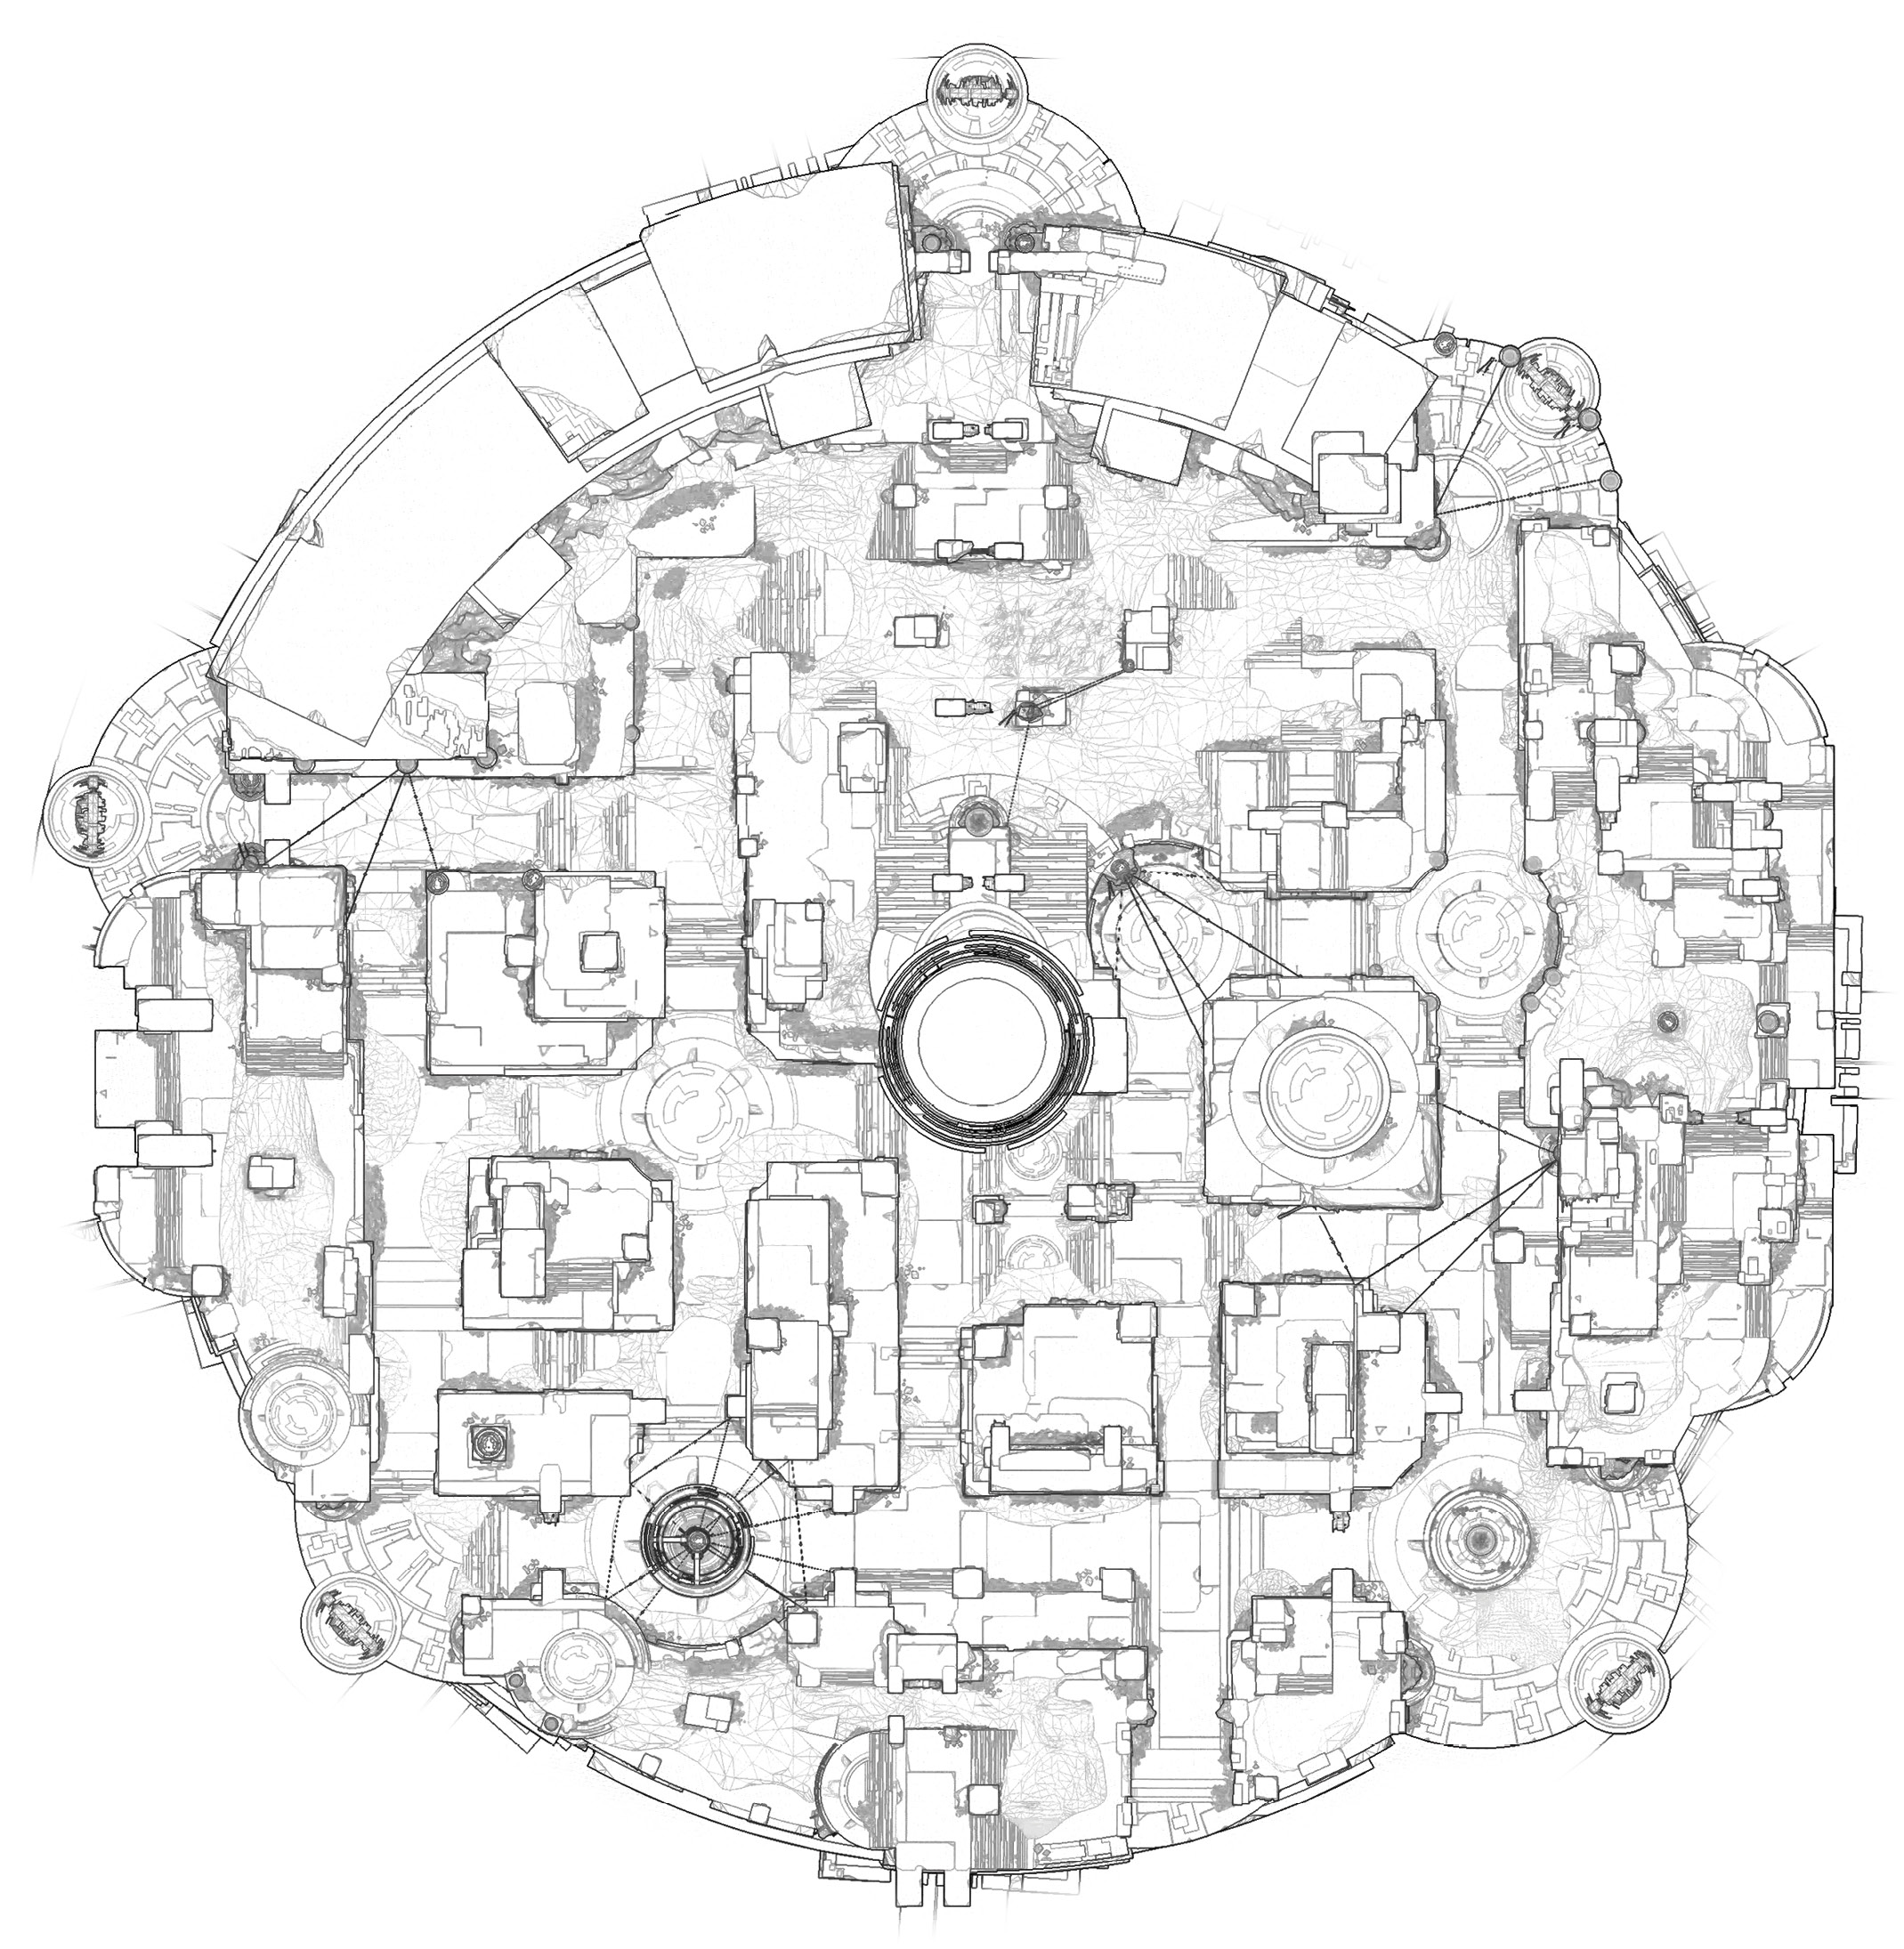

First, get through the Infinite Forest simulation alive. There may be an increased Cabal presence here.

Cabal Legionaires and Psions appear with Valus Traud, Proxy. Kill the minions while the coward Proxy runs. Run and gun this enemy when he attempts escape. When facing him head-on, avoid his rockets, as these tend to slow and briefly blind Guardians. After a few moments of your damaging Traud, he makes his escape. As he flees and you give chase, you may run across enemies that can stall you. Do not engage these unless necessary, as you will lose valuable time.

Do not stand too close, or Traud will stomp and it’ll become difficult to get back within range.

Traud will run throughout the maze and stop at certain intervals, or checkpoints, allowing you and your fireteam a few moments to damage him. Open fire with everything you’ve got at the checkpoints. Use any cover or wall corners available to avoid his rockets. Titan Rally Barricades, Warlock Empowering Rifts, Hunters with Nighthawk, or anything that packs an immediate burst of damage when combined with a teammate's damage abilities will be ideal against Valus Traud.

If Traud escapes, the only thing left to do is eliminate the remaining reinforcements. You will know he’s about to escape when the dropship arrives to extract him. The reinforcements consist of two Valus Elite Guards, several Legionaries, and Psions sniping from further off.