
Starboard Landing
The Almighty
Enemies Encountered
- Cabal: Legionaries, Psions, Scorpius, Gladiators, War Beasts, Incendiors, Phalanxes
Objectives
- Follow the fuel streams to the Almighty’s weapons systems.
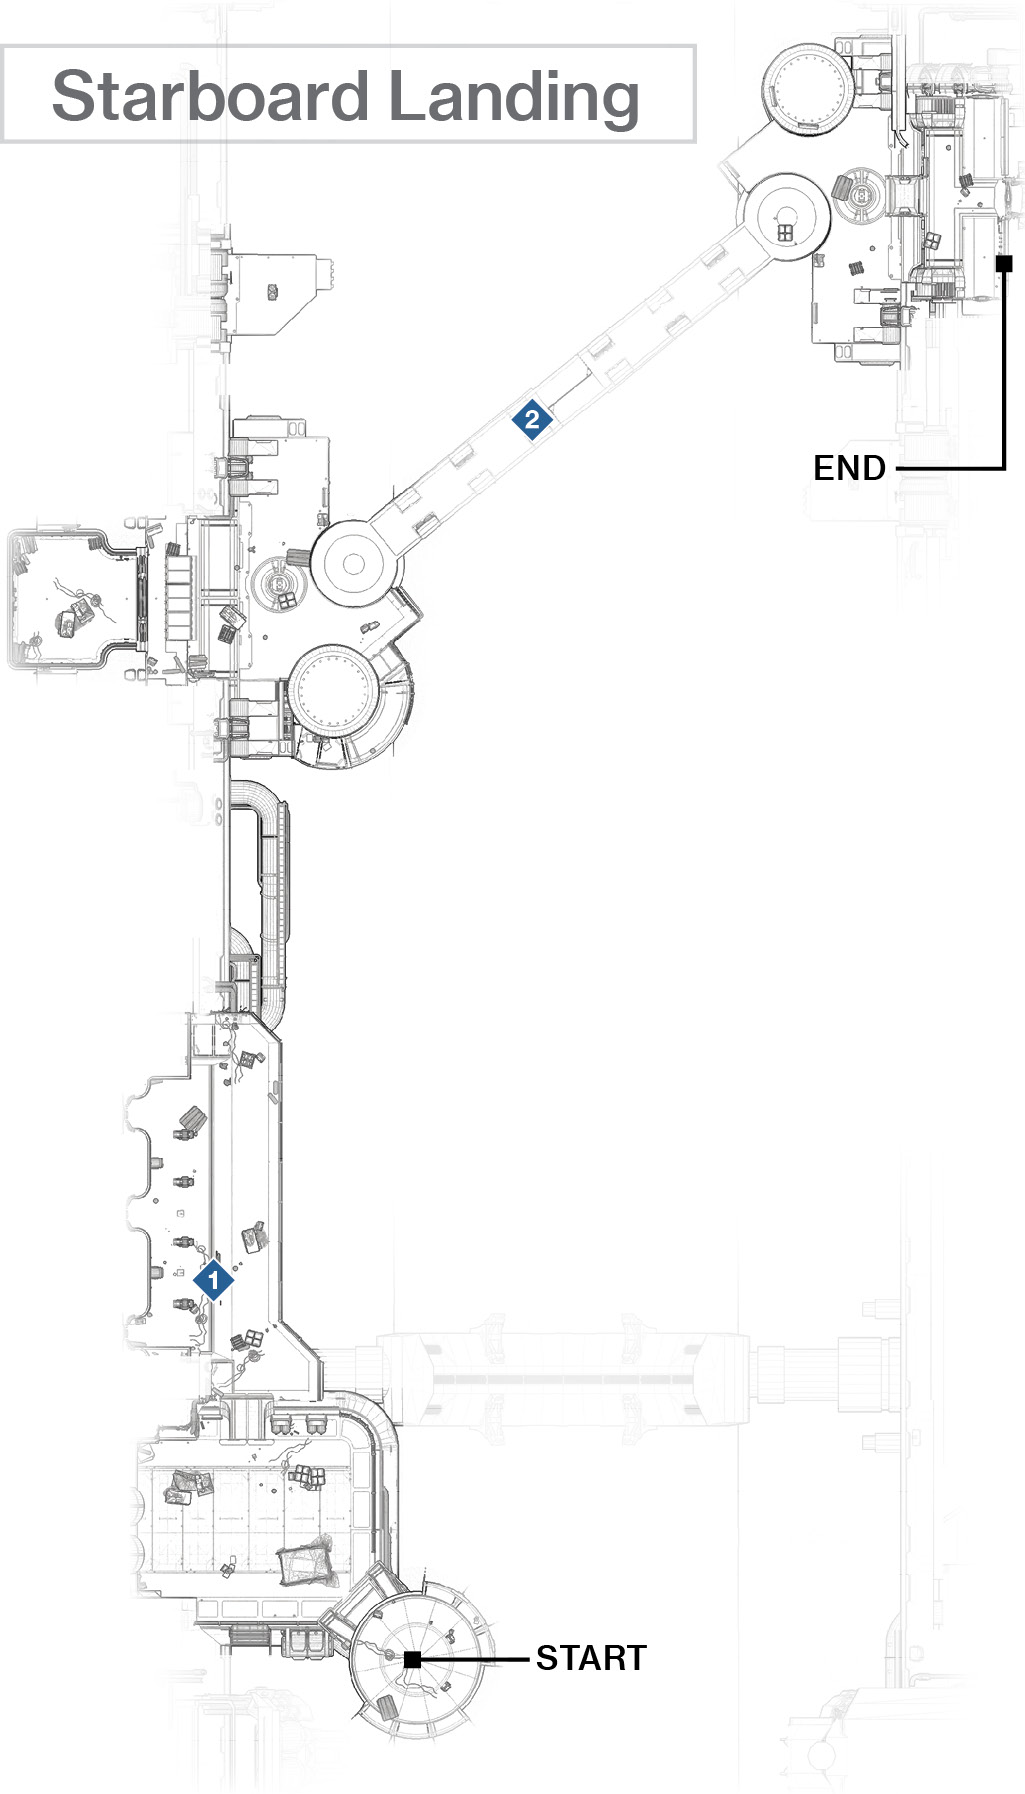
 Fuel Stream Corridors (Exterior)
Super: Optional
Grenades: Optional
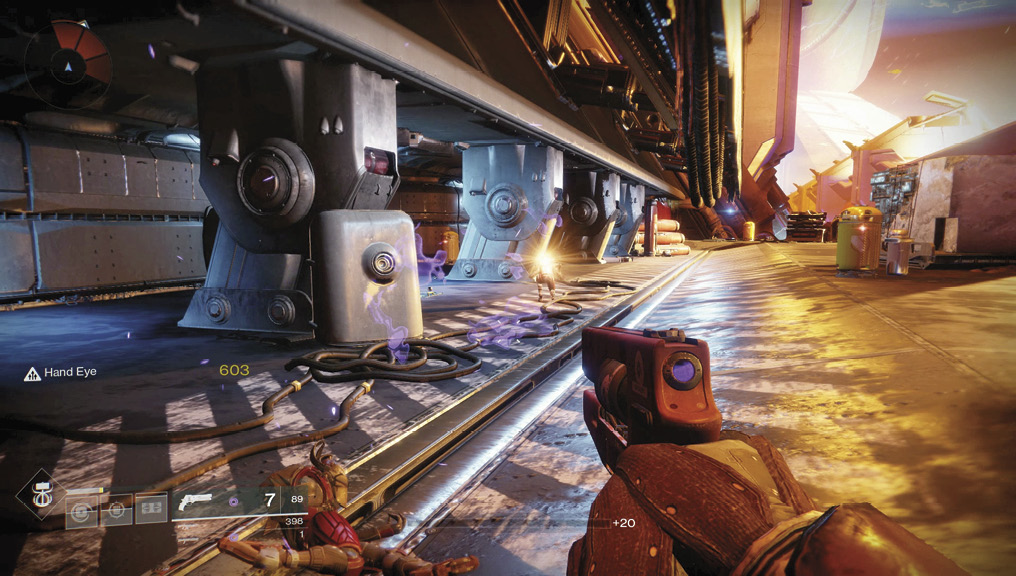
Drop down to the platform and deal damage to a few Legionaries, using the crates as cover (or land on and fire down from them). Head down the ramp, engaging Psions behind cover on both sides of this long exterior corridor. Expect no more than a dozen Psions and four Legionaries stepping out from the left. Methodically check behind cover, and bring down foes closest to you. Shoot the yellow explosive canisters to wound hostiles hiding near them.
Jump and land on the exposed pipe with the narrow gantry atop it. You’re close to the fuel stream and a bottomless drop into space, so keep yourself properly anchored by landing firmly on the gantry.
Shoot the Legionaries on the curved grating ahead, and follow it around to the right to a second expansive platform. Your first adversary is a Scorpius; destroy that before it does the same to you. Then, move onto the platform, tackling four Psions and a Gladiator. The space allows you to easily back up and headshot the Gladiator, optionally detonating explosive canisters to wound him as you maneuver.
Standing atop some crates and firing down also works, though the Gladiator can use a jetpack to reach you. With the area devoid of Cabal, use Ghost to access the bridge controls, and extend the bridge across to the opposite side of the super-structure.
 Fuel Stream Bridge
Super: Optional
Grenades: Recommended
Warning!: Restricted Zone
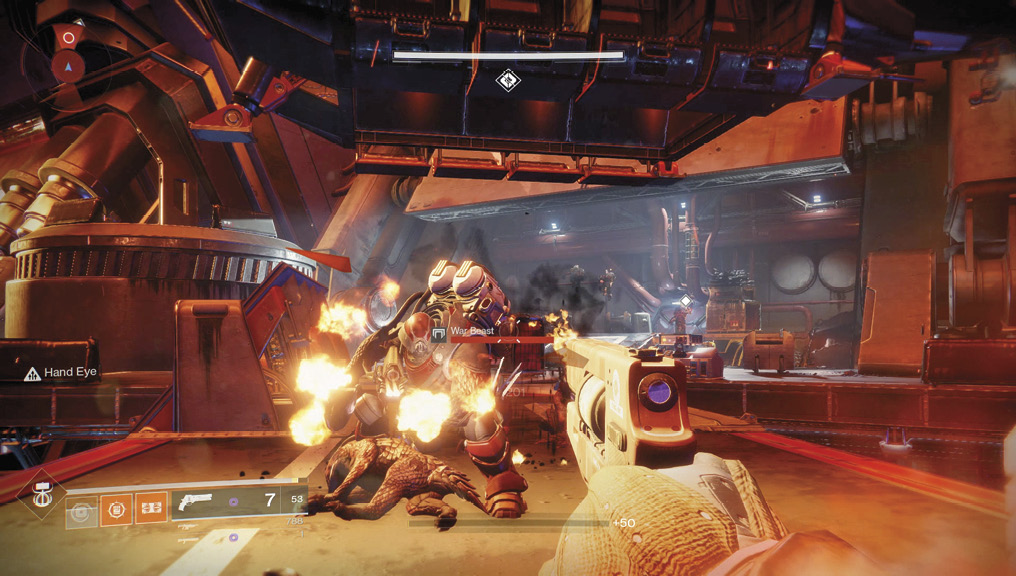
Just as you produce Ghost to access the bridge controls, you have two main assault options as three Cabal dropships swoop in, releasing a small horde of foes onto the bridge and the main entrance on the opposite side. You can:
- Remain by the console, using ranged weaponry to easily tag around six War Beasts as they bound in your direction. Stay where you are, and drop a couple of Incendiors and Phalanxes as the opportunity arises, along with two Legionaries slowly advancing across the bridge. Use the raised barriers on the edge of the bridge as cover, if necessary. Lob a grenade if you must; it is more effective because the enemy can’t really dodge it in the confined space. Then, rush to the far side of the bridge, where additional combat begins.
- Or, you can rush across the bridge just as it starts to pivot. When both sections link up, you can execute a Super and rampage through the aforementioned foes. You can also flee to the far side of the bridge, optionally using your Movement Mode to get up to the large cylindrical platform on your left and attacking everyone from up there. This isn’t as safe, but it’s an option.
Assuming you attempted the first bridge-crossing option, drop foes closest to you first, then Phalanxes. Because they shield other enemies, they cause you the most trouble. There are around four more Legionaries on the raised area by the main door, along with an explosive canister; hit that to soften up multiple foes.