Destiny 2 Guide Director Nessus
The Tangle
Sector Notes:
Adventure: Release
Adventure: The Vex Trial
Lost Sectors: 1
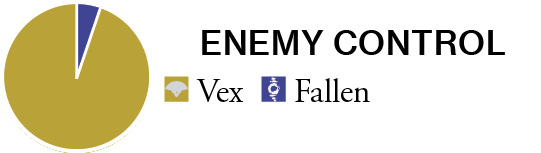
Enemy Clusters: Vex: 7
Enemy Chests: Available
Material Nodes: Available
Patrol Beacons: 11
Public Event (Full): 3
Public Event (Secret): 4
Region Chests: 3
Scannable Objects: 5
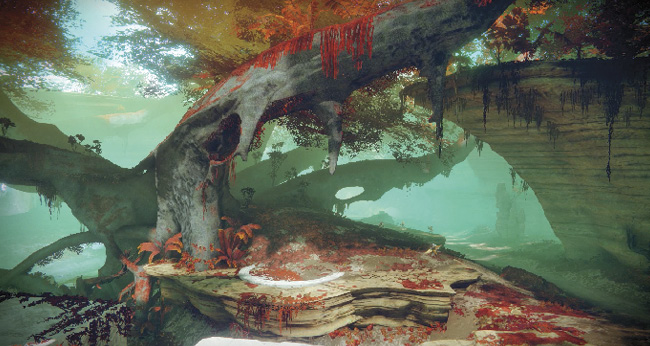
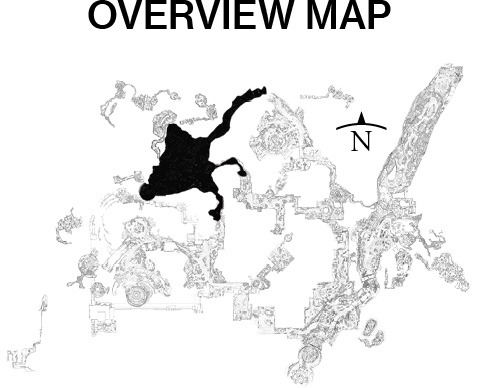
An initially confusing maze of branches, Vex architecture, and plateau rock formations bisected by a cutting crevasse that runs southwest to northeast, this Sector takes a little time to learn. This isn’t helped by the number of Vex clusters to combat as you check the winding, roughly U-shaped road that runs the perimeter. There are also a good number of exits: Watcher’s Grave (northeast), Artifact’s Edge (east), and the Conflux (southeast). All of them are on the eastern perimeter of the map, so head in this direction if you need to be elsewhere. Otherwise, stay to find the Lost Sector, as well as three additional entrances to interiors. This is the only Sector where you can access the Well of Echoes, the Mists, and the Chamber of Stone.
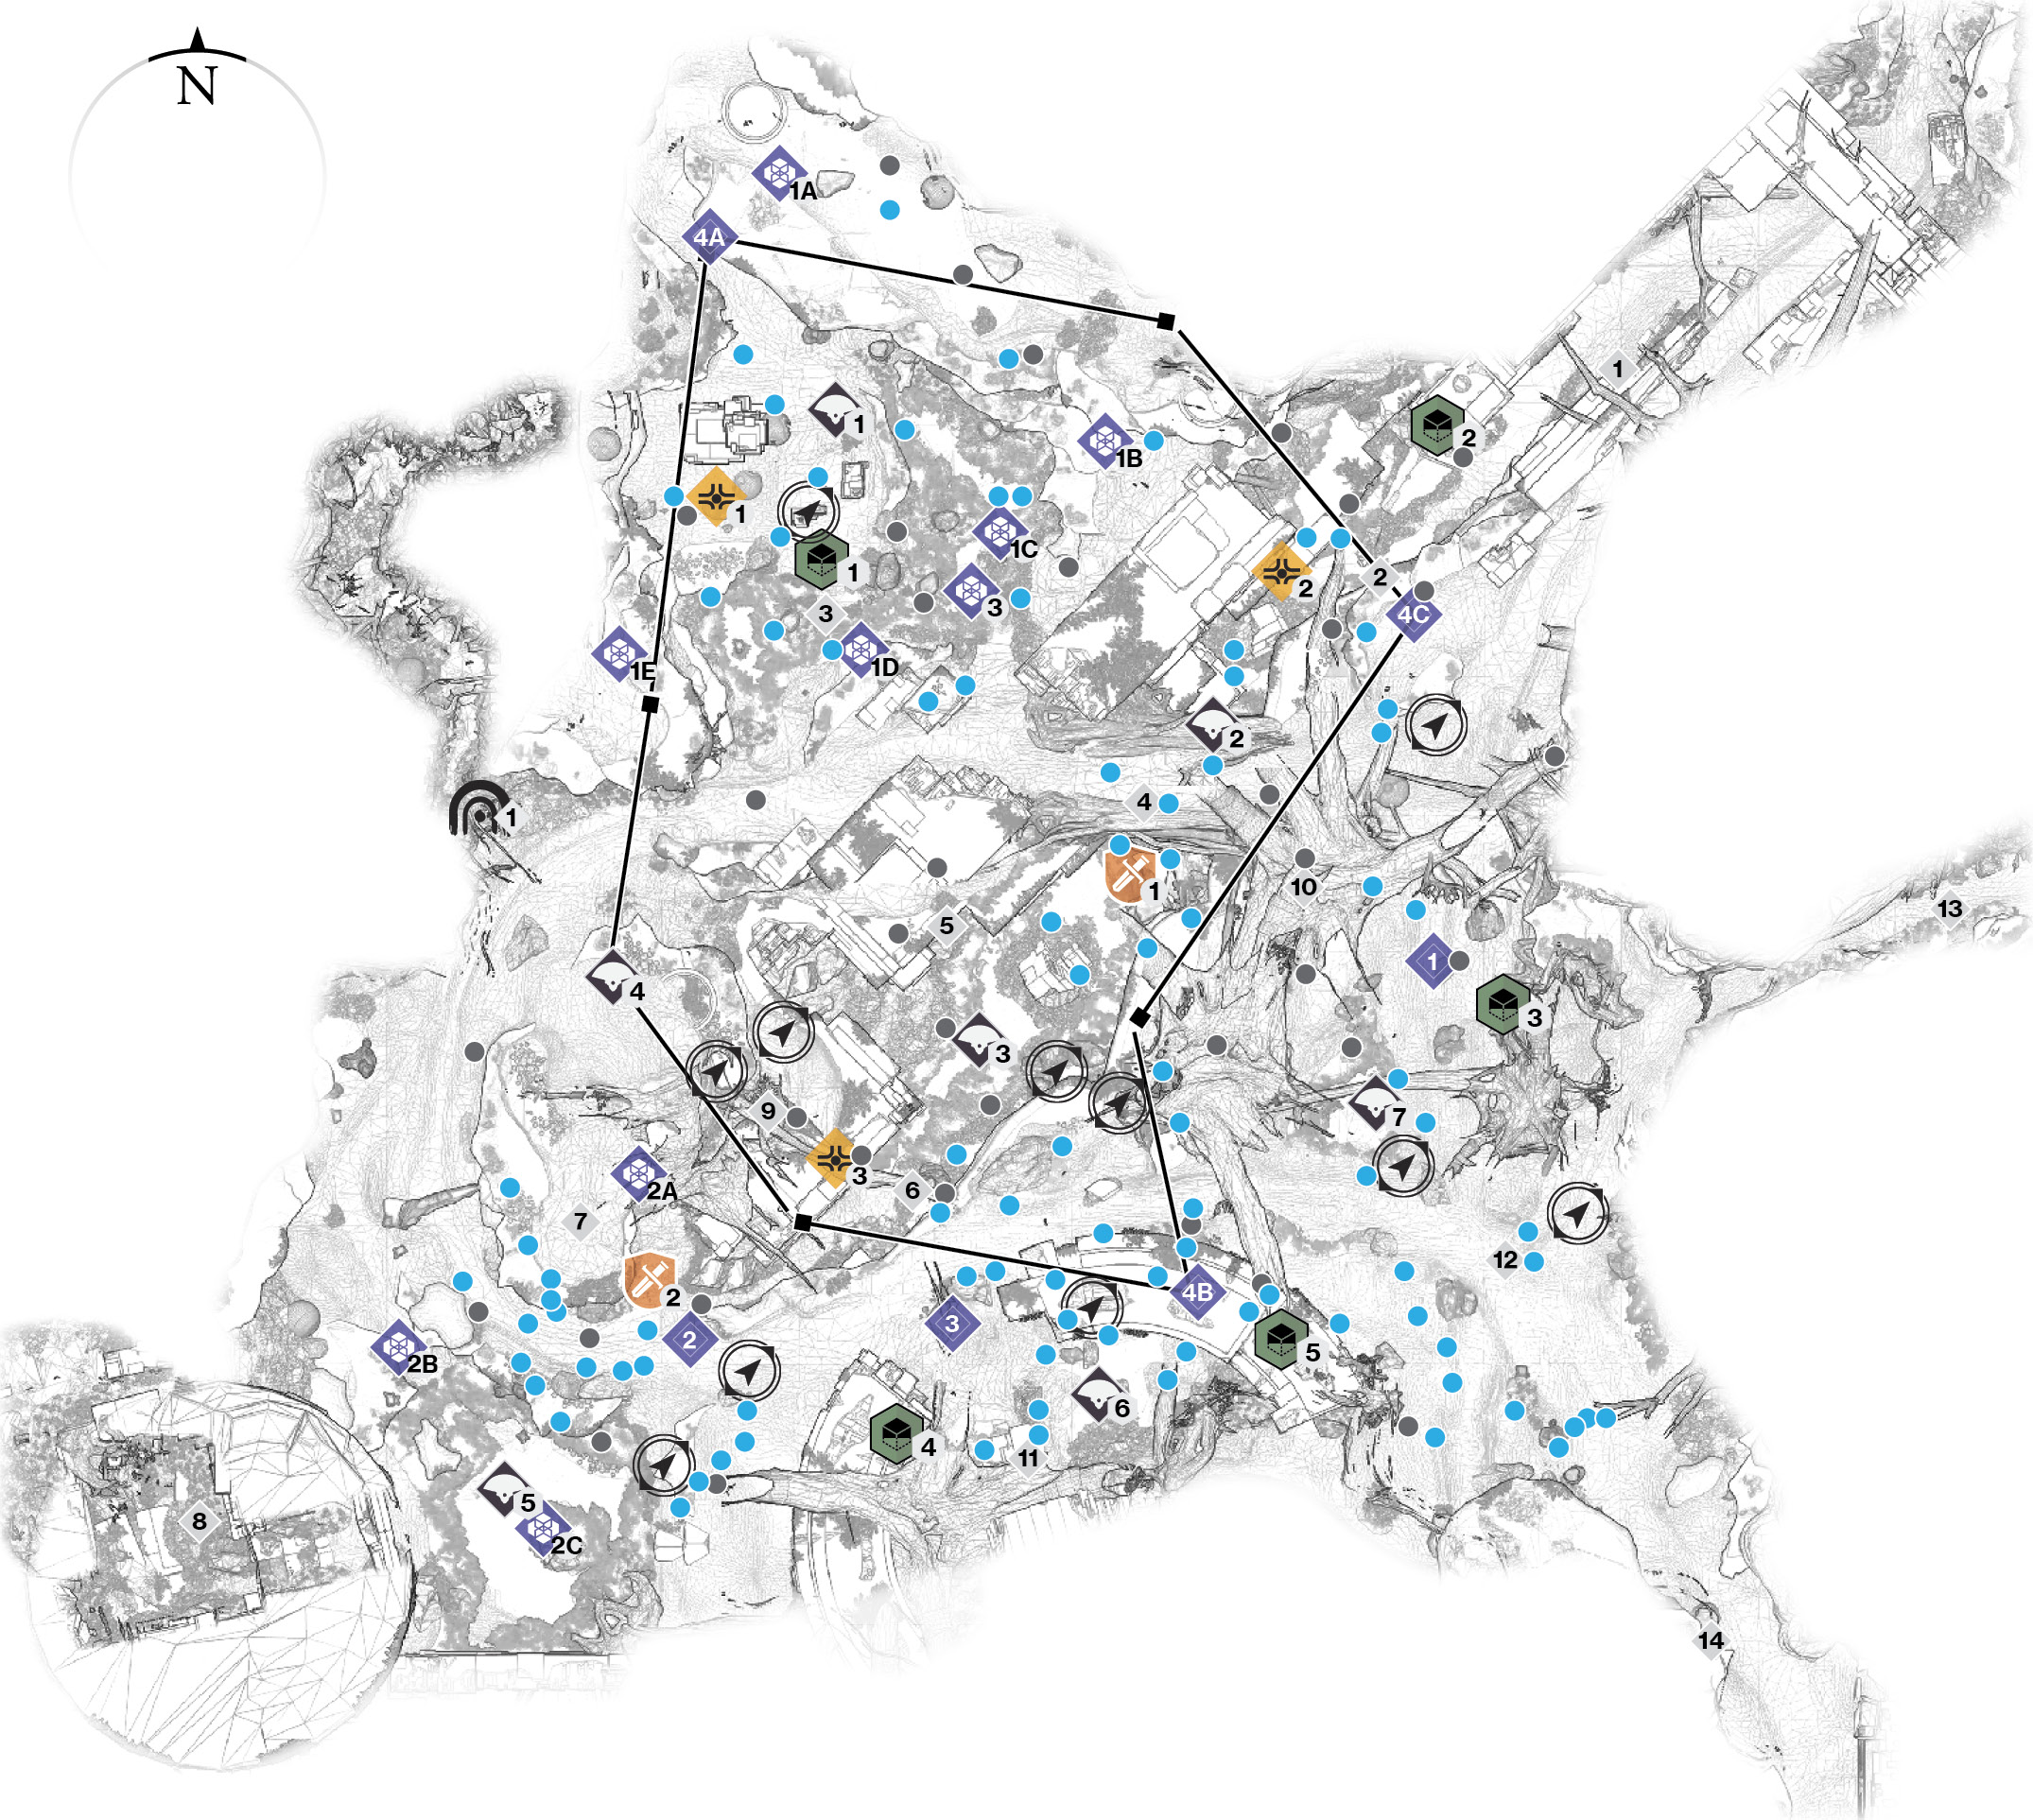
Areas of Interest
 Exit to Watcher’s Grave (Northeast)
This offers immediate access to Watcher’s Grave. Just remember that the road almost immediately gives you access to the crevasse and tree bridge, so you can find your bearings.
 Crevasse Entrance (Northeast)
You can head southwest down into the crevasse at this point (or jump down at any point along the crevasse on either side). Note the road that continues along the eastern perimeter to the junction (#12).
 Hydra’s Lair (North)
A Vex Hydra dominates this dried-up sunken riverbed and surrounding plateau of flat rock where Goblins like to congregate. Come here if you need to kill one.
 Tree Bridge
This runs atop the crevasse, allowing quick access around the looping perimeter road toward the Lost Sector.
 Entrance to The Mists (Crevasse)
Head down into the crevasse and find the orange-hued Vex wall, which has an opening here. This is the only entrance to (and exit from) the Mists.
 Entrance to Crevasse (South)
Head down (or out) of the crevasse at this point by the Adventure marker and under the large southwest tree.
 Southwest Road and Pond
The road sweeps around at this point. Watch for multiple foes in the vicinity.
 Entrance to Well of Echoes (Southwest)
A sunken pond with plenty of Vex foes allows you to reach a strange pyramidal entrance to (and exit from) the Well of Echoes. This is the only access point.
 Mighty Tree (Southwest)
Aside from foes in the vicinity, check this area for the tree you can climb and the branches you can navigate, allowing easier access to elevated areas around the edge of the Sector.
 Mighty Trees (Northeast)
There are two huge trees in this area, and you can use their branches to reach upper areas around the perimeter of the map. Or, use them as cover.
 Entrance to Chamber of Stone (South)
A cluster of Vex foes is always around this circular Vex teleport. This is the only entrance to (and exit from) the Chamber of Stone.
 Road Junction (Southeast)
Use this as a landmark; a small patch of grass and rough dirt roads merge here. Remember to check which exit you want to maneuver to!
 Exit to Artifact’s Edge (East)
Head east to reach the Artifact’s Edge. Note that the road heads down to the junction. It also sharply turns north to link to the rest of the thoroughfare.
 Exit to The Conflux (Southeast)
Study the turns and environment at this exit so you don’t confuse it with the one to Artifact’s Edge. This takes you south to the Conflux Sector.
Enemy Clusters
 Vex
Vex
Goblins, Harpies, and a Hydra are possible foes to face in the lair of the Hydra, up in the northern part of the map.
 Vex
Vex
Enter the crevasses, and prepare for Harpy combat. There may be additional Goblins in the vicinity, too.
 Vex
Vex
Expect Harpies and possibly Goblins in the crevasse, close to the entrance to an interior known as the Mists.
 Vex
Vex
The raised rocky area around the southwestern tree usually has patrols of Goblins, Harpies, and Hobgoblins.
 Vex
Vex
A Minotaur, Goblins, and possible Hobgoblins are splashing around in the waterlogged sunken pond area close to the entrance to the Well of Echoes.
 Vex
Vex
The entrance to the Chamber of Stone has a number of Goblins and Hobgoblins to worry about. If a Skirmish is active, there are more enemies.
 Vex
Vex
Expect Goblins and Minotaurs under the canopy of the two large trees near the road junction, on the east side of the map.
Adventures

Find the marker in the base of the crevasse, opposite the entrance to the Mists Sector, on the rocky outcrop.
 The Vex Trial
Locate this marker on the main thoroughfare, close to the southwest pond and entrance to Well of Echoes.
Lost Sectors
 Ancient’s Haunt
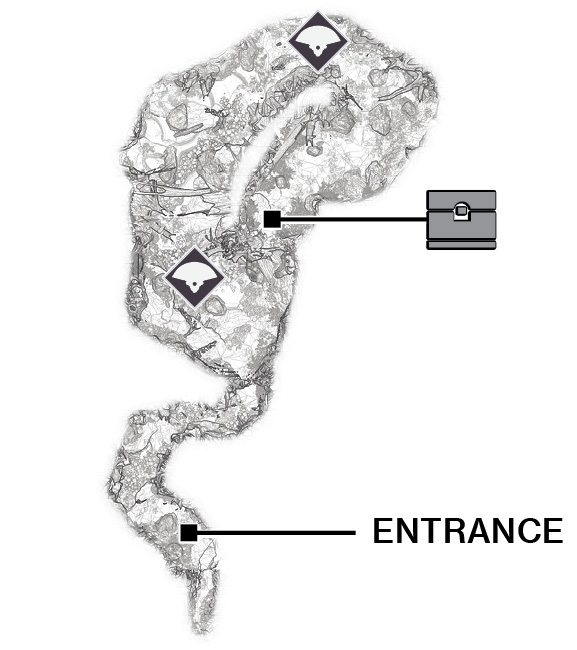
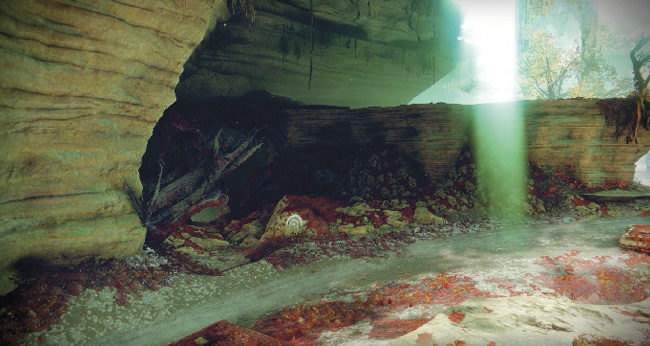
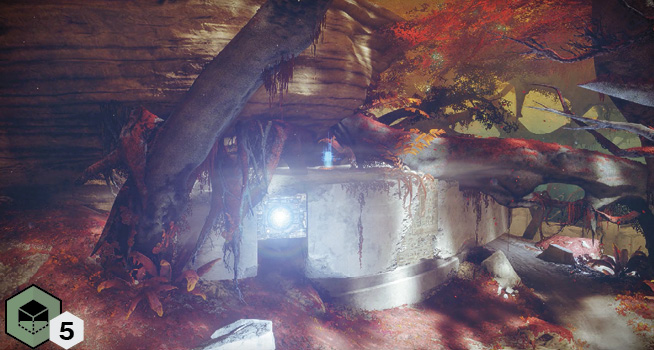
A narrow rocky tunnel opens up into an exotic glade with various red-hued trees and plant life. A sizable Vex presence is here, with Goblins, Hobgoblins, Harpies, and a Sub-Boss Hydra to punish.
The Tangle
| Guide Name | Sub-Boss | Reward | |
|---|---|---|---|
|
1 |
Ancient’s Haunt |
Hydra |
Boss Chest |
 The Tangle (11)
There are a good number of Patrol beacons (11) available. Find a few of them at a time on each visit to this Sector.
Region Chests
 Region Chest 1
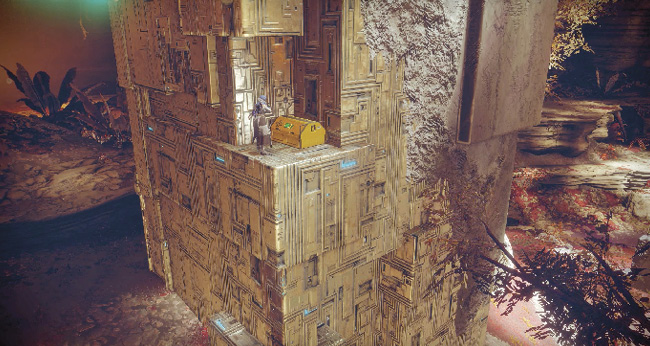
On a ledge halfway up the Vex tower that the Hydra guards.
 Region Chest 2
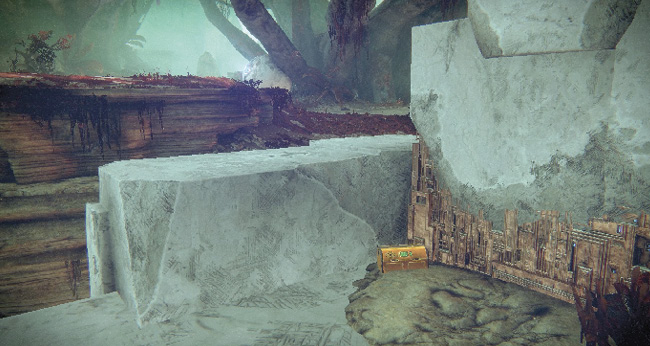
Above the northern entrance to the crevasse.
 Region Chest 3
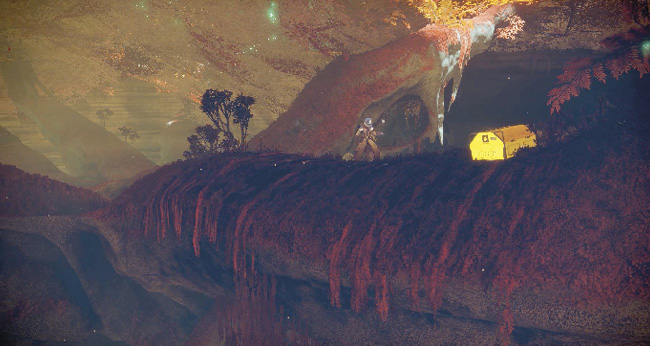
On one of the branches of the mighty tree (southeast).
Public Events
 Public Events (Full)
Glimmer Extraction: Involves destroying three of the five Fallen extraction sites (1A, 1B, 1C, 1D, and 1E) dotted around the map or three (2A, 2B, and 2C), depending on which Full Event is active.
Spire Integration: Vex are attempting to fortify their nearby structures. Simply hold off waves of Vex at the indicated spot. They approach from different directions (which appear around the indicated guide map area); to complete this event, defeat them all without letting the integrations total reach zero.
| Event Number | Event Type | Target | Other Enemies | Reward |
|---|---|---|---|---|
|
1 |
Glimmer Extraction |
Fallen Extractors |
Fallen forces |
Glimmer, Boss Chest |
|
2 |
Glimmer Extraction |
Fallen Extractors |
Fallen forces |
Glimmer, Boss Chest |
|
3 |
Spire Integration |
Integration points |
Vex infantry |
Boss Chest |
 Public Events (Secret)
Skirmish 1: A Fallen Captain, Dregs, and Tracer Shanks face off against a Hydra, Goblins, and Hobgoblins, with more waves of these foe types continuously appearing in the area shown.
Skirmish 2: Features Fallen dropships and a variety of foes (mainly Dregs and a Captain) fighting against an increased Vex presence (additional Goblins, Hobgoblins, and a Hydra) in the area shown.
Skirmish 3: Features teleporting Vex infantry (including Goblins and Hobgoblins) and multiple Hydras in the area shown. Fallen approach from the road to engage them, including Dregs and Tracer Shanks.
Launchers: Defeat the Vex Hobgoblins at each of the indicated cannon positions. Remove threats at 4A, then leap through the cannon to reach 4B, and continue to 4C. Then, mow down the Vex Minotaurs as you work your way around 4A, 4B, and 4C once more (using the cannons each time). Defeat all foes around the cannons before they disappear to claim each chest.
| Event Number | Event Type | Target | Other Enemies | Reward |
|---|---|---|---|---|
|
1 |
Skirmish |
Vex incursions and Fallen infantry |
— |
Random Loot |
|
2 |
Skirmish |
Fallen dropships and Vex infantry |
— |
Random Loot |
|
3 |
Skirmish |
Vex incursions and Fallen infantry |
— |
Random Loot |
|
4 |
Launchers |
Three cannons |
Hobgoblins and Minotaurs |
Boss Chest (x3) |
Scannable Objects