
Destiny 2 Guide Campaign Larceny
Legion’s Anchor
European Dead Zone
Enemies Encountered
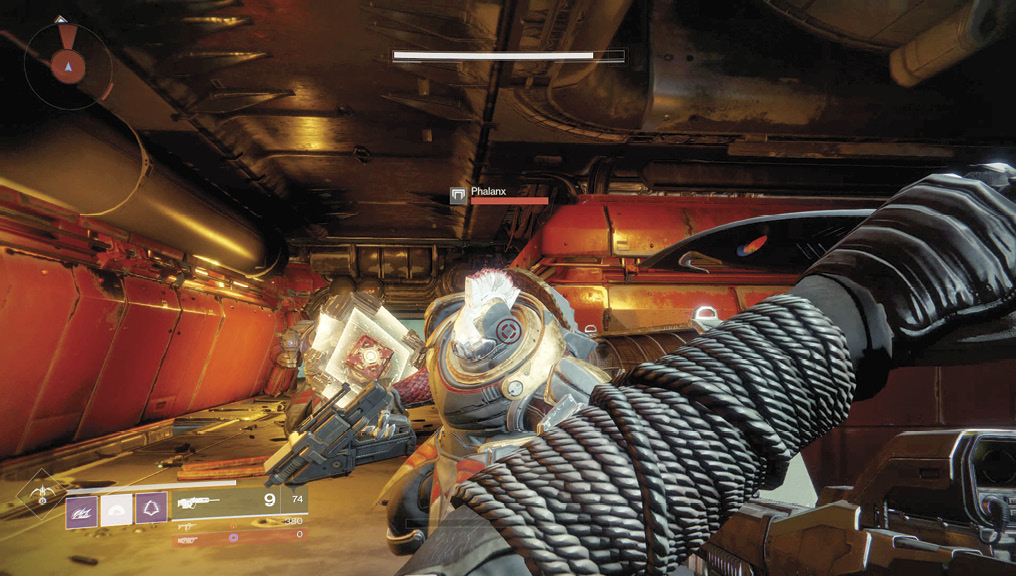
- Cabal: Legionaries, Incendiors, Phalanxes, Scorpius, Gladiators, War Beasts, Centurions
- Fallen: Dregs, Vandals, Shanks
- Fallen: Sub-Boss: Servitor
- Cabal: Boss: Centurion
Objectives
- Steal Thumos’ ship.
- Board Thumos’ ship.
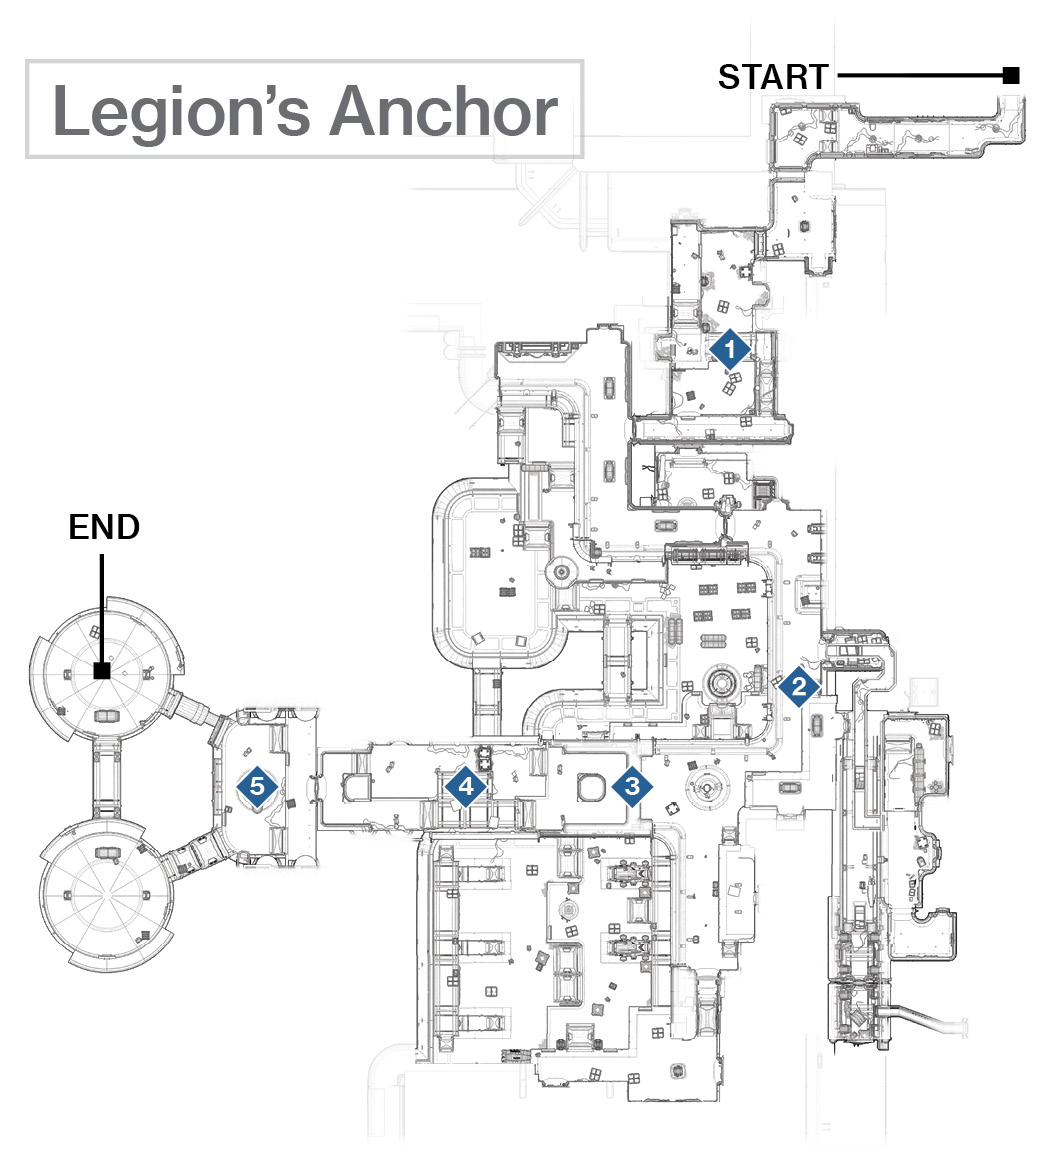
 Legion’s Anchor Corridors
Super: Optional
Grenades: Recommended
From the Sunken Isles, head down the L-shaped corridor into Legion’s Anchor, where a Fallen incursion is currently underway. Remain at the entrance, using the partial cover and dropping the cluster of Legionaries, then the Fallen Dregs and Vandals firing upward and left of you. Step into the loading bay, jump onto the platform bridge and ramp, and follow it to the upper ledge, slowly removing the nearest foes as you go. Note the yellow explosive barrel you can shoot to clear the central bridge area of foes. Shoot the four Shanks before dealing with the remaining Cabal atop the ramp and ledge. Then, focus on exploding an Incendior and removing Phalanx shields before heading down the exit corridor to a windowed thoroughfare.
Turn left slowly at the next left corner, as two rapid-fire sentry guns (Scorpius class) have been stationed to waylay Fallen intruders. These can
seriously deplete your energy, so use the corner wall as cover and rapidly shoot each one, aiming at the brightly lit weapon that activates. You have a second as the gun raises up and cocks into position; use this to lay waste to it. Scorpius sentry guns are always priority targets because they are stationary and can kill you in seconds.
 Viewing Corridors
Super: Recommended
Grenades: Recommended
Warning!: Restricted Zone
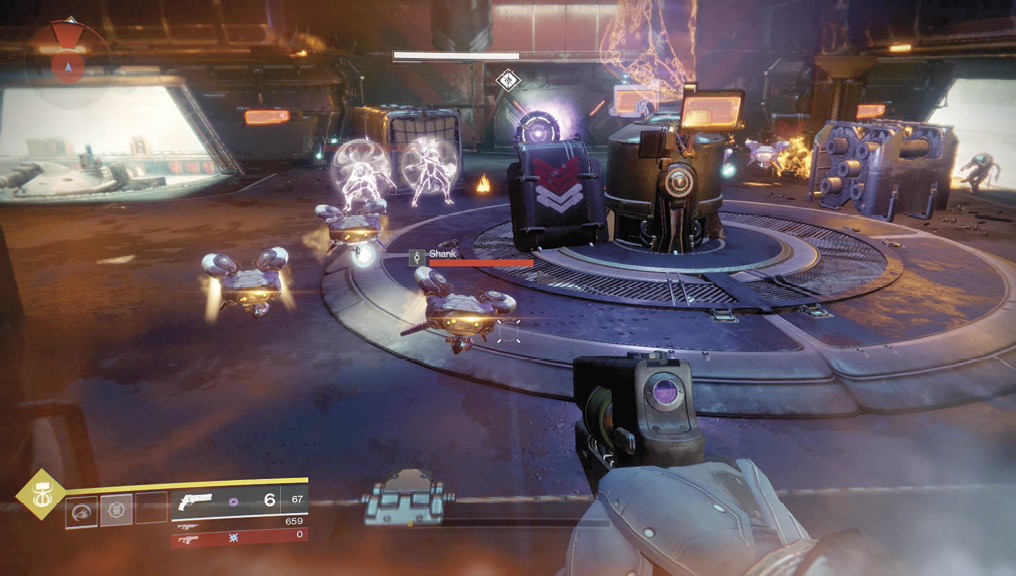
The frequency and number of enemies from this point on becomes greater, so it’s worth taking your time, slowing down and clearing the following corridors with care. Remove the Legionary, then step to the corner of the corridor to aim at a Dreg, Vandals, and Shanks as they close in on you. Deal with the Shanks first. Move to the ramp on the left side of the corridor, leading to a raised ledge where Dregs appear from. Tag them as they appear, along with two Vandals farther along the L-shaped raised ledge. Use the generators or lower barricade as cover. Stay on the raised ledge and move around slowly until you reach a central door console surrounded by Fallen.
Sub-Bosses: Aside from Vandals and Dregs, there is a named Servitor with a larger health capacity than normal. It doesn’t need to be a priority target; with their highly damaging long-range rifle shots, Vandals should be the first foes you kill. Also, explode the yellow canister just behind and right of the console island. If the Servitor starts to link to Dregs or Vandals, focus on the Servitor instead. A well-timed Super can rid the entire area of foes here, but it’s worth hanging on to your Super for a subsequent (and imminent) battle.
When the Servitor loses around half its health, around six Shanks join in. Back up to the corner of the raised L-shaped platform and use the cover, dropping all airborne foes in quick succession. Then, venture past the console island to a door that opens, revealing a nasty surprise!
 This is the time to lob in a grenade or use your Super. Cabal hostiles comprised of a Gladiator, two Phalanxes, and two Incendiors are waiting behind this door.
If you can land a grenade and damage the Gladiator, finishing it with a headshot before it even has a chance to move, you can easily deal with the other four foes without needing to use your Super. Retreat to the L-shaped platform again if you must, but don’t stand toe-to-toe with the Gladiator, or you’ll be cleaved to death. Aiming at either of the Incendiors so their fuel packs explode is another way to soften up the Gladiator.
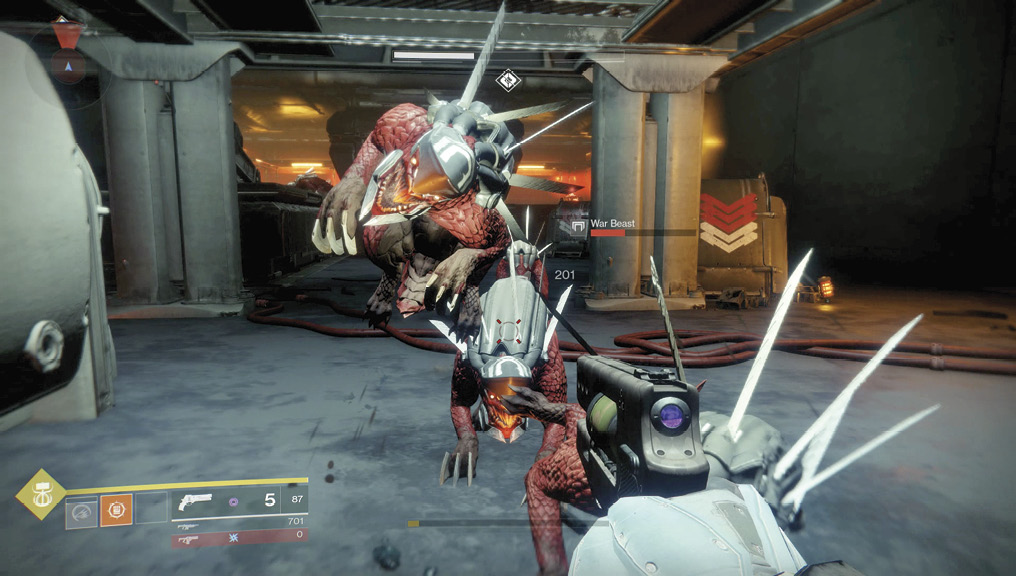
 The cluster of Cabal was guarding a long cargo bay with two short and parallel corridors. Those open into a bay area with Psions (four on the upper platform, and four on the sunken central bay) and a Scorpius (right side of the upper platform). Stay at range, explode the Scorpius, then take aim and clear the central area of Psions. Don’t head farther into the cargo bay until you’ve secured the initial area, as you find another Scorpius (right side of the right corridor) and a pack of eight War Beasts.
As you rattle off bullets into the exploding collars of the War Beasts, retreat a little, then deal with the Scorpius from range. There’s another Scorpius guarding the left exit corridor and a couple of Psions to further waylay you; explode the sentry gun first. Take your time, as the door these foes are guarding automatically opens, revealing a Cabal Landing Zone with more automatic sentry guns. Stay out of their range of fire as you prepare for the following assault.
 Cabal Landing Zone Assault
Super: Recommended
Grenades: Recommended
Warning!: Restricted Zone
A protracted battle commences at this point, lasting until the end of the mission. Before you step into the fray, it’s worth learning the three areas of combat you’ll be accessing.
Covered ramps: There’s the initial bay area that overlooks the two LZ platforms. Currently, a Scorpius is firing ahead and right of you. Destroy it, then watch for Legionaries on the lower ramped area.
Empty LZ: Ahead and left of you down an open-air ramp is a large Landing Zone with some yellow explosive canisters (save them for later) and a small group of Legionaries. These are easy pickings.
Ship LZ: Ahead and right of you, linked by a bridge between both LZs, is a gap you can leap across, leading to an LZ with the ship you need to hijack. Currently, a Scorpius is positioned on the edge of the LZ, pointed at the entrance you came in from. Behind it is a quartet of Legionaries. Shoot the Scorpius from cover at the covered ramps, or after crossing the bridge from the empty LZ. Remember you can move back and forth from the covered ramps to this location; use this route if the bridge and empty LZ become too crowded when Cabal reinforcements arrive.
Clear the entire area of the two Scorpius guns and the dozen or so Legionaries. Then, venture behind the ship (ship LZ), and use Ghost to hack into it (hijack the ship). This is going to take some time to complete, so you’ll need to repel incoming enemies when this is going on.
As soon as the hijack begins, a wave ofCabal start dropping into the covered bay. Expect four Legionaries, a Gladiator, a couple of Psions, and up to four War Beasts. Long-range sniping with immediate and quick takedowns from the ship LZ is a good idea. Leaping to the covered bay is also an option, but you can be quickly overwhelmed. You may want to face the Gladiator at the empty LZ. It’s a good idea to clear the Legionaries and War Beasts from range and from either of the LZ platforms before leaping onto the covered bay to deal with any Psion stragglers.
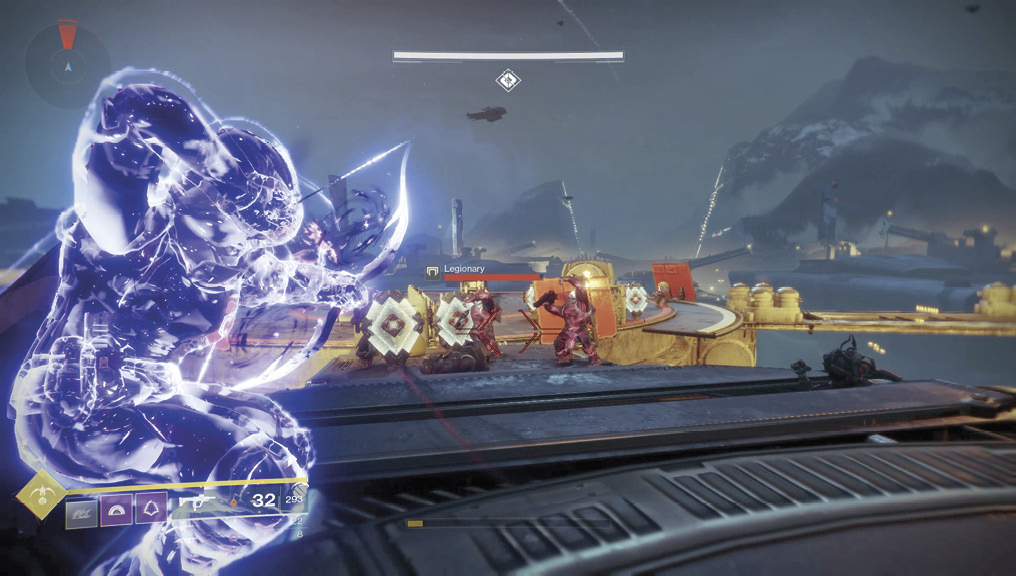
As you’re mopping up Cabal from Wave 2, a dropship deposits a squad of Phalanxes, Legionaries, and a Centurion (with a Solar Shield). If you’re at the covered bay, you have a slight height advantage and can face the Cabal on the connecting bridge, using area-of-effect weapons to detonate and send foes flying off to their doom. A similar plan is available if you’re on the ship LZ. It’s worth removing most of the foes from range first, then heading in to deal with the Centurion and firing at the yellow explosive canisters to soften up foes as the situation allows.
The action isn’t letting up! As you defeat the final foes of the previous wave, expect around eight Psions, four Incendiors, and a couple of Legionaries to appear in and around the covered bay. Shoot the Incendiors first because they are easy to tag, and their explosions can damage the Psions. Then, hunt the Psions, coaxing them onto the empty LZ where there’s cover for you but enough space to fire on Psions without obstruction. As the Psion menace is abated, check the ship LZ; there’s a Centurion ready to battle!
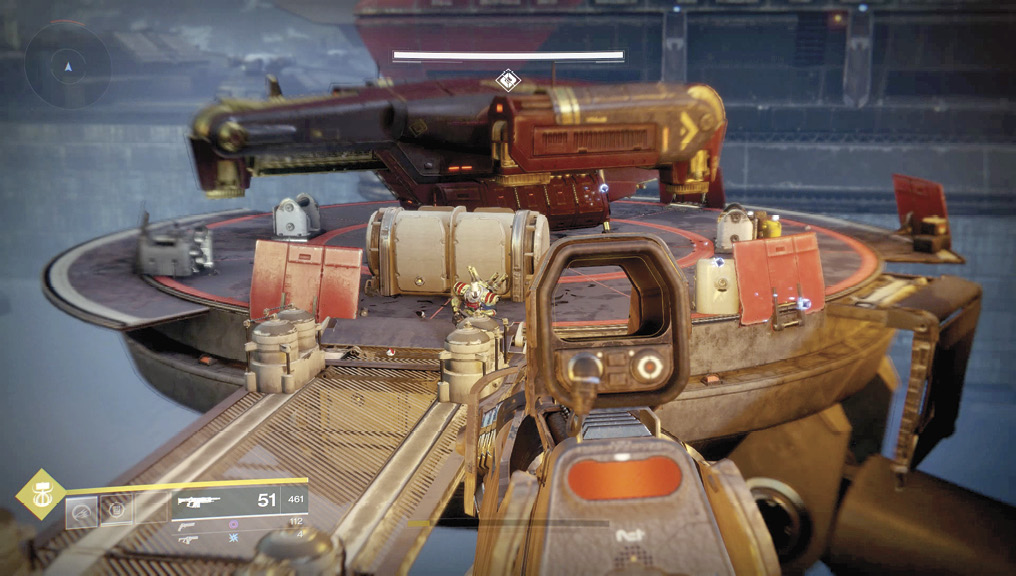
Boss: At the end of this battle, try to stay on the empty LZ, especially as the Centurion arrives. He uses the weaponry associated with this enemy type, so seek cover, and coax the Centurion onto the bridge between the empty LZ and the ship LZ (where he appeared). At this point, produce a grenade launcher, and punt projectiles at the foe until he’s staggered and finally sent falling off the side of the bridge. Use your Super and grenade, too. If you don’t have area-of-effect weapons to push him off the bridge, face the Centurion with some sniper fire at range or continuous headshots as you move to the different cover options around the empty LZ. Staying at range and in cover and whittling down the foe’s health as he plods toward you is a slower (but no less competent) way to finish this fight.
With the Centurion defeated, simply board the ship and conclude this mission.