
Destiny 2 Guide Adventures EDZ Adventures
Supply and Demand
Starting Location
Recommended Power
- 170
Prerequisite
- Complete campaign
Reward
- Rare gear (weapon)
Description
- An old friend is looking for Red Legion supplies to reappropriate. Scour Fallen territory for anything to scavenge.
The Adventure begins with a fairly simple objective: head into the crumbling building north of the church and collect the supplies stashed on the second floor. Your next task leads you to Maevic Square. Follow the objective marker out of Trostland to track down a massive Cabal cache.
The objective marker leads you to a heated battle between the Fallen and the Cabal. Each force includes one named enemy, but these enhanced units aren’t nearly as dangerous as the Scorpius turrets placed around the courtyard. Hang back, and use this advantageous position to pick off vulnerable enemies before you join the fray.
When you’re ready to enter the battlefield, approach the opening, and destroy the Scorpius turret below you. Be warned that these devices deal massive damage. Use a powerful weapon, or be prepared to retreat and regenerate between attacks. Once you’ve dealt with the first Scorpius, drop down and clear the rest of the battlefield.
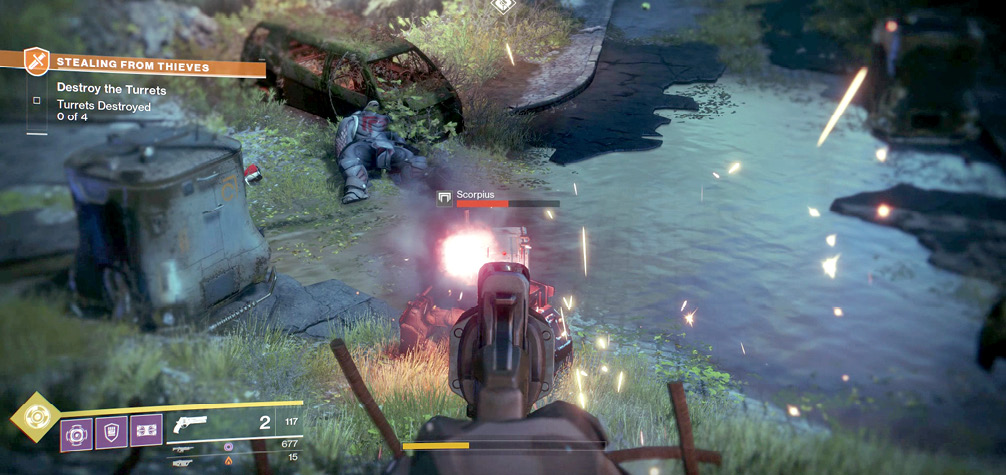
Once you’ve destroyed all four of the Scorpius turrets, eliminate any remaining enemies. When you’ve cleared the area, plant a landing beacon at the marked location in the center of the courtyard. After a moment, a ship arrives to claim the Cabal cache, and a nearby energy barrier vanishes. Follow the objective marker through the open path to find a stash of stolen outpost supplies. Make any desired changes to your loadout, hop onto the supplies, and initiate the transmat process.
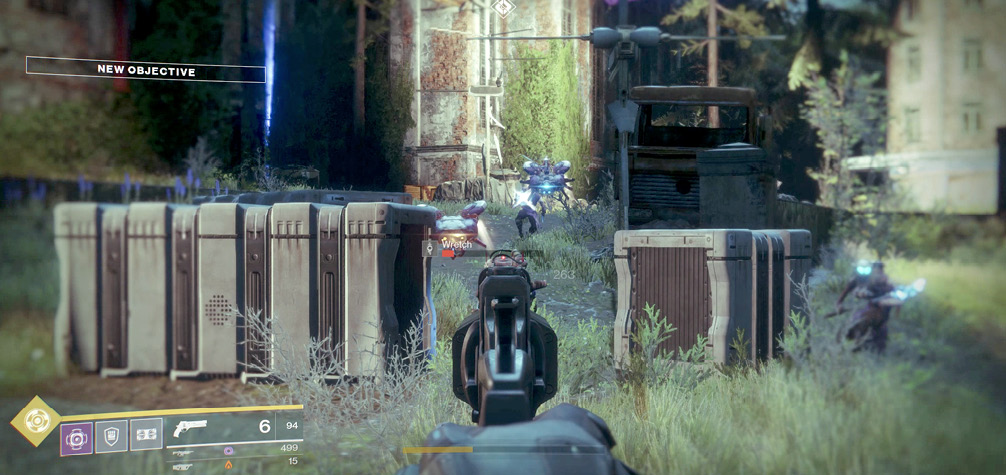
With the supplies gone, it’s time to deal with the Fallen response. You must defeat a total of three assault teams consisting of progressively more difficult enemies. Take advantage of the available cover, but don’t allow your enemies to surround you. Keep an eye out for Tracer Shanks and Exploder Shanks—prioritizing these high-damage units makes it much easier to survive the onslaught.
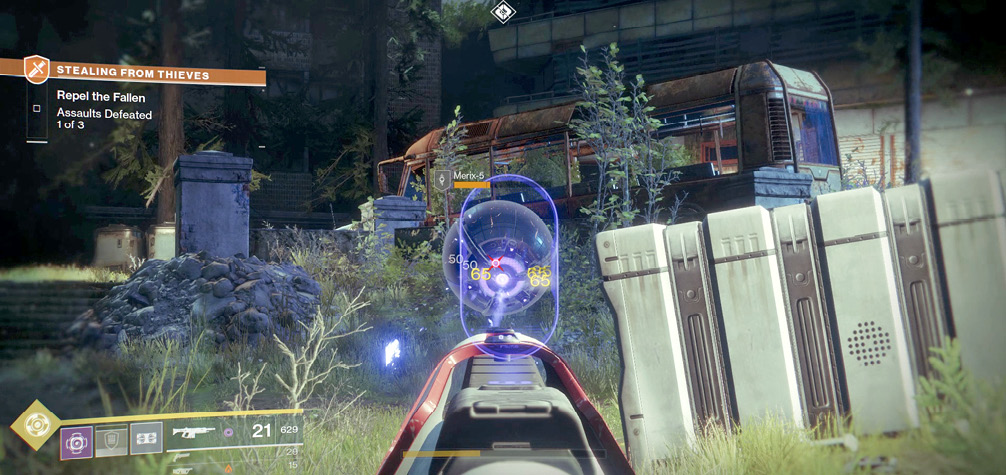
The second assault includes a Fallen Captain, but the wave’s heaviest hitter is Merix-5, a particularly durable Servitor. While it’s usually best to focus on an active Servitor, the battlefield is large enough that you might find it easier to clear out weaker units before engaging Merix-5.
During the final assault, you’ll encounter two especially dangerous units mixed in with the usual suspects. Of these elite units, a Fallen Captain is the first to arrive. An Arc-based weapon is your best option for reliable damage. If you have Power Ammo and/or a fully charged Super Ability, try to save them for the battle’s finale.
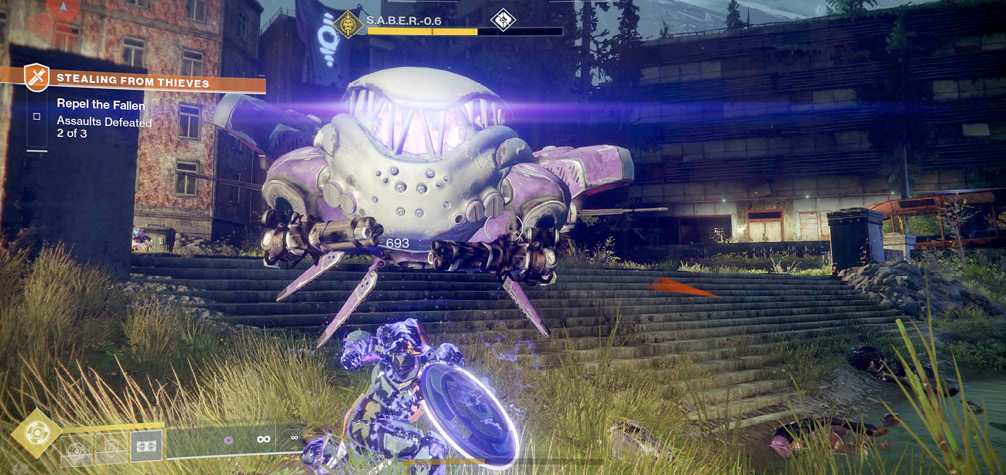
Toward the end of the final assault, S.A.B.E.R-0.6 appears. Pick off the weaker enemies, then throw everything you’ve got at this well-armed and very tough Heavy Shank. Purge the area of all Fallen units to complete the Adventure.