
Destiny 2 Guide Strikes The Pyramidion
The Rupture
Restricted Zone
Enemies Encountered
- Vex: Goblins, Minotaurs, Hobgoblins, Harpies, Hydras, Cyclopses
- Boss: Brakion, Genesis Mind (Hobgoblin), Fanatics
Objectives
- Find the first warpgate.
- Defeat the Vex.
- Find the next warpgate.
- Activate the Vex altars (3).
- Locate the last warpgate.
- Hack the network towers (4).
- Reach the final warpgate.
- Enter the conduit.
- Defeat the Boss Hobgoblin.
 Colossal Steps
Super: Optional (one player)
Grenades: Optional (one player)
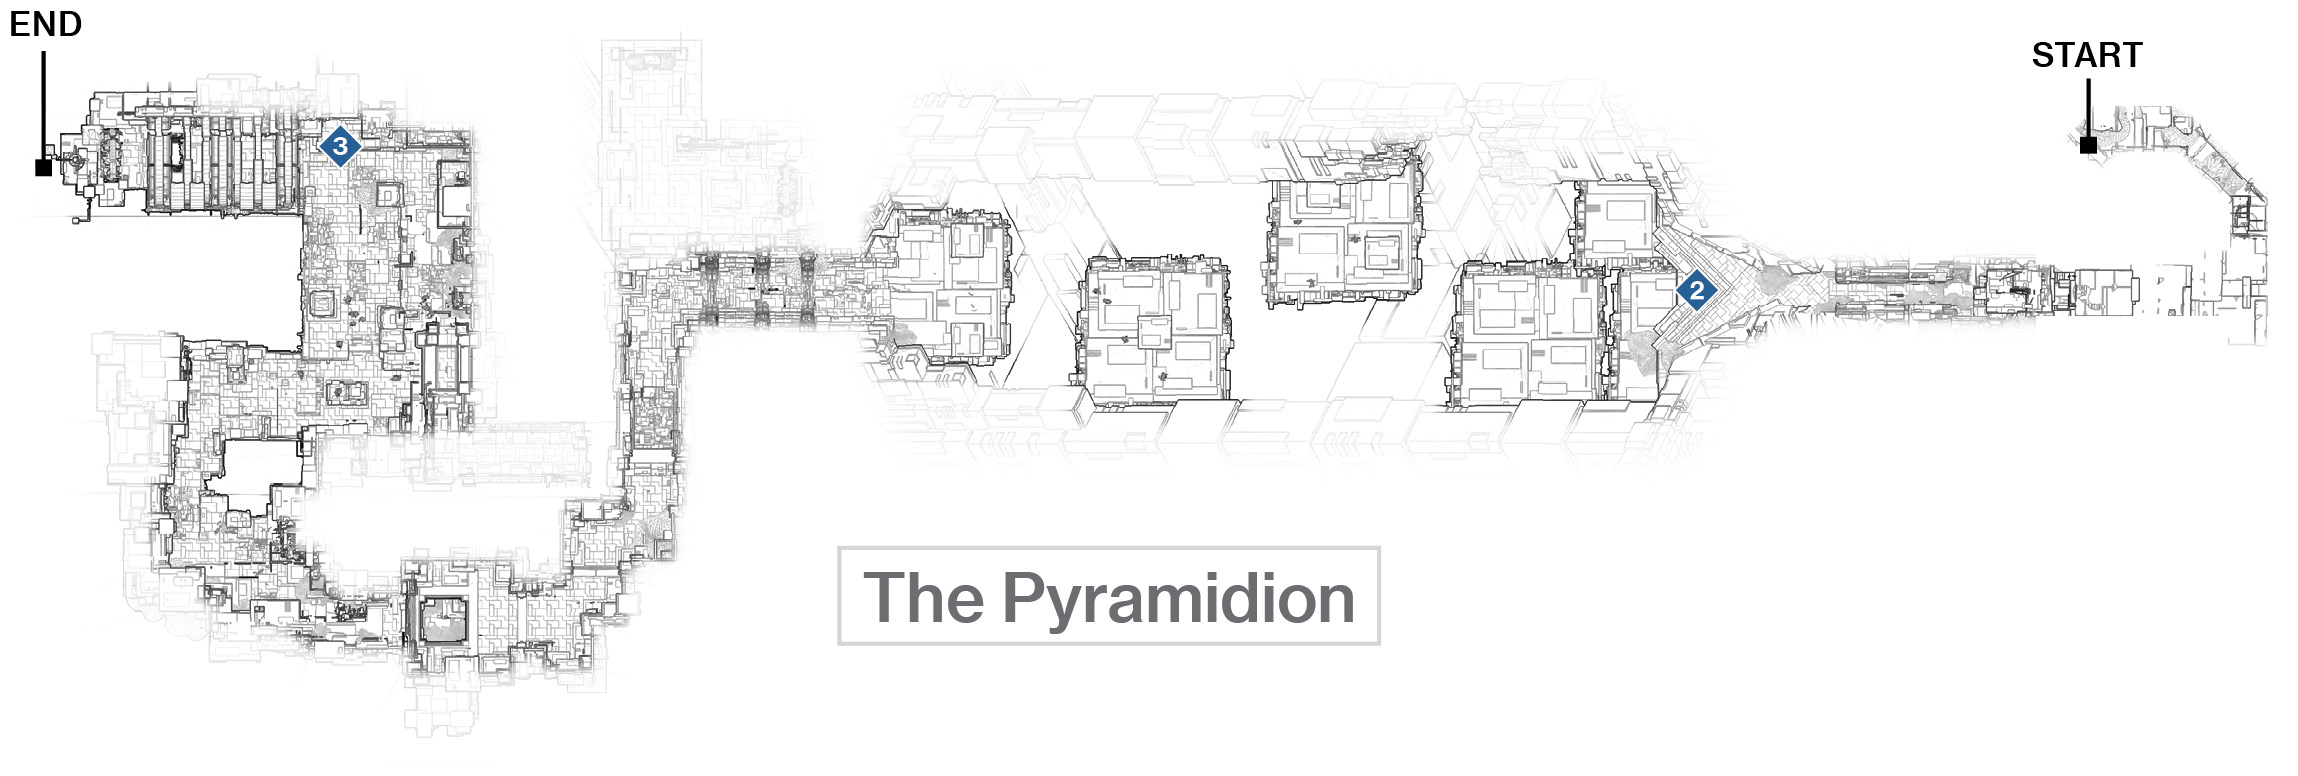
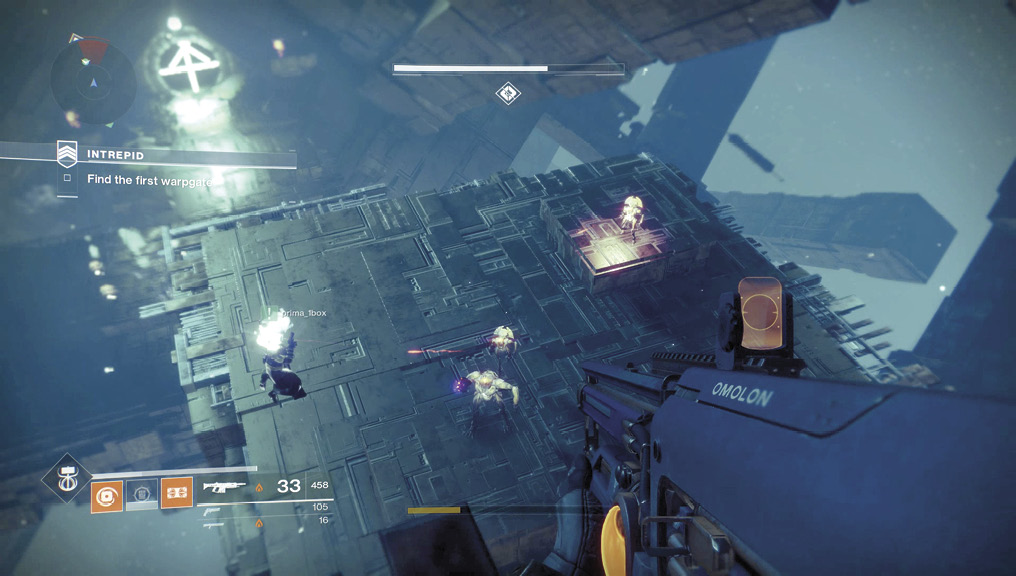
Resist the temptation to gawk at the incredible Vex architecture, and instead, make short work of the Goblins guarding the gigantic stepped chamber. Drop onto each step, watching for the telltale signs of Vex teleports warping Goblins and a Minotaur onto three of the steps.
Have one teammate attack at close quarters with two others on higher steps, providing sniping fire. Continue a measured descent, with one teammate tagging each Hobgoblin on either side of the circular exit. Then, demolish the Goblins and Minotaur on the final step and land on it.
Pass between the first three white laser traps. Cut down the Goblins in the connecting passage, then jump over the laser floor. Jump over the next laser wall, and slide under the next. Then, steer yourself during the drop so you miss all of the lasers during the descent.
 First Warpgate
Super: Recommended (one player) / Grenades: Recommended
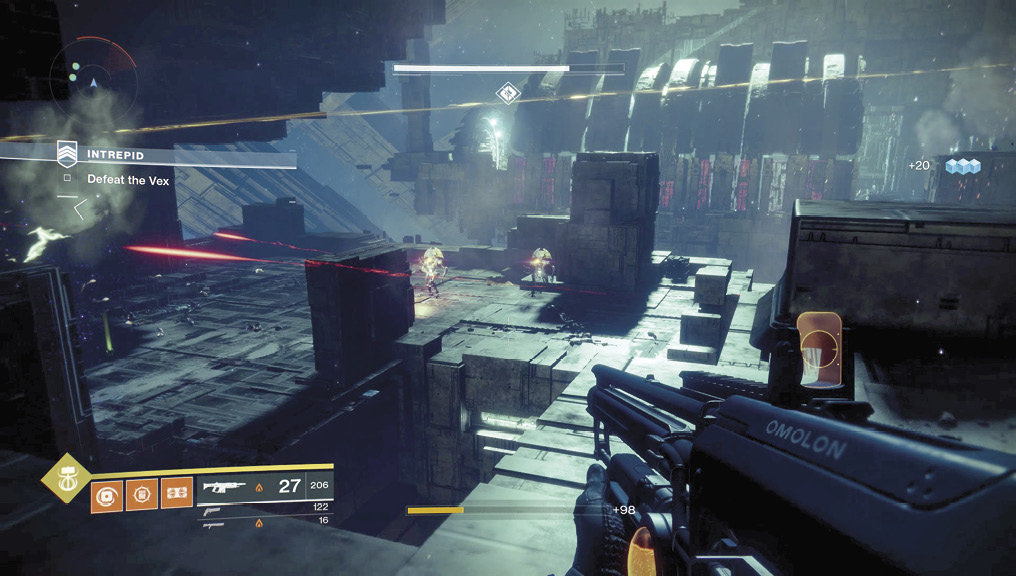
Out from the laser traps, remain on the higher platform as you look across to the first warpgate through an archway opening that looks a little like a ribcage. Dispatch Harpies, then the Goblins in your immediate view before heading across this exterior chamber. At this point, have one of your teammates execute a Super; there are more than a dozen Goblins, a couple of Minotaurs, and some toughened Harpies on this platform. Don’t overcommit and push too far forward because you’ll be swamped. Instead, lob in grenades, and make steady progress around to the warpgate arches. Here, there is a flock of Harpies to neutralize; expect about 10. You’ll know if you’ve defeated all the Vex because this triggers the warpgate to open.
 Altar Room
Super: Recommended (two players)Grenades: Recommended
Once you’re through the warpgate, time your movements through the next set of laser traps. They disappear and reappear, so move just as the lasers shut off. Watch the rhythm of the lasers before predicting when they shut off, and step through (or fall down) to the altar room.
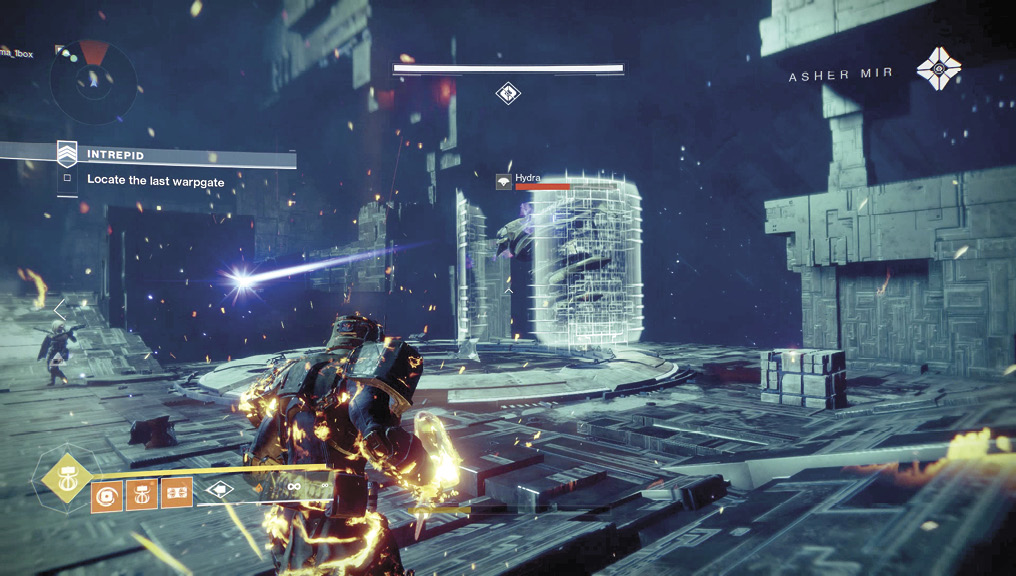
This chamber requires you to activate three Vex altars, just like you did before entering the Pyramidion. The altar chamber is large and packed with Vex; Harpies are in the center, with a Minotaur, Goblins, and Hobgoblins on the far side toward the (currently inactive) warpgate. Thin out the Vex first, and make the sniping Hobgoblins a priority. When very few foes are left, have two players head to the first altar to activate it. Reinforcements arrive each time an altar is activated (usually Minotaurs and Goblins), and a Hydra appears when all three altars are active. Employ a Super if needed when clearing this area. Otherwise, remain on the perimeter of the room so you’re not overwhelmed. Save a Super for the Hydra, unless you want a protracted fight. With the warpgate functional, leap through it.
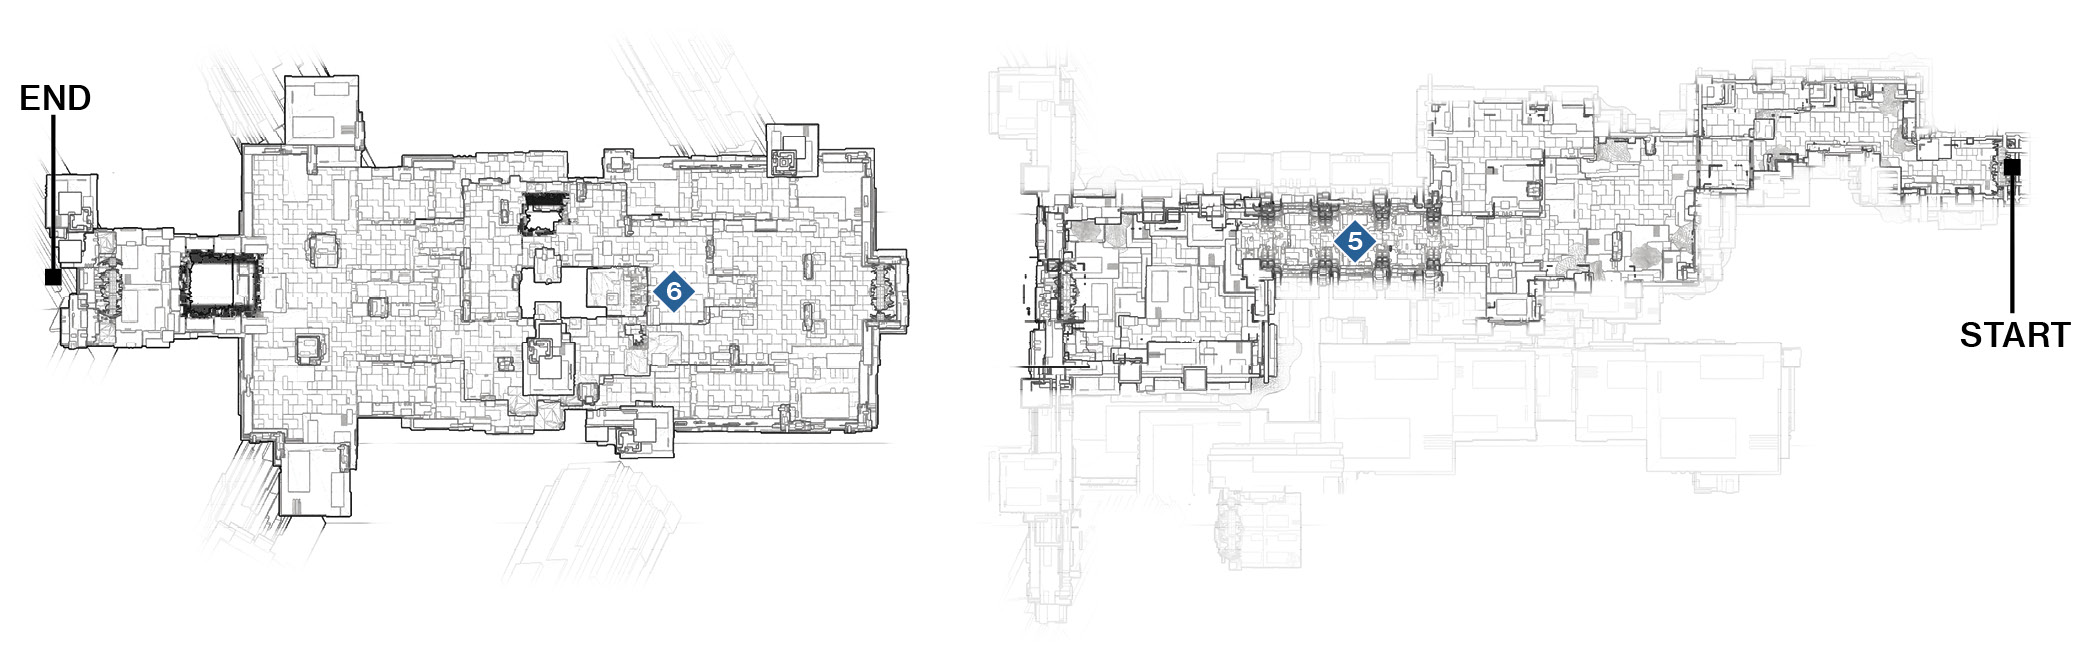
 Conduit
Super: Optional (one player)
Grenades: Recommended
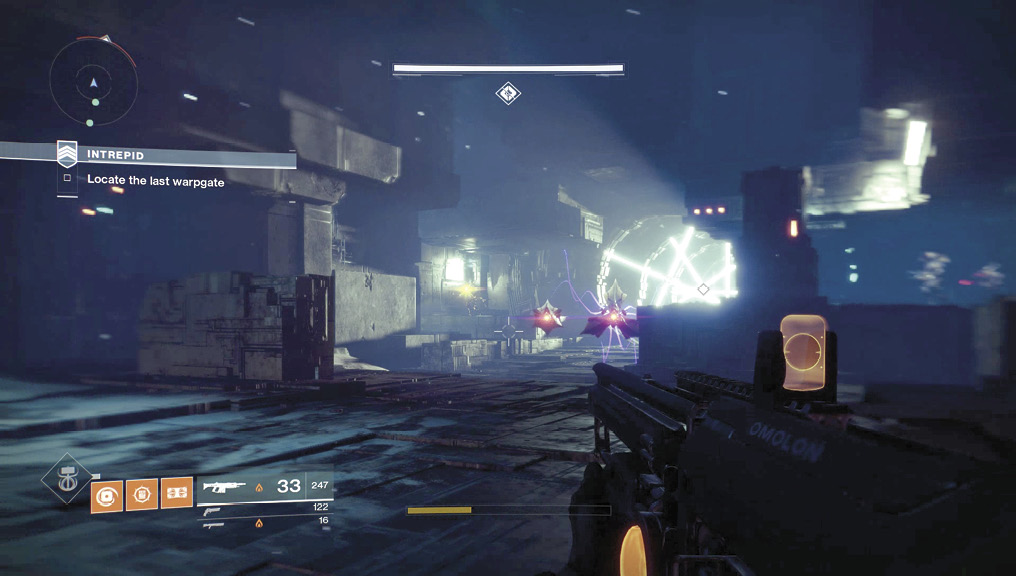
A long conduit chamber is visible, with a number of laser traps and Vex Hobgoblins, Goblins, and Harpies in between them. Time your sprint through the first couple of walls, then take down the Hobgoblins and then the other foes before heading into the tube-like conduit. Time the dash through the rotating lasers so you sprint at either side in one continuous run; just time it based on the initial rotating laser, and you should be fine. Then, drop into the teleport.
 Tower Platform
Super: Recommended
Grenades: Recommended
Variations: Additional Hobgoblins.
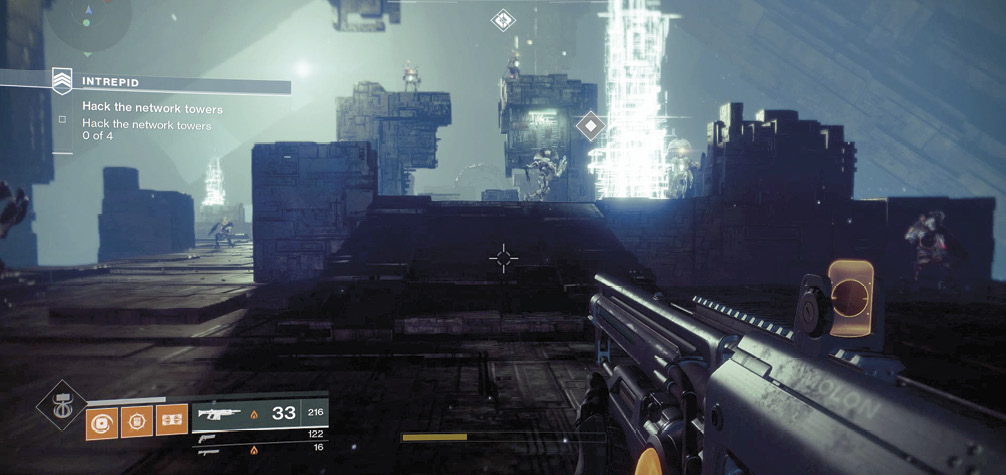
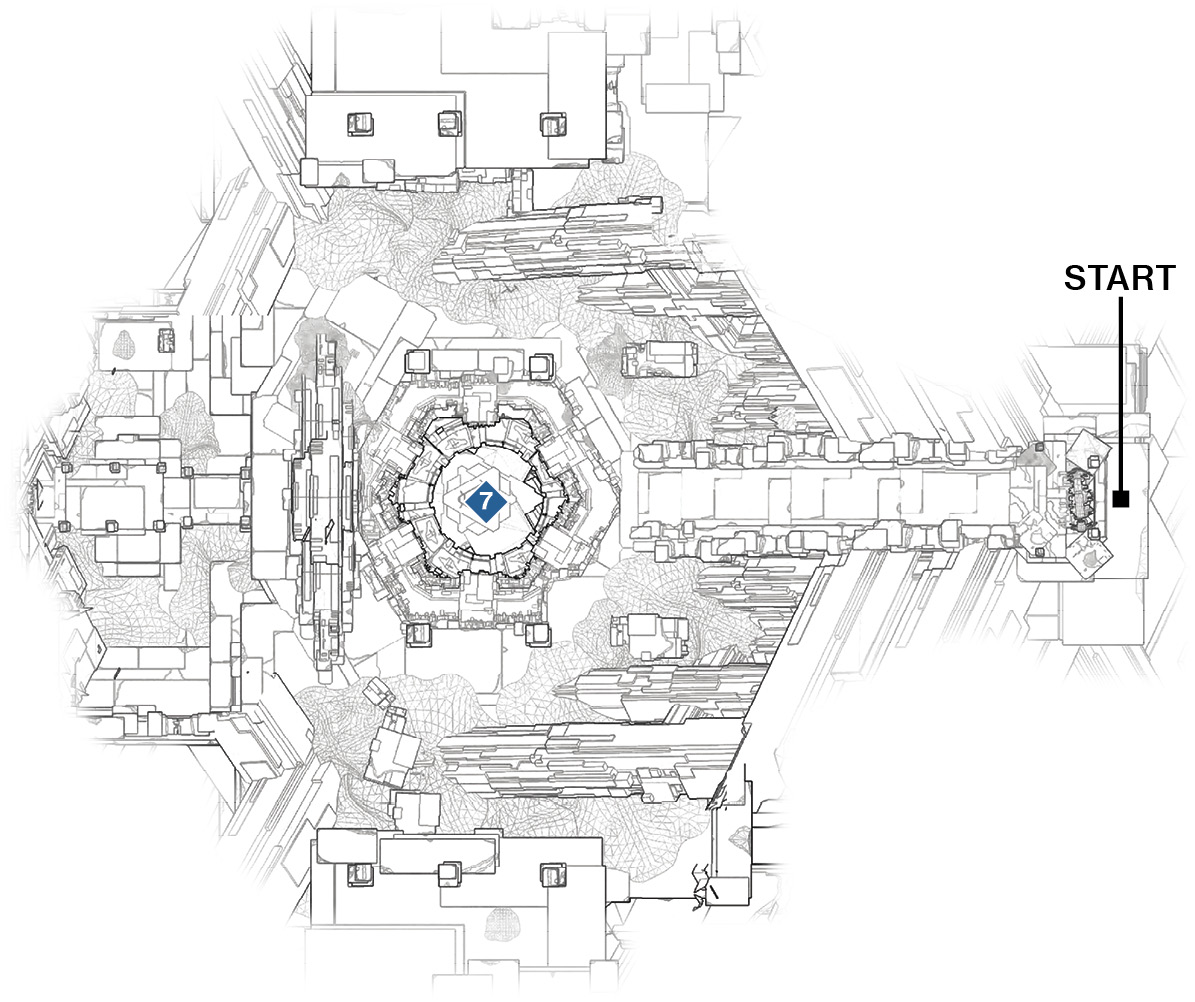
Step onto a long platform with a central sunken area and a teleport at the far end. Ahead and on either side of the platform on two small plinths are some stationary Cyclopses, a rarely encountered Vex.
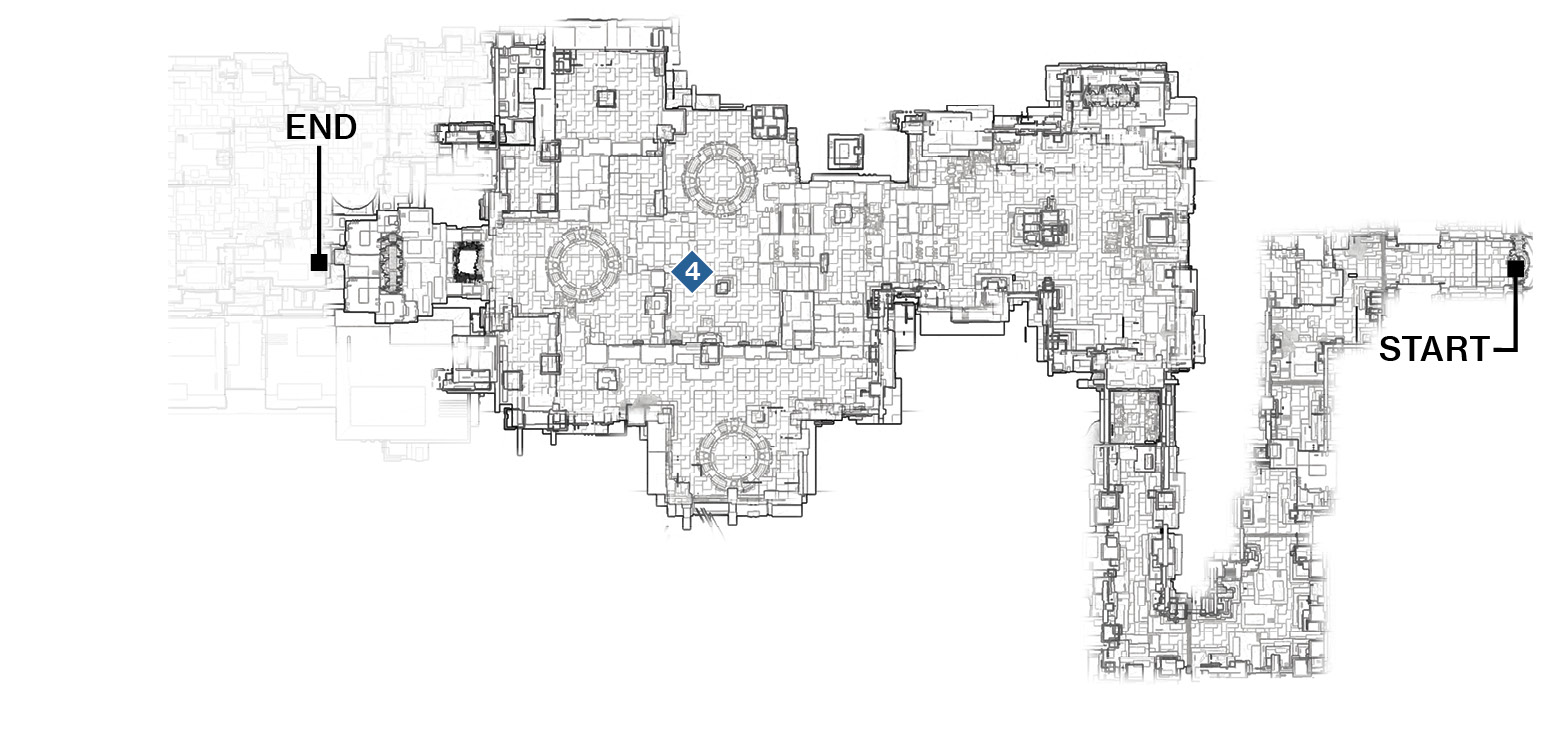
This foe fires a nasty laser, then a barrage of lasers when it’s been damaged. Before you remove these threats, tackle the enemies atop the pillars, and make slow (but steady) progress through this chamber. If you’re dying, you’re being swarmed by multiple clusters of Vex; a Minotaur and Goblins appear around each of the network towers you must hack. It’s usually a good idea to tackle these tower hacks methodically, with your entire team focused on one location at a time.
Approach each of the white glowing small towers, and completely remove any threats in the immediate vicinity. As the last Vex hostiles fall, have one teammate do the hacking while the other mops up and the third ascertains the next nearest tower. Repeat this plan two more times. If you’re skilled enough or don’t have the time, you can try the slightly more dangerous plan of having two teammates tackle a tower separately, with the third providing covering fire. Minotaurs are especially deadly here, so make them priority targets after you’ve aimed at the Cyclopses’ eyes.
 Conduit and Final Altar
Super: Recommended
Grenades: Recommended
Boss Weak Spot: Red head slit, then torso opening.
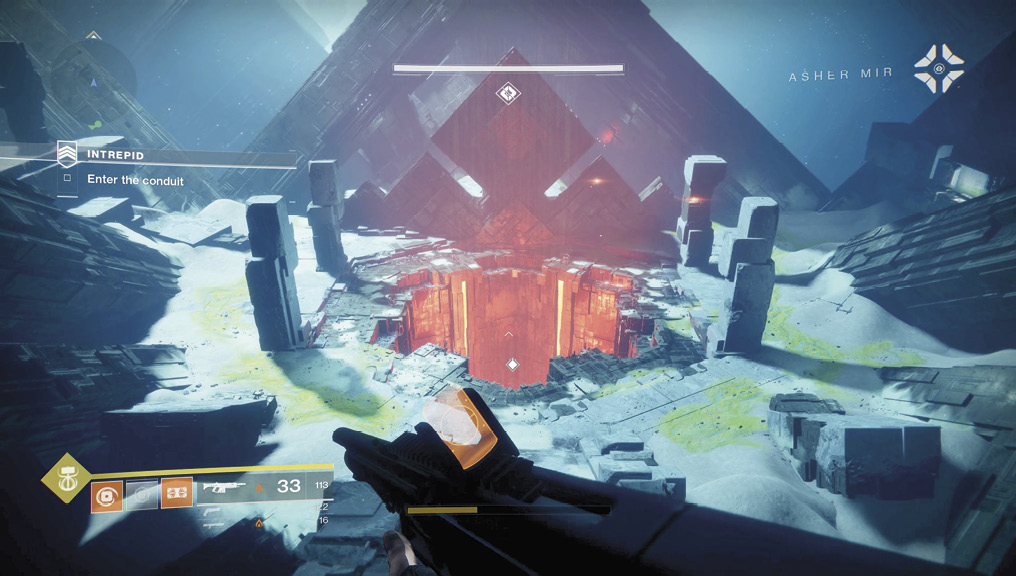
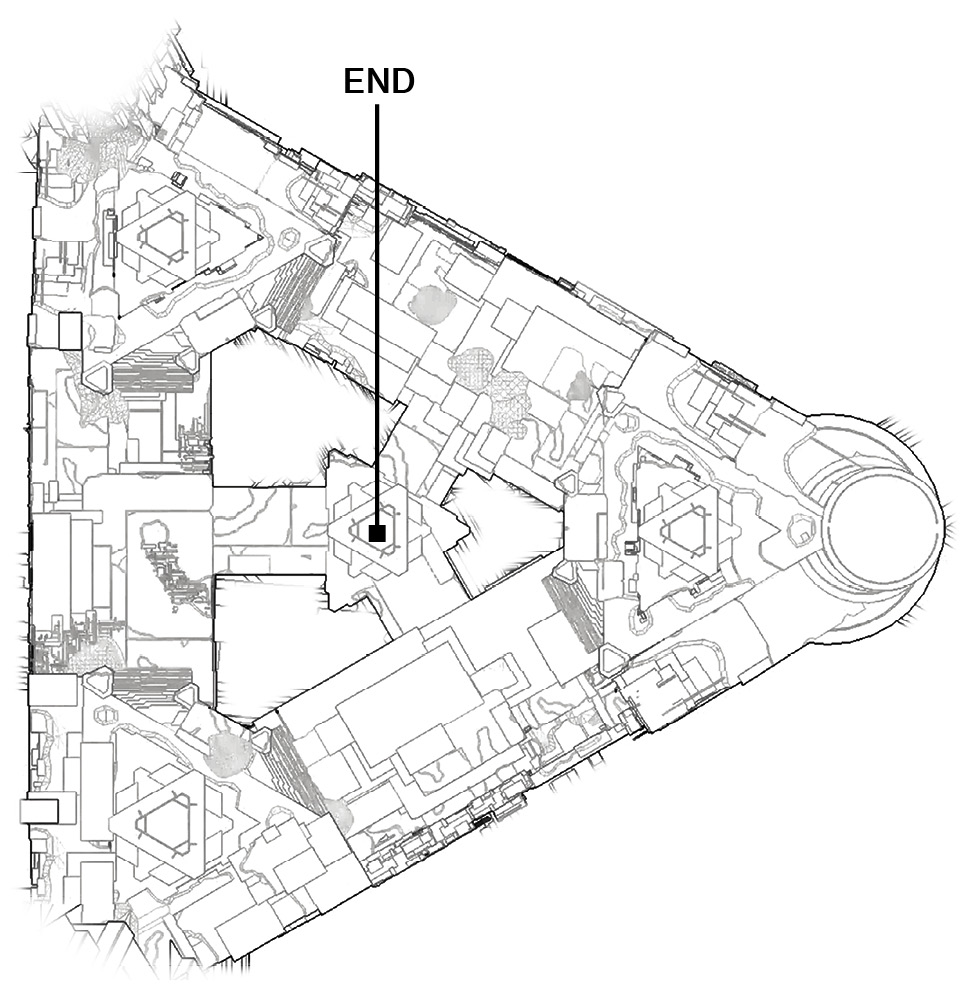
Once you’re through the last warpgate, drop down the colossal conduit to a roughly triangular altar chamber with numerous gaps in the floor (leading to bottomless death drops) and a final altar to step into. This summons a truly frightening (and massive) Boss Hobgoblin, the genesis mind of the Pyramidion itself!
From the start of the battle, it is important to know where the Boss Hobgoblin appears from (the edge of the arena closest to the altar you stand on).
Situate your team so that the available low block cover opportunities are known and utilized. Then, train all your firepower on the Boss’ head as soon as it appears. Wreck him with your fire and sticky grenades until he retreats to a raised perimeter of the battlefield and puts up an impenetrable white shield. A host of Goblins is then summoned.
Stay active, concentrate on removing the multiple Goblins (area-of-effect attacks work before the Goblins spread out), and then stand on an appearing altar circle to weaken the Boss Hobgoblin’s white shield wall. A second wave of Goblins then appears on the opposite side of the front of the wall, with a second altar circle to stand in. Remove the foes, and activate this second altar. The white wall shield collapses, enabling you to damage the Boss Hobgoblin again. During this time, the Boss Hobgoblin may raise or drop the low block wall sections, so hiding places are not guaranteed. Instead, back up and use your favored ranged weapon, or close in and remove Goblins with a shotgun (depending on your play style).
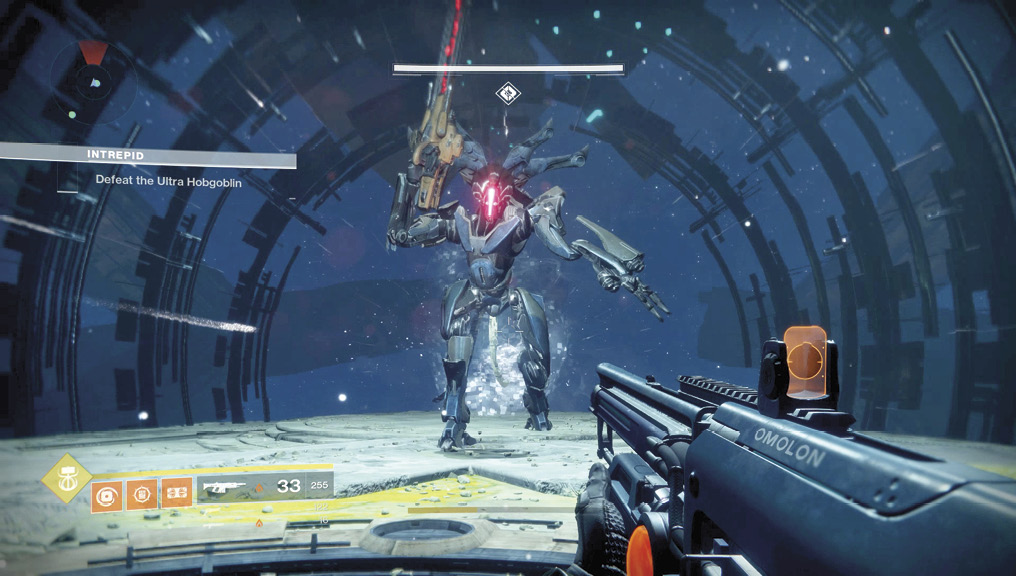
When the Boss Hobgoblin is prone, waste no time in bombarding him in the central red head slit, avoiding his vicious and powerful red laser sniper rifle. This is the time to launch grenades and Supers into the foe; do it as soon as the shield wall drops so you can inflict the maximum amount of damage possible before another wall goes up. Note the red glow before the Boss Hobgoblin fires his rifle. When you see it, strafe quickly into cover so it doesn’t badly damage you.
Expect to deal with two or three shield walls before the Boss Hobgoblin loses a third of his health. On subsequent wall shield removal plans, watch for additional foes to appear, like Minotaurs and the Goblin hordes.
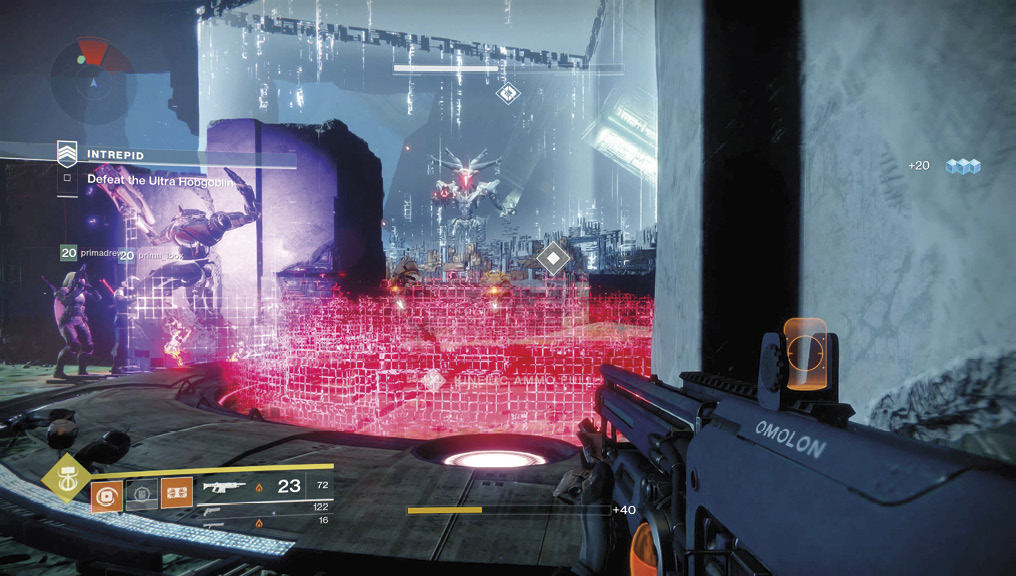
More expert players tend to wait for Vex to “fall in” and land on the ground, and they dispatch enemies near where they first appear while remaining in cover. Then, they target the foes at the second altar area from distance. It’s also a great idea to split up (it only takes one of you to stand at an altar); make your team more difficult to fire at by attacking in all directions.
With around a third of his health lost, the Boss Hobgoblin attempts a rampage across the arena. Find cover, split up, and bombard him with your favored weaponry. Supers are reasonable at this point, but the Boss Hobgoblin usually teleports when he’s hit by enough damage, meaning that you can waste some of your Super sprinting to reach him again.
At this point, the Boss Hobgoblin throws out a nasty belch of purple flames that coats the surrounding area where you’re standing. Leap quickly out of the way, and don’t spend time thinking the cover is going to help you.
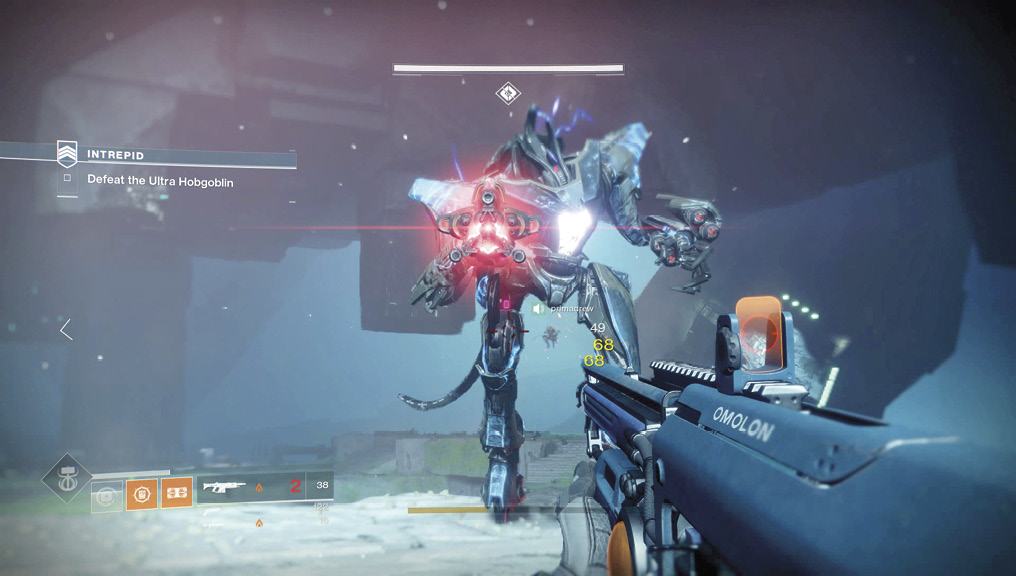
The burning damage spreads out around the blocks you’re hiding behind. Goblins are summoned as the Boss Hobgoblin continues this rampage.
To further annoy you, he removes and summons block sections in separate areas of the arena, so split your team up and attack from three different directions. Watch for the purple fire gouts, too.
With around one-third of his health left, the Boss Hobgoblin starts a more manic assault, summoning Harpies and Goblins (and sometimes Fanatics) to aid him. Deal with them in your immediate area, then spread your team out to the three different corners of the map. Use block cover, and train your weapons and Supers on the giant foe until you blow his head off. Then, switch to the torso opening glowing white, circle-strafing around the now-crippled foe until he finally goes down.