Destiny 2 Guide Director Titan
Tidal Anchor

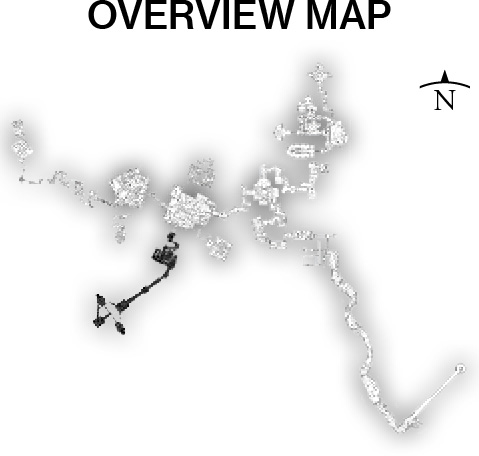
Sector Notes:
Enemy Clusters: Hive: 3
Material Nodes: Available
Partially Inaccessible
Scannable Objects: 1
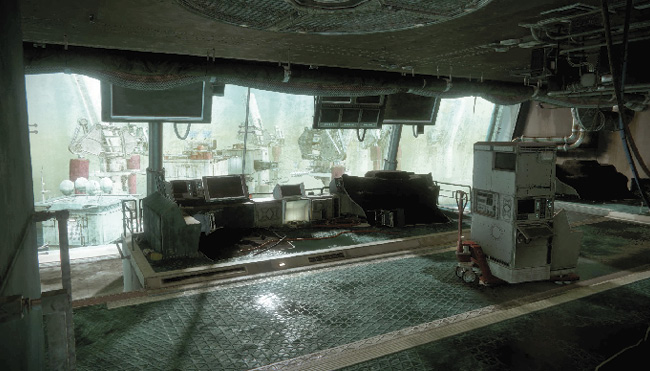
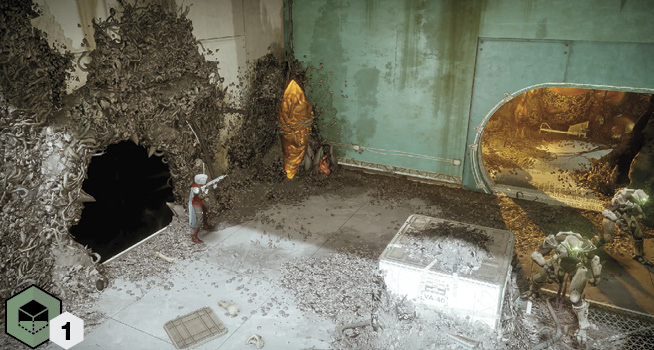
The rig where you first begin exploring this Sector is informally known as the “Sunburst” rig. It’s named for the insignia on the exterior walls of the structure as you cross from the southern bridge of the Rig Sector (the only way in and out). The Hive presence is strong here, with secretion-filled corridors and a Wave Converter Control Room you can interact with (mission only). There’s a lower Machine Corridor leading to a sealed pair of doors. Further investigations are only possible during the mission. Head outside to a red-colored deck before maneuvering across two connected bridges and towers and two Converter Towers (which must be fixed during the mission), after which there’s a tricky rooftop battle on Tower 02. At all other times, this is a place to hone your Hive-culling talents.
Enemy Clusters
 Hive
Hive
The Wave Converter Control Room has a Knight and Acolytes close to the windowed area.
 Hive
Hive
Expect Acolytes on the stairwell area.
 Hive
Hive
Acolytes, Thralls, and a Wizard are your main concerns along the lower windowed Machine Room.
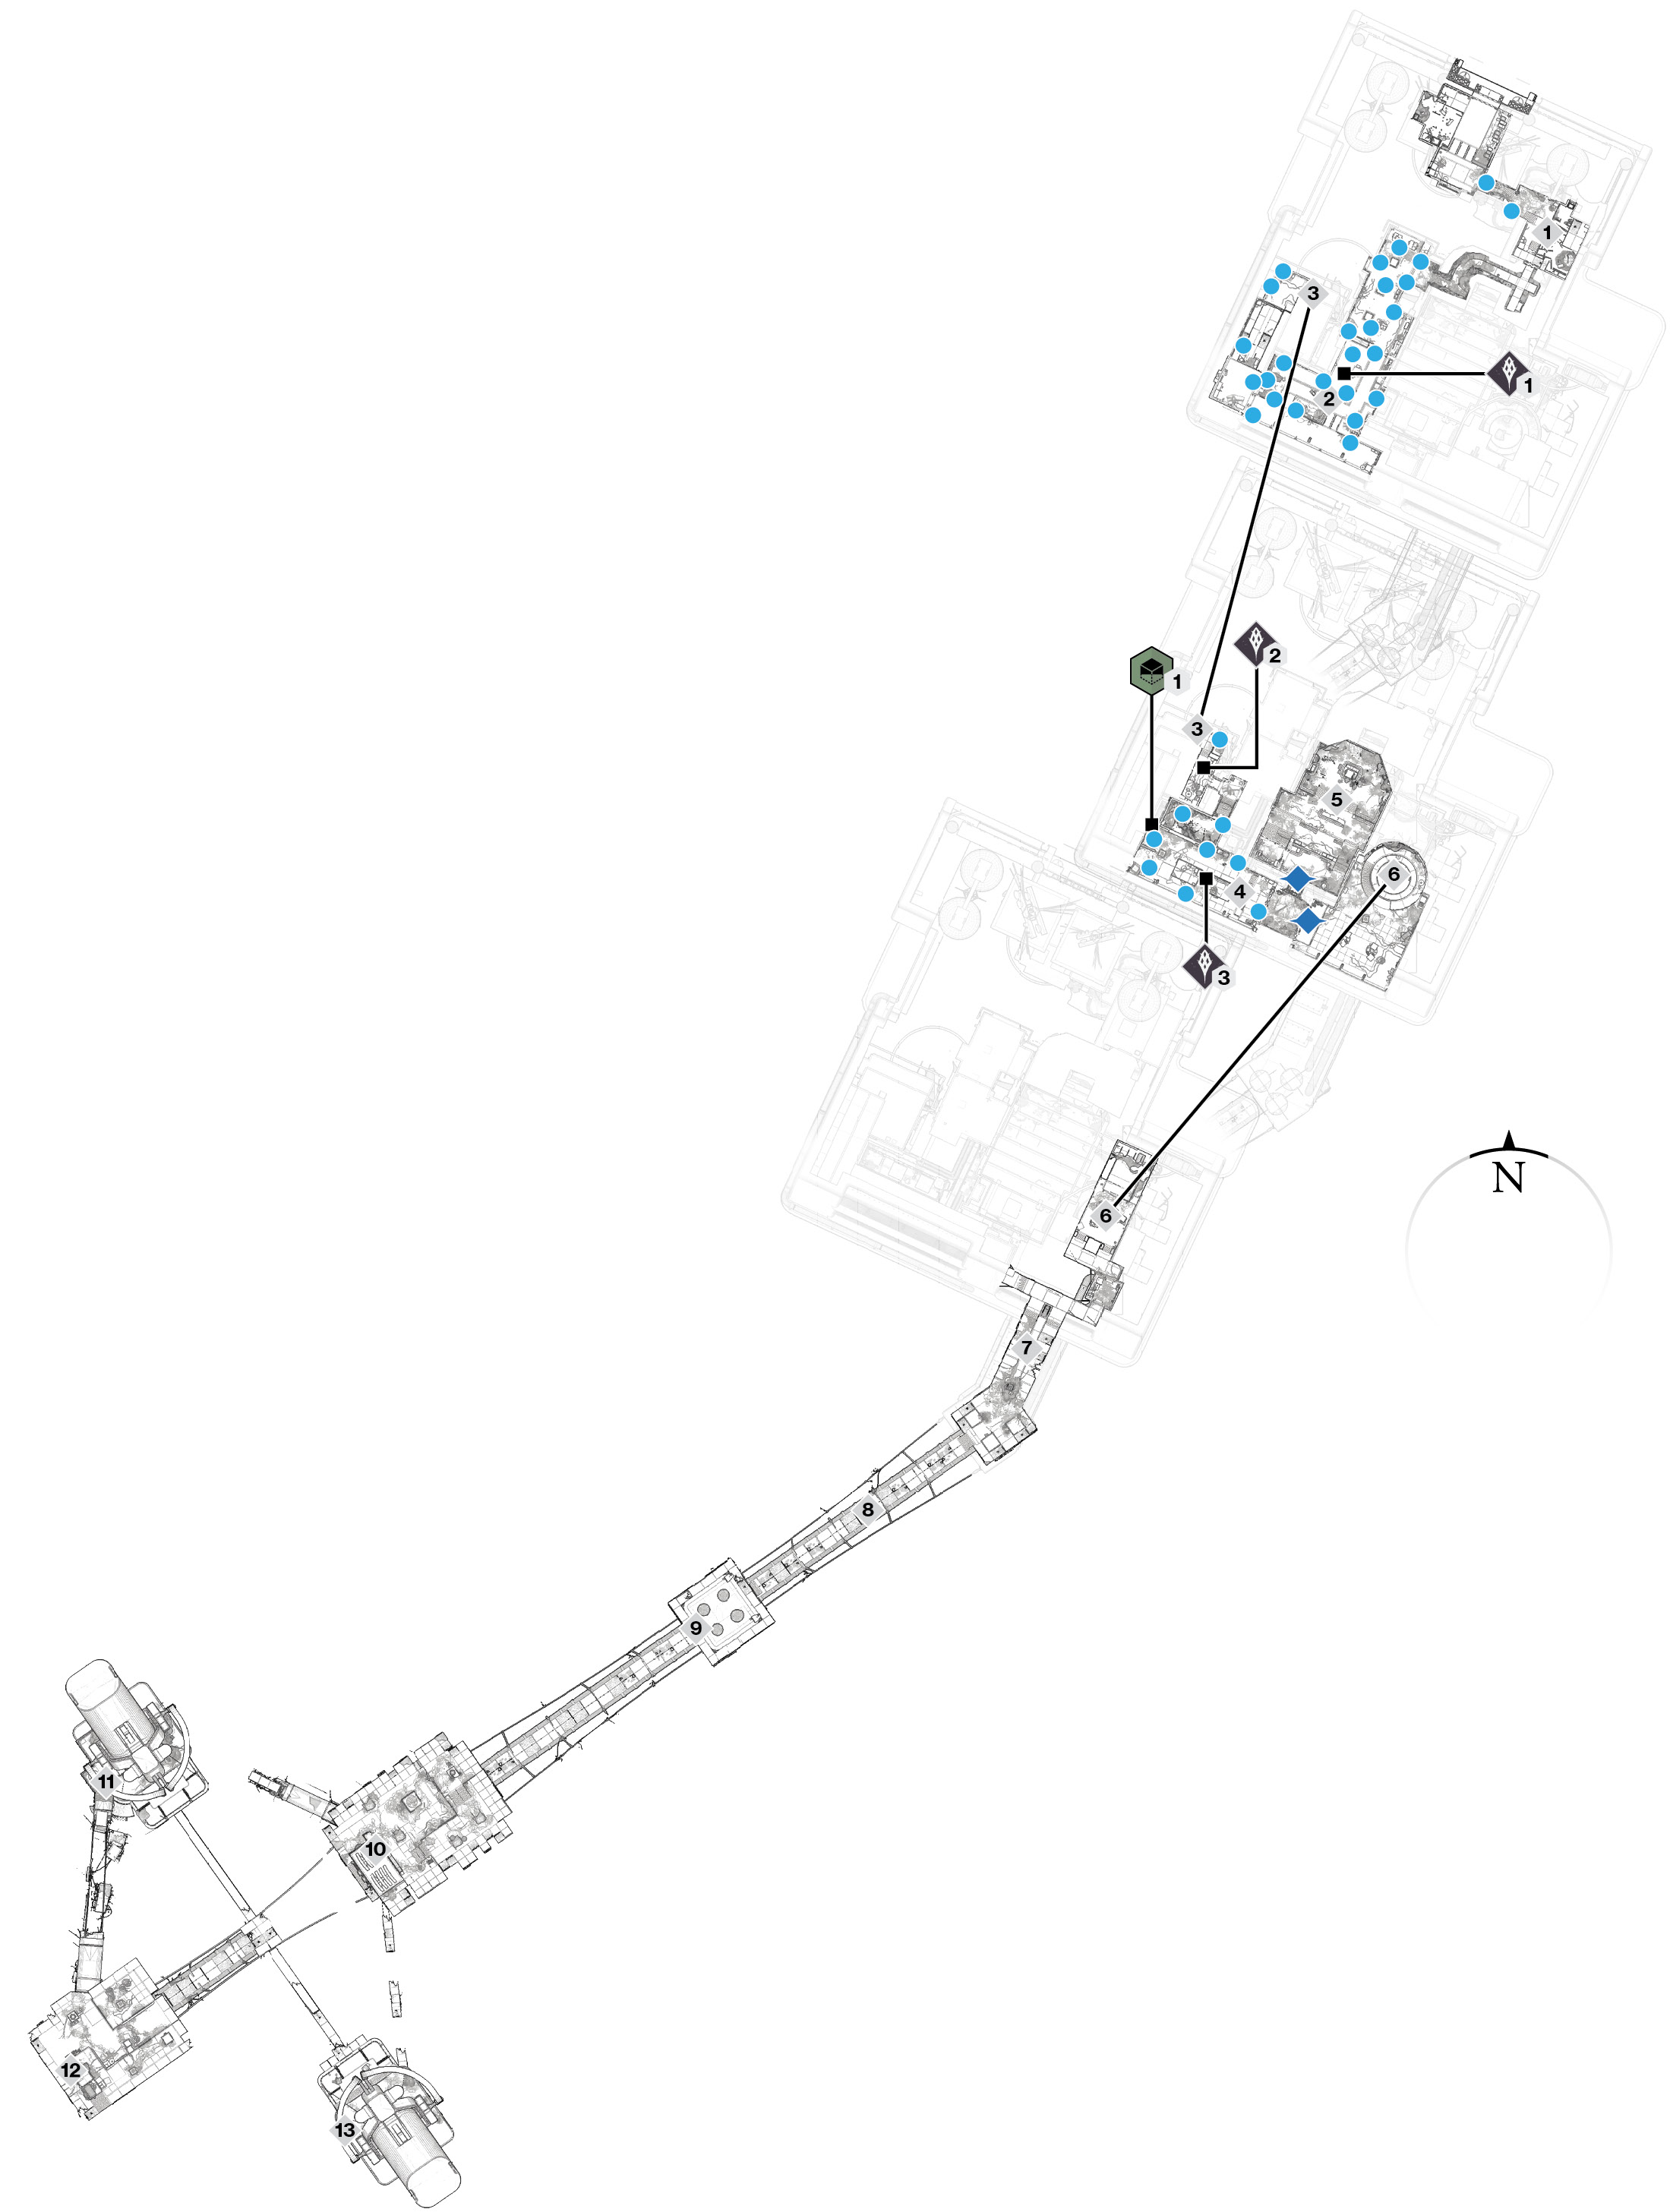
Areas of Interest
 Hive Corridors (North)
Check the map and memorize the only route through this dimly lit mass of Hive secretions that welcomes you in from the bridge crossing outside, in the Rig Sector.
 Wave Converter Control Room (Upper)
Your first contact with foes involves battling with Hive Acolytes and a Knight. Note that the enemies are different during the mission (they are Fallen). Access the circular door to the west to reach the stairwell.
 Stairwell
Avoid dropping between the stair platforms, as the fall is deadly.
 Machine Corridor (Lower)
This is directly below the Convertor Control Room, and it’s the last accessible chamber unless a mission is active. A scannable object and a Hive Wizard (with Thrall and Acolyte minions) are active here.
 Main Computer Room (Inaccessible)
A Patrol or Side Mission may take you into this otherwise sealed room, where you must vanquish a host of Hive foes.
 Circular Hole (Inaccessible)
This is accessible only when the mission is active. Drop down the hole in this small cargo bay to continue your exploration.
 Red Deck (Inaccessible)
This is accessible only when the mission is active. Several Fallen, including Tracer Shanks, impede your progress during the mission.
 Bridge to Tower 01 (Inaccessible)
This is accessible only when the mission is active. Use the tactics described in the mission to cross this narrow bridge.
 Tower 01 (Inaccessible)
This is accessible only when the mission is active. This is the first of three main towers, all in a southwestern line, one after another.
 Tower 02 (Inaccessible)
This is accessible only when the mission is active. A similar bridge (with a host of Hive foes during the mission) leads to the second tower. This tower has a special rooftop area where the final battle of this mission takes place.
 Convertor Tower (North) (Inaccessible)
This is accessible only when the mission is active. Fix one of the two wave converters here.
 Tower 03 (Inaccessible)
This is accessible only when the mission is active. This is used to access the second Converter Tower.
 Convertor Tower (South) (Inaccessible)
This is accessible only when the mission is active. Fix the second of the two wave converters here.
Campaign Missions

The majority of this Sector is inaccessible unless this Campaign Mission is active. Note that enemy types in accessible chambers are different during the mission, too.
Scannable Objects