
Destiny 2 Guide World Quests Io World Quest: King’s Shadow
Mission 1: The Hunt
Starting Location
Recommended Power
- 130+
Prerequisite
Reward
- Echo Patterns +1
Description
- Taken activity has increased on Ganymede, with an unusual focus on the Vex. Find out what they’re planning to do, and put a stop to it.
 Locate the flag in Lost Oasis, and begin a hunt for unusual Taken activity in this Sector. There are three locations to scan for and move toward. As you maneuver through Lost Oasis, expect the usual Taken clusters to be active (as shown in the Director chapter).
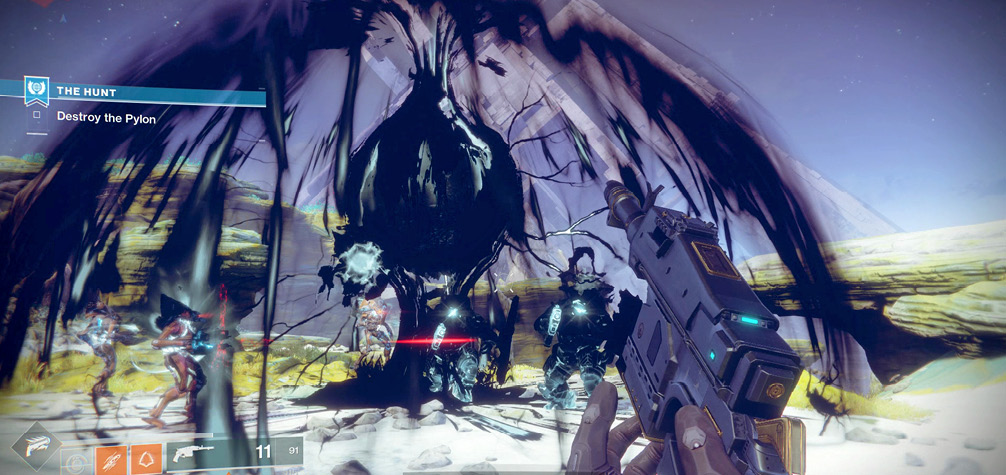
Then, find a rock plateau to the west, and attack the Taken pylon. A few Vex Goblins are attacking the Taken Phalanxes inside. This is dangerous because the dome of the pylon protects both enemies from your attacks, so close-range assault weapons are necessary to damage them (as well as slick sidestepping and dodging).
Bring out a close-range assault weapon if combat is dragging on, and blast the actual bulb of the pylon so the protective shield dissipates. Seek cover, and remove the dangerous Taken Phalanxes one by one. A Taken Wizard is then summoned (usually with a Solar Shield). Back up, then attack from longer distances now that you don’t have to be close by.
A second pylon is active near the initial World Quest starting location (where the flag was). Tackle the upper rock ledge with the smaller rocks to hide behind, and execute the same plan as before. The enemies are the same (Phalanxes fighting Vex Goblins), though the Wizard that is summoned once the pylon is destroyed usually has a Void Shield. Beware the Taken Thralls that it summons. Jet off on your Sparrow to the third location.
The third pylon is on the upper rocks above the huge fallen tree trunk you can move through. As usual, the plan is to defeat the two Taken Phalanxes and then the pylon bulb before it respawns the Taken. Then, engage a Taken Wizard (this one likely has a Void Shield) before mopping up any Vex Goblins.
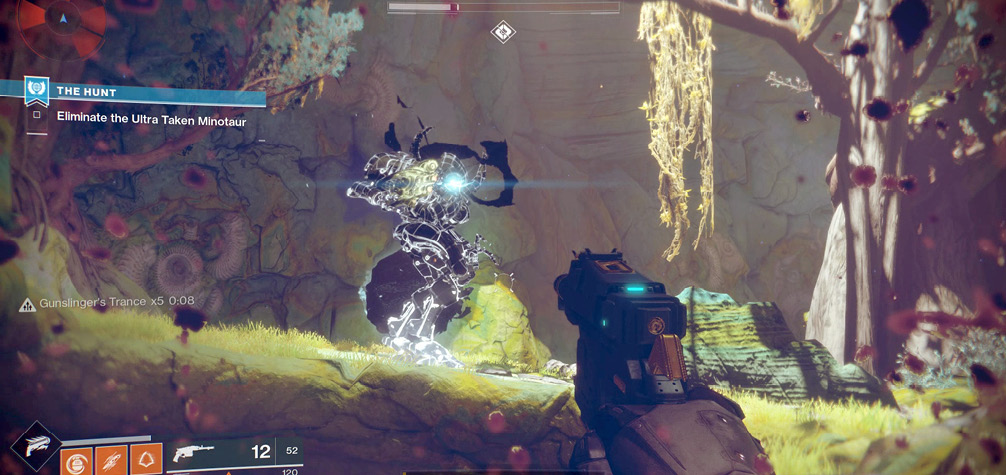
 Expect the usual Taken foes (a Phalanx and a couple of Psions or Thralls) on your way into the adjacent Spine Burrows Sector. Enter this enclosed cavern space, and check the clusters of Taken near the entrance. Be warned: an Boss Taken Minotaur is active here and must be stopped!
Combat begins with you ignoring all Vex opponents. These Goblins are frozen in place by the Taken and are currently not a threat. Not so the Taken Phalanxes; defeat the nearest ones, and stalk the Boss Taken Minotaur around this cave. It usually cloaks, so find its glowing eye and shoot it. Don’t take down a third of its health yet. Instead, go to each Vex cluster of Goblins and Hobgoblins, and slay them as they stand motionless. If you don’t, the Taken transform them into Taken variants as the battle progresses, and you have more threats in this confined space.
Once you’ve dispatched many frozen Vex, concentrate on the Boss Minotaur, as well as the Taken Acolytes and toughened Psions guarding strange stationary Taken turrets called Acolyte’s Eyes. Then, return to taking out the Boss Minotaur; this is a great time for the Super and grenades. With this boss foe slain, the mission concludes.