
Destiny 2 Guide PS4 Exclusive Content Strike: Lake of Shadows
The Reservoir
Restricted Zone
Objectives
- Find the Taken source and eliminate it (continued).
Enemies Encountered
- Taken: Captains
- Taken: Thralls
- Taken: Sub-Boss (Captain)
- Taken: Phalanxes
- Taken: Hobgoblins
- Taken: Psions
- Taken: Vandals
- Taken: Sub-Boss (Knight)
- Taken: Goblins
- Taken: Knights
- Taken: Sub-Boss (Wizard)
- Taken: Boss: Gor’ath Gath (Phalanx)
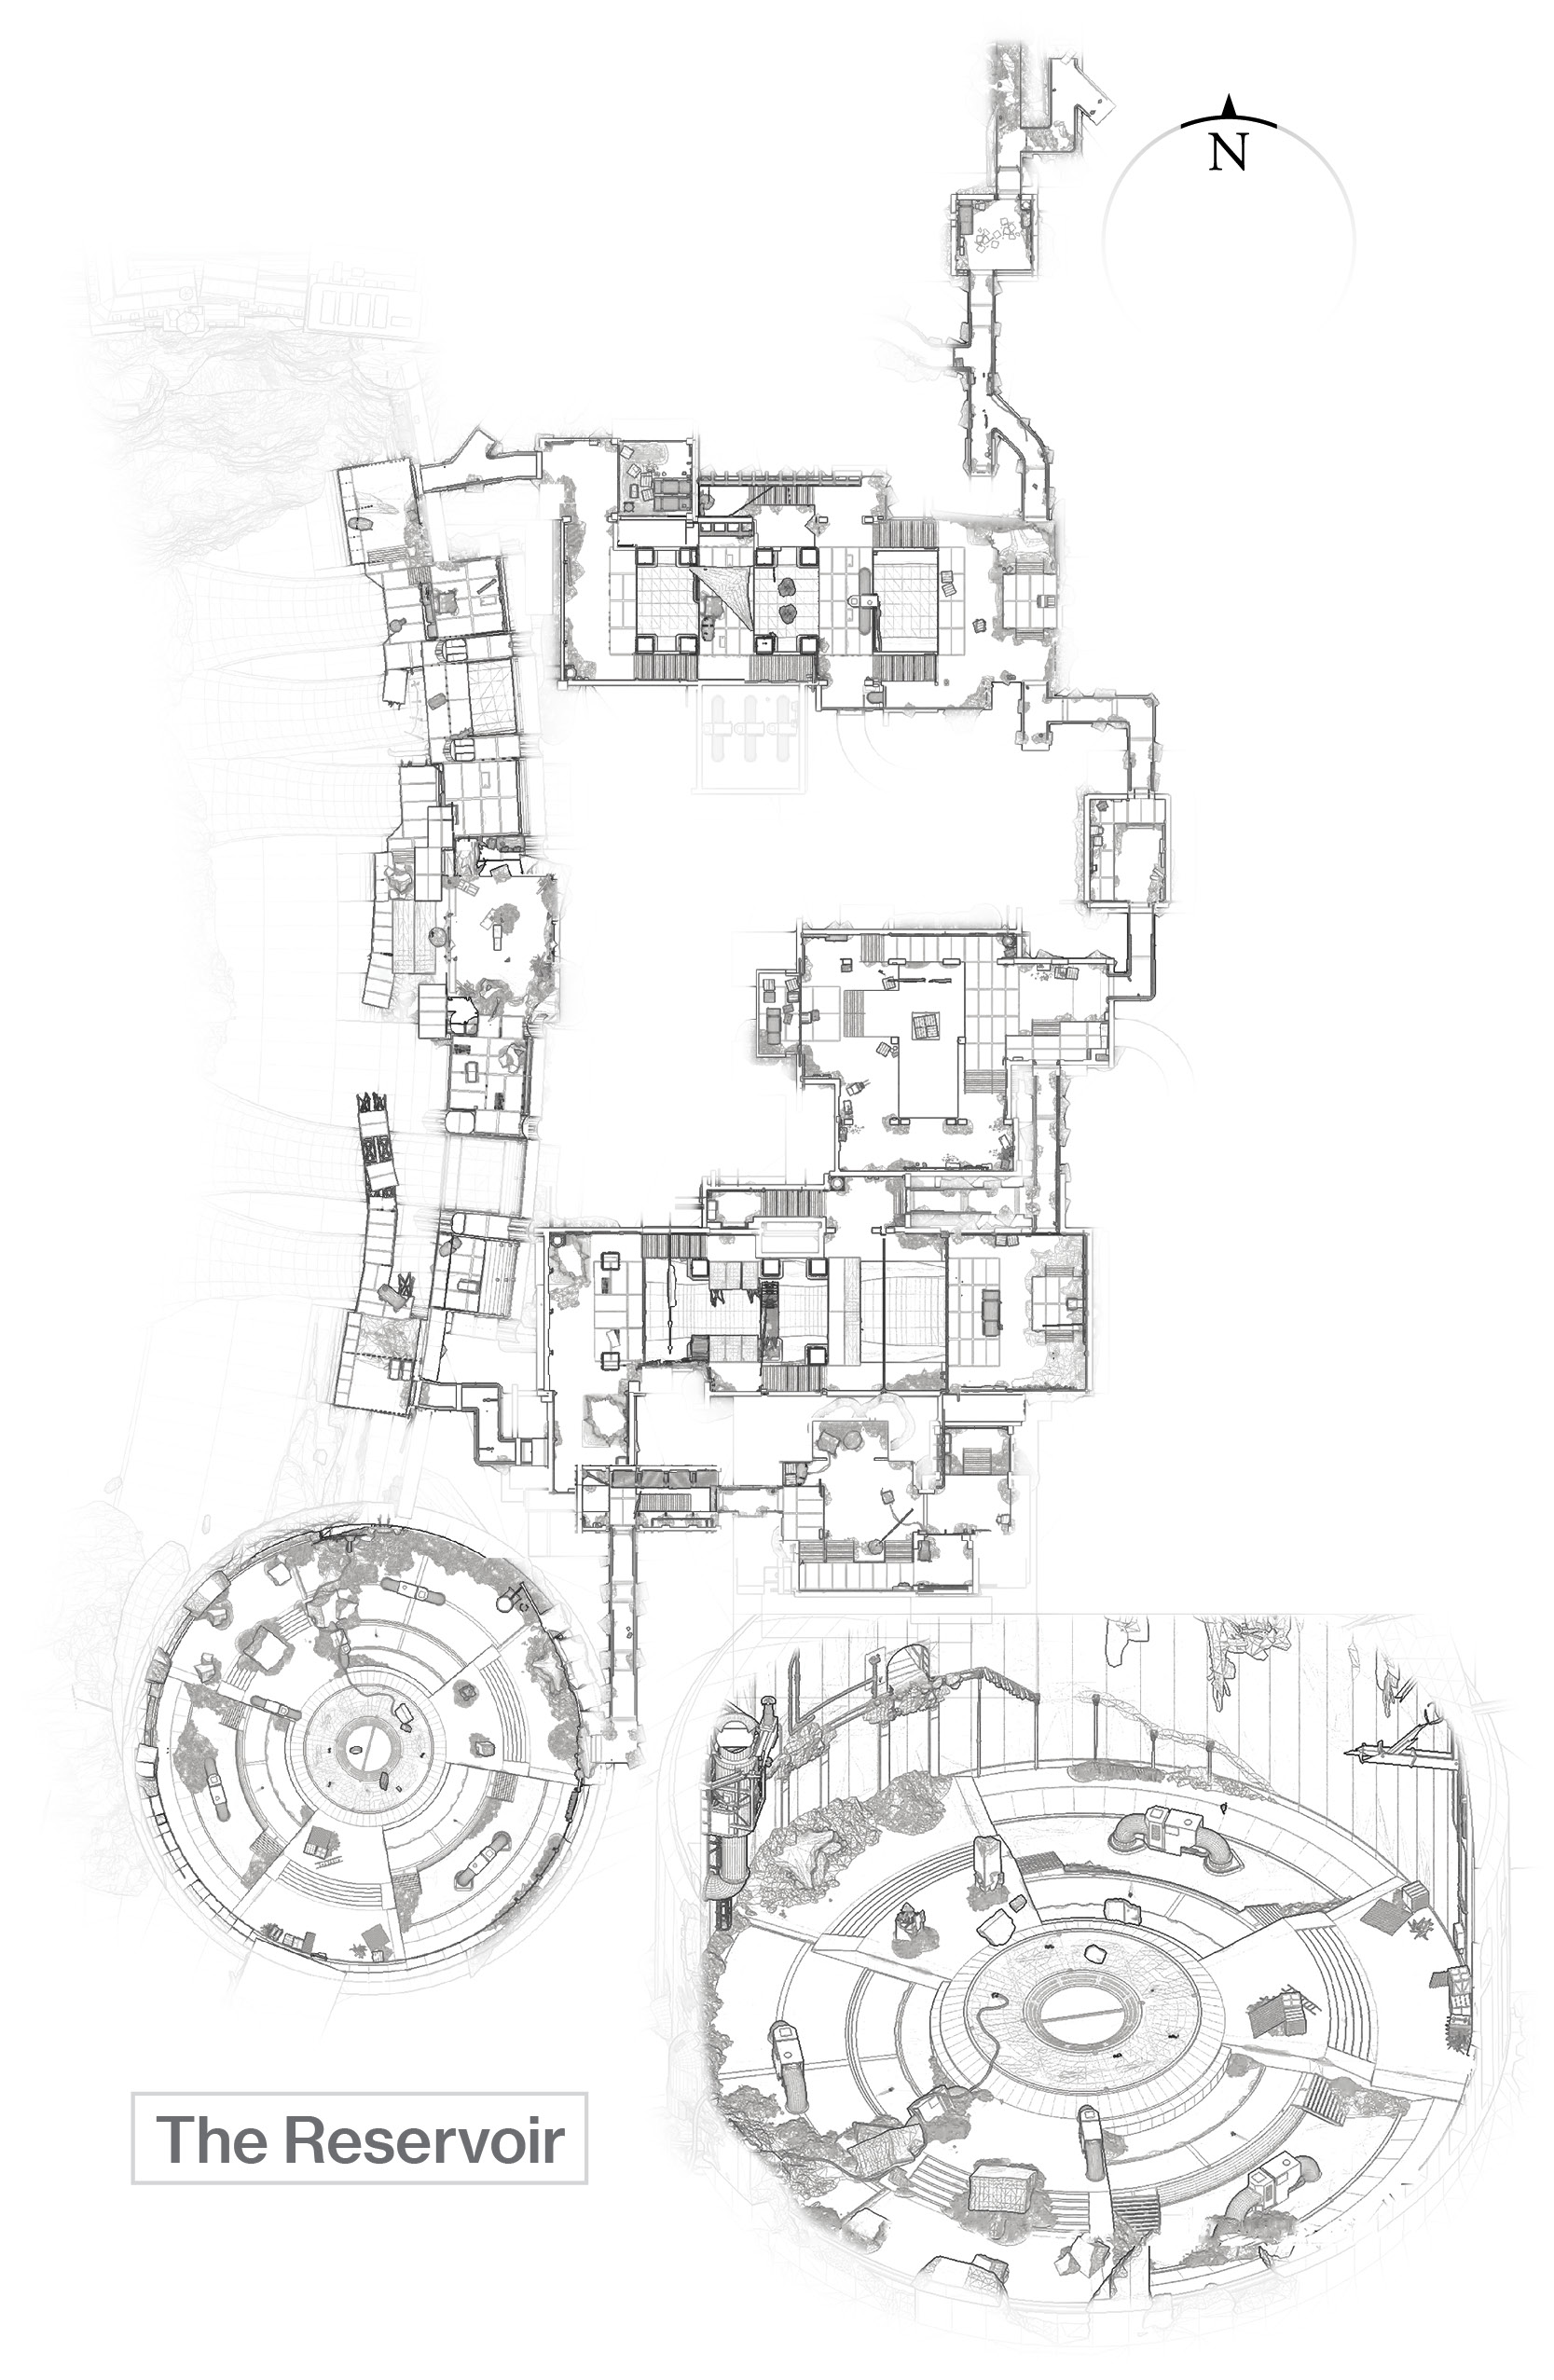
 A Hunt for the Source
Super: Recommended (one player).
Grenades: Optional (all players).
Variations: Other enemies may appear, enemies in different locations.
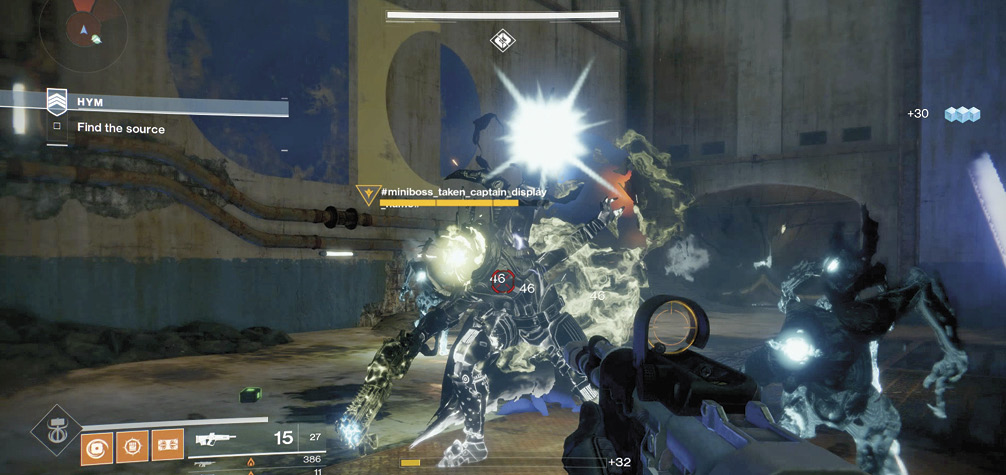
If time is not a factor in the entrance corridor to this power station, take a brief respite before barging through the Taken rift wall into the north dam chamber. Taken Captains and a host of Thralls are making life difficult for you here. You’re descending down gantry stairs, and these are tight, so stay at range and rain death down from above before slowly advancing to the middle platform. Then, rake Thralls charging you from below, using the concrete walls on the inner side of the steps as partial cover.
Sub-Boss: Maintain this plan until you reach the lowest part of this large stepped chamber. A Sub-Boss Captain is a tougher foe, and the gigantic rift ball he conjures is almost impossible to avoid in this confined space. A well-timed Super is worthwhile here, or you can remain on the higher platform and tag the foe (and his Thrall minions) as he peeks around the corner at the bottom of the stairs. Meanwhile, one or two teammates should rain death (and grenades) down from the middle of the platform so you’re not fighting the Captain at the same level, where he can easily damage you.
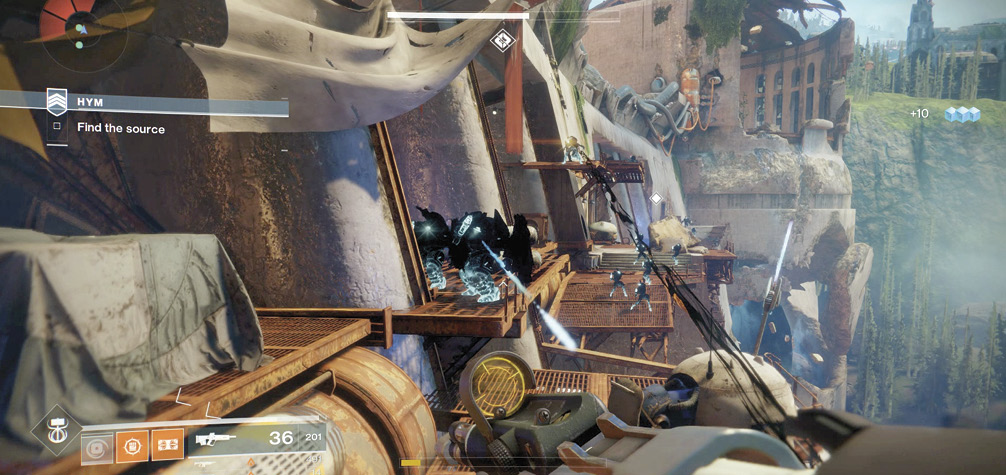
 The dam chamber leads to the exterior gantryway and a fierce fight high above the (deadly) dam wall. Surefooted Guardians are those that are likely to survive this push forward. Drop the Phalanxes, and then utilize your longer-range weaponry to drop Hobgoblins and Psions in the mid-distance. If all three of you are advancing at moderate speed, you can remove all foes before they become a close-combat nuisance, maneuvering across the rusting gantry platforms in the process. Or, one of you can execute a Super to clear around half of the exterior gantryway of foes.
Sub-Boss: The farther half of the exterior gantryway has a number of Taken Vandals to execute, ideally from range since they have sniping capabilities. If you must attempt closer combat attacks, have one of your teammates run and jump across the inner gantry platforms, rather than the exterior ones that offer no cover.
You may need to try this, as there’s a Sub-BossTaken Knight with a good deal of health that creates a small protective shield around him and his Vandal brethren at the far end of the gantryway. Concentrate your firepower on him, and attempt to end a Super with his death if you’re timing your Supers correctly.
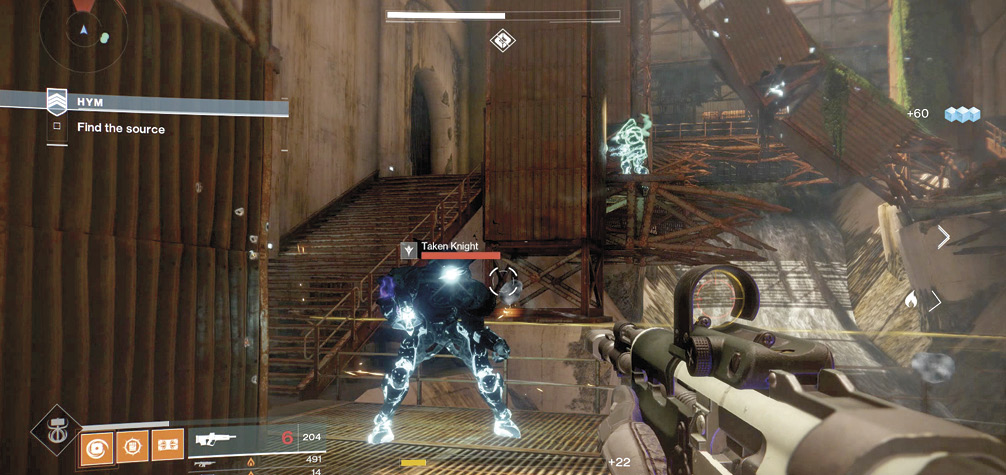
 Move back into the power station interior and enter the southern dam chamber, where Thralls are a distraction to Taken Goblins healing up a Knight at the far end of the initial gantry. Remove close foes, then prioritize the Goblins so they don’t continuously heal the Knight. This chamber involves you ascending the gantries (which are in a worse state than those of the north dam chamber where you fought the Captains) and taking down groups of Goblins and a Knight, one cluster at a time. Expect around three clusters between the bottom of the room and the upper platform connected to a medium-sized loading bay. Remember that if your foe is glowing with an eerie turquoise-green light, it is being protected by Goblins. Shoot the Goblins first, and then the Knight.
Sub-Boss: As you push your way into the loading bay, you may want to execute a Super to demolish a toughened Taken Wizard in the vicinity. If you do, it’s wise to start the Super on the previous gantry chambers so you can remove Goblin and Knight threats first. The Wizard acts like his Hive counterpart, though with increased energy. Whittle down his shield, and bring the hurting.
Behind the Taken Wizard is a small connecting generator chamber. Storm this and remove Thralls, then Psions and Vandals in the larger chamber bathed in blue light. These should be of limited concern to you and are easily tackled, though the Vandals are good at sniping you. Stay in cover as you ascend the narrow connecting corridors to the location of the Taken source itself.
 [Gor’ath Gath’s] Last Stand
Super: Recommended (all players).
Grenades: Recommended (all players).
Variations: Other enemies may appear, enemies in different locations.
Boss Weak Spot: Head.
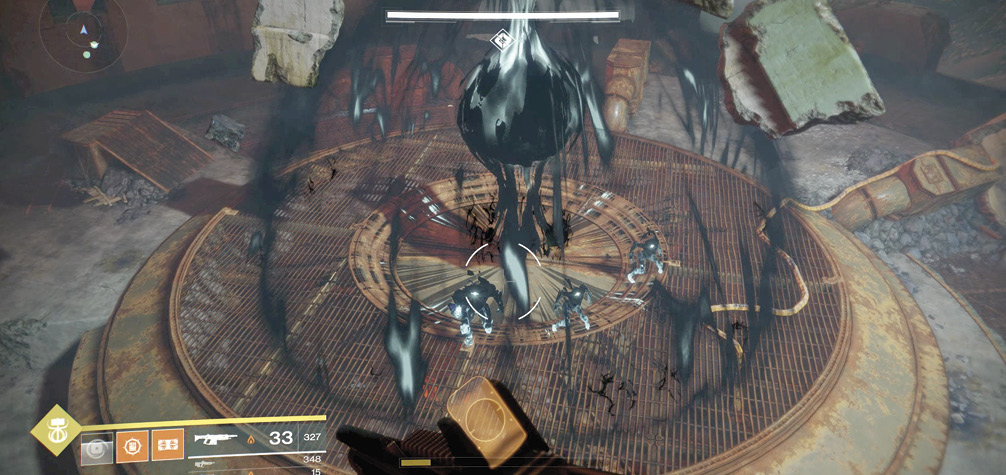
Peer down into the main power station’s vat chamber, now missing most of its exterior wall. Have one of your team drop down and remove the Taken source in the center of this dome-shaped chamber, while others mop up the Taken infantry. However, this isn’t the end of your Strike, as a powerful Taken Phalanx named [Gor’ath Gath] appears, consumed with dark energy. Prepare for a protracted battle with this Consumed One!
Boss: This main foe is your obvious priority, but there are plenty of Psions and Knights dotted around the arena that can whittle your health down if you aren’t careful. It’s worth dividing and conquering; have one of your teammates specifically tackling the Taken infantry, dropping the Knights and Psions as they appear and only focusing on the Boss when the coast is clear. Have a second Guardian only focus on shooting the head of Gor’ath Gath, and informing the team about the Boss’ health and maneuvers. The third Guardian can also focus on the Boss, but break off and remove Taken infantry as reinforcements arrive throughout the fight. Have at least one of your teammates execute a Super so there’s time to attack with another Super later in this battle. Keep this plan up until the giant Phalanx loses around a third of his health. Circle-strafe around the Boss if his shield is up so you can aim for his head. Shoot him at range, as he can easily knock you back at close quarters.
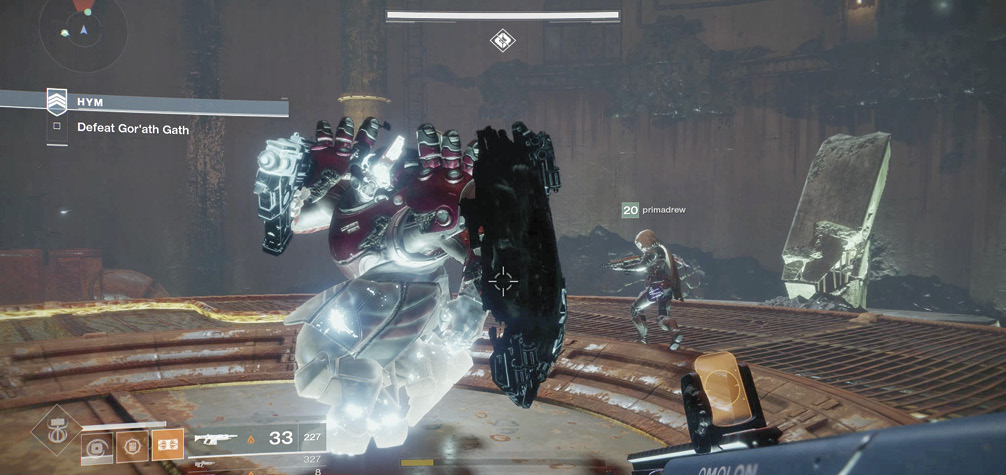
During the second part of the battle (though this may happen at other times), Gor’ath Gath can fire more devastating projectiles. This means that attacking from range is preferable, unless you’re executing a Super that requires close proximity to him. He can also summon a tether that can slow and suppress you. Look for a halo of rift energy above his head during this attack summoning, and use the perimeter scenery as cover. He can teleport short distances and bounce you away from him with blasts from his shield. The perimeter of the arena is now rift matter, making it all the more difficult to stay alive! Hop between the scenery islands the lesser foes are standing on, and remain away from the Boss with jumping and dodging while attempting constant headshots.
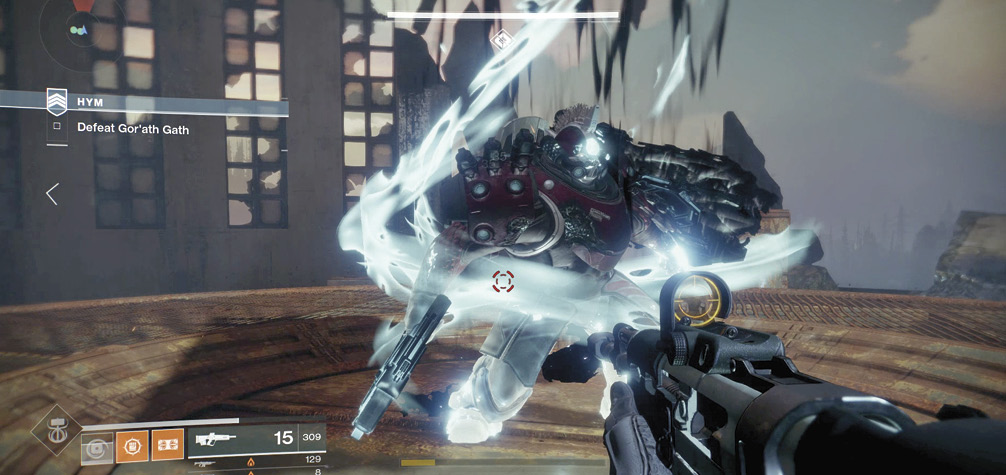
Combat continues to be protracted and dangerous as you remove another third of the Boss’ health. He still has all of his attacks, so keep focusing on the head, jumping away when he uses his shield blast. Watch when he begins to summon Taken infantry (expect a glittering haze around his shield). Among these are Goblins, who act as shields and make Gor’ath Gath invincible, so remove them first. Continue to gradually remove all of the Boss’ health until he finally yields. This is the time to inflict all your remaining Super attacks, one after another. Focus on hitting this foe from three different angles, as he can’t shield himself from all your attacks.