
Destiny 2 Guide Director European Dead Zone
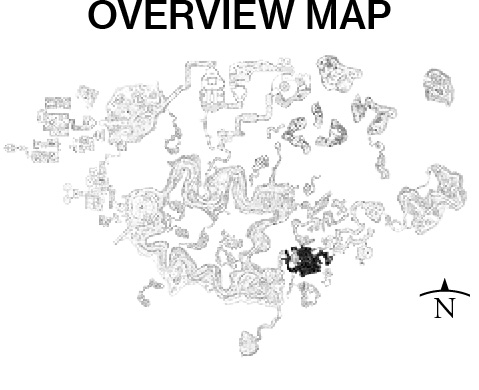
Trostland
Sector Notes:
Adventure: Frame Job
Adventure: Stealing from Thieves
Campaign Mission: Combustion
Lost Sectors: 3
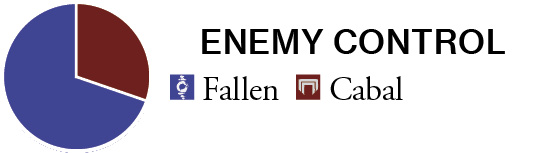
Enemy Clusters: Fallen: 4
Enemy Chests: Available
Landing Zone: Available
Material Nodes: Available
Landing Zone: Available
Material Nodes: Available
Patrol Beacons: 8
Public Events (Full): 1
Public Events (Secret): 7
Region Chests: 4
Scannable Objects: 4
Vendor: Devrim Kay (Dead Zone Scout)
World Quest: A Gift from the Gods
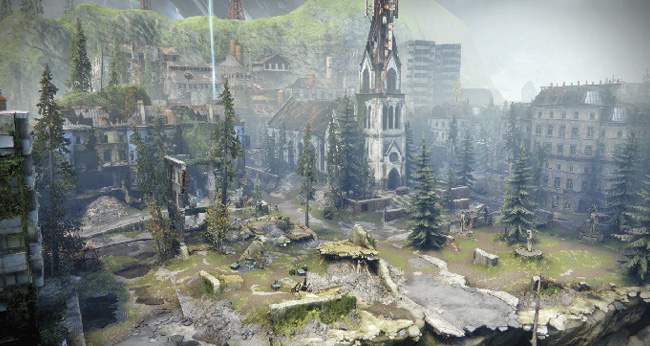
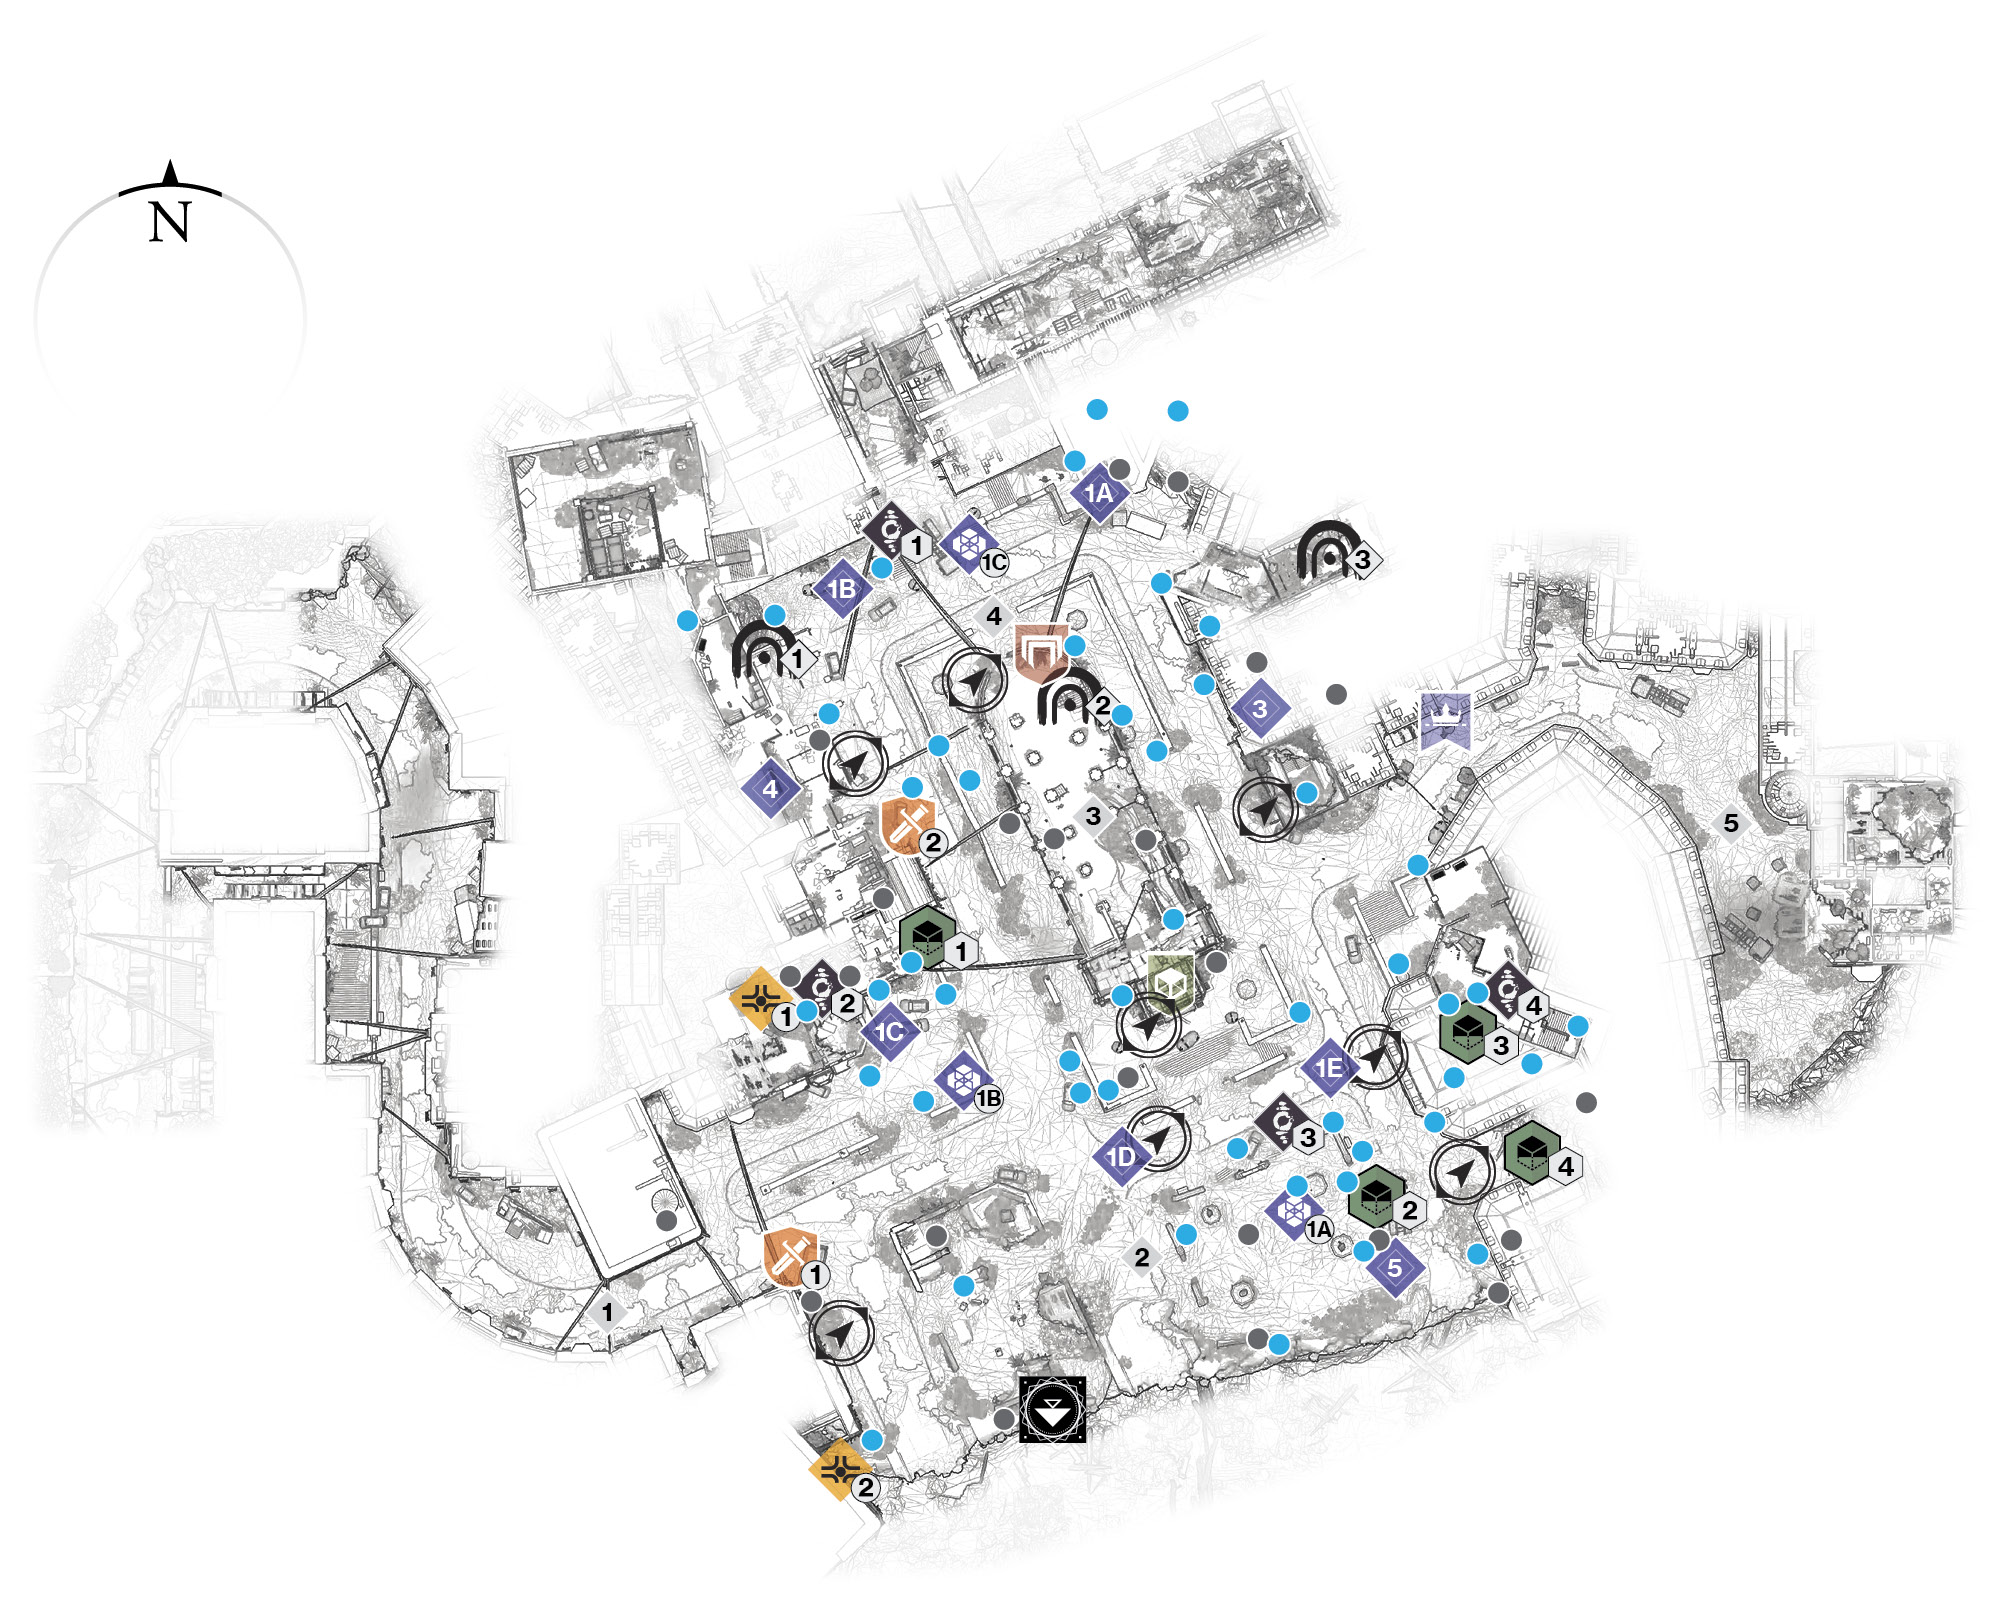
Trostland is a hub of activity centered on the EDZ vendor Devrim Kay, who is sniping from the central landmark: the ruined Church. Expect Fallen forces all around his location, as well as the only available access to both Maevic Square and Salt Mines. Note the Landing Zone, which is helpful for a quick rendezvous with Devrim, as well as the road link westward back down to Outskirts.
Areas of Interest
 West Entrance / Road to Outskirts
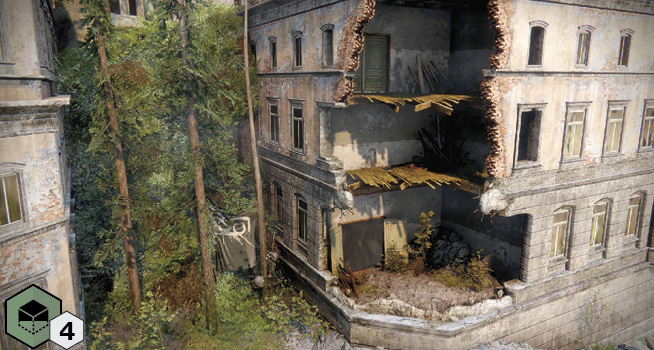
A U-shaped ascent from Outskirts (with a pedestrian shortcut through a building prior to you accessing the Sparrow) ends at a building marked “Wausser.” Think of this as the main west entrance into Trostland. Check inside for a Region Chest. The ruined tenement building just east of here, on the raised ground, has Fallen Dregs and Vandals, along with another Region Chest.
 Graveyard
Fallen congregate in this general area that comprises an overgrown ruin (west) and the main graveyard south of the Church (east). A deadly chasm runs along the southern perimeter. Expect to fight mainly Fallen but occasionally Cabal forces (during Secret Public Event Skirmishes) here.
 Church
The central landmark of Trostland, this shell of an old church houses Devrim in the steeple (south) and has a basement entrance to a Lost Sector. The Church is open, allowing access to and from the alleyways around the structure. This is a good spot to hide in if combat is taking its toll.
 Salt Mines Entrance
Clusters of Fallen guard the entrance to the Salt Mines Sector, along the northern perimeter of Trostland. On the northwest and northeast sides are interior and Lost Sector entrances.
 East Entrance / Road to Maevic Square
Don’t overlook the winding street that allows access (via the debris-filled remains of a tenement block) to and from Maevic Square. Expect pockets of Fallen resistance on either side of this street.
Lost Sectors
 Widow’s Walk
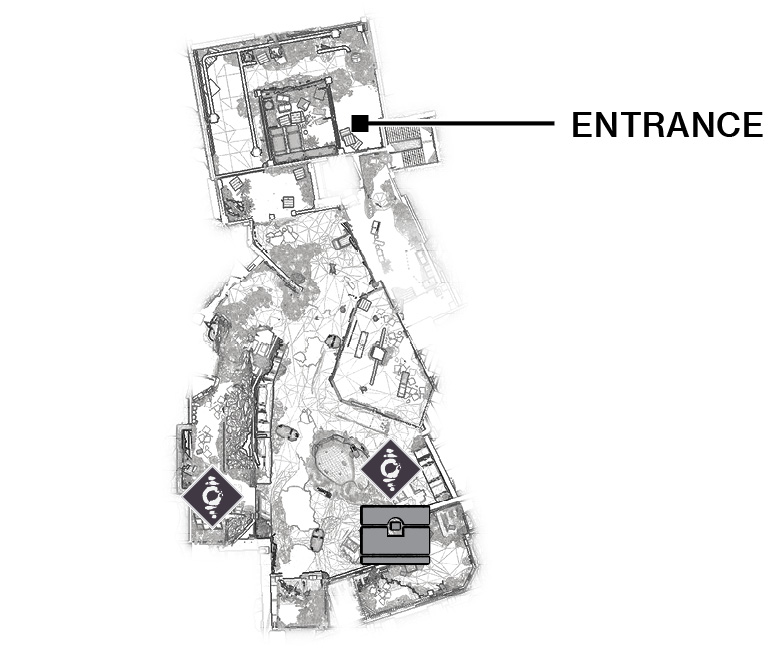

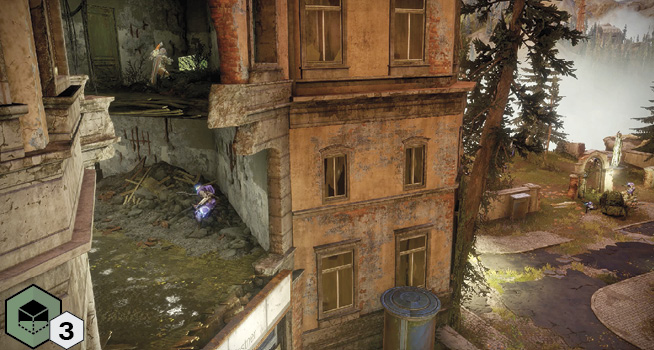
Head inside the compact rooms of the structure west of the Church to the rusting stairwell. This leads to an exterior, rubble-filled alleyway with a tenement block you can access the interior of. Dregs are your main problems here. Watch for (or use) explosive barrels, and face the Fallen Captain to claim the chest.
 Atrium
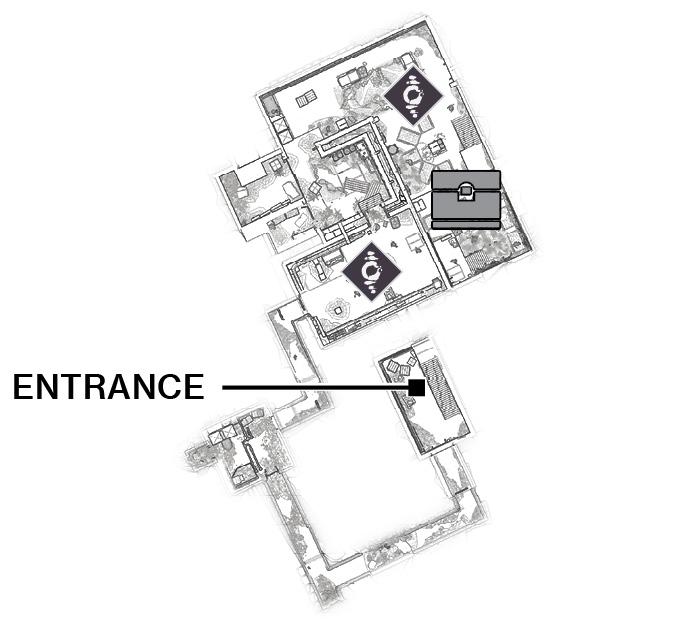

Under the Church is a series of corridors to a waterlogged and rusting underground storage area. Battle against Fallen here, who are mainly Dregs and Vandals (aside from the sub-boss Captain).
 Terminus East
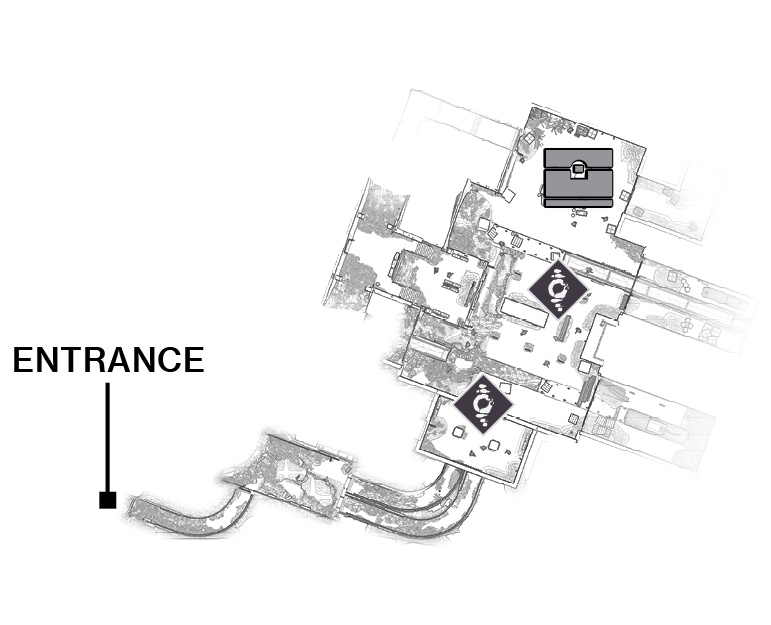

In the northeast corner outside the north end of the Church are the remains of a tube station. Slide under the entrance, drop down the hole, and battle Fallen (Dregs, Vandals, Marauders, and Shanks) in and around the main train station. The sub-boss is a Captain.
Trostland
| No. | Guide Name | Sub-Boss | Reward |
|---|---|---|---|
|
1 |
Widow’s Walk |
Fallen Captain |
Boss Chest |
|
2 |
Atrium |
Fallen Captain |
Boss Chest |
|
3 |
Terminus East |
Fallen Captain |
Boss Chest |
Enemy Clusters

A scattering of Dregs, a Vandal, and occasional additional Shanks are roaming the overgrown roadway by the entrance to Salt Mines. Check the interior on the west side and expect Marauders inside here, as well as the entrance to Lost Sector 1.

The ruined tenement block on the west side of Trostland houses Dregs and Wretches, but Shanks appear occasionally. Check the interior, since there are two small upper floors to explore. Note the interior entrance in the raised ground area (leading to Lost Sector 1 and the second Enemy Cluster), near the sign marked “Amsel” by the burned-out car.

The main graveyard exterior is where you can expect to fight a small number of Fallen.

The ruined buildings just east of the Church have foes (usually Dregs and Vandals) roaming the interiors of these structures.
Adventures
 Frame Job
Accessed just inside the rusting bus.
 Stealing from Thieves
On the ivy-covered wall on the cobblestone street by the Church.
Campaign Mission

Start this close to the Lost Sector entrance, inside the Church.
World Quests
 Gift of the Gods
Once certain prerequisites have been completed, begin this world-spanning quest at the street entrance to the Maevic Square.
Public Events
 Public Events (Full)
Glimmer Extraction: The Fallen are mining Glimmer in this area. Follow the overview tactics for this Public Event. The map shows the three locations where the Glimmer machinery is activated (1A, 1B, and 1C) throughout the event.
| Event Number | Event Type | Target | Other Enemies | Reward |
|---|---|---|---|---|
|
1 |
Glimmer Extraction |
Fallen Extractors |
Fallen forces |
Glimmer, Boss Chest |
 Public Events (Secret): High-Value Targets
HVTs #1 and #2: A Fallen Vandal or a Servitor (25% of the time) appears at one of the five indicated points (1A, 1B, 1C, 1D, or 1E). Defeat it!
HVT #3 (Tactician): A Fallen Captain is lurking in the small shop front. Defeat him and his explosive Shank entourage!
Skirmishes: There are two Secret Public Event Skirmishes within the area shown on the guide map. These take the form of combat events against Fallen or Cabal forces (or both) that descend from dropships or Cabal pods. Expect usual forces (Dregs, Vandals, Captains, Marauders; Cabal Legionaries). The number of foes depends on the level and the number of Guardians in the vicinity.
| Event Number | Event Type | Target | Other Enemies | Reward |
|---|---|---|---|---|
|
1* |
High-Value Target |
Fallen Vandal |
Dregs, Marauders, Shanks |
Boss Chest |
|
1* |
High-Value Target |
Fallen Servitor |
None |
Boss Chest |
|
3 |
High-Value Target |
Fallen Captain |
Shanks, Exploder Shanks |
Boss Chest |
|
4 |
High-Value Target |
Fallen Captain |
Dregs, Marauders, Vandals |
Boss Chest |
|
5 |
Skirmishes (two variations) |
Fallen and Cabal dropships (within area shown) |
— |
Random Loot |
(* High-Value Targets 1 and 2 spawn in one of the five same areas)
Region Chests
 Region Chest 1

On the ruined upper floor interior, in a dark alcove.
 Region Chest 2

On an ivy-covered alcove at the far western edge of the cliff.
Vendors
 Devrim Kay

Devrim is one of the Haven Holdouts, who takes any Tokens you find throughout the EDZ. Bring him these in groups of 10, five, or one. In return, you’ll receive an increase in your Reputation with him, allowing you to purchase unique EDZ armor and weaponry. Devrim also decrypts engrams.
Patrols
 Trostland (8)
Once these become available, you can access a (random) Patrol from one of these beacons. Not all are active simultaneously; expect three or four of these to be accessible at any one time.
Scannable Objects

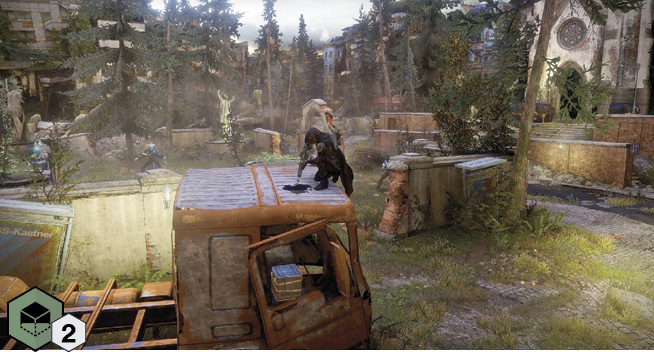
Landing Zone
 Trostland LZ
Only a few Sectors in the EDZ have a Landing Zone, so make use of this one when you want quick access to Outskirts, Salt Mines, or Maevic Square. You can also reach the areas of interest in Trostland. Most importantly, you have a quick route to get to the Vendor Devrim Kay in the Church.