
Destiny 2 Guide Adventures Titan Adventures
Siren Song
Starting Location
Recommended Power
- 70
Prerequisite
Reward
- Rare gear (armor)
Description
- Disrupt a Hive ritual to keep The Rig from sinking.
Your first task is to determine the cause of some recently detected gravity waves. Readings indicate three likely points of origin. The first two sites are located indoors, and you can expect to find at least a few Hive units guarding each of these areas.
The third site is located outside, and it’s typically surrounded by groups of Fallen enemies. Follow the objective markers and investigate each of the three sites.
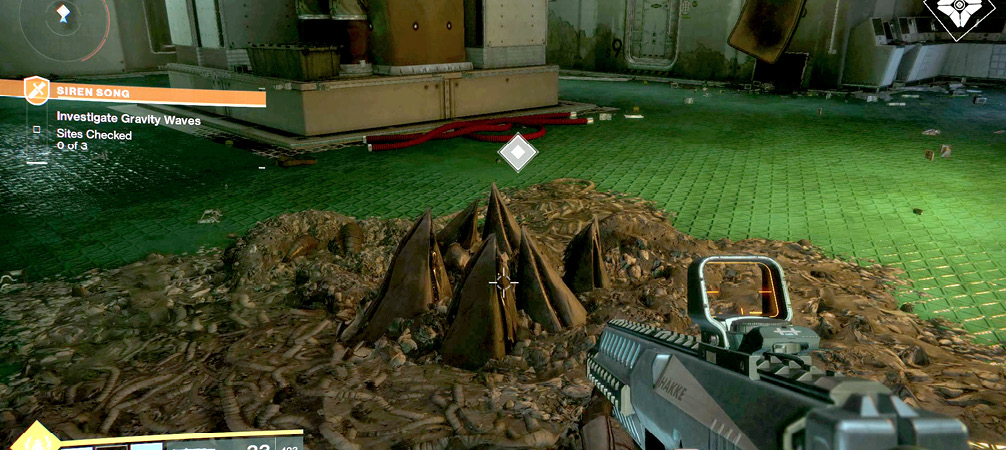
Once you’ve completed your investigation, the next objective sends you deep into Hive territory. Follow the objective marker across the bridge and into Solarium, eliminating any threats you encounter along the way. Eventually, the search leads to a group of Hive units worshipping at a shrine.
Your task is to destroy the shrine, but doing so will draw more enemies into the area. First, clear the plaza of all existing threats; then, destroy the shrine and wait for the Hive’s response.

When you destroy the shrine, the nearby barrier lowers, and a Ritual Hierarch approaches with a group of Thralls. The Hierarch is a bit more durable than a standard Wizard, but it exhibits the same basic behaviors. Expect this foe to attack from a distance, ducking behind cover whenever its Solar Shield needs time to recharge.
Eliminate the Thralls, then focus fire on the Ritual Hierarch. It won’t be long before your target summons another wave of Thralls, so be quick. Defeat the Hierarch, eliminate any incoming threats, and follow the objective marker into the building.
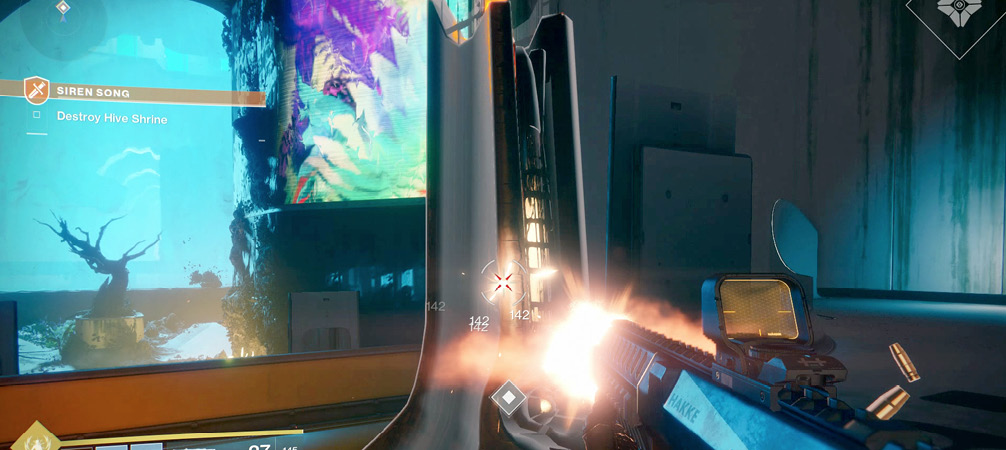
You’ve destroyed a shrine, but your work is far from over. Follow the objective marker into Arboretum, and fight your way to the second shrine. Eliminate nearby threats, destroy the shrine, and vanquish the Ritual Hierarch that appears.
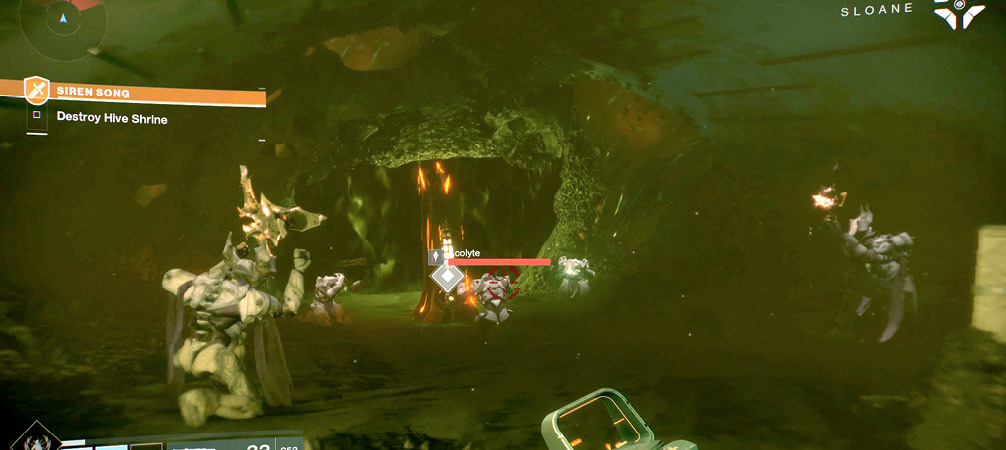
Follow the waypoint to the third shrine, and repeat the process: clear the area, destroy the shrine, and deal with the Hive response. You’ll face considerably more enemies this time around, so be prepared for a prolonged fight. Survive the Hive onslaught until a Ritual Hierarch arrives, then eliminate this priority target to receive your next objective.
With all three shrines destroyed, it’s time to locate the true source of the gravity waves. Follow the objective marker to the depths of the Arboretum. You’ll encounter more than a few Cursed Thralls along the way, so be cautious. Make use of your motion tracker, and don’t hesitate to fall back if these volatile enemies get too close.
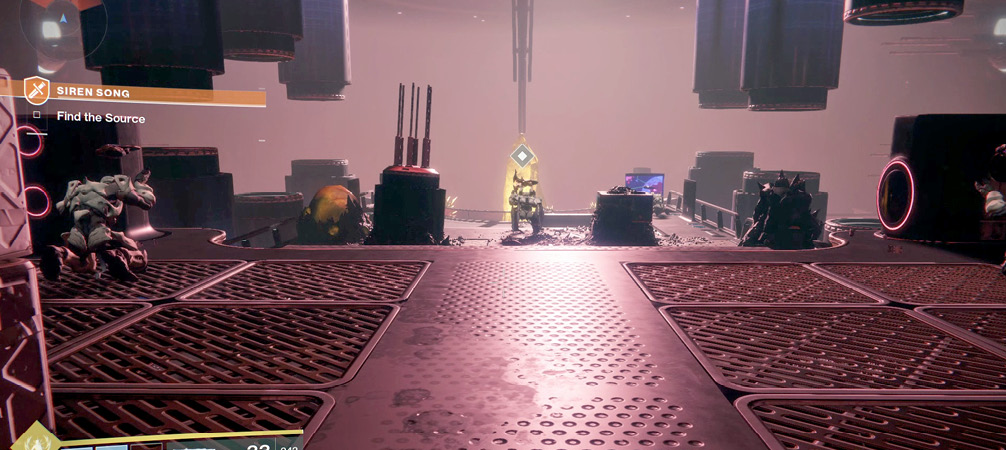
When you reach the room at the end of the path, take note of the enemies scattered around the area. Keep your distance, and eliminate all existing threats before you approach the marked crystal.
After you clear the room, approach the crystal to trigger the final encounter. Turn back toward the room, and brace yourself for battle. You’ll face a total of three enemy waves, the first of which consists of Thralls and Acolytes.
As you deal with these enemies, keep one eye on your motion tracker. It won’t be long before a Wizard attempts to flank you. Use the available cover to protect yourself until you’re ready to focus on this late arrival.
The second enemy wave consists of Cursed Thralls and Knights. Again, a Wizard attempts to flank you shortly after the wave begins. The final wave features more Cursed Thralls and Knights. Endure the Hive attack, and secure the area.
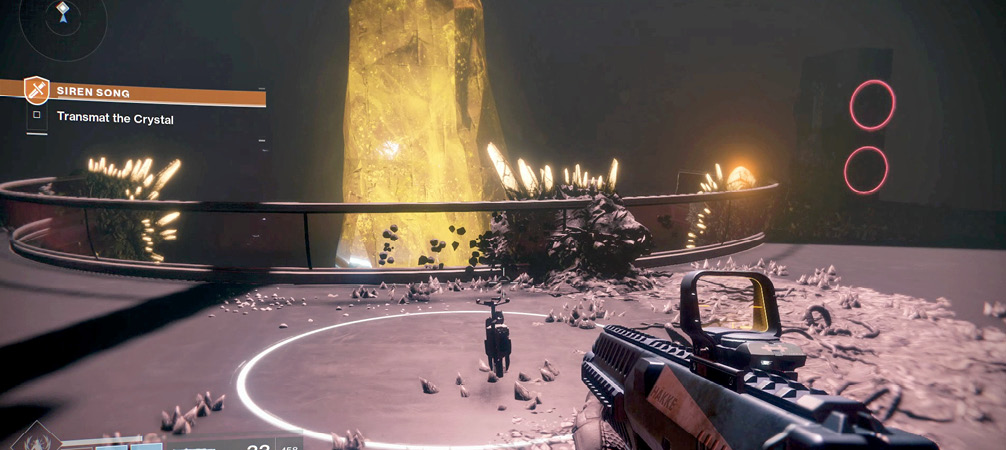
Once you’ve secured the area, return to the crystal. To complete the Adventure, simply place a beacon in the indicated area.