
Destiny 2 Guide World Quests EDZ World Quest: Enhance!
Mission 4: Experimental Treatment
Starting Location
Recommended Power
- 260
Prerequisite
- Complete World Quest step “Differential Diagnosis.”
Reward
- EDZ Token
Description
- Kill the Archon Priest distributing the enhanced ether, then the Attendant Servitor who created it.

 After you start the mission, follow the objective marker through the nearby door and into Salt Mines. You’ll find a few common enemies peppered along the path. Eliminate each of these threats as it appears, and prepare yourself for a much more dangerous opponent.
The objective marker leads you to Raxes, an ether-enhanced Archon Priest. Raxes is well-armed, durable, and absolutely massive. You’ll also find a fair amount of weaker enemies scattered around the room, so take advantage of available cover. While you’re free to engage Raxes immediately, consider claiming the high ground first. Veer left as you enter the room, then head up the stairs near the wall. This walkway not only offers excellent cover, it’s also a popular spot for Vandal sharpshooters. A strategic sweep of this area should make it a bit easier to survive this encounter.
 Throughout the battle, Raxes summons Empyrean reinforcements. Use the available cover to minimize incoming damage as you deal with weaker enemies. Relocate as often as needed, but know that surrendering the high ground makes it considerably more difficult to find suitable cover.
Grenades and Super Abilities can obviously be helpful, but your weapons will likely account for the bulk of your damage output. Take every opportunity to chip away at Raxes’ health, but focus on headshots to conserve ammunition. The Archon Priest lacks an Energy Shield, so every shot landed brings you closer to victory.

 After you defeat Raxes, you must destroy the remaining ether supply. Shoot the containers stashed near the end of the walkway. After the
explosion, move in and search the wreckage for enhanced ether cores. Collect all of these items to receive your next objective, then follow the marker out of Salt Mines and back to Trostland.
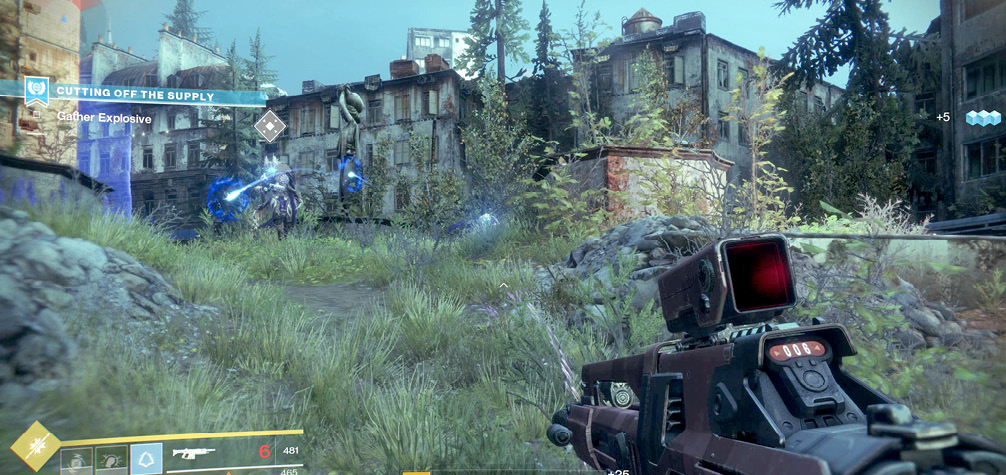
After you exit Salt Mines, clear a path to the marked device, and use the cores you collected to lure the Attendant Servitor into the area. The ether also draws a number of weaker enemies to your location. Protect the lure from these hostiles as you wait for your target to arrive.
The Attendant Servitor’s arrival comes fairly quickly. As you engage your target, understand that this is less of a showdown than a game of cat and mouse. Shortly after you open fire, the Attendant Servitor teleports a short distance, the first of many strategic retreats. Each time the Attendant Servitor teleports away, follow the objective marker to reacquire your target and resume the fight. The first couple of retreats simply draw you away from the church. Before long, you’ll be chasing the Attendant Servitor through the EDZ’s Outskirts region.
The Attendant Servitor isn’t the only threat you’ll face during this encounter. The battle drags you across a great deal of open ground, so be prepared to deal with everything from hostile Patrols to large-scale Public Events. Of course, you’ll also face the Attendant Servitor’s Empyrean reinforcements.

 Things can get fairly hectic out in the open, but try to stay focused on the Attendant Servitor. It’s often easier to avoid the Empyrean Fallen than to engage them. Take advantage of the cover that abandoned structures and uneven terrain offer. Aim for the Servitor’s eye—preferably using a mid- to long-range weapon—and don’t hesitate to withdraw from the fight whenever you need a moment to recover.
Destroy the Attendant Servitor to fulfill your mission and complete the World Quest.