
Weaponry
This section is devoted to an overview of the various types of guns and other armaments that are not Guardian Abilities. If you want to know the difference between a sidearm and a sniper rifle, you’ve come to the right part of the training.
How to Obtain Weapons
Weapons are gathered in several ways. You can find them in the form of engrams from the bodies of foes that you’ve killed, or in chests you have uncovered. They are given as rewards when you complete a wide variety of tasks, such as finishing a mission or a Strike. You can gift weapons to your other characters using your vault.
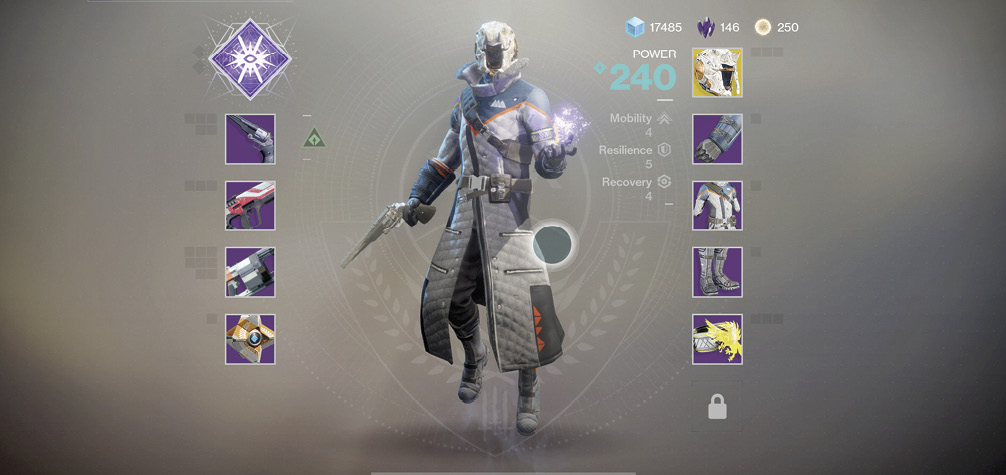
Weapons that you carry are sorted out in your Character Menu based on the class of weapon you have found. So, an auto rifle that fires Kinetic ammunition is automatically placed in your Kinetic weapons inventory. Similarly, an auto rifle that fires Energy ammunition is placed in your Energy weapons inventory. You can have up to nine weapons for each Class slot, and therefore carry up to 27 extra weapons at a time (nine Kinetic, nine Energy, and nine Power).
Weapon Classes
As you progress through the Campaign, you begin to accumulate a variety of weapons. These are accessible (and swappable) from your Character Menu. To begin with, it’s worth learning what the three types of weapons are and how they differ.
Kinetic Weapons
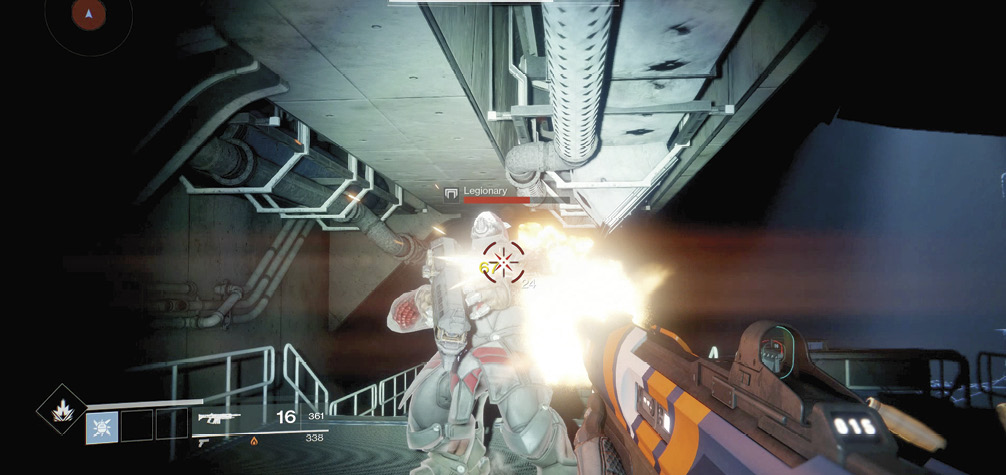
A Kinetic weapon fires ammunition based on its type that damages in the usual manner (via physical impact to a foe) and is useful in almost every combat situation. Pick up white ammunition boxes to replenish the magazine of this weapon.
Energy Weapons
An Energy weapon fires ammunition based on its type that damages in one of three distinct ways: Arc (electrical damage), Solar (ignition-based damage), or Void (gravitational damage). Pick up green ammunition boxes to replenish the magazine of this weapon.
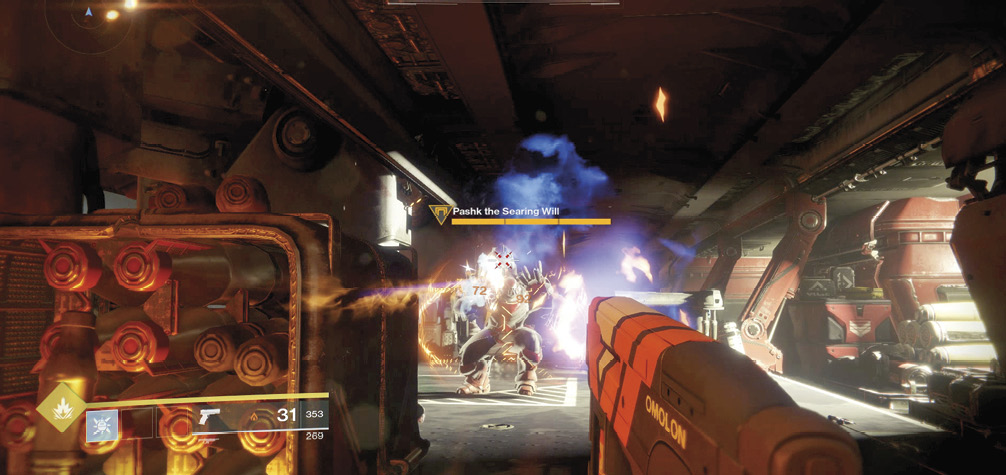
You can use any weapon type as often as you want. In fact, it’s a great idea to switch between your Kinetic and Energy weapons instead of reloading.
Power Weapons
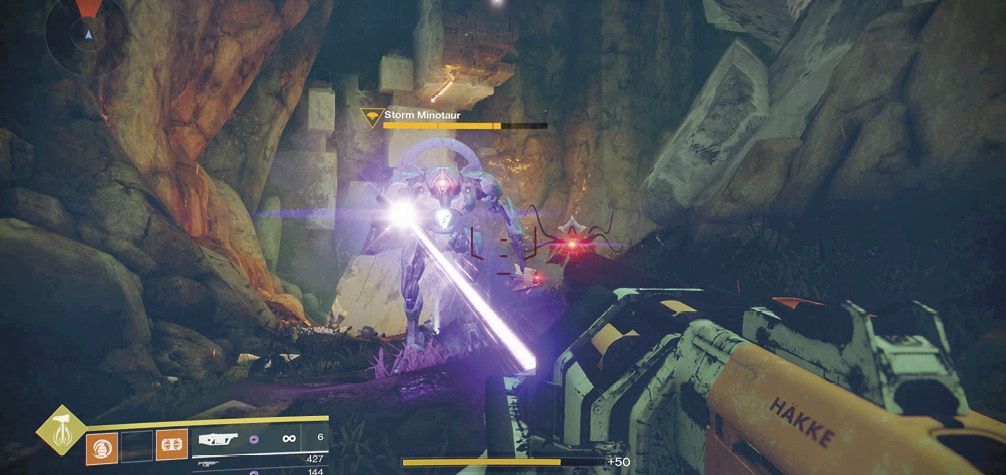
A Power weapon can inflict physical or energy damage and is generally a more damaging but possibly slower-firing weapon type. Shotguns, sniper rifles, and grenade launchers (as well as melee-only swords) fit into this category. Pick up purple ammunition boxes to replenish the magazine of this weapon.
Energy Weapon and Enemy Shields
Energy weapons only become more useful than their “Kinetic cousins” when the enemy is using one of three Energy Shield types:
Fire a Kinetic weapon at a foe using an Energy Shield, and only some of the damage goes through. It takes a lot longer for the Energy Shield to dissipate, and therefore, it takes much longer to kill the enemy.
Fire an Energy weapon at a foe with an energy shield and your weapon hits inflict much more damage. If you match the weapon energy type to the shield, destroying the shield deals bonus explosive damage to the target and any enemy units within the blast radius.
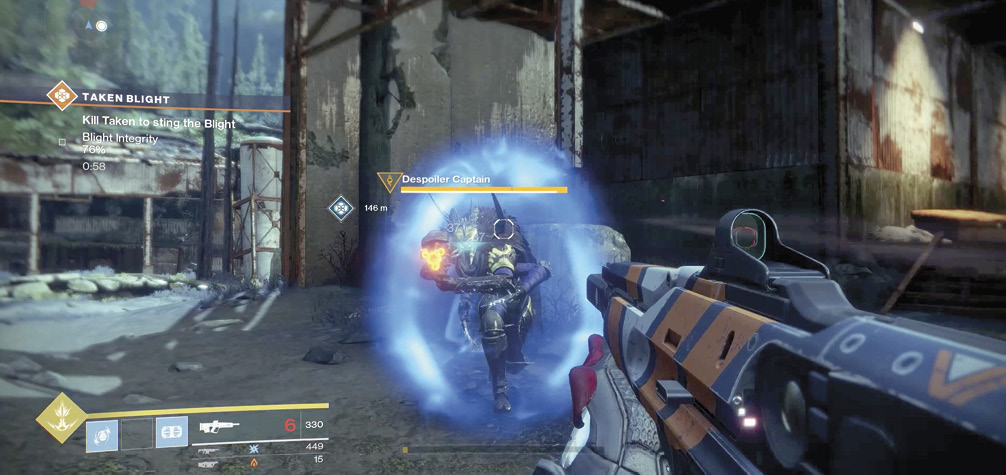
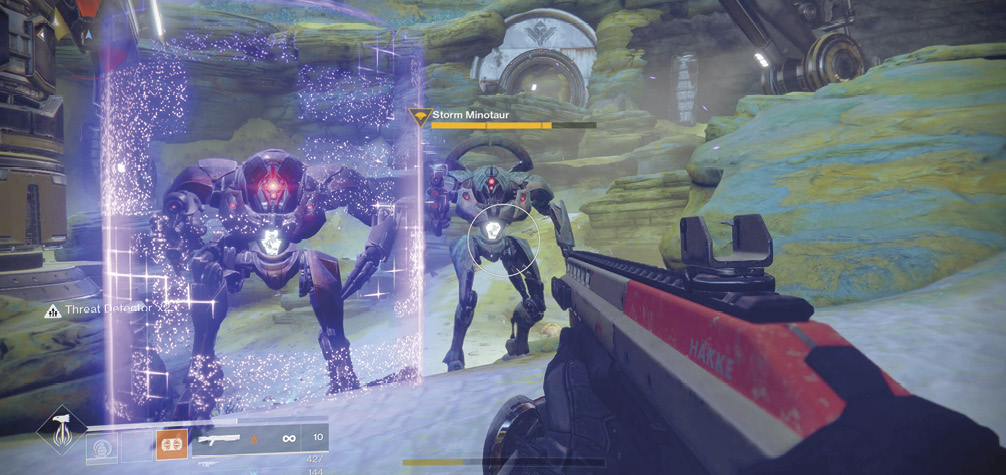
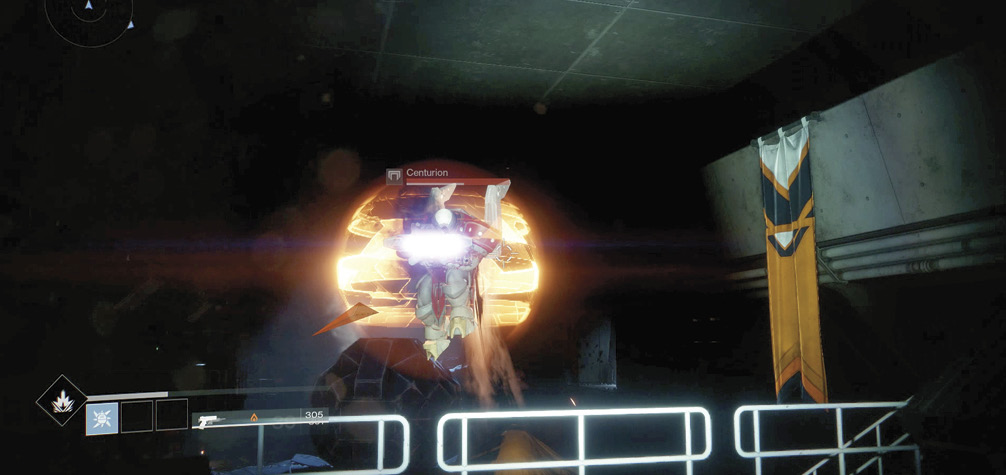
But how do you tell which Energy weapon is best for a specific situation? You get a visual of the shield the enemy is utilizing (light blue for Arc, purple for Void, and orange for Solar).
Weapon Types
Every one of your weapons fits into one of the three previously listed classes. But what are the different types of weapons you can carry? These are all listed below. It’s worth comparing statistics of weaponry of the same type, but when comparing stats between types (say, a shotgun to an auto rifle), the statistics may not be as relative, though you can get a good overview.
Auto Rifle
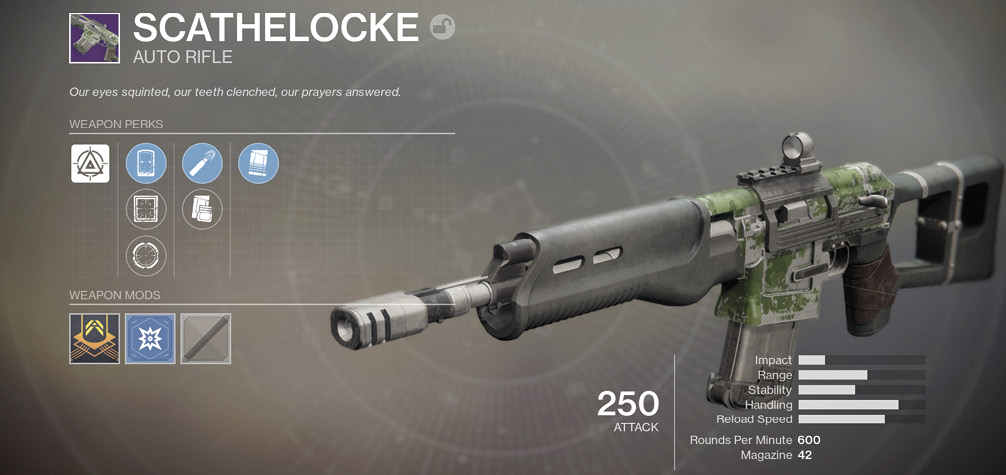
Class: Kinetic and Energy
An auto rifle may have a problem with stability (these weapons tend to have pronounced recoil), but they are fully automatic, enabling you to hold down the trigger and pump bullets into a foe while giving your trigger finger a rest. They are well-suited to mid-range combat.
Fusion Rifle
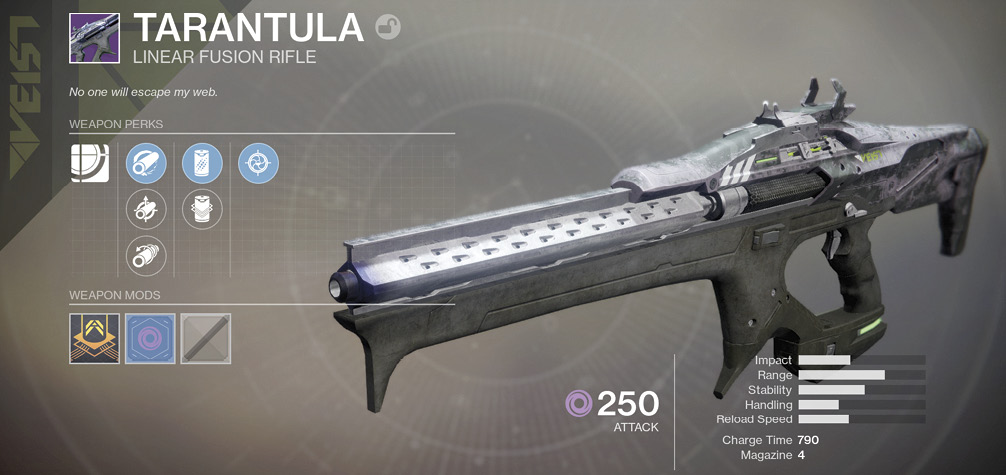
Class: Power
A typical fusion rifle offers good mid-range and closer-range takedown opportunities with an almost instant bolt of energy after a short charge-up. The timing is a little different because shots are not instantaneous, so practice and become more predictive with your firing tactics. A linear fusion rifle generally features much greater range and lower per-shot damage.
Hand Cannon
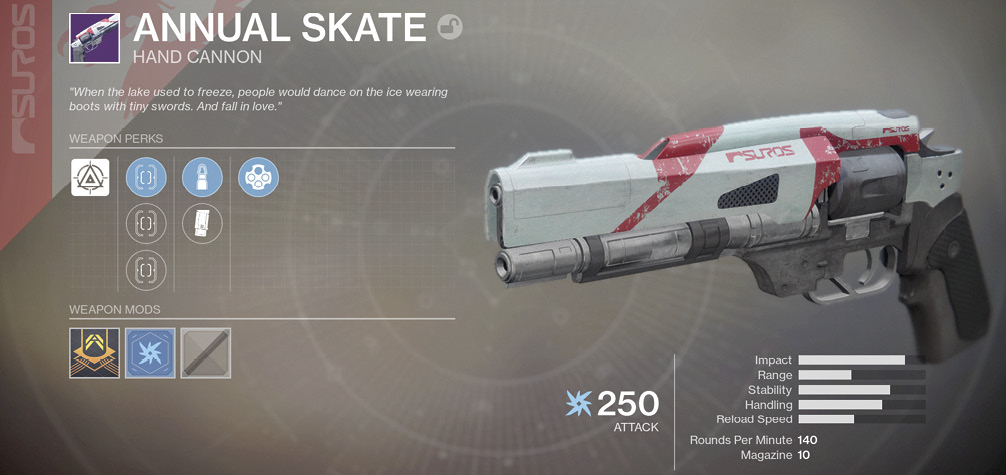
Class: Kinetic and Energy
A hand cannon is a revolver-like handgun designed to inflict single high-damaging shots in quick succession, firing as quickly (or as slowly) as you can manually pull the trigger. Expect a relatively short range and lengthy reload times.
Pulse Rifle
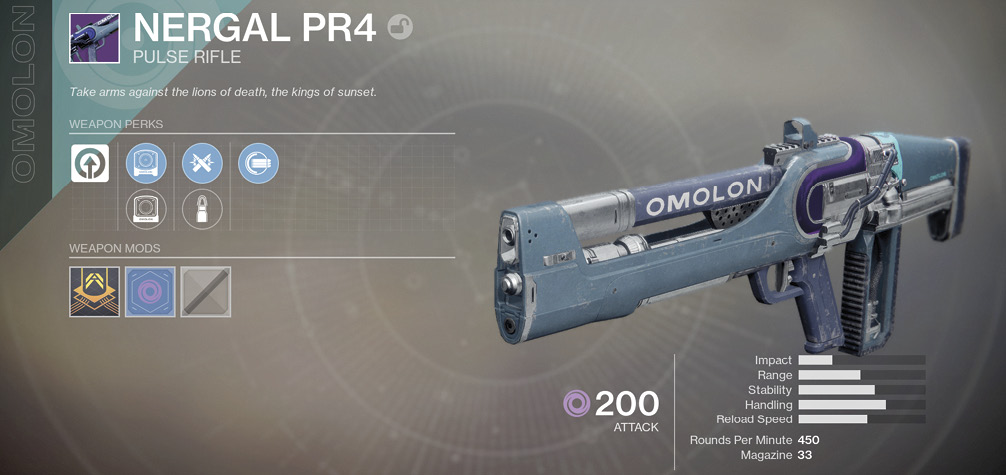
Class: Kinetic and Energy
A pulse rifle is best at medium-to-long range, allowing for multiple and accurate takedowns with a series of burst-fire blasts. If you favor short, sharp shocks of fire and extreme accuracy, this should be on your shortlist.
Grenade Launcher
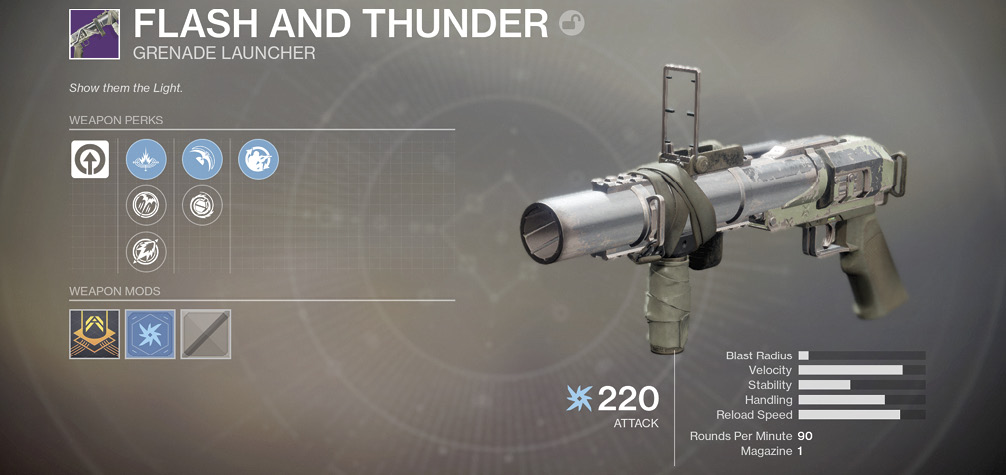
Class: Power
A typical grenade launcher allows for (and requires) indirect fire. At maximum range, the weapon must be aimed well above the target area. Like the grenades that you have as a Guardian Ability, a grenade fired from one of these weapons can have different energy effects. Most grenades can bounce, so punt them to where the enemy will be, rather than where they are when you fire. Watch for grenades bouncing back at you!
Rocket Launcher
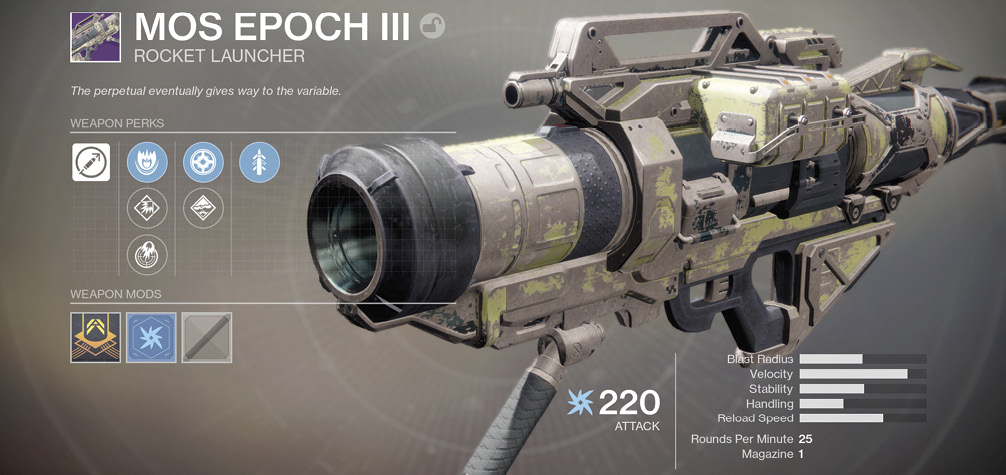
Class: Power
A rocket launcher hits a single foe and the area immediately around them with a massive amount of splash damage. The radius of the damage is the largest of all weapons. However, don’t expect rapid firing or more than three rockets to fire before a reload.
Scout Rifle
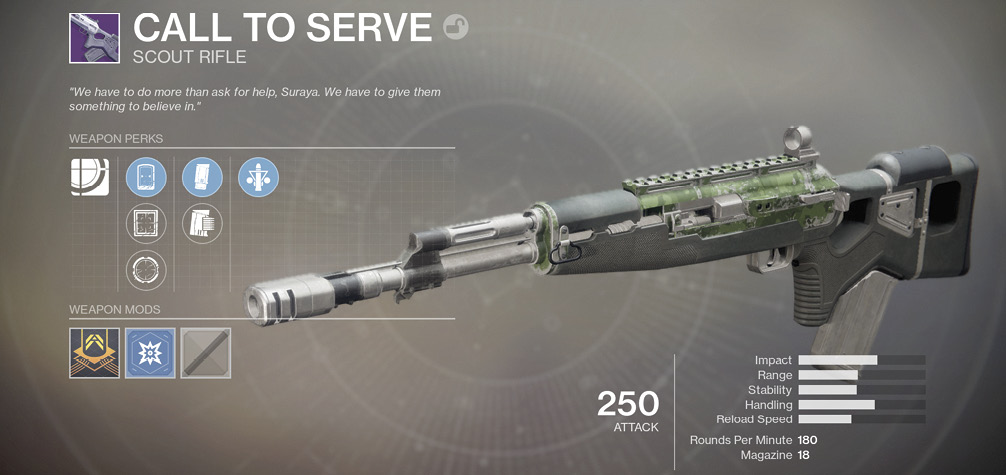
Class: Kinetic and Energy
A scout rifle generally offers a good balance of impact and firing rate, and it really shines in long-range combat. Some models feature automatic fire, but manual fire is far more common.
Shotgun
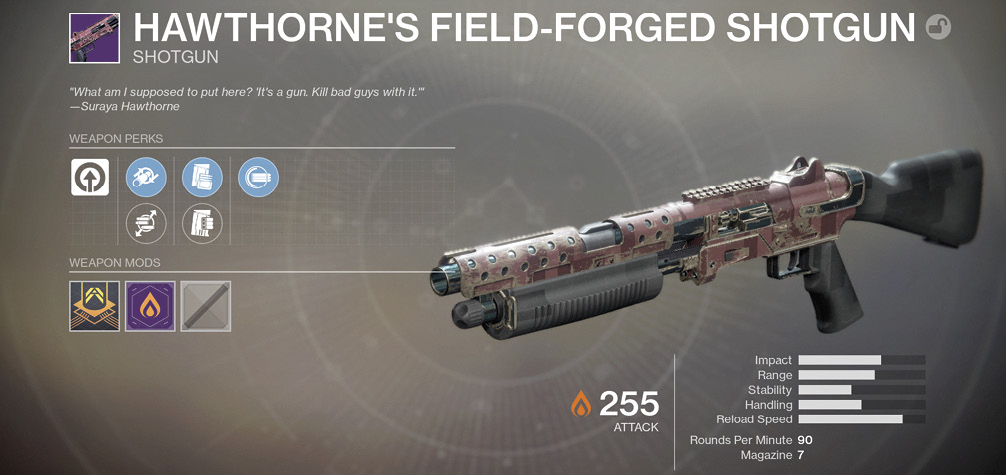
Class: Power
A shotgun is great for striking multiple impact points into a close-range target with a single blast. It can topple tougher foes and annoyances like Taken Blight pylons, though the reloading comes sooner than you think.
Sidearm
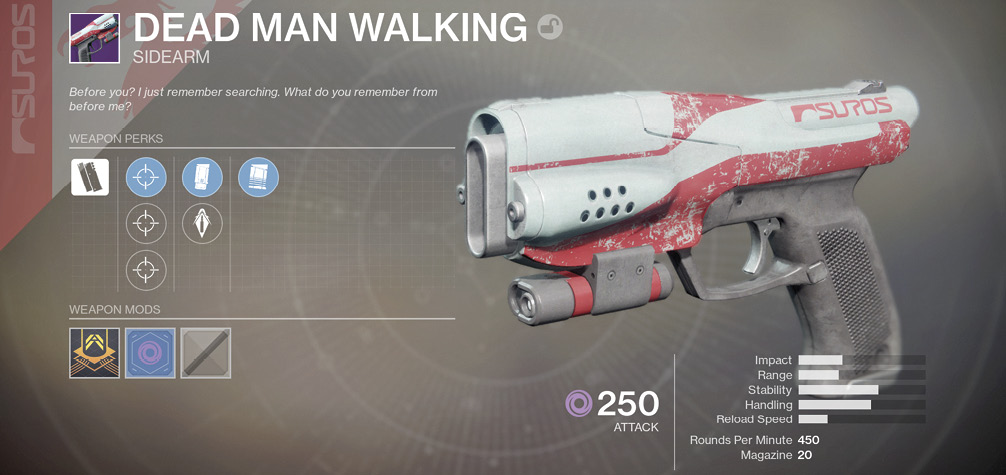
Class: Kinetic and Energy
A sidearm may be overlooked, but at your peril. These are practically useless at mid to long range because of their low impact and tendency to kick back. However, the incredible rate of fire means you can shave off a foe’s shields and energy at closer ranges in less time than an auto rifle.
Sniper Rifle
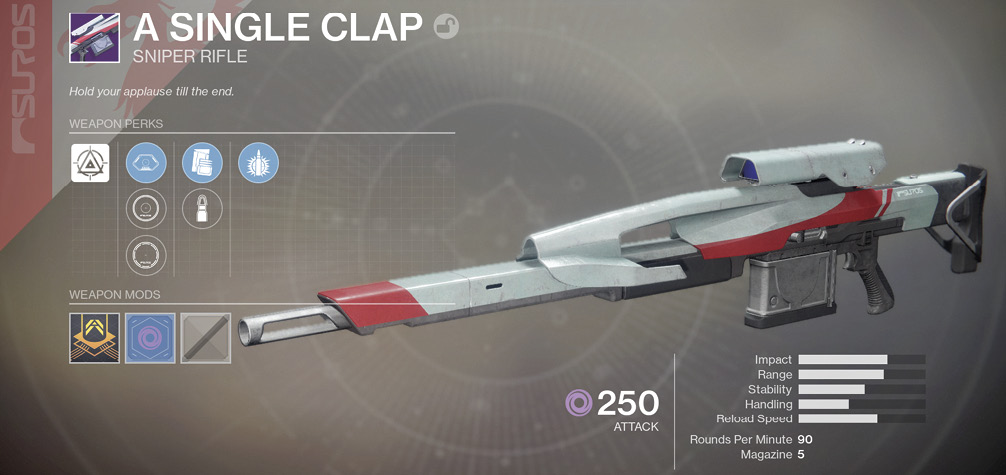
Class: Power
A sniper rifle is one of the few weapons that must be aimed to be used effectively (though you can fire without the scope during chaotic close-combat if you’re panicked). At all other times, this inflicts catastrophic damage on a single target from long range.
Submachine Gun
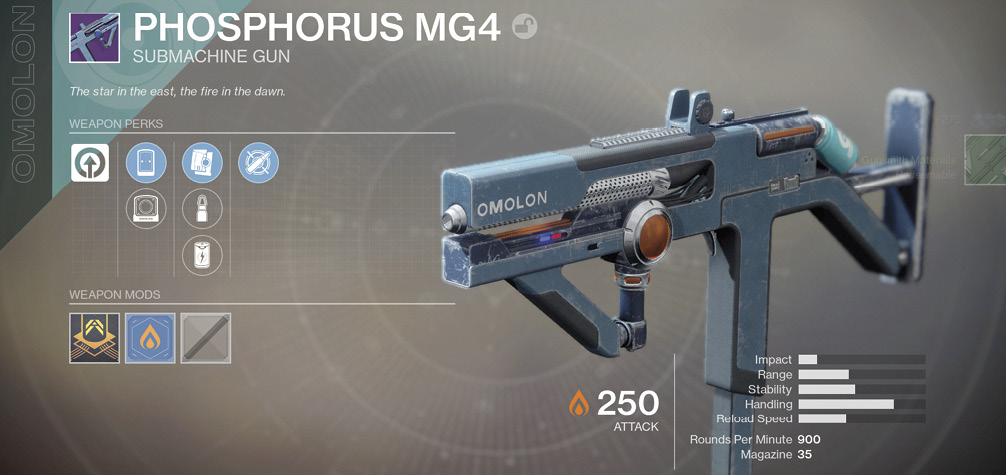
Class: Kinetic and Energy
A submachine gun combines a large capacity magazine, impressive damage, and a spectacular rate of fire. It’s excellent for short-range combat and crowd control, though the ammunition expenditure can be severe.
Sword
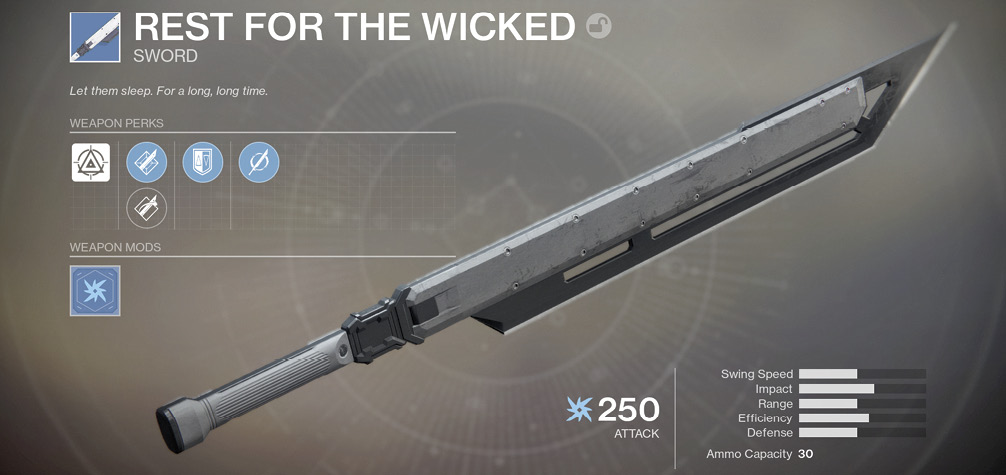
Class: Power
A sword is a rarely seen weapon, usually rewarded for completing a lengthy and difficult mission. It inflicts exceptional damage when aimed at a single foe, and it can also be used to block incoming enemy damage. Your perspective changes to a third-person view when you’re wielding one.
Weapon Rarity
As you continue to complete missions and gather weaponry (and armor), you may notice that the weapon has a Rarity rating and an associated background color. Weapons of any quality can be given as rewards, found in chests, dropped by enemies (often as engrams), and purchased from vendors. As your character level grows, you can expect an increased frequency of high-quality drops, rewards, and vendor items.
A weapon is more than just the sum of its parts, but in general:
Common (white) weapons are no-frills offerings designed to get the job done, but little else. They can serve as useful upgrades during early levels, but most Guardians outgrow them fairly quickly.
Uncommon (green) weapons drop more frequently as character level increases, serving as useful upgrades for low- to mid-level Guardians.
Rare (blue) weapons sometimes drop for novice players, but they drop more frequently as Guardians approach max-level. They tend to be exceptional upgrades throughout the leveling process.
Legendary (purple) weapons are considered “endgame” gear, typically serving as upgrades (and equal-level “sidegrades”) to max-level Guardians.
Exotic (gold) weapons are exceptional, highly coveted pieces of gear. They feature uniquely powerful Perks. A Guardian can never equip more than one Exotic weapon at a time.
They’re most commonly acquired during endgame (Level 20) content, and they can be purchased from an elusive vendor (Xur), but they’re occasionally recovered during engram decryption.
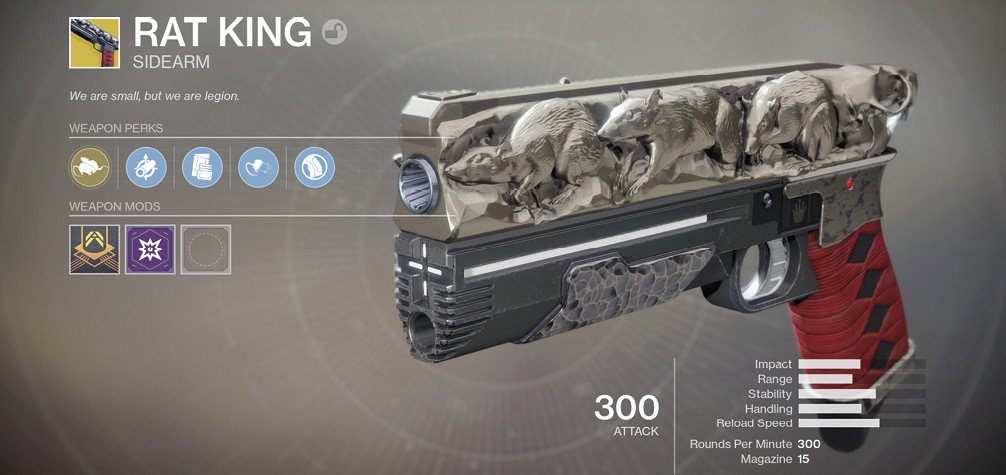
A weapon’s Rarity rating isn’t just tied to scarcity or effectiveness. It usually indicates three specific qualities:
- The number of Perks the weapon features
- The customization options the weapon supports
- The item(s) gained from dismantling the weapon
Rarity Ratings: Weapons
| Rarity Rating | Intrinsic Perk | Slot 1 | Slot 2 | Slot 3 (Trait) | Slot 4 | Mods Slots | Dismantling Yield |
|---|---|---|---|---|---|---|---|
|
Common (white) |
Fixed |
Fixed |
— |
— |
— |
— |
Glimmer (25) |
|
Uncommon (green) |
Fixed |
Variable |
Fixed |
— |
— |
— |
Glimmer (50) |
|
Rare (blue) |
Fixed |
Variable |
Fixed |
Fixed |
— |
Energy (if applicable), Shader |
Glimmer (100), Weapon parts (1) |
|
Legendary (purple) |
Fixed |
Variable |
Variable |
Fixed |
— |
Energy (if applicable), Shader |
Legendary Shards (2), Weapon parts (3) |
|
Exotic (gold) |
Fixed |
Fixed |
Fixed |
Fixed |
Fixed |
Weapon Ornament (if applicable) |
Legendary Shards (10), Experimental parts (1) |
Weapon Statistics

Every single weapon has a set of associated statistics. These are likely to change (sometimes significantly) after game launch, but a basic understanding of what each statistic means and how to compare it with other weapons of the same (and different) type is important. Here is an overview.
Attack: This is an often misunderstood statistic, which indicates the basic damage a weapon inflicts, but in comparison to enemies and weapons of lower, similar, or higher levels. It is a damage rating modifier for the Impact statistic, determining how much Impact damage (see below) the weapon actually inflicts based on an enemy’s level. The higher the value, the higher the level of foes you can strike with more damage.
Are you attempting Campaign or Strike Missions (for example) with a lower-level Guardian compared to what the game recommends (on the screen when you die)? Then your Attack modifier will be lower, resulting in more ammo expenditure to take down any enemy you face.
Are you choosing between weapons? Pick the one you’re happiest using, and then compare the Attack rating: the higher, the better. Of course, higher Attack rated weapons may not be accessible to you until you level up, so choose a weapon with the highest Attack rating that you can actually use.
Impact: Think of this as the damage rating for the weapon: the higher, the better. This is the amount of hurting a single projectile (such as a bullet, slug, or sword swing) inflicts on a foe. Remember to take into consideration the Rounds Per Minute rating, as two high-powered shots per second may not be as lethal as 20 low-powered shots per second. Usually, slower-firing weapons (like pistols, shotguns, and sniper rifles) have higher Impact ratings.
Range: This is how effective the weapon is over distance. A weapon may have a spread of fire that decays the farther away you are from a target, leading to around half the damage being inflicted outside of the weapon’s capable range. Note that aiming down your weapon sight helps with any range issues your weapon may have. Certain weapons with long ranges include fusion and sniper rifles. Weapons with poor range include shotguns. Want consistent and accurate headshots at any range? Choose a weapon with a high Range statistic.
Stability: The higher this rating, the more stable the weapon is under repeated firing in quick succession. With a highly stable weapon, you receive less of a “kick” and can fire more accurately and repeatedly at a target.
Weapons with low stability sway back and forth (causing inaccuracies) and usually fire larger (and sometimes area-of-effect) projectiles. You can mitigate this by aiming down the sights. Want consistent and accurate headshots with constant firing? Choose a highly stable weapon.
Handling: This gives a general idea of how quickly you can bring this weapon to bear, from the moment you bring the weapon up, raise and aim it, and then lower it afterward. The higher the stat, the quicker it can be employed. Light weapons like pistols have a high Handling rating. Grenade launchers are unwieldly, with a low rating. Need to get your shot in first? Pick a great-handling gun.
Reload Speed: The higher this rating is, the faster you can reload the weapon (among weapons of the same type). Any rating you see should only be compared to the same type of weapon. Need a quick reload between blasting foes when using a sidearm? Compare the Reload Speed rating of all the sidearms you own. To check the reload speed of each weapon type, just use them during missions, or fire them at walls and see how long each reload lasts.
Rounds Per Minute: This is how fast the weapon fires, and the higher the number, the more projectiles are expended. This statistic is related to Impact damage. Remember that weapons that fire automatically or multiple times in a second (in a burst) may have a significantly lower Impact rating compared to, say, a hand cannon. But that doesn’t mean they are less effective— the amount of damage they inflict over an amount of time may be greater as more projectiles are fired. Conversely, sniper rifles have low RPM ratings, but a single shot is all you usually need.
Magazine: This shows you the number of shots the weapon holds in a chamber before it requires reloading. If you’re constantly reloading, you may want to find a weapon with a higher magazine capacity. It’s obviously more helpful to compare Magazine ratings between weapons of the same or a similar type. Don’t ignore shotguns because they have a small magazine size; the devastation that they can enact is astounding.