The Wraith Mines

Sector Notes:
Enemy Clusters: Taken: 5
Material Nodes: Available
Scannable Objects: 3
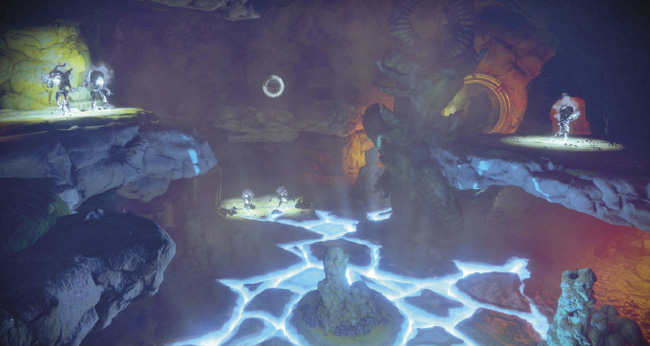
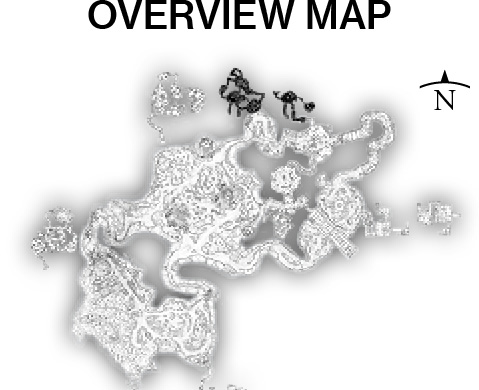
This interior digging site was appropriated by the Cabal, then recently left deserted. The reason why becomes clear as you descend down the cargo corridor from Terrabase Charon: this place is teeming with Taken because a rift has opened nearby. Aside from the danger involved in exploring this cave system, the confusing series of tunnels and caverns means that studying this map becomes more important than normal. Just remember this is essentially a dead end; you have to head back out the same way you came in. You’re here for Taken takedowns and three scannable objects. Note that you fully explore this area (with more enemies to face) during Campaign Mission: Sacrilege.
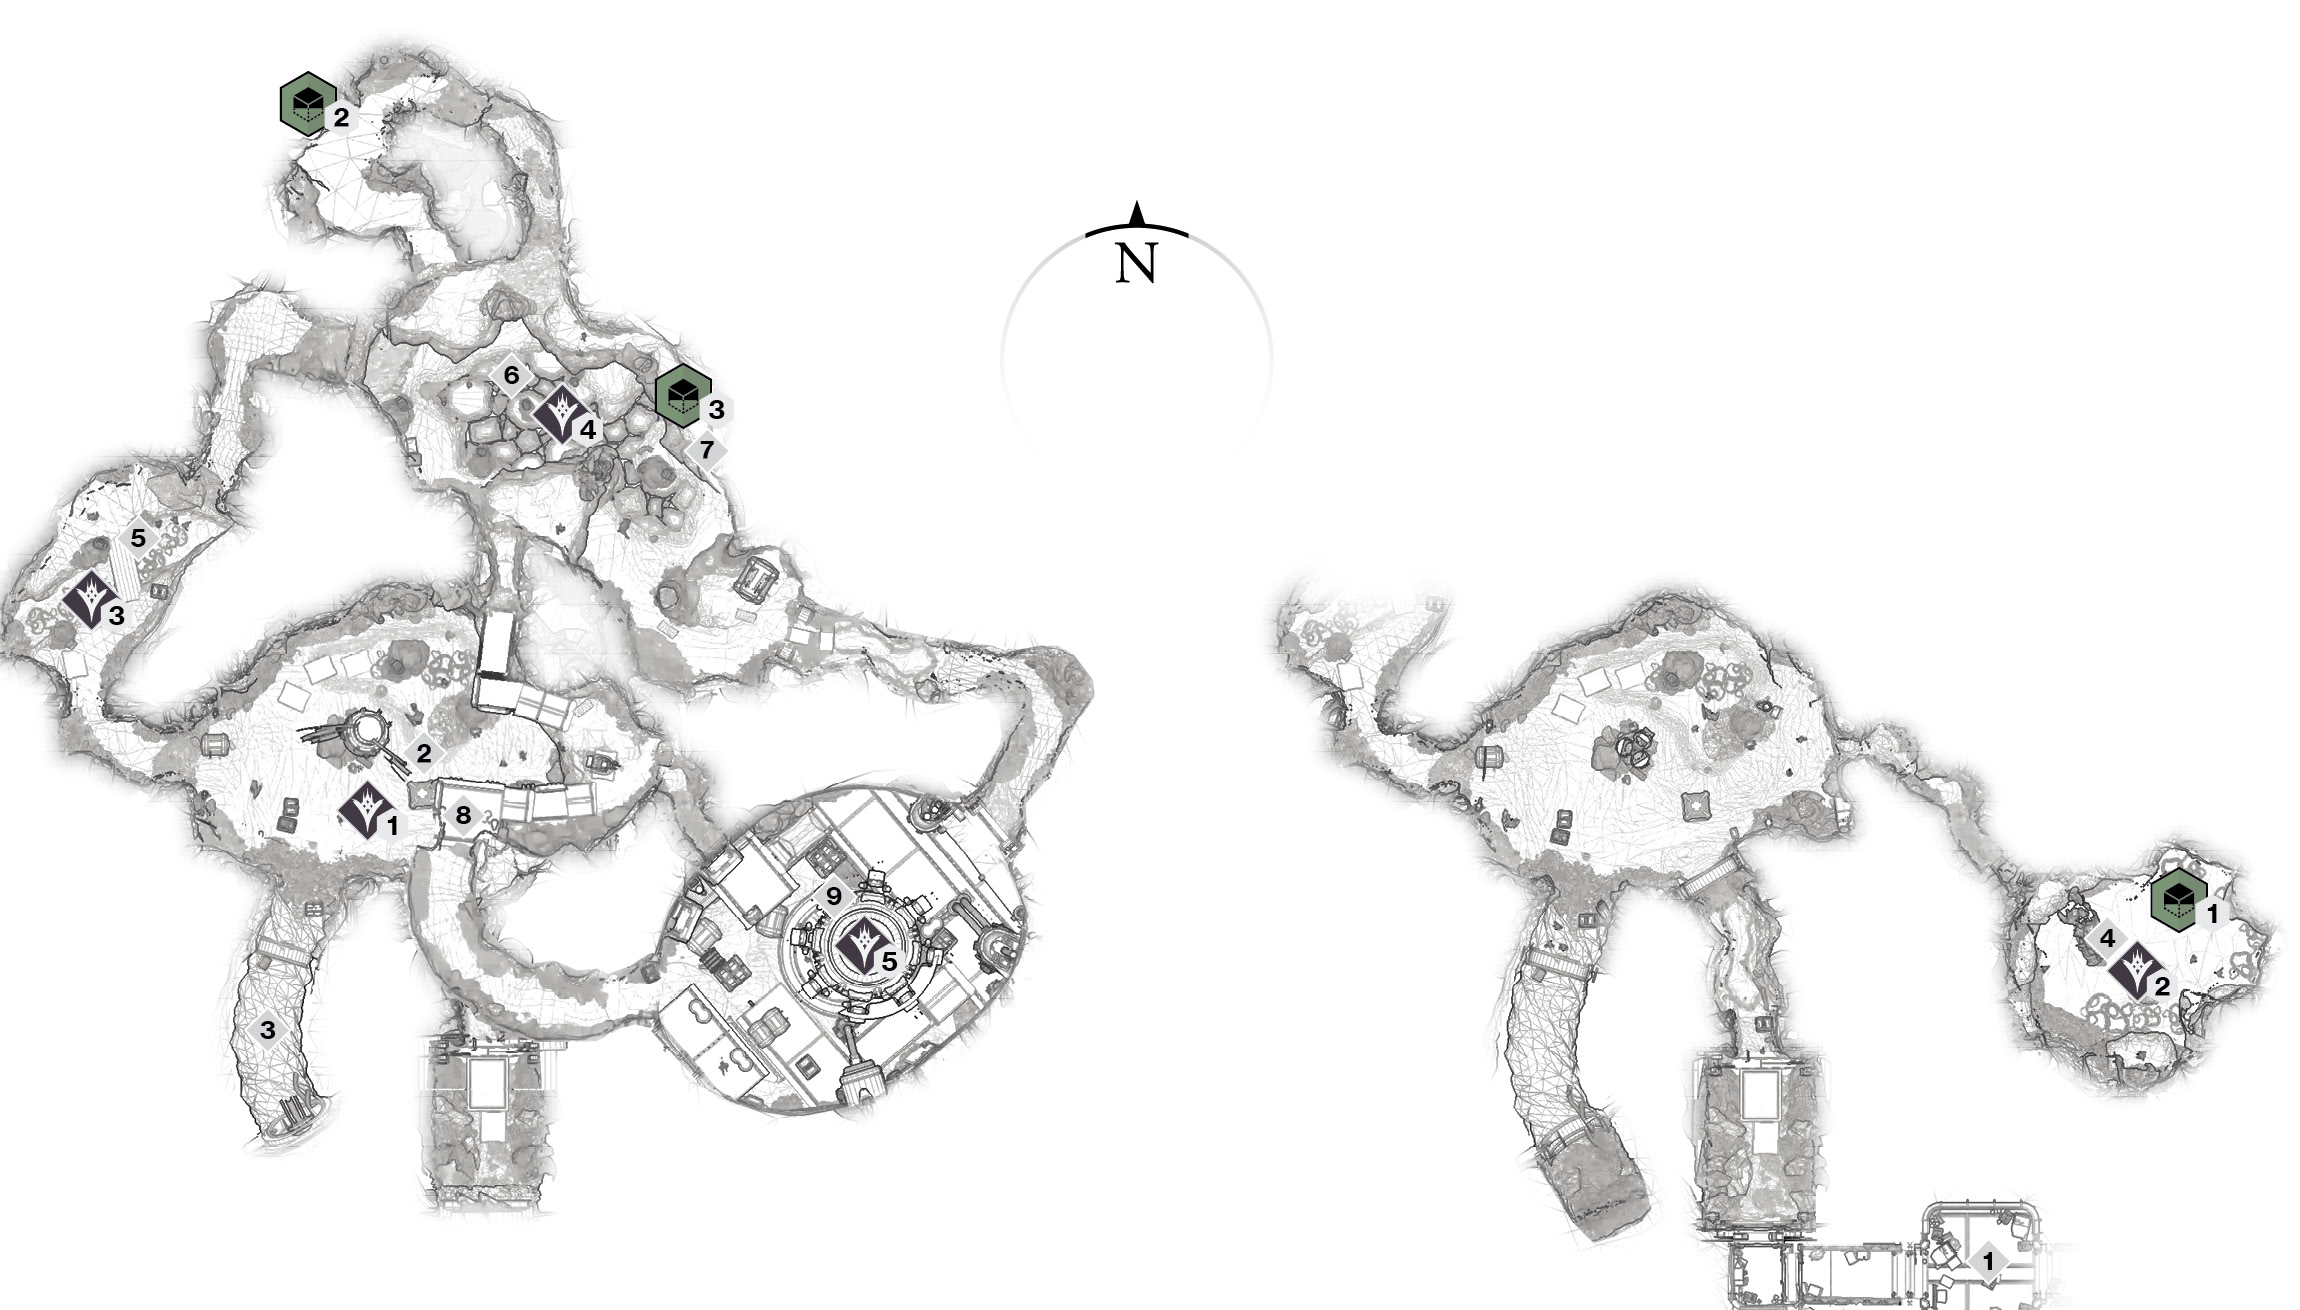
Areas of Interest
 Entrance from Terrabase Charon
The northern cargo platform at Terrabase Charon is the exterior entrance, leading down a narrow set of cargo corridors.
 Central Cavern
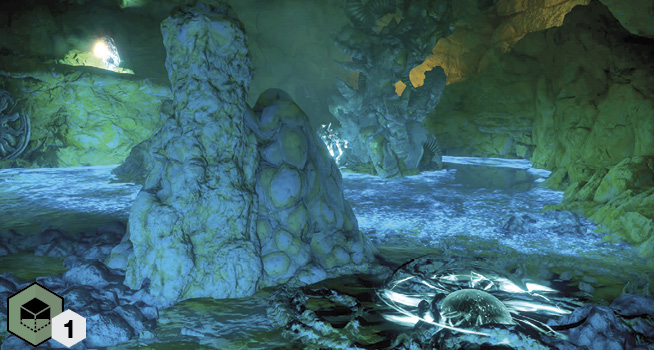
Lit with an orange glow, the central cavern features Taken (including Centurions). There are a total of six paths out of here on two levels (remember to look up). South is the corridor you came from. Southwest is a rift tunnel (Area of Interest #3). West is to a Taken cave (#5). North is an upper platform and stairs running north to south above you, exiting in the southwest corner and leading to an upper storage area (#9). East is a corridor to the Wizard’s Grotto (#4).
 Rift Tunnel
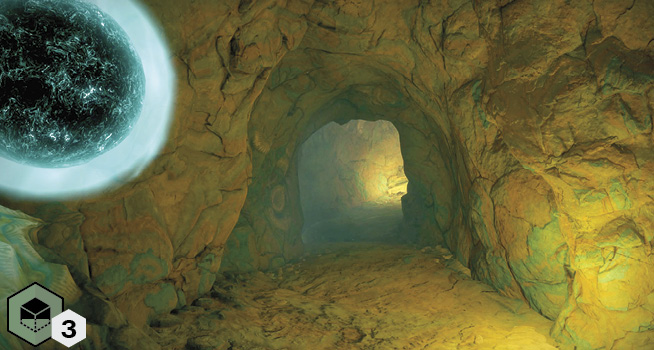
It seems that the largest concentration of rifts is located in this dead-end tunnel, which yields nothing of value.
 Wizard’s Grotto
A small dead-end grotto with a Taken Wizard and some underlings to face, and a scannable object to find.
 Small Cave
A Taken Knight and lesser Taken foes are waiting in this small connecting cave with a glistening blue floor. It links the main chamber to the north Glowing Cavern.
 Glowing Cavern
Expect the largest concentration of Taken enemies in this chamber, with orange walls and a blue glowing floor. Defeat the Psions and Thralls (of the Taken variety) while investigating a short north tunnel loop past a collectible. Then, check the south wall for an exit to the staircase above the entrance chamber. Southeast is a circular tunnel exit.
 Circular Tunnel Exit
This connects the Glowing Cavern to a curved and large tunnel up to the Upper Storage Room. It is one of two routes and slightly safer to take.
 Upper Steps Exit
Take some metal steps above the central cavern, and reach a connecting tunnel on the far (south) side.
 Upper Storage Room
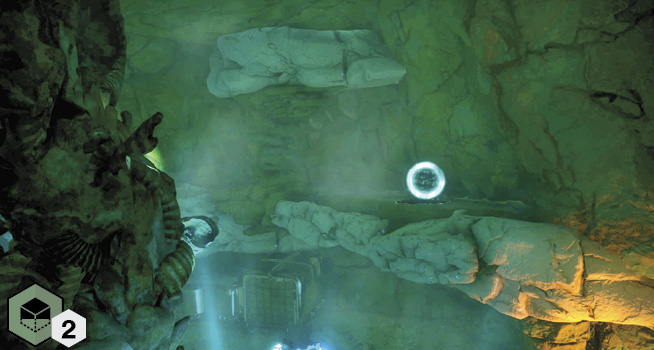
Accessed via the metal stairs on the upper floor of the central cavern or the circular tunnel from the Glowing Cavern, this uppermost chamber has Thralls to see off. Make a return journey from this point.
Enemy Clusters
 Taken
Taken
Your first enemies to face include Phalanxes, Psions, and a Centurion in the central cavern.
 Taken
Taken
The Wizard’s Grotto is named for the Taken Wizard here, along with other infantry.
 Taken
Taken
Expect a Knight and Thralls in this small western cave connecting the two larger caverns.
 Taken
Taken
An abundance of foes, mainly Psions and Goblins, is warping into view across the Glowing Cavern.
 Taken
Taken
Only Thralls seem active in this upper storage chamber.
Scannable Objects