
Basic Actions
This section details the most basic actions and how to perfect them. It is assumed that you know how to move your character forward and backward. The following actions are listed in the likely order you attempt them.
Firing a Weapon
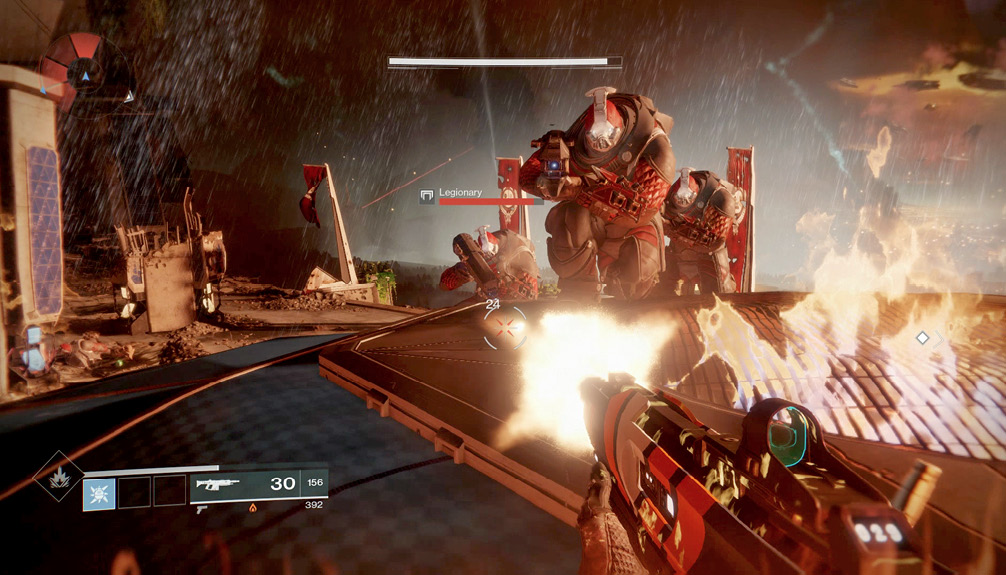
Fire your weapon until your foes fall down and repeat this until everything is dispatched. Generally, this is the plan of attack. But surviving the multitude of enemy threats requires much greater tactical planning than this. To start with, ensure that you know your weapon’s statistics (detailed later in this chapter), its strengths and weaknesses (whether it can cut through Energy Shields or has a massive spread at longer ranges, for example), and how it handles.Then figure out which part of the enemy is vulnerable to Precision Damage. It’s either the head or a white glowing “Juice Box” (in the case of some Vex).
Aiming Down Sights
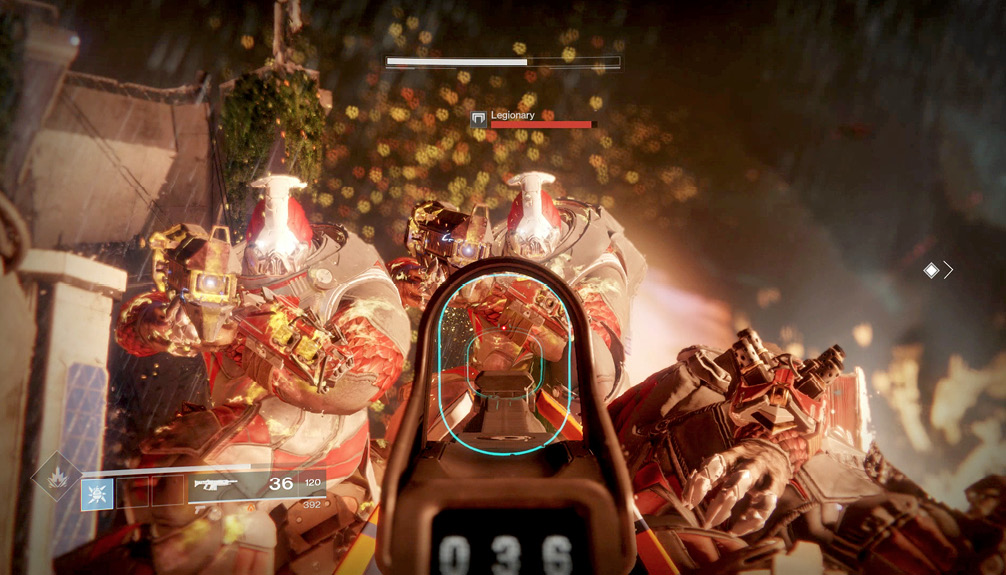
Use this technique to more accurately aim at your foe’s weak spots (usually the heads of enemy infantry) more easily, and to help contain your weapons’ spread patterns. Note that the target reticle of your weapon usually turns red during this aiming, which is the best time to fire. You can attempt this with all bullet- or projectile-based weapons from all three types (Kinetic, Energy, and Power). Obviously, some weapons like sniper rifles are built for this function. When aiming down sights, expect to deal more damage more accurately, with a loss of peripheral vision.
Precision Kills
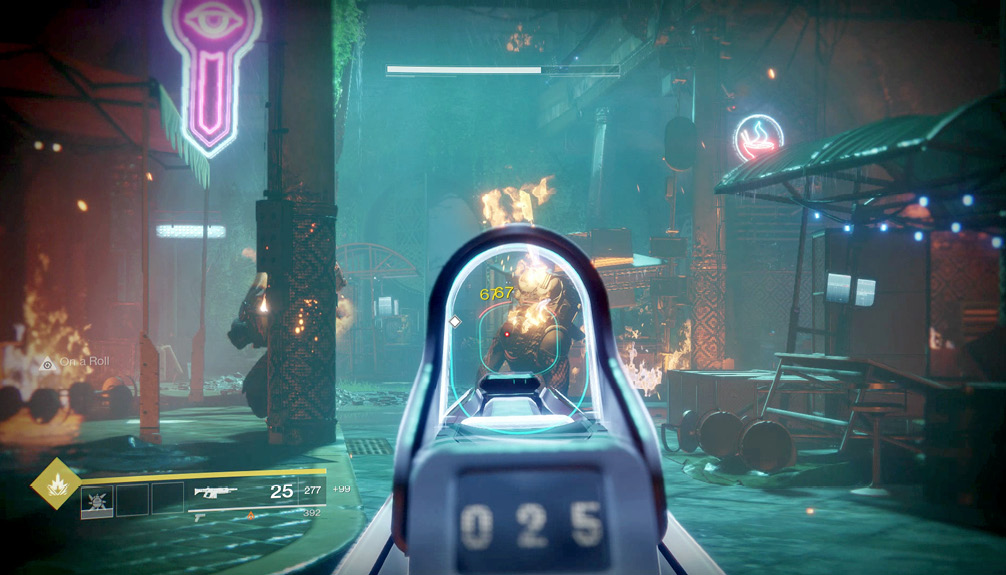
Your kill count is being checked at the end of each mission, activity, and Crucible match. Along with your regular kills, there are Precision Kills totals to understand. This is when you defeat an enemy with a killing blow to their weak spot. Look for the yellow (not white) damage numbers that indicate Precision hits—finish an enemy off with one of those shots, and you’ve earned yourself a Precision Kill.
Melee Attack
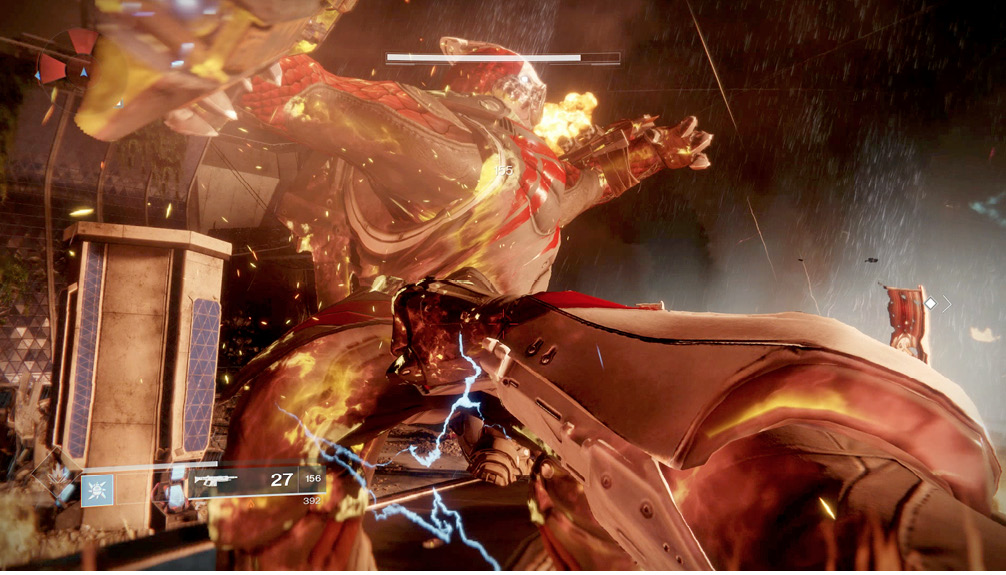
Melee attacks are extremely useful at close quarters, when the enemy is in danger of really hurting you. Make a swift and vicious strike, which can usually bring down a lesser infantry foe (like a Legionary or Dreg) with a single hit.
Position yourself properly before a melee attack, and you automatically complete a small charge and deliver a little more damage. Swipe again afterward if you miss or if the enemy still lives. Melee attacks are helpful if you want to start them a few feet away from a foe so you automatically sprint in and strike. They are also useful after you “soften up” a foe with gunfire and need to save ammunition or take down another enemy instead of reloading. Finally, note that Titans, Hunters, and Warlocks have different methods of inflicting melee damage (a punch, a knife strike, and a forceful push, respectively).
Throwing Grenades
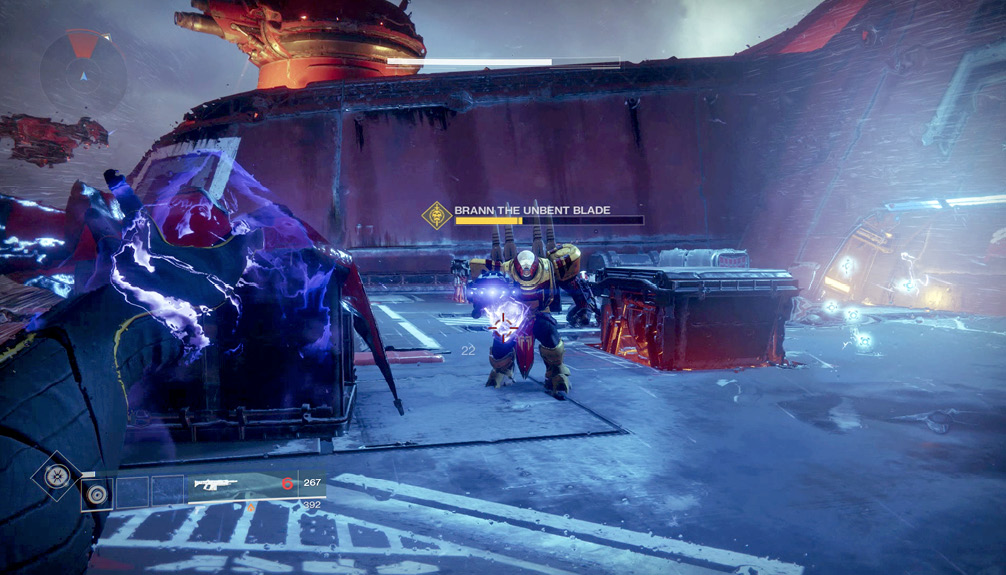
Lobbing an explosive projectile is a great way to defeat or soften up groups of enemies or one larger foe you’re having trouble with. Note the grenade icon that appears in the bottom-left corner of your HUD. This slowly refills as you continue, meaning you can only lob one grenade at a time, and only when the icon is full. The Campaign and Strike walkthroughs will let you know opportune moments to lob grenades, but feel free to try this at any time. Note that your Guardian Subclass has three different types of grenades, but the other two are Abilities that are unlocked later.
It is worth learning the arc and inertia of the grenade you throw. Some enemies tend to strafe or flee from grenades before they land, so lobbing “sticky” variants or dropping grenades in front, behind, or in small areas usually yields more damage. If a foe can use a jetpack, expect them to maneuver away from grenades. Careful use in more confined spaces, along with suppressing fire to stop foes from moving away from grenade explosions, is a good idea.
Jumping
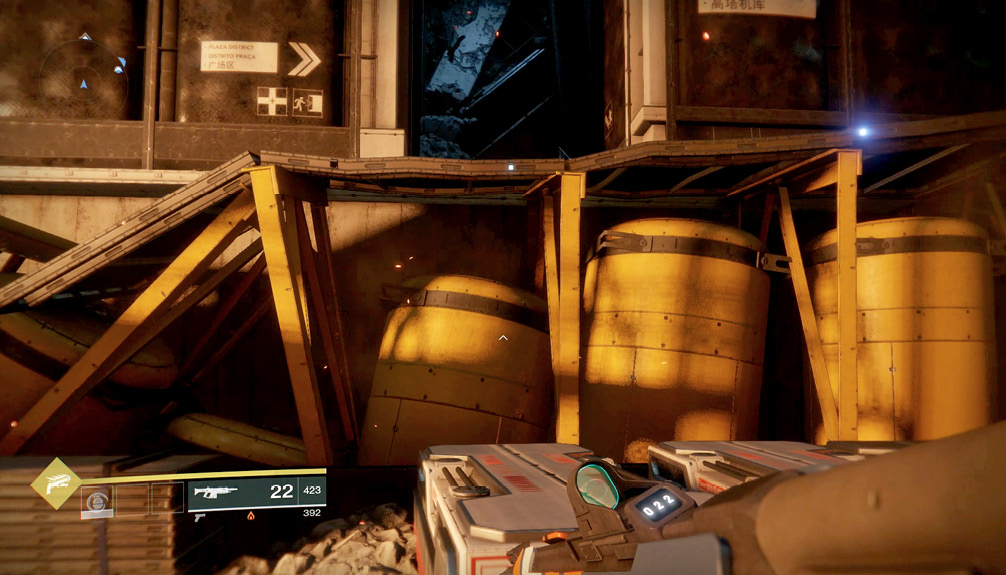
Jumping is an integral part of your maneuvering, allowing you to cover gaps across bottomless terrain and leap across both obstacles and enemies. Note that you don’t need to land on a location you’re jumping to. If you reach the edge of a walkway, gantry, or other destination, your Guardian pulls themselves up and onto it. This is done automatically. In the future, if you want to land on an upper ledge or roof, aim so your torso hits the edge of the area you want to climb on so you don’t miss the jump and fall.
Sprinting
Moving more quickly is obviously a help under most circumstances, as it allows you to reach cover, cross long corridors, and maneuver through areas more competently. However, you can’t reload or fire your weapon when you sprint (though you can jump).
Ghost Flashlight
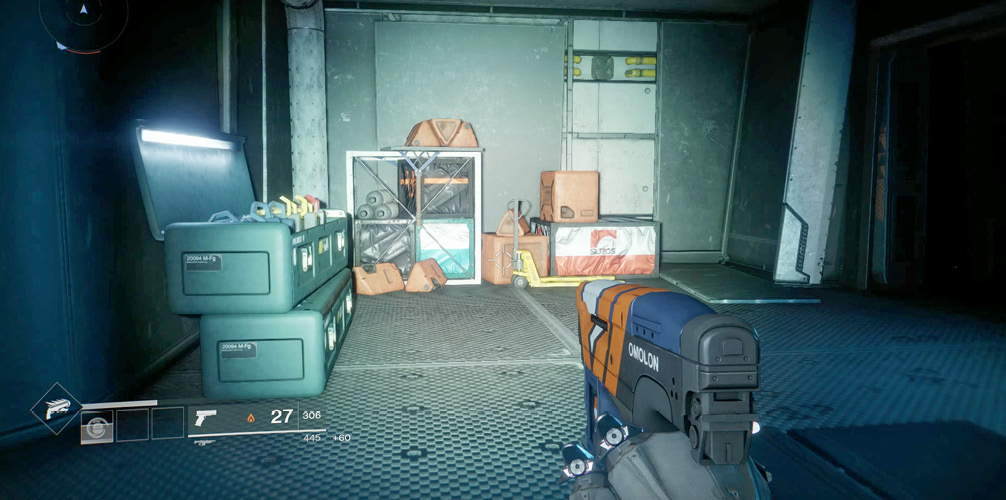
When exploring darkened chambers, you must rely on your Ghost to provide flashlight-like illumination. This is always done automatically.
Switching Weapons
A simple tap of the weapon switch button or key alternates between your Kinetic and Energy weapon (assuming you have one). You can easily see which weapon you’re carrying in the bottom-left corner of your HUD (the Energy weapon has an Arc, Solar, or Void icon next to it). Switch weapons when you need to remove shields of a foe, you’re low on ammunition for one weapon, or you want to finish off a group of foes without waiting to reload. Note that to switch to a Power weapon, you hold down the weapon switch button or key.
Crouching and Sliding
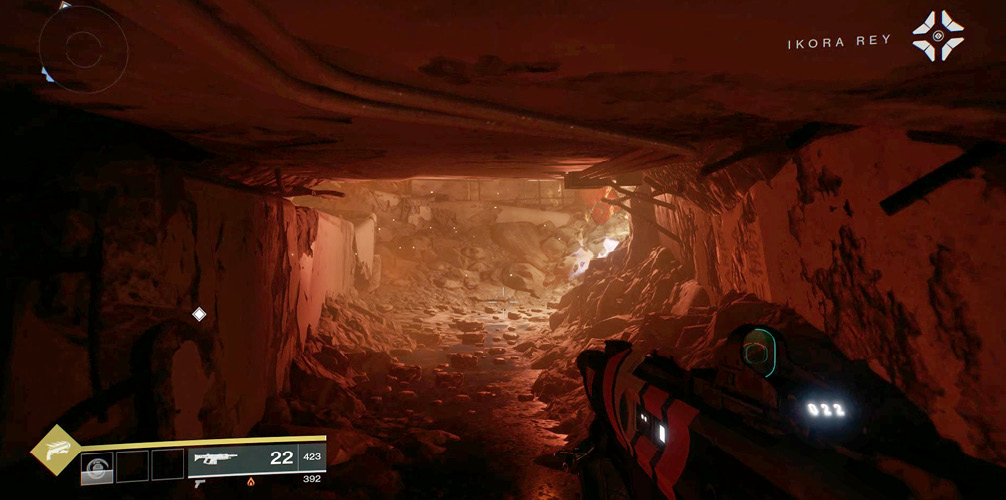
When you’re exploring spaces that are too compact to stand in, you simply need to crouch. If you’re sprinting when you reach such a location and hold down the crouch button, you’ll slide. This is more than just a way to show off; you can quickly slide into cover during firefights. When crouching behind low cover, you can aim down sights to quickly pop up; then release your aim to automatically drop back down into cover. The easiest way to come out of a crouch is to sprint.
Super Ability
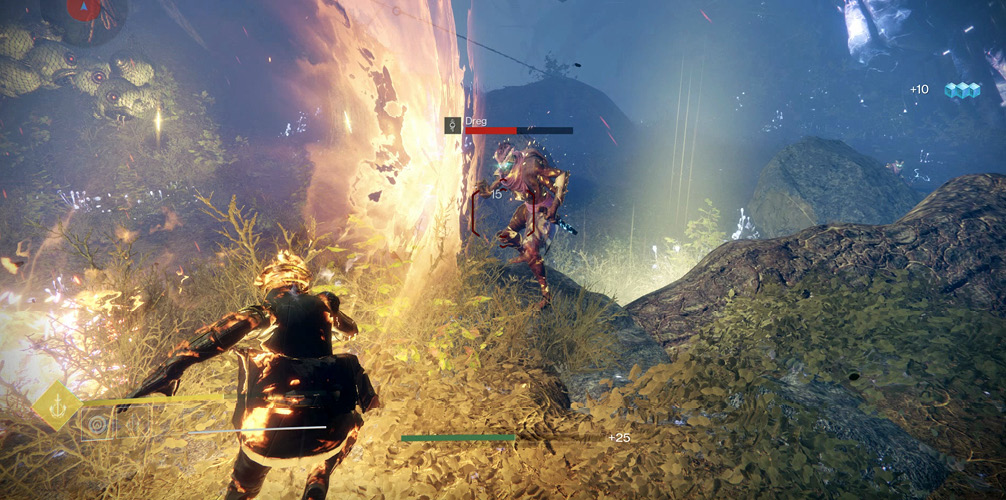
Depending on your Guardian type, you have a Super that has been charging since the start of the mission. Though it was ready to use previously, the Campaign and Strike mission walkthroughs give you optimal conditions regarding when to activate it. Usually used on a cluster of foes to clear them out in seconds, Supers are sharp shocks of mayhem that can turn the tide of battle in your favor before slowly recharging to be used again. Try to take out three, four, or even five lesser foes with a single Super strike. Correct use of Supers can turn the tide of battle, especially against more dangerous Elite or Boss opponents, and knowing when and where to employ Supers is a key to victory.
Each Guardian Subclass has a different Super Ability. These are detailed later in the Guardian Abilities part of this training chapter.
Advanced Jumping: Movement Modes
Experienced Guardians have access to a selection of Class-specific movement options that serve to extend or augment a standard jump. The basics are simple—jump while in the air to activate your selected Movement Mode.
While Movement Modes vary, most fall into one of three Class-based categories:
Lift (Titan): Engage thrusters for a brief but impressive midair boost. Activate mid-jump for maximum effect.
Jump (Hunter): Use your natural agility to extend your hang time with a midair jump. Activate at the height of your jump for maximum effect.
Glide (Warlock): Focus your Light while in midair to defy gravity’s pull. Activate immediately after leaving the ground for maximum effect.
Different Movement Modes feature different effects. Some offer an initial boost of speed, some allow for superior directional control, and (in most cases) you’ll find an option that balances these effects.
It’s also worth noting that Titans and Warlocks can deactivate their Movement Modes mid use, allowing them to cut lengthy jumps short. In these cases, a canceled Movement Mode can be reactivated (once!) to slow a fall or make last minute adjustments.
A depleted Movement Mode is automatically recharged each time the Guardian touches down on solid ground.
Motion Tracker
It’s important to use the radar in the top-left corner of your HUD, which can help you out during more chaotic combat situations. By now, you should have realized that the diamond-shaped waypoint icons point you in the way you need to go. But with places filled with foes, be sure to learn that the red glowing segments of the radar give the direction an enemy location or attack is coming from. If the center of the radar circle glows, an enemy is very close. If a marked enemy or objective is above or below you, an arrow within the waypoint icon indicates this. Learn these radar cues; they could save your life!
It’s wise to check your motion tracker every few seconds, but make sure you do so whenever you hear an odd noise, spot signs of movement, or notice any other environmental cues that might indicate a nearby threat.
Buff/Debuff Notifications
By the end of the first Campaign Mission, you should be familiar seeing information periodically appear on the left side of your HUD. These are warnings or congratulatory messages, depending on the actions you are currently completing. Step in fire, and you’ll receive a “Burning” warning message, for example. Defeat two or more foes in quick succession, and the “On a Roll” positive message appears.
Entering a Restricted Zone
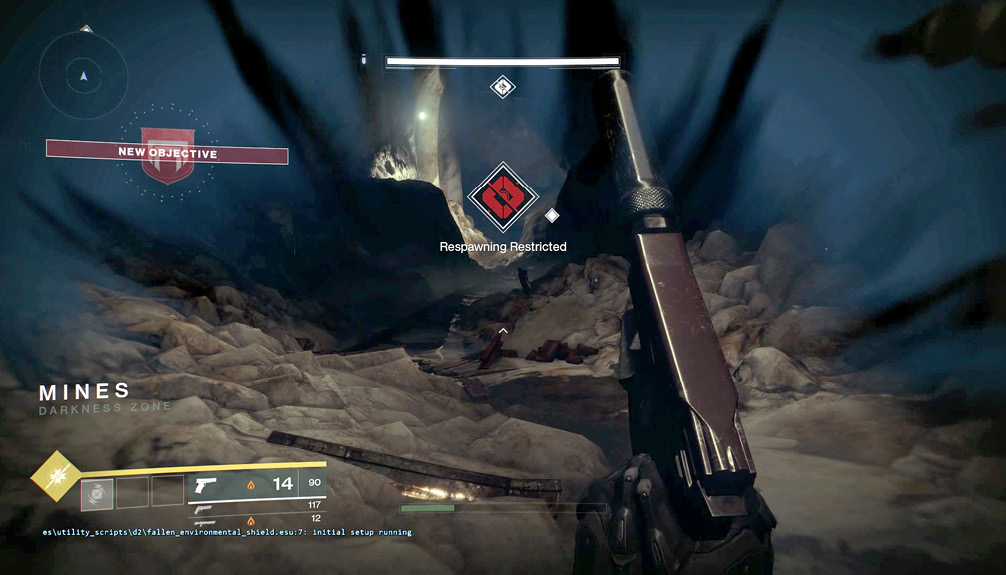
Respawning Restricted! If you rely on your Ghost to resurrect you during combat so you can instantly begin to battle where you left off, restricted areas (also known as Restricted Zones) remove the possibility of this plan. Should you die in such an area, you are still resurrected, but usually at a location prior to engaging the enemies, meaning you need to complete some fighting again. For this reason, it’s worth taking extra precautions when you’re forewarned. Take your time, execute more accurate shots, pick weaponry you’re comfortable using, don’t take unnecessary chances, and use Energy weapons with the same energy as the shields of the foes you’re about to face.
Ghost Interactions
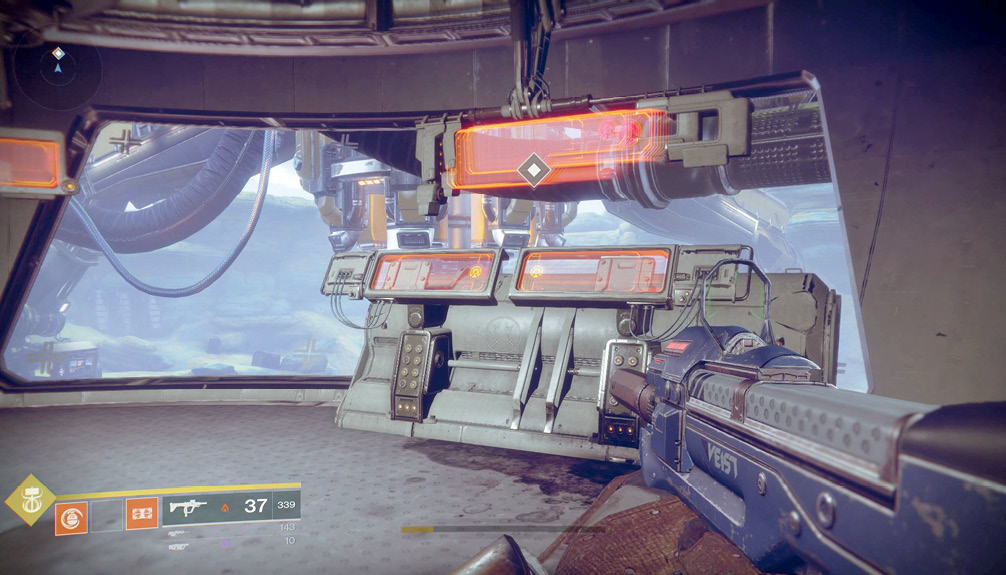
Your Ghost can interact with a variety of objects, such as doors, computer terminals, and scannable objects. If a context-sensitive prompt appears on your HUD, access it as soon as it is safe to do so. Remember that your Ghost can also scan areas, which helps locate both enemies and scannable objects (which are bathed in the scan light for a few seconds as the scan expands through the nearby scenery).
Enemy Health and Armor
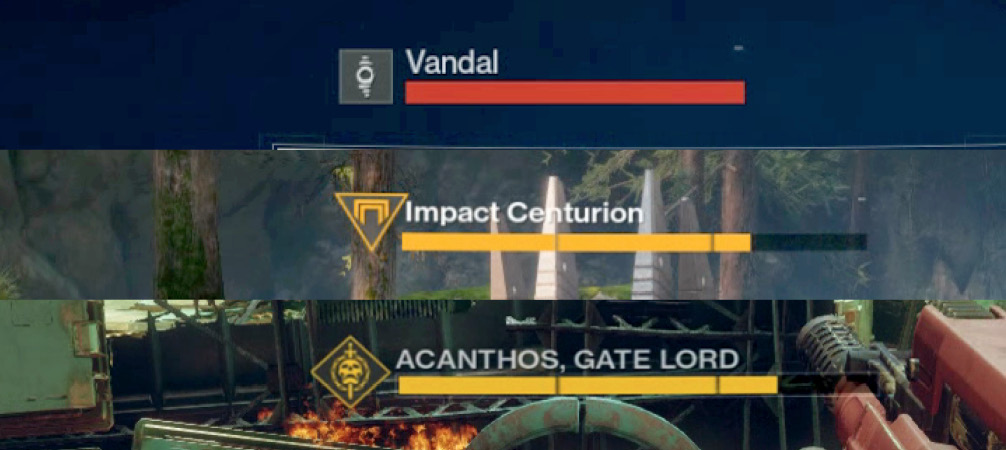
It is important to discern the different types of health bars that enemies possess. Regular enemies have a red health bar, which is whittled down using any offensive capabilities you may have.
If a foe has a light-orange health bar, this is usually an Elite version of a particular infantry foe, such as a “Quantum” Vex enemy.
If a foe has a yellow health bar, this is usually a Sub-Boss or Boss and is much tougher to tackle.
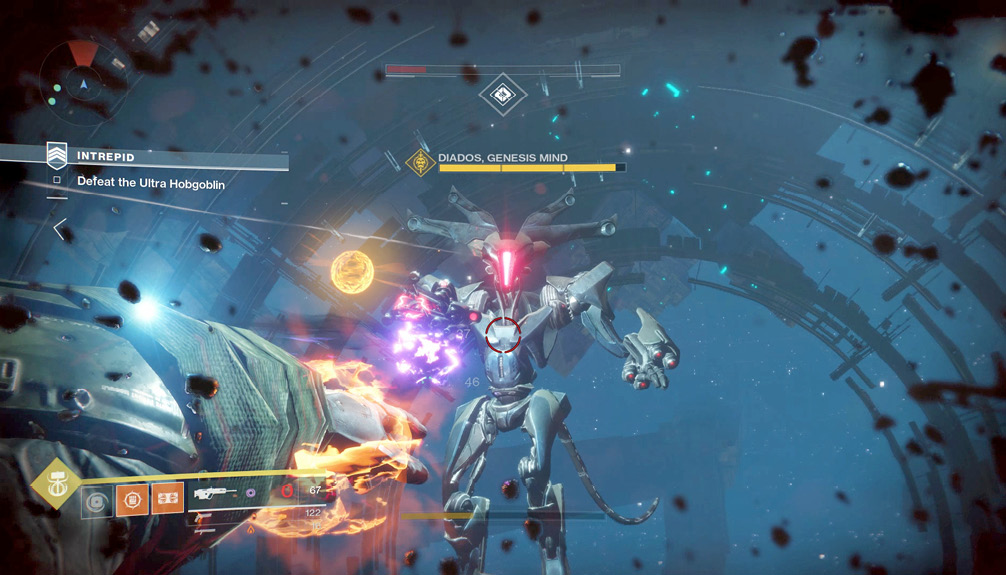
Enemies range from lowly Legionary grunts to massive hulking Boss Hobgoblins.
Finally, if a foe has a thin white line under its health bar, this indicates an active shield, which is always removed more easily if you use an Energy weapon with the matching energy type (Arc, Solar, or Void). Focus on completely removing the shield, and then defeating the enemy; these shields recharge, leaving a partly damaged foe with full shields if you become preoccupied with other fighting.