
Introduction and Overview
Exploring the worlds across the solar system is both thrilling and time-consuming, so it’s worth having a complete run-down of what to expect to find in every World, Region, Sector, and Area you can access. This chapter is more than a mere atlas; it shows how the larger elements of the game are unlocked, the activities you can undertake, and the collectibles you can gather.
The Director Menu
As you progress through your explorations and the Campaign missions, you begin to access a number of locations and planets across the solar system, until your Director Menu screen looks a little like the one shown previously. It is here you can take your ship and fly to a different exploration element, as listed below:
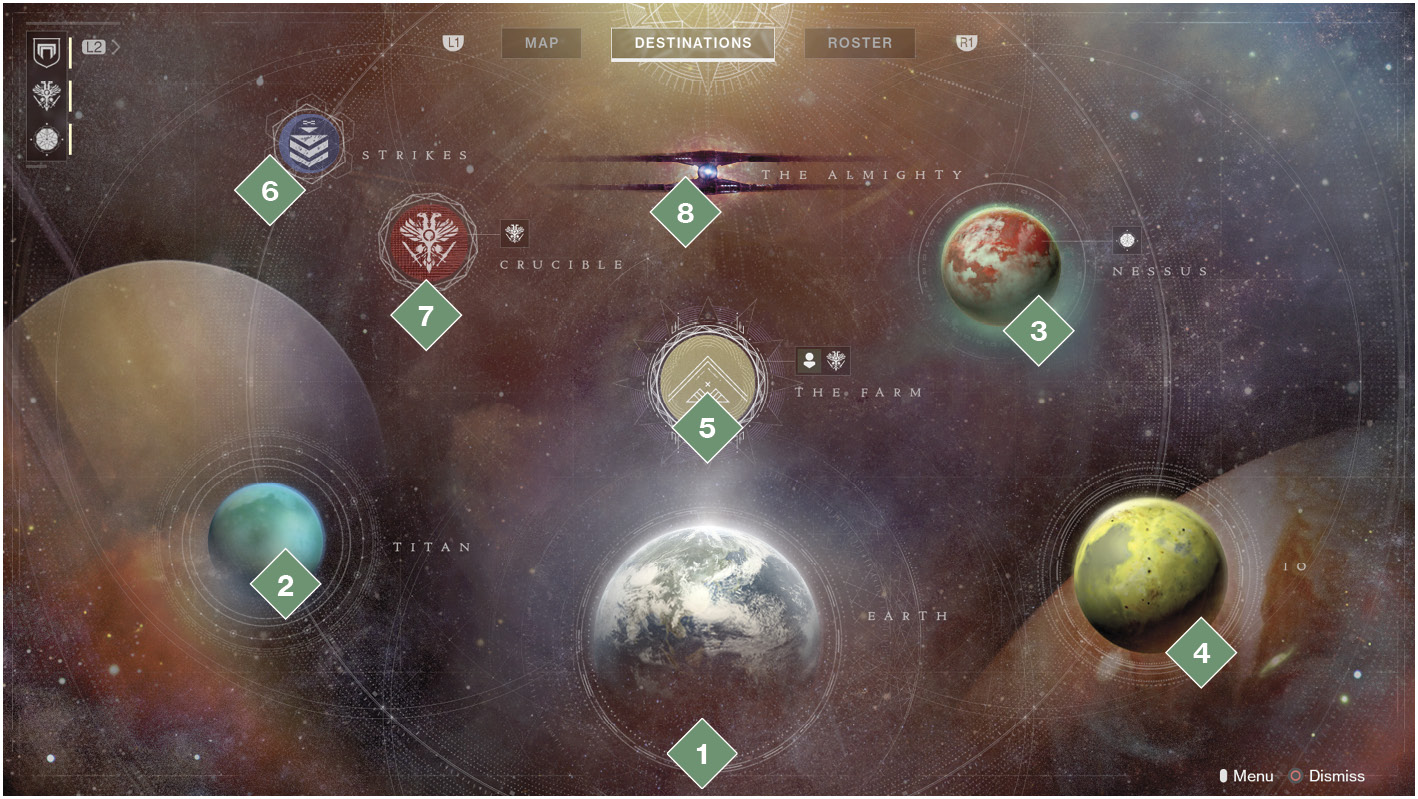
 Earth: European Dead Zone: The initial region to explore, once you’ve completed the first few Campaign missions. You also return here later into the Campaign to unlock further content. A complete list of all Sectors is shown in this guide. The social Sector of the Farm is also included in this content.
 Titan: Pacific Arcology: The moon of Saturn becomes available to explore during the Campaign. A complete list of all Sectors is shown in this guide.
 Nessus: Arcadian Valley: A machine world with an irregular orbit, this becomes available to explore during the Campaign (after Titan). A complete list of all Sectors is shown in this guide.
 Io: Echo Mesa: The moon of Jupiter is the last main region to open up (after Nessus), during the latter half of the Campaign. A complete list of all Sectors is shown in this guide.
 The Tower: Once the Campaign is over, humanity (led by the Vanguard) begins to rebuild, and the Social Sector is the epicenter of activities. It is detailed in this guide.
 Strikes: The six available Strikes (and the even crazier Nightfall variants) are accessed here. The Director chapter flags where these Strikes take place, but actual strategies are covered in their own chapter.
 Crucible: This is where you prove your worth to Lord Shaxx and attempt Player versus Player matches. An entire chapter of this guide is devoted to this game mode.
 The Almighty: A colossal Cabal vessel attempting to destroy the solar system. This is part of the Campaign and not subsequently visited.
How to Use this Atlas
Each of the four main worlds (AKA regions) are divided into different Sectors, and the guide’s atlas is no different. Content is listed in the expected order you are likely to encounter it, or if a Sector is linked in some way to another. This allows for a more organic exploration of the world around you. For each area under examination, expect a brief synopsis, some statistical data, an icon-driven map, and additional explanation and pictures.
Sector Hierarchy
At a very general level, each “hub” or exploration area with a defined boundary is known as a “Sector”. The guide and game both divide and name these. There are many types of Sectors:
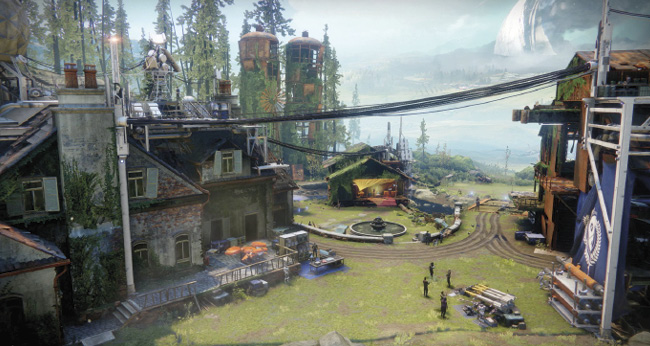
Social: These are self-contained locations (that can only be accessed from Orbit) without any foes, where you appear in third-person view, and only vendors are available to interact with. Expect a vault, and other players to chat to. The Farm and the Tower are the only two Social Sectors.
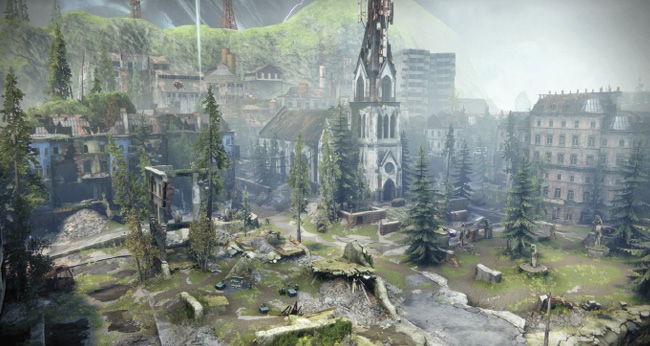
Public: These are large-scale locations, where multitudes of like-minded Guardians gather. Enemies are roaming these Sectors, and a variety of activities are possible. Certain Public Sectors may have a vendor. Public Sectors also link to other Sectors of every type (except Social).
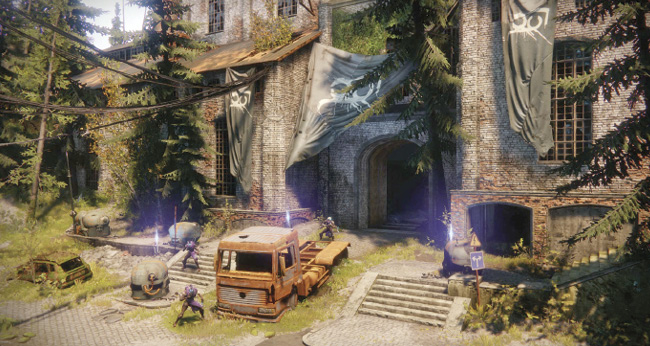
Activity or Enemy-Based: These are smaller Sectors. Sometimes they are partially, or completely inaccessible.
You’ll know if an area is inaccessible as a barrier (usually a blue energy wall) prevents you from progressing. Such Sectors become active during certain missions (usually Campaign, Strikes, Adventures, or World Quests).
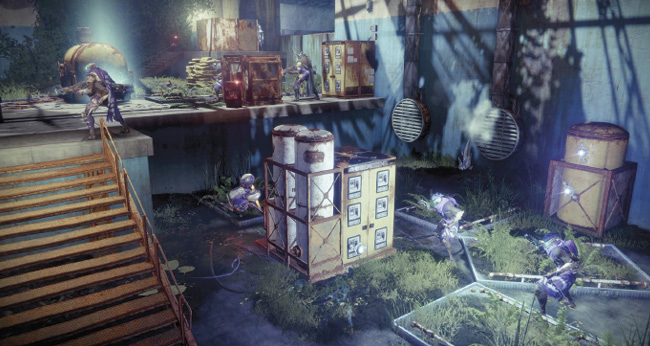
Lost: These occur as small, branching interior Sectors off a main Public Sector. They contain foes and a chest to unlock, once the Elite inside the Sector has been neutralized. Each Public Sector may have up to three of these.
This guide’s atlas flowcharts (shown at the start of the sections on EDZ, Titan, Nessus, and Io) show the Sector types in iconographical form.
Atlas Content and Legend
Each time you read up on a specific Sector you’re interested in, you’re greeted with a variety of content, both text and icon-based. It’s worth pointing out what all the icons mean, what the associated text is likely to indicate, and thus in turn, what this guide’s atlas is keeping a track of throughout this chapter:
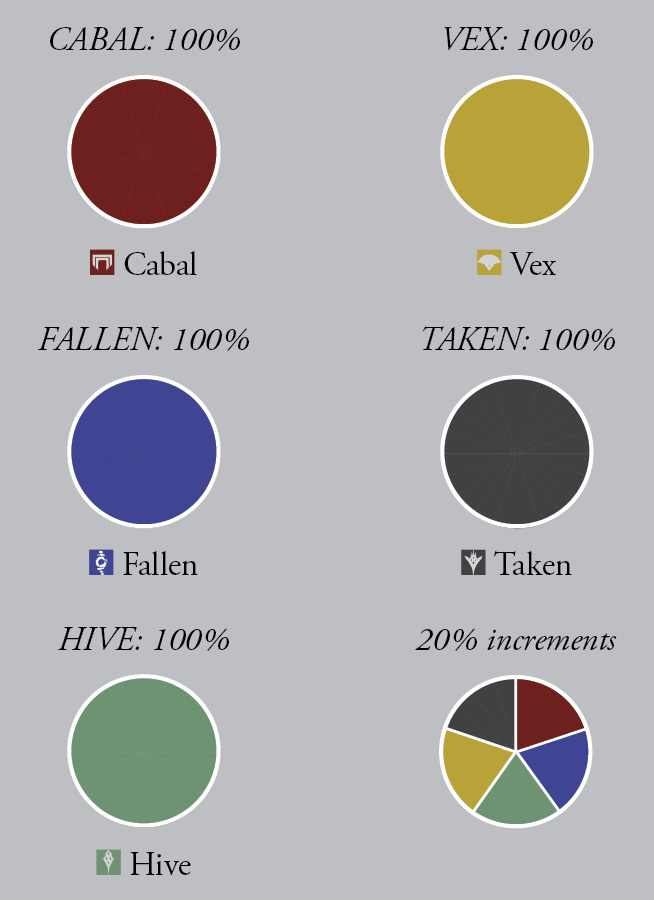
Expected Enemy(s): Each Sector receives a small pie-chart giving you an at-a-glance visual representation of what group dominates the Sector you are in. This takes into account enemies appearing in clusters, and during Public Events and in Lost Sectors.
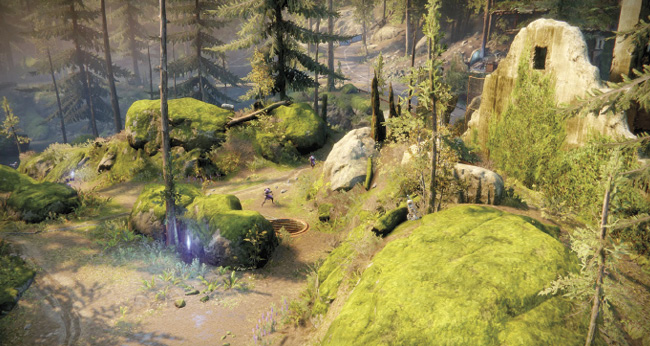
 Area of Interest: Some Sectors are large, so it’s worth segmenting them up into smaller sections for easy visual digestion. Areas of Interest are parts of a Sector with something notable to be aware of; such as an exit, a landmark, or other piece of topographical content.
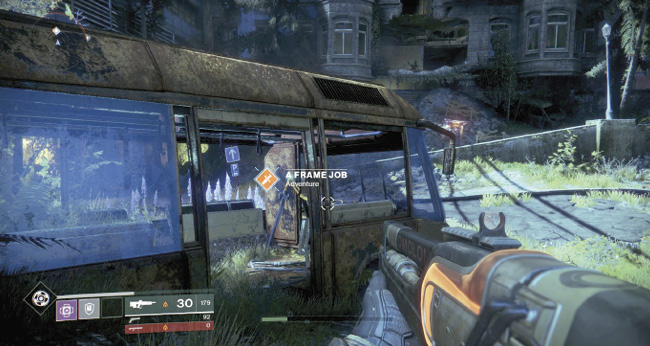
 Adventure: This shows the expected location of an Adventure beacon within the Sector in question. If the beacon is not there, consult the flowchart. You may not have progressed far enough to unlock an activity.
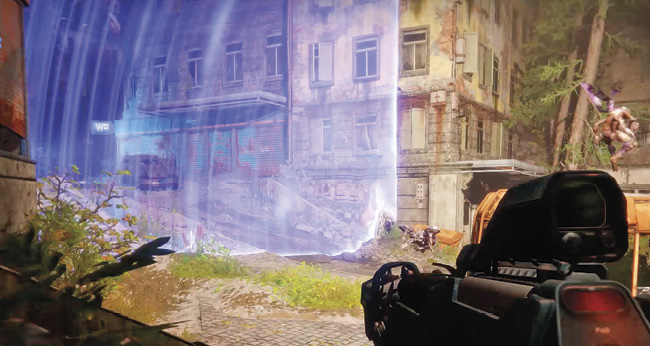
 Barriers: Walls of energy, or sometimes wreckage, preventing progress into parts of this sector, usually until a mission is active. Some Activity sectors may be Partially or Completely Inaccessible, with barriers erected.
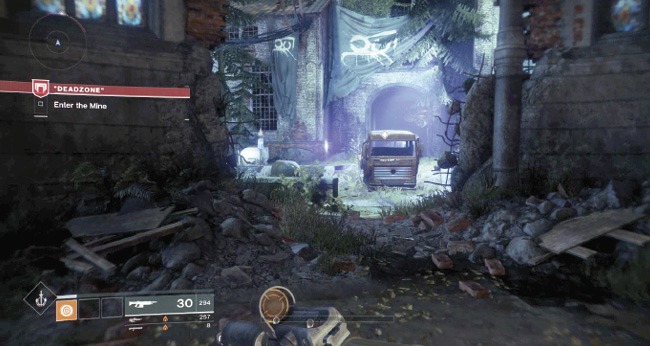
 Campaign: If a mission is accessible from a Sector, it is shown. This is mainly to show where you begin a Campaign mission after dropping in from Orbit, and is mainly shown in the flowchart.
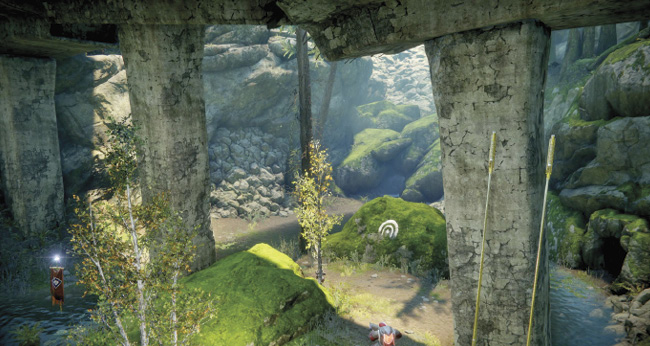
 Lost Sector: The cave icon of the Lost Sector signifies one is close to the indicated map location, so head there and explore within. A brief synopsis of what to expect inside the Lost Sector, including the enemy and Elite types, are included.
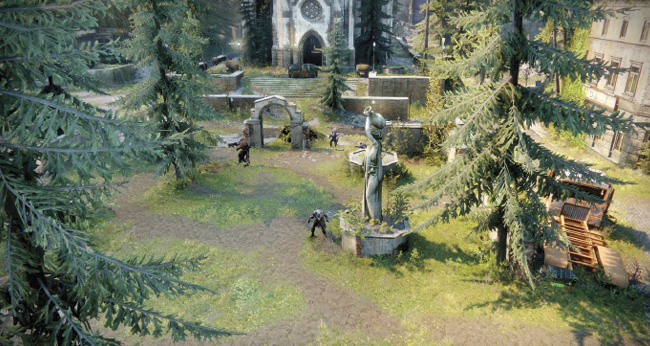

Enemy Cluster(s): This indicates where an expected cluster of foes of a particular enemy group are roaming. Note there are additional areas too, but they are usually active during Public Events or other activities. This indicates enemies you should expect under normal, non-mission circumstance.
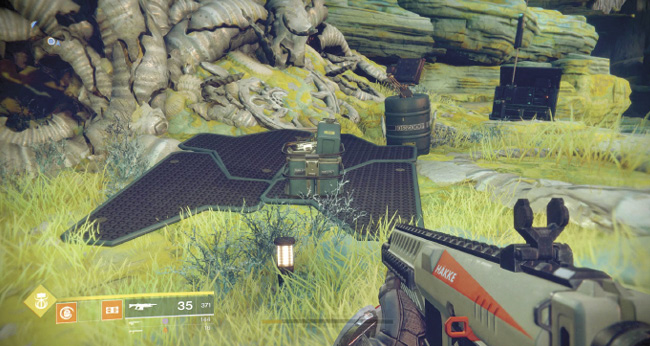
 Landing Zone: This pinpoints the likely landing spot of your ship if you access the Director menu from Orbit. If the Landing Zone (or LZ) isn’t available, consult the flowchart; you may need to complete more activities first.
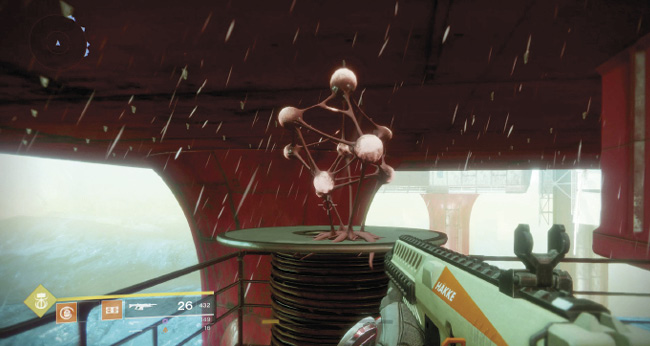
 Material Node: Each world has its own material node; a strange, naturally-occurring object to harvest and exchange with vendors. There are dozens of possible locations where these might appear, but only around a tenth of the locations are active at any one time. Use the maps as a general guide only (as nine times out of ten, the item won’t have appeared!). Use the guide map as a very approximate overview. Note that Lost Sectors also have these items, but are not tracked on the guide maps.
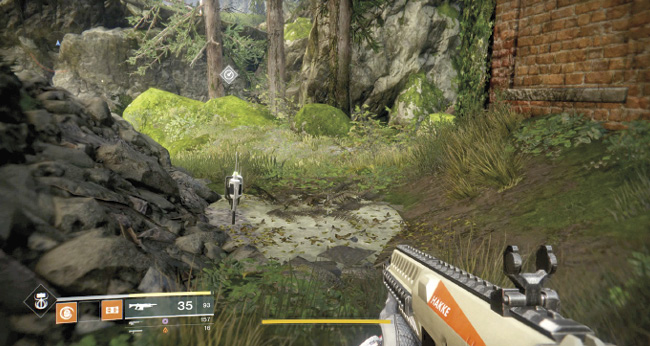
 Patrols: Public Sectors have Patrol beacons that become active once you complete Campaign missions on Io and speak to Cayde-6 at the Farm. These beacons allow you to begin a (random) Patrol from a set number. Not all beacons are active at the same time. This map shows all available beacons. Consult the chapter on Patrols for full details.
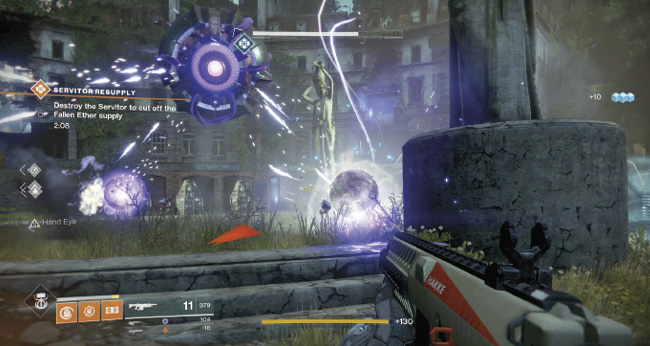
 Public Events (Full): This is the location of a specific Public Event, which is randomly (but frequently) triggered. Although you can see where the event will start, you must wait for the game to announce and begin this activity. The type of event, and brief tactics, are mentioned. Consult the chapter on Public Events for full details.
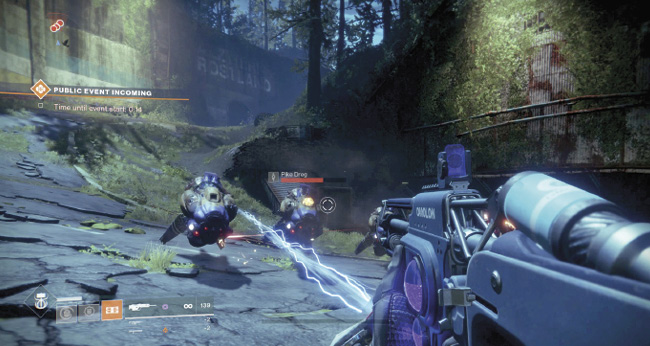
 Public Events (Secret): This is the location of a minor Public Event that isn’t announced (except for certain types which have a text clue in the bottom-left corner of your screen. These involve entering skirmishes, flying through Vex cannons, or hunting down Elites for loot. The exact nature of each event is revealed. Consult the chapter on Public Events for full details.
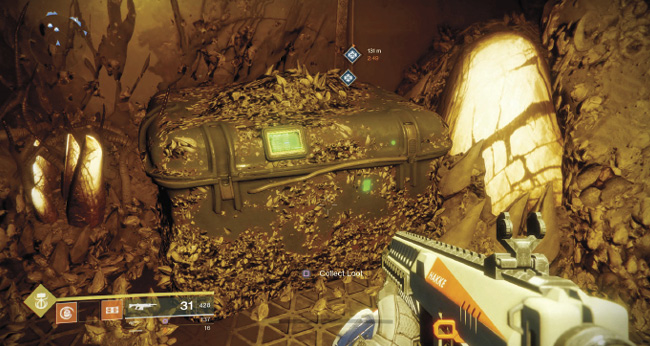
 Enemy Chests: These are chests that (randomly) appear across the Sector you are in. They are usually related in style to the dominant group of the Sector. The guide maps show (pretty much) every possible location a Enemy Chest could appear at. But only around a tenth of them are active at any one time. Use the guide map as a very approximate overview. Note that Lost Sectors also have this item, but are not tracked on the guide maps.
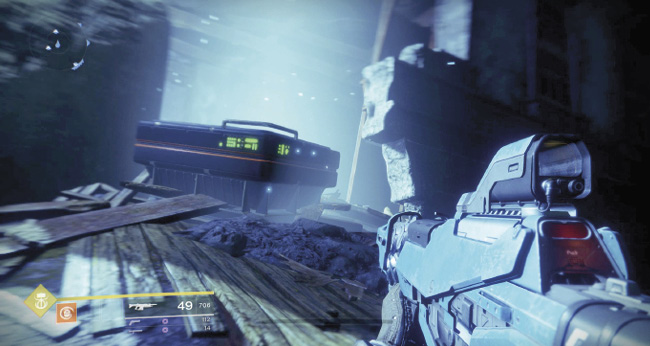
 Lost Sector Chests: Every Lost Sector has a chest that can only be opened with a key you loot from the Elite within the Lost Sector. The smaller, Lost Sector maps (shown within the Sector they link to) show you where each one is. There is always one of these per Lost Sector.
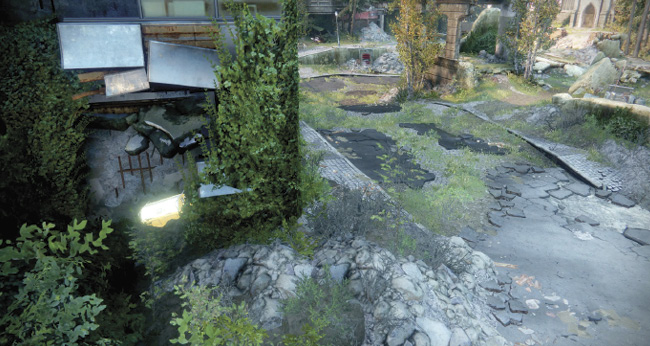
 Region Chests: Each Public Sector usually has around three of these golden-hued chests hidden away, sometimes in ludicrously-placed locations. This guide shows you where each one is.
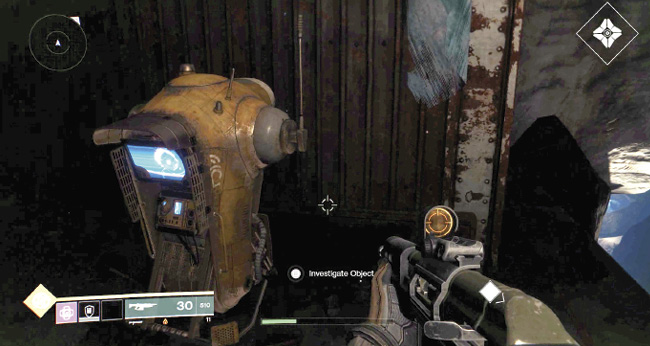
 Scannable Objects: There is a wide variety of oddities across the regions and all four worlds (and within the two Social Sectors). This offers an approximate location, and a hint of what to expect. These are the Lore objects that Ghost scans when you find them.
 Strikes: If a Strike is available at a location, it is mentioned along with this icon. Note this is illustrated in the flowchart, as you drop into a Sector from Orbit once you start a Strike from the Strike Menu, rather than beginning it on the planet itself.
 Vendor: The two Social Sectors have a wealth of vendors. Otherwise, expect to find one vendor for each of the four worlds, not including Xur (who shows up randomly).
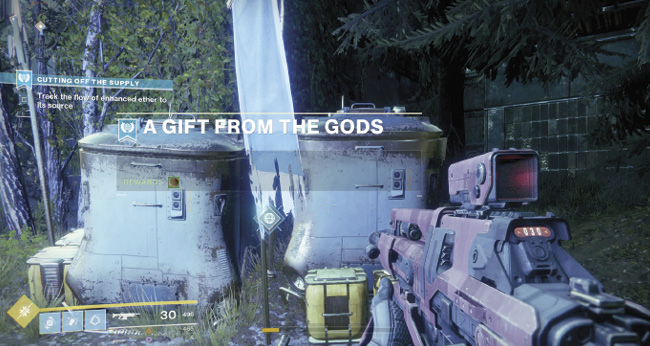
 World Quest: Each of the four main worlds has a multi-stage World Quest to complete. The starting location of this quest is shown on the main maps of a particular Sector. The flowchart shows where that, and subsequent stages of the World Quest begin.