
Destiny 2 Guide Adventures Titan Adventures
Bad Neighbors
Starting Location
Recommended Power
- 60
Prerequisite
Reward
- Ability unlock
Description
When the Adventure starts, you’re tasked with collecting six components needed to assemble a Hive disruptor. You can find these items on most Fallen units, so just pick a fight with the nearest cluster and collect the components from your vanquished foes. Once you’ve gathered the required components, follow the objective marker out of The Rig and into Tidal Anchor. Your goal is to find and eliminate a group of exceptionally powerful Wizards, and doing so requires a long journey through Hive territory.
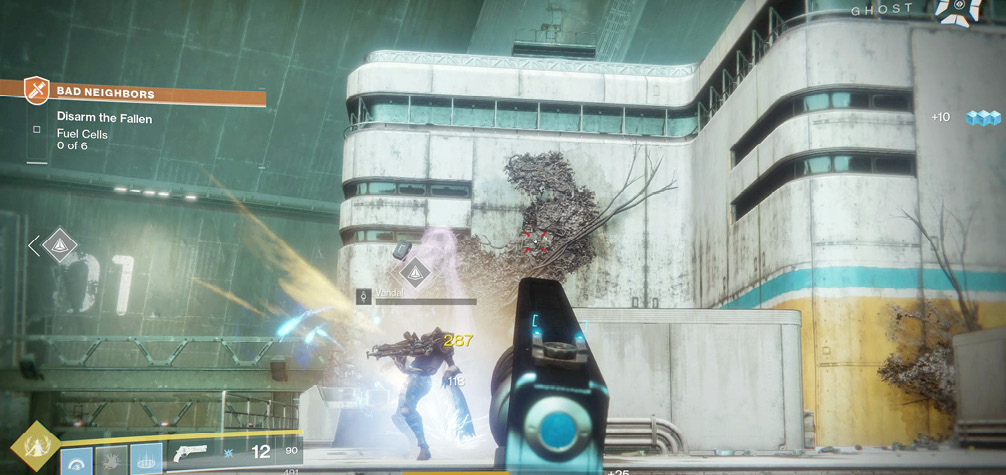
On your way through Tidal Anchor, you’ll encounter everything from Thrall swarms to Shrieker turrets. Watch your motion tracker, and don’t hesitate to fall back if things get too hectic. Just use your preferred tactics to neutralize each threat as the waypoint guides you to your destination.
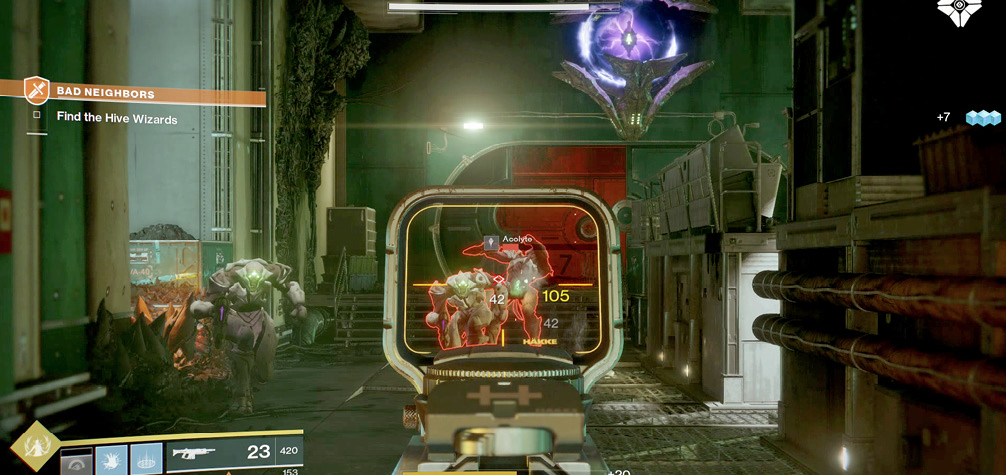
Once you drop down to Tidal Anchor’s exterior area, adjust your tactics to suit the environment. The narrow walkways and precarious footbridges can limit your mobility during hectic firefights. Plan ahead, and make the most of the available cover.
Near the end of your journey, you must perform a series of fairly risky jumps. After you cross the second footbridge, follow the objective marker and leap to the indicated rig. Head into the opening, climb to the upper deck, and use the available platforms to reach the top of Tower 2.
Once you reach the top of Tower 2, plant a Hive disrupter on the indicated device. Back away, check your loadout, and shoot the disruptor to trigger the Adventure’s final encounter.
When the encounter begins, three named Wizards appear on the tower platform; initially, two of these enemies are immune to damage. Identify and neutralize the vulnerable target as quickly as possible. When the Wizard falls, one of the remaining targets loses its damage immunity. Defeat all three Wizards in the proper order to complete the encounter’s first phase.
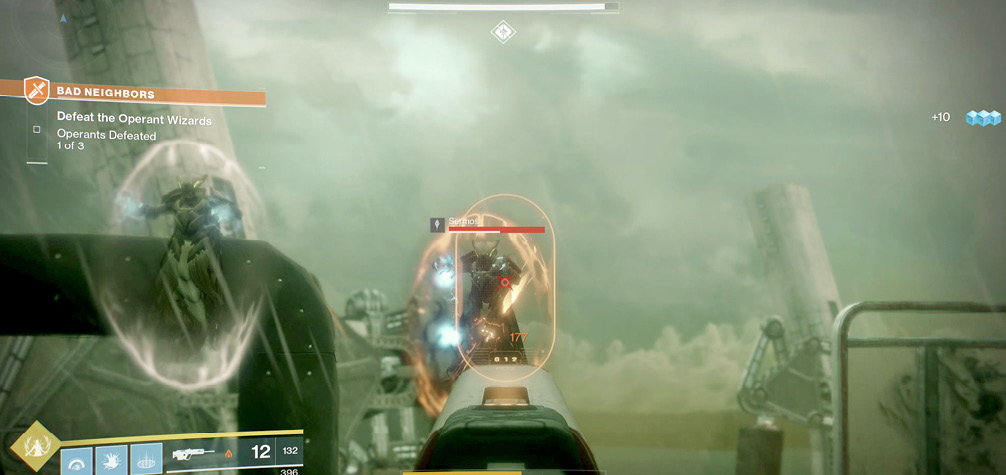
Soon after you vanquish the third Wizard, Thralls and Acolytes appear on the tower platform. Defeat all of these enemies to draw two more Wizards into the area.
Once again, you must defeat the Wizards in the proper order. Identify and eliminate the vulnerable target, and then shift your focus to its ally. Defeat both of these named Wizards to trigger another wave of Hive units.
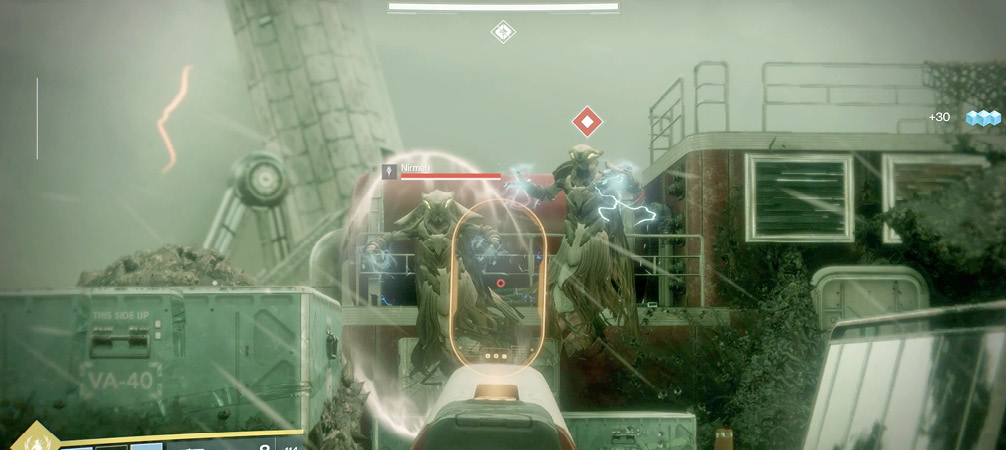
This time around, enemies appear more frequently and in greater numbers. You’ll also find some Knights mixed in among the Thralls and Acolytes. It’s a tougher fight, to be sure, so use the environment to your advantage. Keep moving, and try to thin out weaker enemies as quickly as possible. Clear the area to trigger the encounter’s final phase.
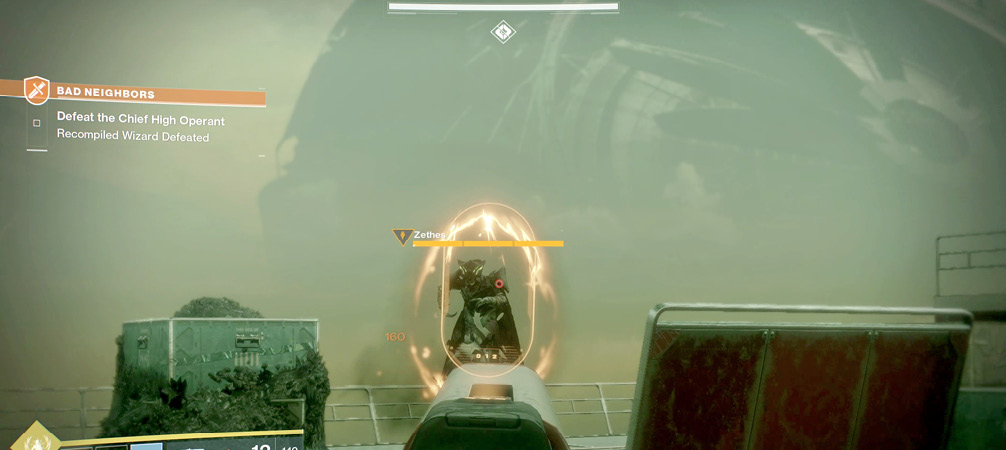
To fulfill your final objective, you must defeat Zethes. This powerful Wizard can withstand an impressive amount of damage, so don’t hold back. If your Super Ability is ready for use, consider activating it now. Otherwise, use Solar damage to cut through Zethes’ Energy Shield, and then follow up with the most powerful weapon in your arsenal. Keep fighting until you vanquish Zethes and complete the Adventure.