
Warmind VaultJYS-2
Io
Enemies Encountered
- Taken: Hobgoblins, Goblins, Minotaurs, Psions, Phalanxes
- Taken Sub-Boss: Modular Sigma
- Taken Boss: Modular Upsilon
Objectives
- Use the Warmind network to scan the Almighty (continued).
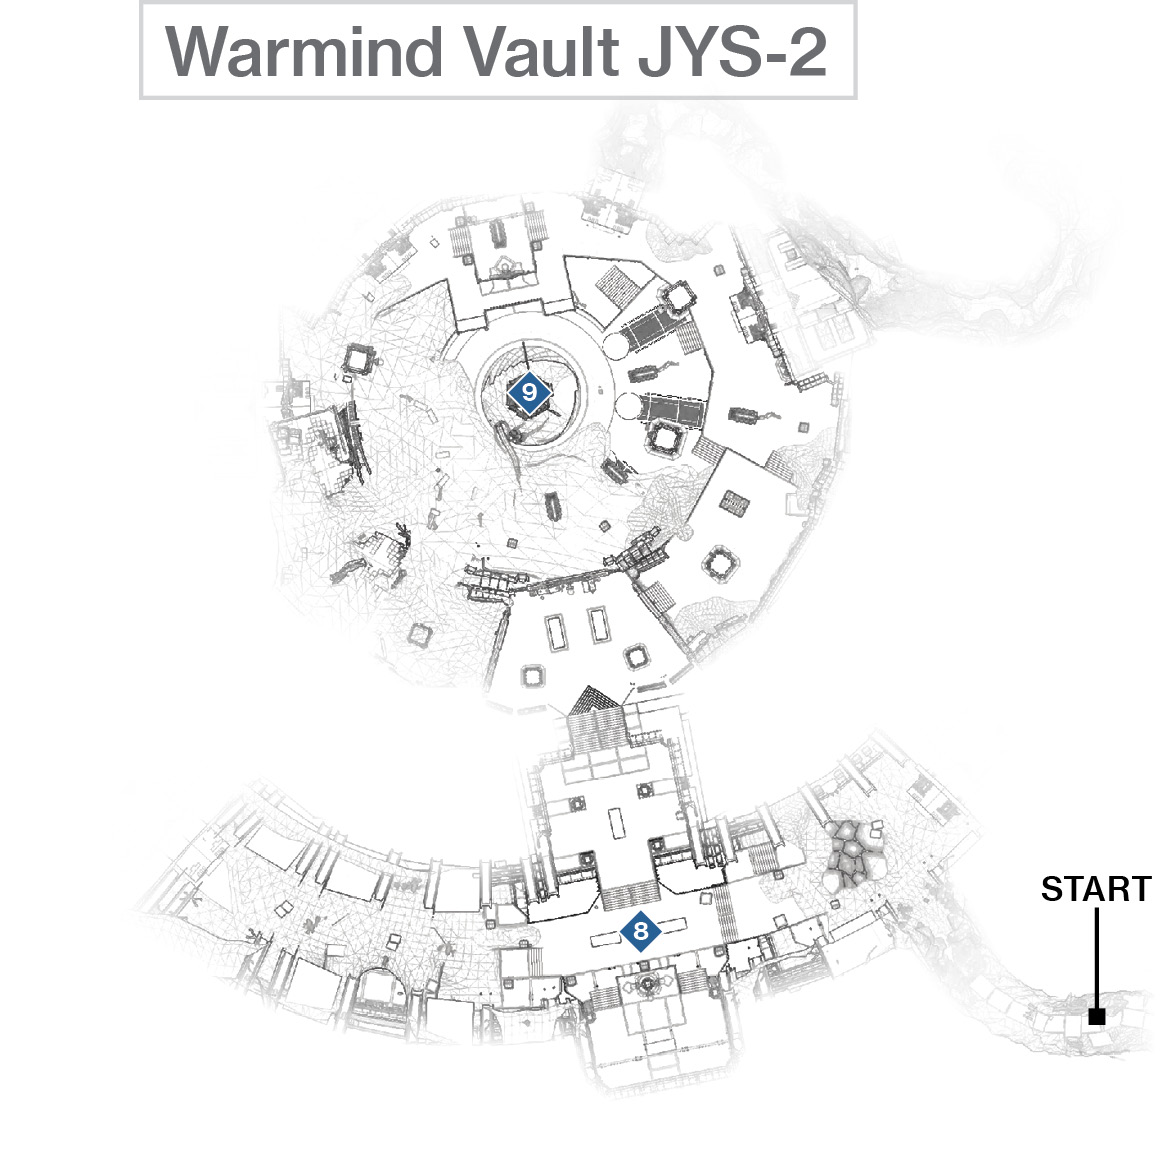
 Vault Infiltration
Super: Optional
Grenades: Optional
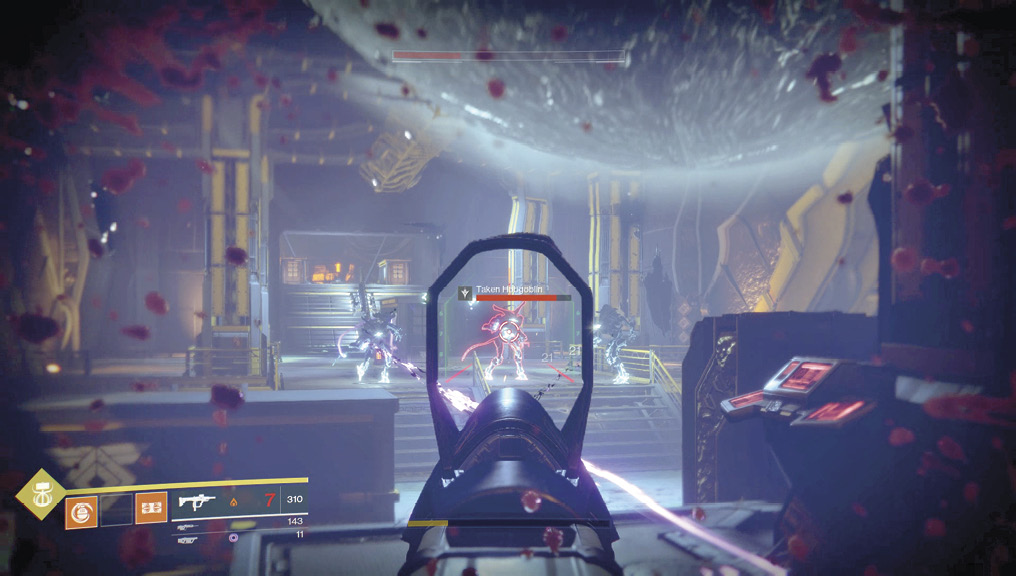
Maneuver up the narrow tunnel and into the initial vault chamber. As expected, the area is teeming with Taken. Expect three Taken Hobgoblins and a Taken Goblin to attack as you enter. The former foes have some nasty beam weaponry to dodge, and the latter can link to the Hobgoblins, giving them near-invulnerability.
Also, note the slight red glow to the Hobgoblins when shooting them. They have a minor shields, so adjust your offensive ordnance accordingly. Taken Hobgoblins can teleport short distances but aren’t the hardiest of foes. Use headshots and melee strikes to finish them if you’re close enough.
Head up the steps, and drop a Taken Goblin and Minotaur halfway up. Then, remove the Taken Goblin linking to two final Hobgoblins as you reach the mainframe core chamber. With no further Taken activity, head down to the sunken center of the chamber, access the mainframe, and then prepare for the fight of your life!
 Mainframe: Modular Upsilon Battle
Super: Recommended
Grenades: Recommended
Warning!: Restricted Zone
Boss: A giant Taken, seemingly a giant Vex Minotaur now possessed by this parasitic foe, steps out of a rift. This is the Modular Upsilon, and it is extremely dangerous. It fires highly damaging flaming bolts in rapid succession, and three of these hitting you directly will likely kill you. If you’re not behind cover, sidestep or leap away from them. Close the gap, and expect a foot stomp that’s not only damaging but launches you backward, sometimes across the entire arena. Melee combat is tricky because of the firepower that Modular Upsilon wields, as well as its foot stomping. It can also turn more-or-less invisible (like a Taken Minotaur), so track the slight glow of its “eye” and focus your firepower on that. Target its general body if you can’t track its eye because of other foes or your position. Finally, it receives invincibility from a Sub-Boss, the Modular Sigma, so refrain from wasting your ammunition any time this behemoth glows a greenish-turquoise.
Sub-Boss: Modular Sigma is a Taken Goblin with more health and a determination to keep its huge brethren invincible for as long as possible. This is your priority target.
Although it fires a Projection Rifle, that’s the least of your worries, since it spends most of its time moving to within 20 feet of Modular Upsilon and sending out snakes of energy. Hit Modular Sigma in the head so it is temporarily destroyed, then make the most of the time it’s gone by hitting Modular Upsilon in the “eye.” When Modular Sigma returns (and it will; it only dies when Modular Upsilon is defeated), destroy it as soon as possible.
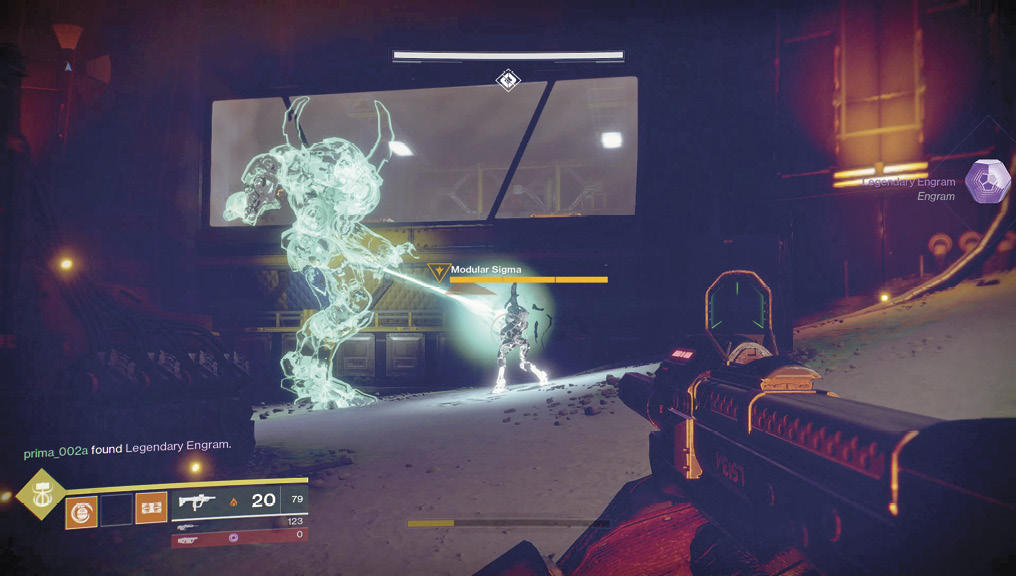
Then there’s the small matter of the Taken Phalanxes, Centurions, and Hobgoblins that arrive to help protect Modular Sigma. These are infuriating to deal with, so exercise extreme patience and care, especially when facing the Phalanxes and their shield attack or the Centurion’s homing orb. These foes appear consistently throughout the battle. Leave them, and you’ll end up trying to force your way through four or five Phalanxes to reach Modular Sigma, with little or no cover. Don’t ignore the regular Taken infantry, if only because they’re your only source of ammo.
There are ways to minimize the hardship of this battle. Firstly (and most importantly), know that Modular Sigma only gives Modular Upsilon immunity; it isn’t healed by this green energy link. This means that any damage you inflict on Modular Upsilon is permanent. With this knowledge, prepare a war of attrition. As each wave of foes appears to aid Modular Upsilon, attempt the following: Remove all Taken Phalanxes, Centurions, and Hobgoblins in the vicinity. Defeat Modular Sigma. Then, remove as much of Modular Upsilon’s health as your weaponry allows; shoot its eye or its body, if you can’t aim at the eye.
Use the upper perimeter, lower tunnel, and central mainframe pillar as cover. However, the location of Modular Sigma’s appearance may cause you to venture into the sand slope. Try to find the dark alocve on the sandy hill to the left of where you entered this chamber. Few enemies can threaten you there, and you can more easily inflict damage on both bosses.
Grenade launcher, sniper rifle, and shotgun attacks are all advisable if you need to inflict damage quickly. Sniper fire is good if you can get a target at long range on both Bosses. Check your bullet count, and switch if you’re dangerously low on bullets for one of your main weapons (Kinetic or Energy). As the battle progresses, each time Modular Upsilon loses a third of its health, the link it establishes with Modular Sigma becomes longer. This is actually helpful because you can more easily tackle Modular Sigma without incurring the wrath and firepower of Modular Upsilon.
Grenades are best used just as Modular Sigma and his Phalanx friends appear from a rift; damage as many as you can. Use your Super just after removing Modular Sigma so all your damage is inflicted on Modular Upsilon without it becoming immune. If this happens during a Super, immediately find and destroy Modular Sigma and other Taken infantry.
This is a ferocious and long-lasting battle. Patience is almost as vital as good weapon choices and deft maneuvering. When Modular Upsilon finally falls, the mission concludes.