
Destiny 2 Guide Strikes Exodus Crash
EX-077 Command
Restricted Zone
Enemies Encountered
- FALLEN: Dregs, Wretches, Vandals, Overcharge Shanks
- Boss: Thaviks the Depraved (Marauder), Servitors, Marauders, Captains
Objectives
- Fight to the source.
- Destroy the Shanks.
- Kill Thaviks the Depraved.
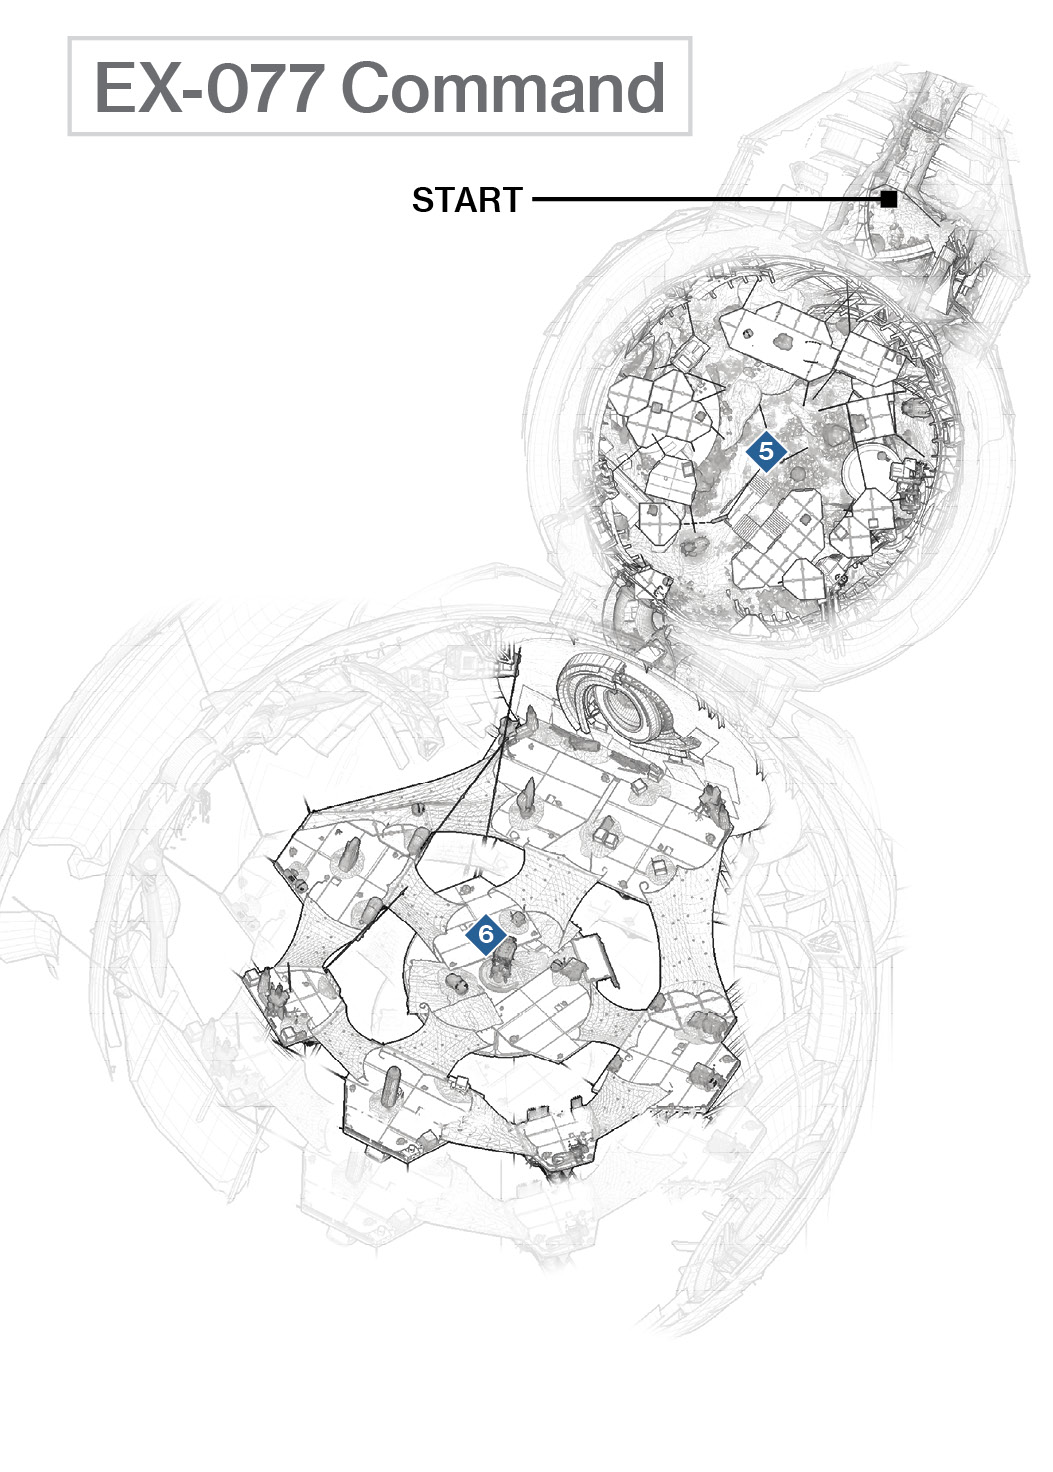
 Dark Platforms
Super: Recommended (one player)
Grenades: Recommended
Variations: Vex Harpies and Goblins appearing
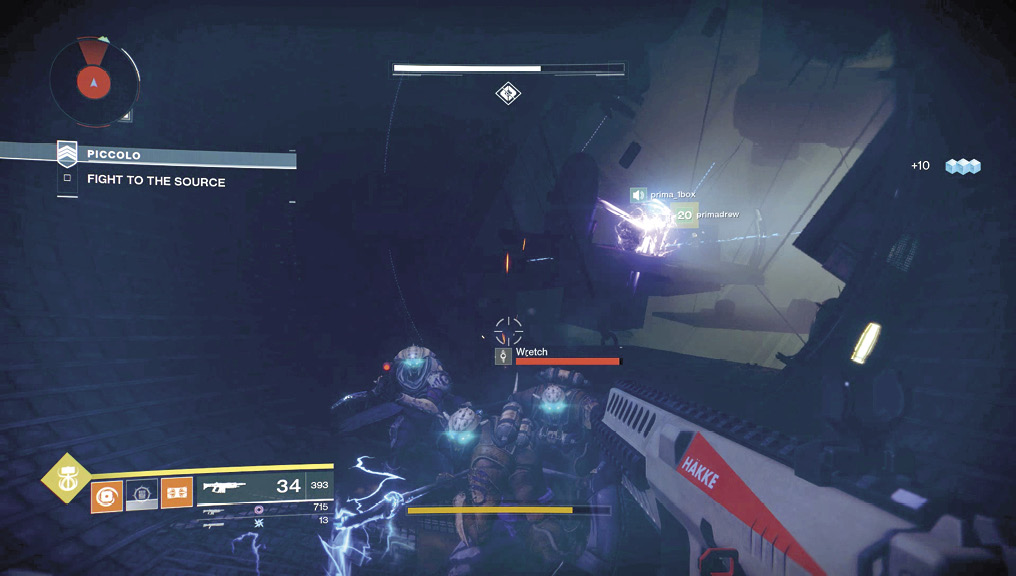
Prepare for the violence and intensity to be ratcheted up a couple of notches as you enter the near-complete darkness of a dome-shaped interior chamber after navigating a narrow and fiery entrance.
Ditch the Pikes if you still have them, and battle Fallen ahead and above you. This chamber has several hanging platforms you must jump across in order to exit. Fortunately, there are only Dregs, Wretches, and Vandals to worry about in here. Climb the gantry steps, then look for the narrow orange lights indicating a platform above you in the dark. Leap these stepping stones, defeating any foes on each subsequent platform, ideally using a close-range assault weapon like a shotgun. A teammate can remain at ground level to snipe from distance to cover you, if you’re having trouble. When you reach the connecting tube passage that exits, wait so all three of you can head into the Boss chamber together.
 Dark Platforms (Boss Battle)
Super: Recommended
Grenades: Recommended
Variations: Toughened enemies and Boss, increased number of enemies.
Boss Weak Spot: Head
Stand atop the chasm chamber, and snipe the Overcharge Shanks down below. Notice how they are electrifying the platforms? This is a key problem to overcome during the ensuing battle with the Fallen leader, as you are damaged and slowed if you wade through this electricity. For the moment, blast all Shanks before dropping down, remembering that there’s a bottomless chasm below you.
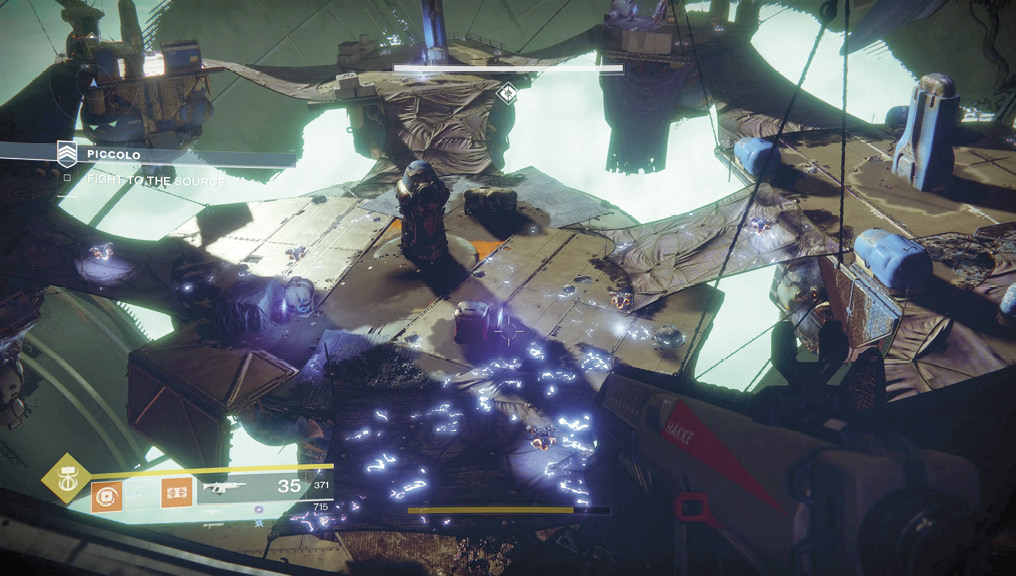
Boss: The source to be fought is a larger Captain-sized Marauder Boss named Thaviks (and his Overcharge Shank minions), and he’s particularly troublesome. He’s fast and can scurry away or charge you in seconds. He has a highly damaging shrapnel launcher, so make sure your dexterity and jumping are on point, especially during closer altercations. He also has a cloaking device. Look for the shimmering blue of his form and attack accordingly; there’s no reason to let him remain untouched because this simply elongates an already fraught combat. Finally, he attacks with melee strikes if you’re close enough and during the latter part of the battle, so expect a quick death if you don’t back up.
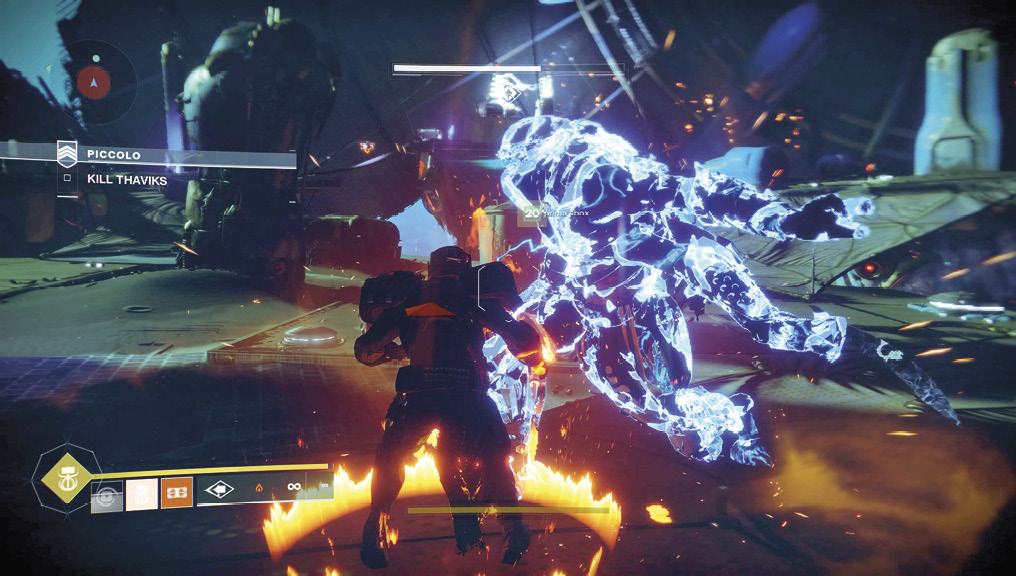
As you might expect, your initial task is to remove the first third of the Boss’ health. Concentrate all your team’s firepower and launch one Super to effectively remove this health as quickly as possible. Unless Shanks and Vandals invade the entire platform area, have at least two of your teammates make this a priority action. The third player should check the various pods and other entrances around the perimeter of this arena for incursions of Overcharge Shanks and electrified floors. The floors can really stop you in your tracks (literally, they slow you down). Using your Movement Mode to go over them, landing on precarious scenery so you aren’t struck by the electrified floor, and staying away from those areas while removing Shanks as quickly as possible are all good ideas.
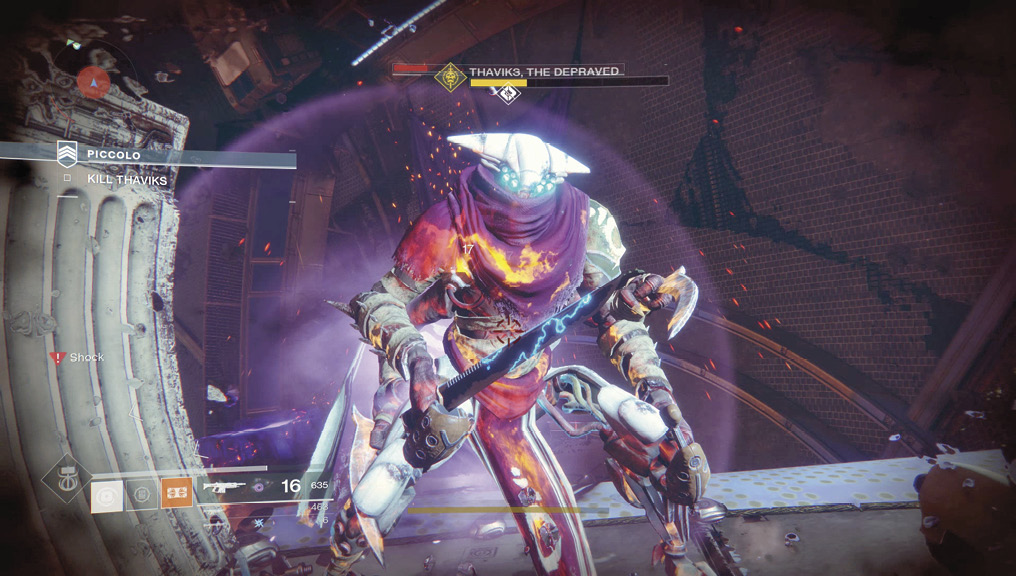
For the first third of his health, Thaviks fights from the far end of the room. He teleports out of the arena every 10 percent of health he loses, and comes in by the shank spawners with refreshed camo (it does not regenerate like normal).
At 30 percent of his health gone, Thaviks retreats and waits for the minor combatants to be killed. Thaviks then switches to the entrance side of the room, spawning enemies, shanks, and teleporting from there.
At 40 percent, Thaviks retreats again and waits for all enemies to be killed. Then, he enables all 4 shank spawners, and will teleport in by any of the 4 - this time, with blades instead of a shrapnel launcher.
The last part of the battle involves Thaviks being even more aggressive in his melee capabilities and Overcharge Shanks electrifying more of the arena. Your plan here remains unchanged from earlier, though it helps to attack from multiple angles. Have teammates with one or two Supers ready to inflict a deadly amount of damage until the Fallen foe finally drops.