
Lost Oasis

Sector Notes:
Adventure: Ascendant
Adventure: Experiment 7X
Adventure: Conversion Process
Lost Sectors: 1
Enemy Clusters: Taken: 11
Enemy Chests: Available
Landing Zone: Available
Material Nodes: Available
Patrol Beacons: 6
Public Event (Full): 2
Public Event (Secret): 5
Region Chests: 3
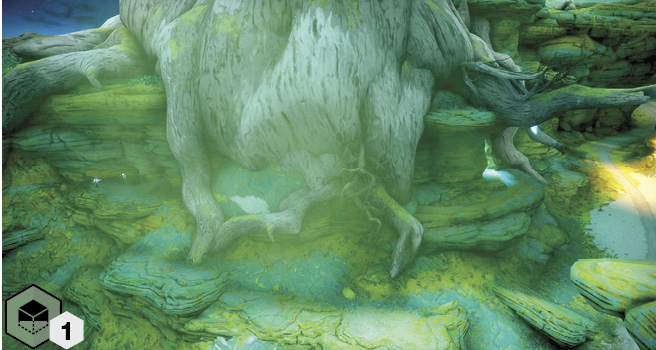
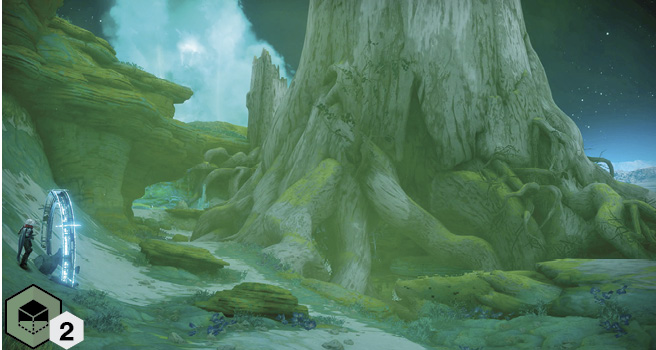
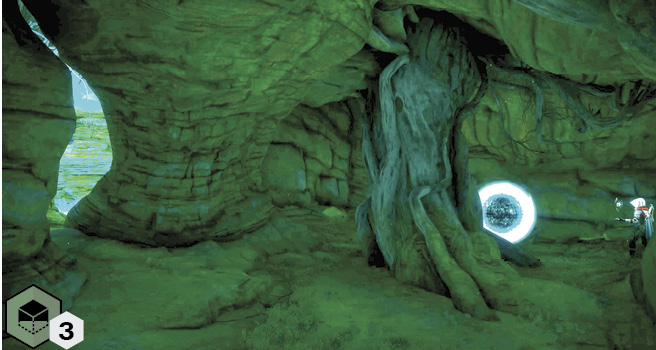
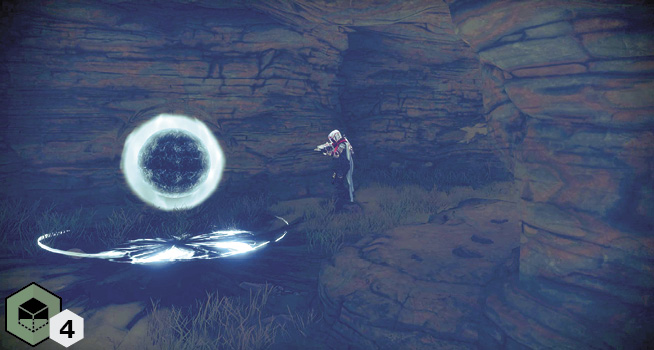
Scannable Objects: 4
World Quest: King’s Shadow
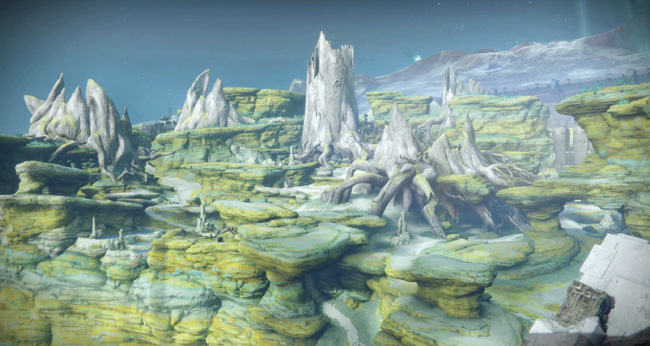
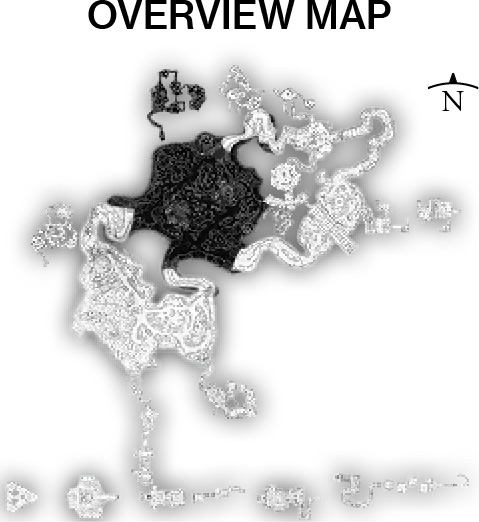
Lost Oasis is easily the largest Sector on this moon. It contains a good deal of tiny cave alcoves to find, Taken foes scattered across the open mesa plateaus, and a half-dozen ancient and gigantic trees, now frozen like stone. The two biggest have an underground tunnel linking them. There are roads around the perimeter and a river bisecting the general area. This is also the hub when you’re maneuvering to all the other Sectors on Io.
Areas of Interest
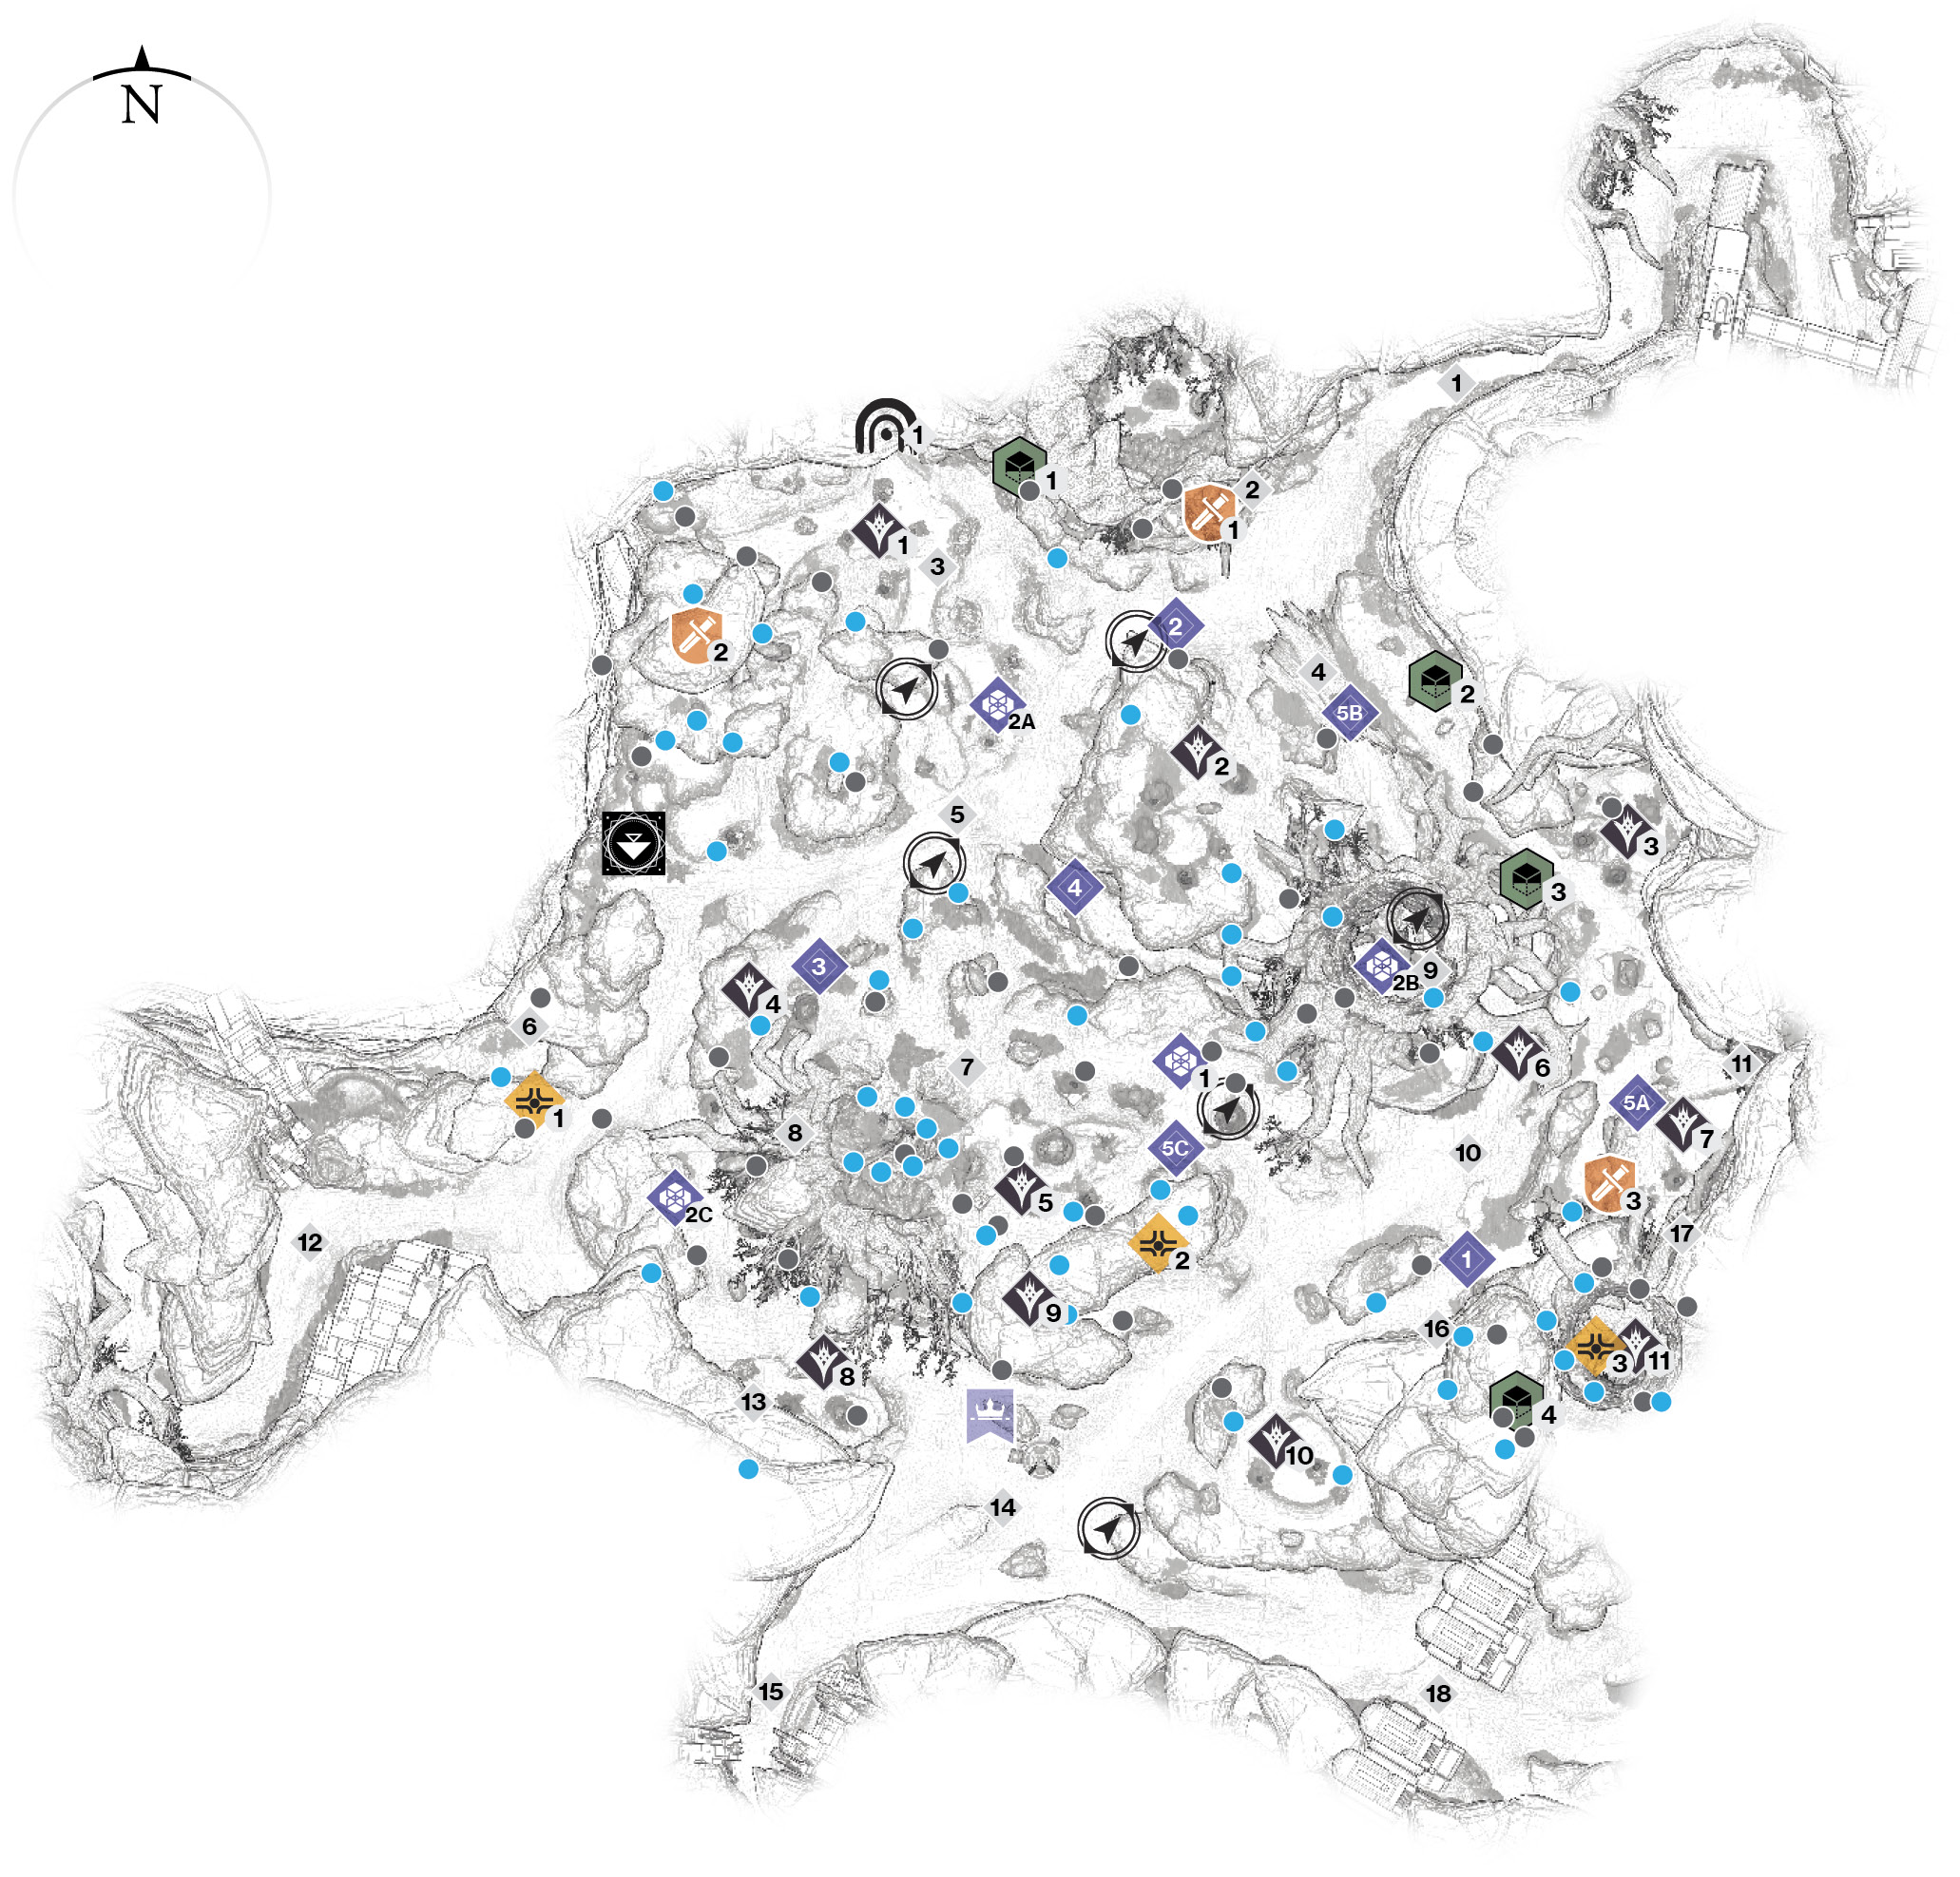
 Road to Terrabase Charon (Northeast)
The main road narrows and the cliffs close in as you attempt to head toward Terrabase Charon Sector. Go here mainly to access missions.
 Giant Tree Hole (North)
There’s a hole in the side of the rock wall allowing access into the ancient remains of a tree. There’s little inside, but outside is an Adventure to access. An upper tunnel connects to a small ledge on the west side of the hole, where you can find a scannable object.
 Waterlogged Gorge
Northeast of the plateau cluster near the Landing Zone is a waterlogged floor, close to the Lost Sector entrance.
 Tree Log Ramp
It’s easier to access heading from southeast to northwest, but this giant hollow log makes a great ramp if you’re riding a Sparrow. It’s also a good landmark to spot. Note the nearby plateau to the west, with a cluster of Taken foes and a scannable object to the east.
 Main Mesa Road
The rough center of this Sector is a winding rough road that takes a diagonal path from one of the Rupture entrances (Area of Interest #12) all the way to the Terrabase Charon entrance (#1). There are plateaus on both side of this road.
 West Cliffs
A small opening in the rock plateau to the east of this point takes you to a little ledge and into a cavern with a Region Chest inside. The entire western edge of this area is a death plummet: stay on solid ground!
 Main Mesa Plateau
Between the two gigantic tree forms (#8 and #9) is a large plateau, where you’ll always find Taken to battle. Also, there are usually other activities (typically Full Events) to attempt. You can use plenty of low rocks as cover.
 Mesa Tunnel (West Entrance)
Amid the massive tangle of roots of an ancient dead tree is an entrance to a winding interior tunnel with Material Nodes, a Region Chest, and Taken to battle. Note the rough path of this tunnel shown on the guide map.
 Mesa Tunnel and Stream (East Entrance)
The other entrance to the Mesa Tunnel is at the large tree stump on the eastern side of the Sector. This also marks the location of a gorge stream and a connecting road running along the eastern side of the map.
 Eastern Road
This connects the Log Ramp and Terrabase Charon entrance and curves around to the south of the Sector. In addition to exploring the more rocky perimeter and hidden caves along the eastern perimeter, you can also access the main mesa plateau from here.
 Entrance to Spine Burrows (East)
Close to a selection of Taken and an Adventure is the entrance to a small but significant secondary Sector, a cave tunnel to the Spine Burrows.
 Entrance to The Rupture (Southwest)
This is one of two large gorge roads that winds its way to the Rupture Sector. It’s usually the quickest way from the Landing Zone to reach Asher Mir (in the Rupture), though the road runs by some cliffs. Don’t be overly enthusiastic with the Sparrow acceleration.
 South Cave Alcove
Close to the World Quest start and other exit to the Rupture is a cluster of Taken foes guarding a small cave. You may find it devoid of items, or there may be a chest inside, ready to loot.
 Vehicle Pad and Crossroads (South)
A small collection of boulders and a circular vehicle pad mark the crossroads of the main roads running along the southern and eastern edges of this Sector.
 Entrance to The Rupture (South)
Just south of the Crossroads is your second exit to the Rupture. Depending on where you’re headed to in the Rupture, pick this or Area of Interest #12.

 Dead Tree Climb Entrance 1 and 2
Don’t overlook a couple of strange holes in the eastern perimeter rock wall. Both lead to a vertical and hollowed out ancient tree trunk, with a small cavern at the top. You can jump up or down the trunk, watching for foes as you go. You’re rewarded with a Region Chest and scannable object.
 Entrance to Giant’s Scar (Southeast)
Should you want to view the massive drilling operation occurring at Giant’s Scar Sector, this southeast exit is the one to take.
Adventures
 Ascendant
Positioned on the rock outcrop near the tree hole along the northern perimeter.
 Experiment 7X
Atop a boulder plateau in the northwestern corner of the map.
 Conversion Process
Adjacent to the glistening pool and entrance to the Spine Burrows, where Taken foes reside.
Lost Sectors
 Grove of Ulan-Tan
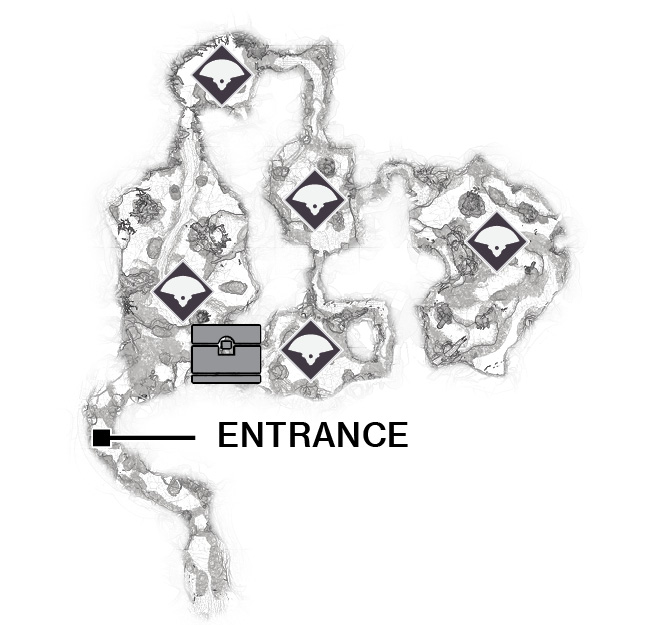
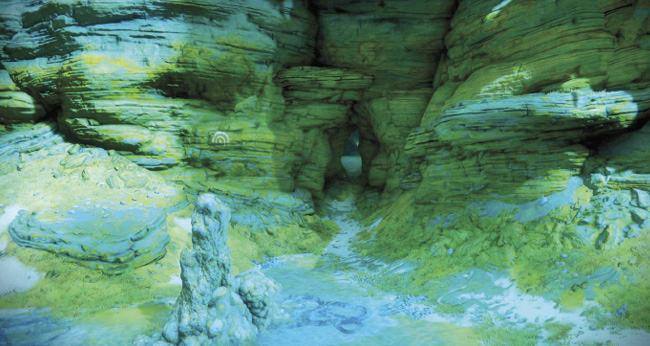
Accessed via a cave entrance in the northwest corner of Lost Oasis, this leads to a series of narrow caverns. Follow the glistening stream, battling Vex Harpies and Goblins, with a main battle against a Sub-Boss Minotaur.
Lost Oasis
| Guide Name | Sub-Boss | Reward | |
|---|---|---|---|
|
1 |
Grove of Ulan-Tan |
Vex Minotaur |
Boss Chest |
Enemy Clusters
 Taken
Taken
Expect a possible Taken incursion of four or five foes in the glistening pool at the entrance to the northwest (and only) Lost Sector.
 Taken
Taken
A few Taken infantry guard the rocky mesa just northwest of the main dead tree.
 Taken
Taken
Along the eastern perimeter of this Sector, an upper reflecting pool near the root tendrils of the massive dead tree has a Knight and two underlings to tackle.
 Taken
Taken
A Taken Centurion and two Psions are the usual problems you encounter on this plateau above one of the main thoroughfares.
 Taken
Taken
On top of the main mesa between the two gigantic dead trees are around five Taken, with Phalanxes being the main threat.
 Taken
Taken
A couple of Taken (usually a Knight and a Psion) are guarding a rock close to the largest tree roots and underground exit on the east side. Behind them in the low rock wall is a cave entrance leading to a scannable object.
 Taken
Taken
A Taken Knight and some other infantry are guarding the glistening pool to the southeast, where the entrance to Spine Burrows is located.
 Taken
Taken
A small cluster of Taken infantry (usually a Knight and two Thralls) is near a tiny alcove cave against the southern perimeter.
 Taken
Taken
Expect Taken Knights and sometimes other Taken entities inside the central cave system you enter at either of the tree root entrances (Areas of Interest #8 and #9).
 Taken
Taken
A Taken Wizard and two underlings (usually Taken Psions) are guarding the strange glistening pool on the ledge above the exit to Giant’s Scar.
 Taken
Taken
A tortured Taken Knight is sometimes guarding the interior of this tree stump cave. Climb the interior of the “trunk” to an upper cave with Thralls to face.
Landing Zones
 Lost Oasis
Land on the edge of the mesa at a small camp with strange fossilized bones on the rock formations nearby. This offers quick access to all major Sectors.
Patrols
 Lost Oasis (6)
There are six Patrols that are accessible here (one is shown as an example); leave and return to unlock more beacons as you progress.
Public Events
 Public Events (Full)
Cabal Excavation: This takes place on the flat central plateau. You attempt to override a Cabal mining laser while dodging incoming laser fire and Cabal infantry waves that drop in from above, as well as any nearby Taken.
Taken Blight: Large black sacs of rift material that oozes out new Taken are active in this area! Your job is to destroy the Blight’s integrity until it explodes and then regenerates at a second position. Repeat the demolishing of the Blight, then move to a third regeneration (2A, 2B, and 2C locations on the guide map). Make sure that multiple Guardians are engaged in removing both Taken and Blight integrity, or this is impossible to finish.
| Event Number | Event Type | Target | Other Enemies | Reward |
|---|---|---|---|---|
|
1 |
Cabal Excavation |
Mining Lander |
Cabal infantry |
Boss Chest |
|
2 |
Taken Blight |
Blight Integrity |
Taken infantry |
Boss Chest |
 Public Events (Secret)
HVT #1: A Vex Storm Hydra appears somewhere on the indicated guide map route. Neutralize it at once!
HVT #2: A Vex Storm Minotaur appears somewhere on the indicated guide map route. Defeat it immediately!
Skirmish: A clash between the Vex and Taken takes place on the slope of the main plateau. There are various troops from both sides, so remaining active and in cover is imperative.
Skirmish: A clash between the Vex and Taken occurs along the gorge stream close to the eastern tree trunk. The enclosed area and plethora of troops (including a Hydra and toughened Taken in the last waves) mean this is dangerous.
Launchers: Defeat the Vex Hobgoblins at each of the indicated cannon positions. Remove threats at 5A, then leap through the cannon to reach 5B, and continue to 5C. Then, mow down the Vex Minotaurs as you work your way around 5A, 5B, and 5C once more (using the cannons each time). To claim the three chests, defeat all foes around the cannons before they disappear.
| Event Number | Event Type | Target | Other Enemies | Reward |
|---|---|---|---|---|
|
1 |
High-Value Target |
Storm Hydra (Vex) |
None |
Boss Chest |
|
2 |
High-Value Target |
Storm Minotaur (Vex) |
None |
Boss Chest |
|
3 |
Skirmish |
Vex versus Taken |
Warning! Copious enemies! |
Random Loot |
|
4 |
Skirmish |
Vex versus Taken |
Warning! Copious enemies! |
Random Loot |
|
5 |
Launchers |
Three cannons |
Hobgoblins and Minotaurs |
Boss Chest (x3) |
Region Chests
 Region Chest 1
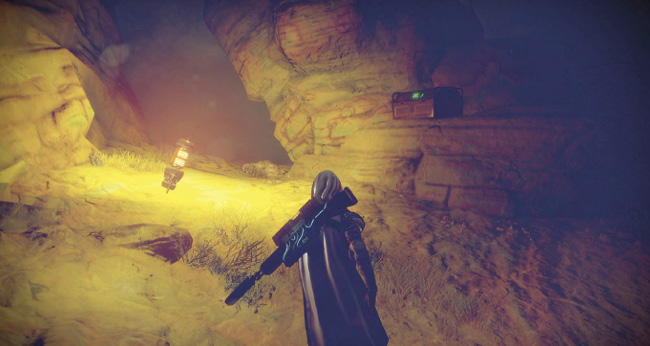
Inside a small cliff ledge chest to the west, close to the exit to the Rupture.
 Region Chest 2
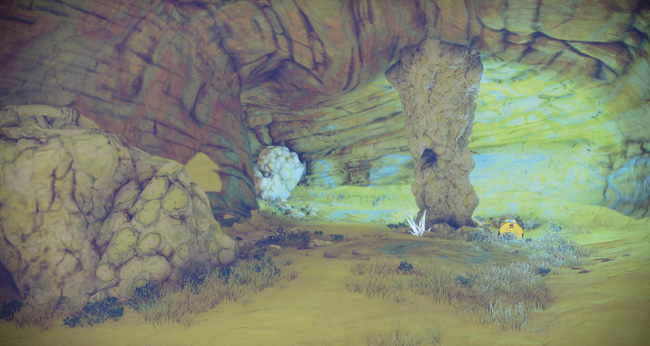
Halfway along the main interior tunnel connecting both giant tree stumps, below the main mesa plateau.
 Region Chest 3
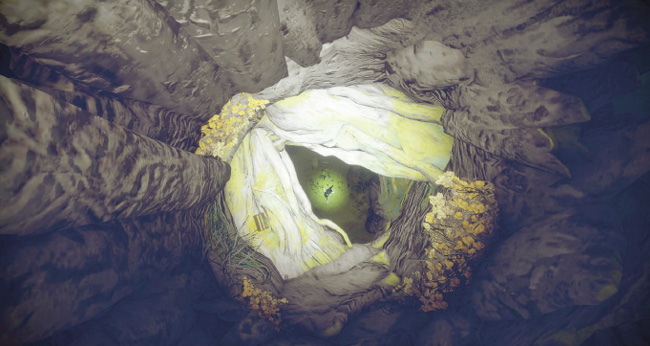
Halfway up the inside of the hollow tree cave, southeast perimeter.
Scannable Objects
World Quest
 King’s Shadow
Taken activity has increased on Ganymede, with an unusual focus on the Vex. You must find out what they’re planning to do and put a stop to it. Begin this lengthy mission at the flag atop a large boulder at the south crossroads.