
Destiny 2 Guide Campaign Homecoming
The Chosen
Red Legion Command Ship
Enemies Encountered
- Cabal: Legionaries, Incendiors, Sub-Boss: Pashk the Searing Will, Psions
- Cabal: Sub-Bosses: Brann the Unbent Blade, Sub-Boss: Kreth the Living Skyfire
Objectives
- Disable the shields.
- Reach the shield generator.
- Overload the generator.
- Escape the command ship.
New Actions
- Ghost: Interactions
- Enemy Damage
- Slowing Your Descent
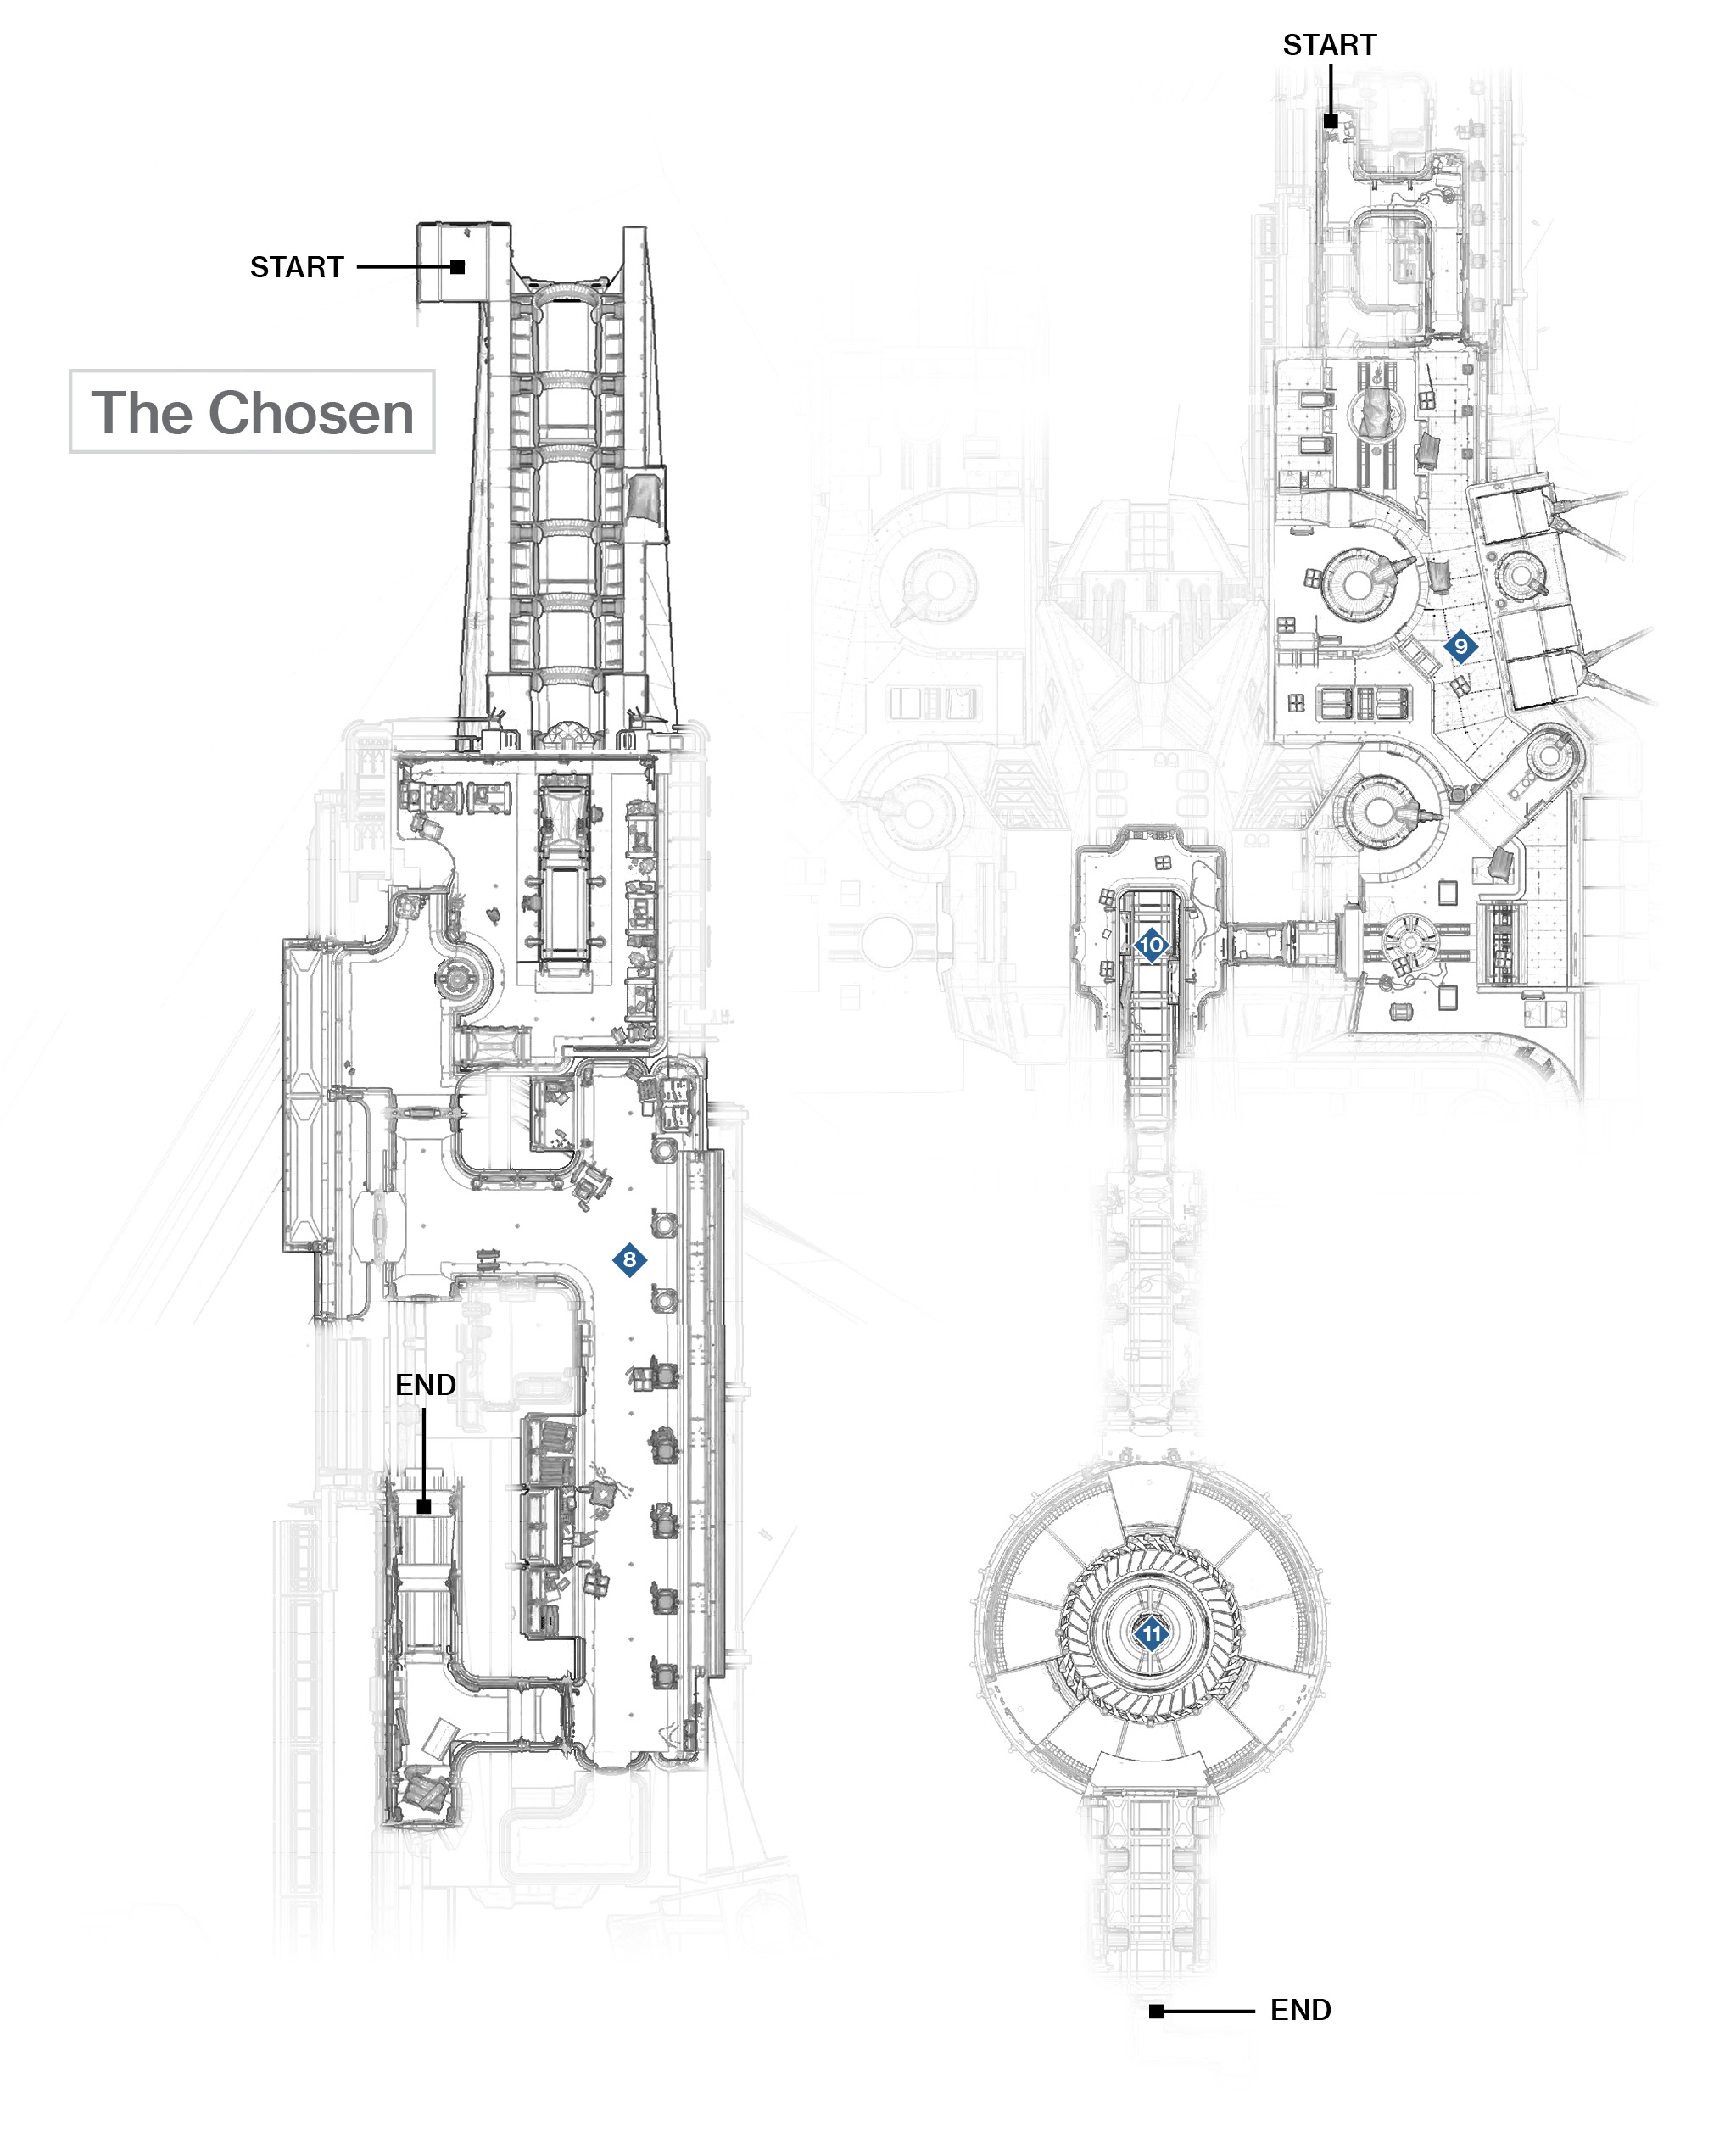
 Drop Pod Bay and Upper Deck
Super: Not recommended
Grenades: Optional
Leap up and over the chute that’s dispensing Cabal drop pods, and enter the inside of the command ship. Immediately look slightly up and right so you can aim and drop the three Legionaries on the loading bay above you. Use your Ghost to access the schematics at the hologram terminal, which updates your objective and allows access as the opening to the exterior unseals.
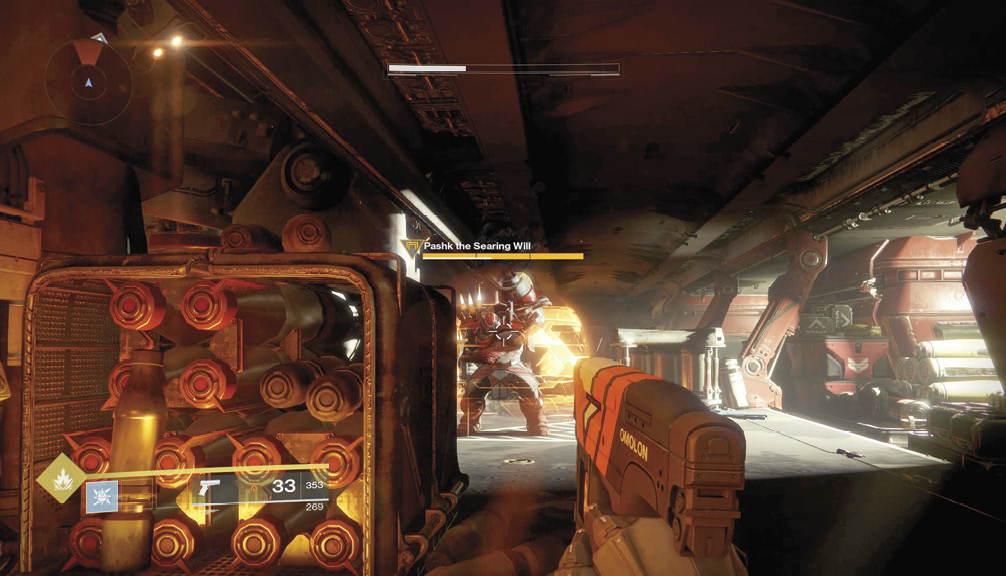
Enter the deck interior, where two Legionaries and an Incendior are guarding. As shown in the previous picture, instead of just raking the area with gunfire (which is still a viable option), you can wait for the closest Legionary to walk toward his two brethren. Then, shoot the fuel tank of the Incendior, causing it to explode and dispatching (or badly damaging) all three enemies at once. It’s this kind of lateral thinking that can save you ammunition and keep you safe when faced with overwhelming odds.
Sub-Boss: Step around the corner, immediately switching to your Energy weapon, and target the much more imposing Incendior with the Solar Shield. This is Pashk the Searing Will, and he has the same attacks as an Incendior, though he’s tougher and uses a Void Shield. Make him a priority target. With the shield removed, shoot his head or fuel tanks. Once Pashk is down, finish the Legionaries.
 Main Exterior Deck
Super: Recommended
Grenades: Recommended
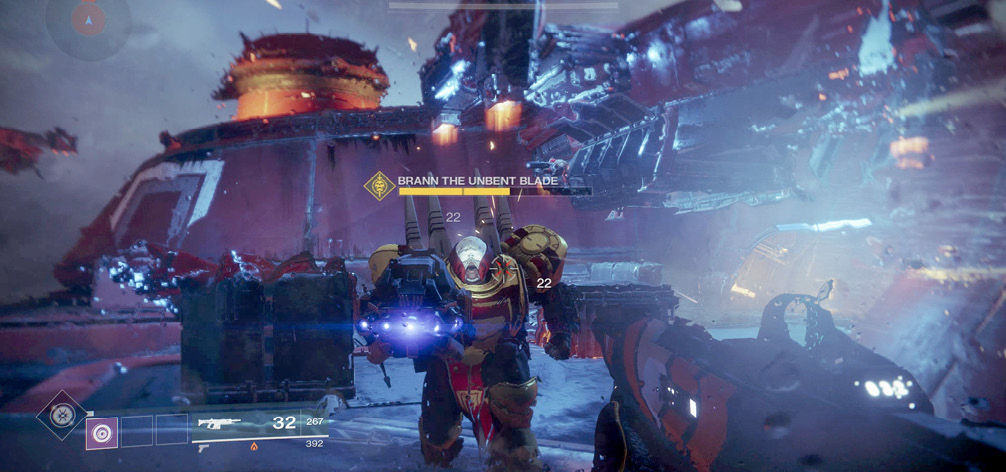
Step out into the main exterior deck, and prepare for an elongated firefight with Cabal forces. This begins with dodging the shots of three Psions, the first time you’ve encountered this type of foe. Focus on ridding the area of them first so
you’re not shot at range with their highly damaging weapons as you continue farther along the super-structure. Use your radar to keep track of these initial foes to ensure that they’re defeated. Melee strikes and headshots are key, as well as advancing along the crates to use as cover.
The main deck concourse continues ahead, but to the right is a large domed casement for one of the many giant gun emplacements on the ship. This is a good place to head: there’s cover, the third Psion is usually here and easily melee-attacked, and you can use the height advantage to deal with the three Legionaries. The narrow circular interior of the domed casement also affords you cover. You could also advance in the open, but you’re much more exposed.
Sub-Boss: Instead, remain in and around the casement dome, dropping an Incendior and more Legionaries. Then, tag a Psion on the second casement ahead of you. By now, you should have noticed a Sub-Boss Centurion: Brann the Unbent Blade. He should be a priority target. He usually starts atop a small metal tunnel structure, which you can sprint into for cover. Alternately, you can fight him in the open or from the second casement dome, depending on your Guardian’s Super. This is a good time to launch it. Then finish him as you would a normal Centurion. Then, mop up around nine more Legionaries (feel free to lob in a grenade as a few of them head up from the corridor tunnel). Head back into the ship’s interior via the wide corridor tunnel ahead and right.
 Cargo Bay Descent
Super: Not recommended
Grenades: Not recommended
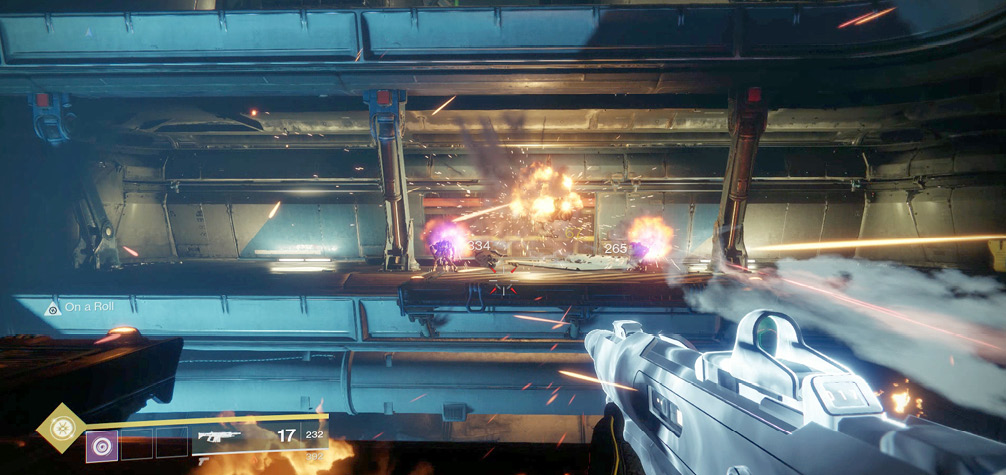
Ahead of you down the corridor are two Psions and an Incendior on the opposite side of a cargo ledge chamber. You have plenty of room (and cover on the edges of the corridor) to avoid the Psion’s ranged attacks. This allows you to either tag them at range or (better yet) shoot at the Incendior standing between them so he explodes, catches, and defeats both Psions in the explosion. You can perform this “Cabal bomb” maneuver throughout the following cargo bay descent.
There’s an Incendior on a ledge ahead and above you. Tag him after removing threats ahead of you, but don’t step too far because foes below will begin to battle you. Now, move around to where the two Psions were standing (in case one survived the explosion and is hiding behind one of the large crates dotted around), and gather any ammo you need, if any have dropped from your previous kills. Look out and down at the ledge below the entrance you arrived from, and execute another Incendior and Psion. There are three final enemies (two Psions and an Incendior) directly below the first trio. You can jump down and attack, tag them from an upper ledge, or lob a grenade down and finish them. Long-range Auto-Rifle fire is a good idea as you can tactically remove enemies through the ‘Cabal Bomb’ technique, though you can try dropping in and melee attacking too. Finally, drop to the cargo bay floor itself, slowing your descent so you aren’t severely damaged by the fall.
 Shield Generator and Exit
Super: Recommended
Grenades: Recommended
Sub-Boss: At the bottom of the cargo bay, retreat back as you reach the door so you can quickly dispatch an Incendior waiting to attack you at melee range (or use melee attacks yourself). Then, head down the huge cargo corridor a few feet before sidestepping to either side and tagging the six Psions that are present all the way down the corridor. They are joined by a couple of Legionaries and an Incendior. As you advance and engage these troops, the door to the shield generator room slides open, and a named Legionary saunters out. Kreth the Living Skyfire is an Elite-tiered Legionary with an Arc Shield, but not for long! Prioritize this target; you have the room, the cover, and a grenade to make short work of him. Once his shield is removed, treat him to multiple headshots.
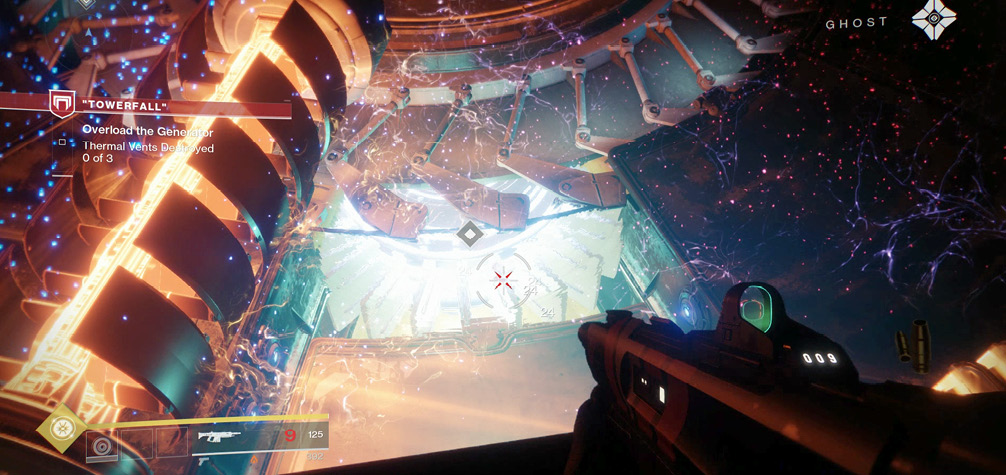
Step through the door Kreth the Living Skyfire was guarding, and remain on the upper lip so you can study the massive shield generator chamber itself. Your plan is to overload three thermal vents, ideally without being struck by one of the three massive rotating arms. Scan the area with your Ghost if you’re unsure what to shoot at; you’re aiming for the glowing white vent turbines, one of which is directly ahead and below you. Shoot it or drop a grenade in.
Then, time a slowed fall onto the edge of the generator chamber, sprint either clockwise or counterclockwise, and drop down so you’re under the rotating arms at the next thermal vent. Blast it until the vent explodes. Jump up and out of the vent area (just as an arm passes overhead), sprint to the next thermal vent, and drop down before the next arm catches and kills you. Destroy the third thermal vent, crippling the carrier.
With the generator overloaded, you must now escape the ship, which is achieved by leaping out of this chamber and back into a cargo bay corridor. This tests your jumping ability, and Warlocks may need to practice their jumping or land on one of the now-motionless arms first. Wind your way to the edge of the command ship, where you face the violent grievances of the Cabal leader himself.