
Destiny 2 Guide Adventures Titan Adventures
Deathless
Starting Location
Recommended Power
- 70
Prerequisite
Reward
- Rare gear (weapon)
Description
- Clear out the Knight that’s keeping Sloane’s crews from their work.
To complete this Adventure, you must find a way to eliminate a perplexingly resilient Knight. Follow the objective marker into Solarium and locate Karlog, the Unliving. Notice that your target is protected by an impervious Damage Shield. Don’t bother attacking Karlog until you’ve managed to neutralize this protective barrier.
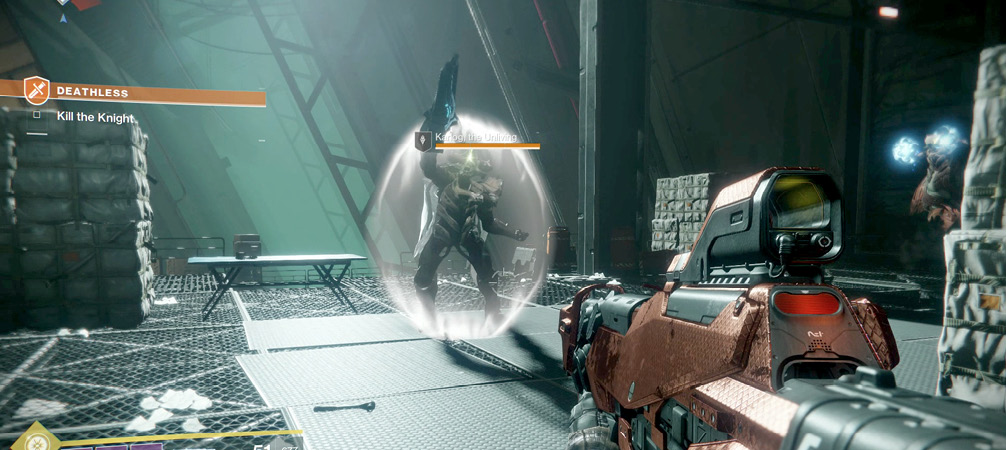
Avoid Karlog’s attacks, and locate the nearby Attendant Wizard. This enemy is the source of Karlog’s Damage Shield. Eliminate the Wizard, and then shift your attention back to the Knight. Karlog is more durable than a typical Knight, but the battle is fairly straightforward. Avoid incoming fire, aim for the head, and keep shooting until you’ve vanquished your target.
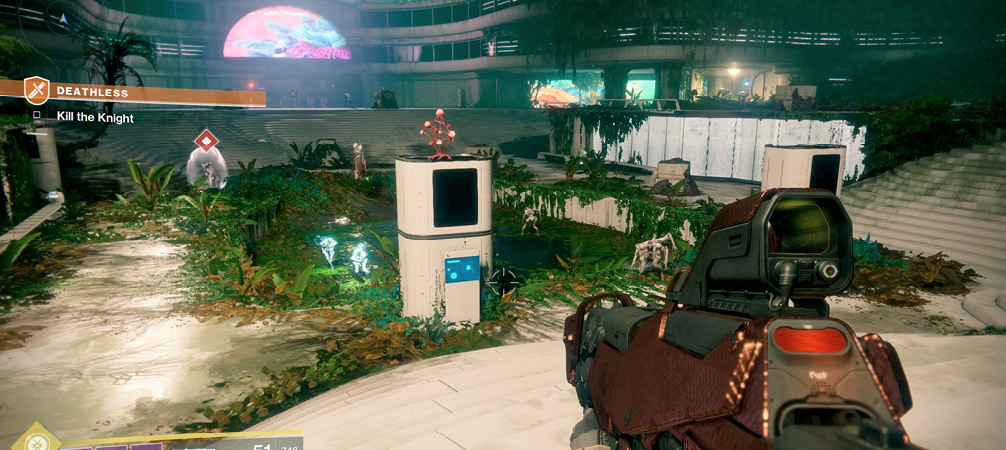
After you defeat the Knight, follow its essence into the nearby plaza. By the time you arrive, Karlog has already been resurrected and granted a fresh Damage Shield. You’ll need to kill Karlog three more times before the Adventure ends, so get busy clearing the plaza for Round 2.
In addition to Karlog and an Attendant Wizard, you’ll find a mix of Thralls, Cursed Thralls, and Acolytes scattered throughout the area. Prioritize and eliminate the weaker units, then set your sights on the Attendant Wizard. Once Karlog is vulnerable to damage, defeat the Knight, and follow its essence into Festering Halls.
The waypoint leads you to a large Hive-infested courtyard. Before you drop down from the ledge, take a moment to thin out the enemy’s ranks. Eliminating these weaker targets now should make the coming battle a bit more manageable.
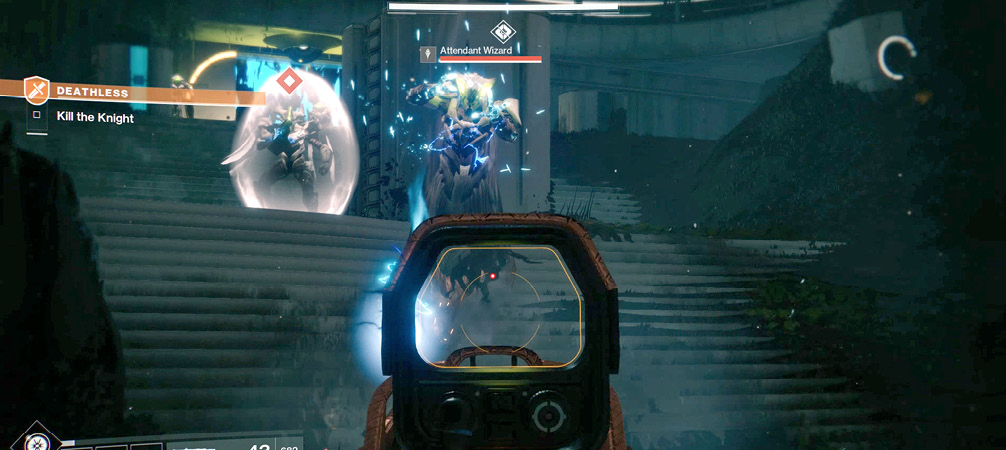
When you’re ready, drop down and move toward the waypoint. Karlog is waiting just around the corner, so watch for incoming fire. For this encounter, Karlog has enlisted the services of two Attendant Wizards. Eliminate both Wizards to neutralize Karlog’s Damage Shield, then go about defeating the Knight for the third time.
After your battle in the courtyard, Karlog’s essence leads you deep into Festering Halls. Follow the objective marker to find a room containing some suspiciously dormant Shriekers. As one might guess, these turrets won’t be inactive for much longer. Take a moment to make any desired changes to your loadout before you continue.
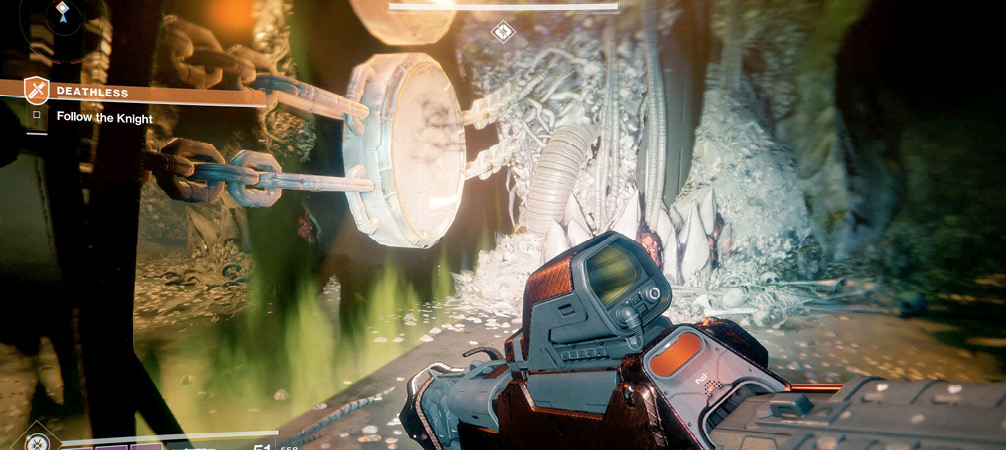
When you’re ready, move past the Shriekers, and interact with the sealed corridor in the corner of the room. Doing so triggers a fairly intense firefight, so head for cover as soon as possible.
Soon after you investigate the sealed passage, one of the Shrieker turrets becomes active. Identify and neutralize this threat, but take care to minimize the damage you suffer. Once you’ve destroyed this turret, additional enemies come flooding into the room.
There’s very little light in the room, so make good use of your motion tracker. Locate and eliminate incoming threats, then take cover as the next Shrieker turret comes online.
As the Hive onslaught intensifies, you’ll face greater numbers of more dangerous enemies. Be mindful of Shrieker fire, prioritize your targets, and use your preferred tactics to clear the room. Destroy all three Shrieker turrets to open the sealed passage. Secure the area, then follow the objective marker to the Adventure’s final encounter.
Your final battle with Karlog is fairly similar to your second encounter: your target is protected by only one Wizard, and the area contains a mix of common Hive units. However, this location is littered with explosive canisters. Whether you opt to use them or ignore them, take care to avoid unwanted splash damage.
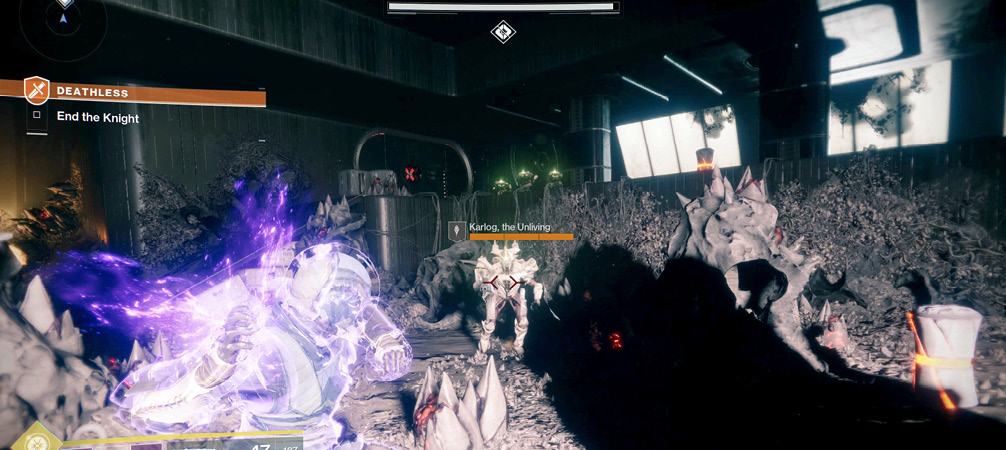
Eliminate the Wizard, then put an end to Karlog, the Unliving.