
Destiny 2 Guide Campaign Riptide
Tidal Anchor
Restricted Zone
Enemies Encountered
- Hive: Acolytes, Knights, Acolytes, Cursed Thralls, Wizards
- Fallen: Dregs, Vandals, Exploder Shanks, Captains, Wretches, Tracer Shanks
Objectives
- Restore shipyard power (continued).
- Fix the wave energy converters.
- Flip the circuit breaker.
New Actions to Learn
- Disarming Motion Traps
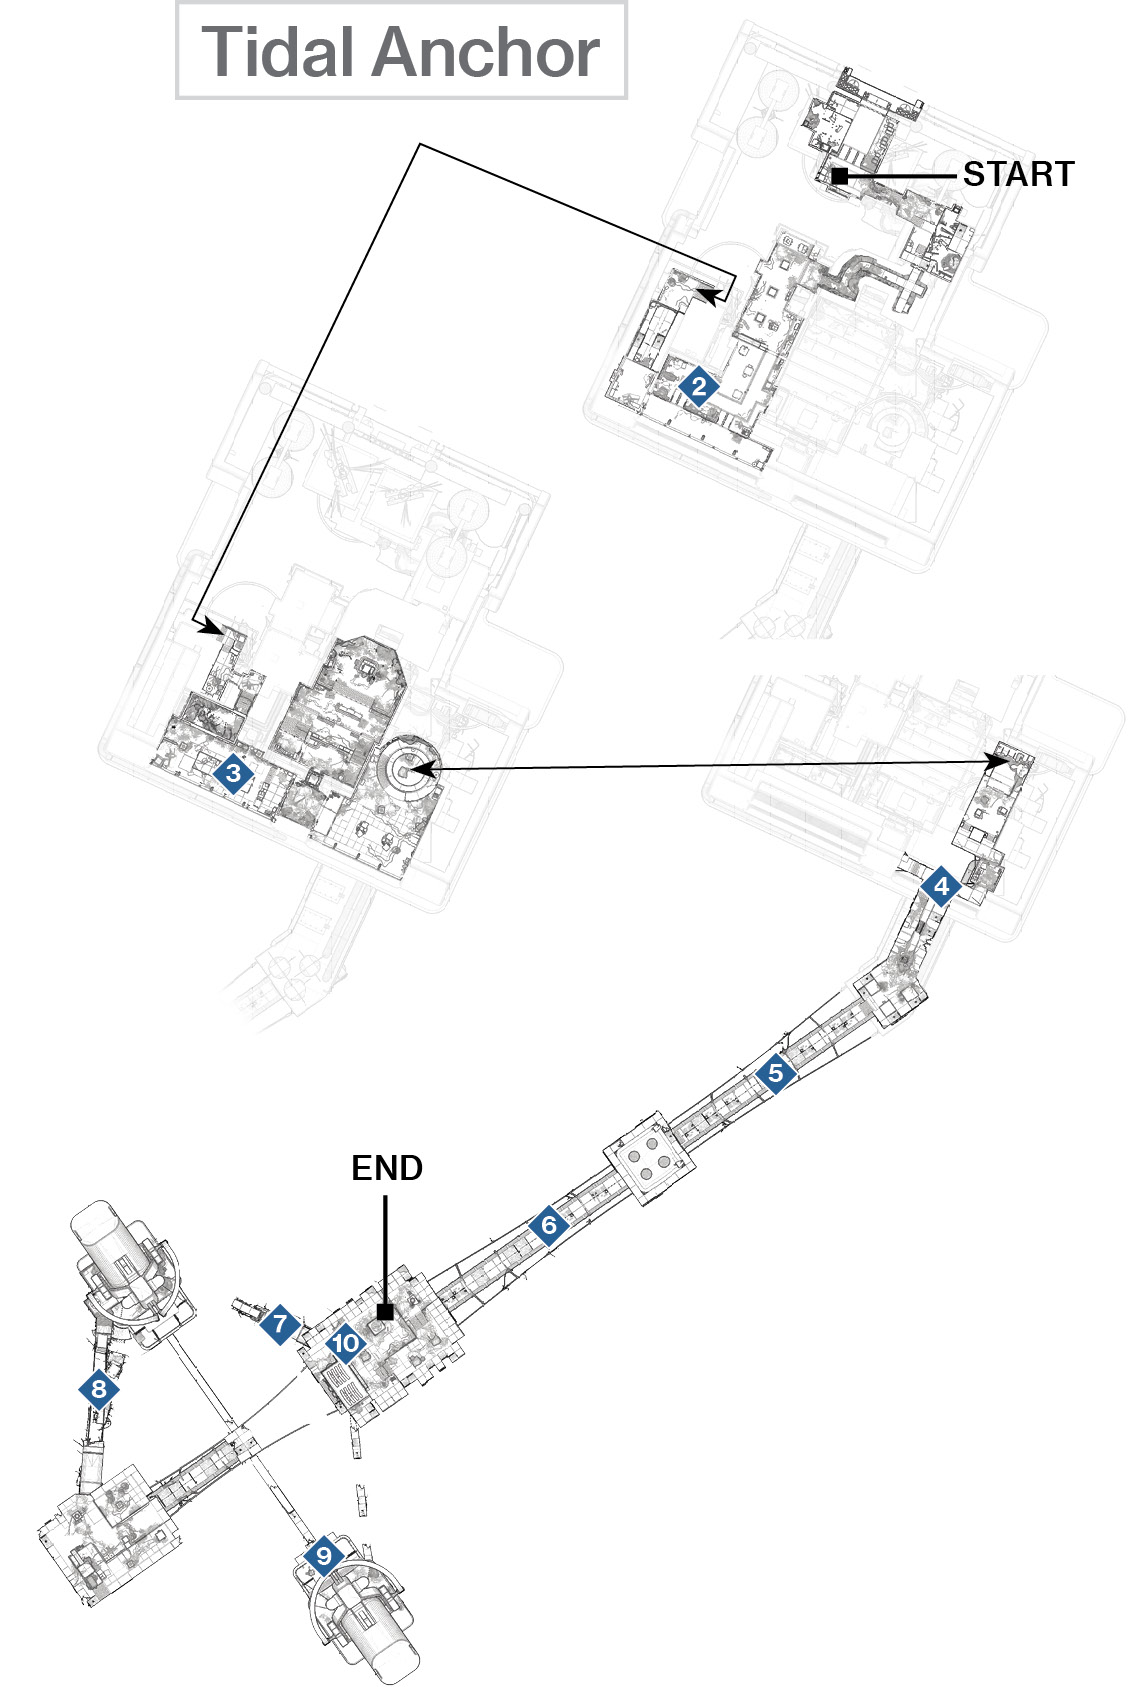
 Sunburst Rig: Wave Converter Control Room
Super: Optional
Grenades: Optional
Warning!: Restricted Zone
Enter the Restricted Zone, and help a group of Fallen Vandals and Dregs mow down a cluster of Hive Acolytes before turning your weapons on the Fallen. You can just catch a Fallen ship taking off from the exterior seas through the window of the control room you’re assaulting. Sidestep left, and concentrate your fire (and melee) on any nearby Dregs. Then, quickly react to and shoot at the Exploder Shanks; these floating bombs need to detonate and wound the Fallen in the vicinity, rather than you. Make them priority targets.
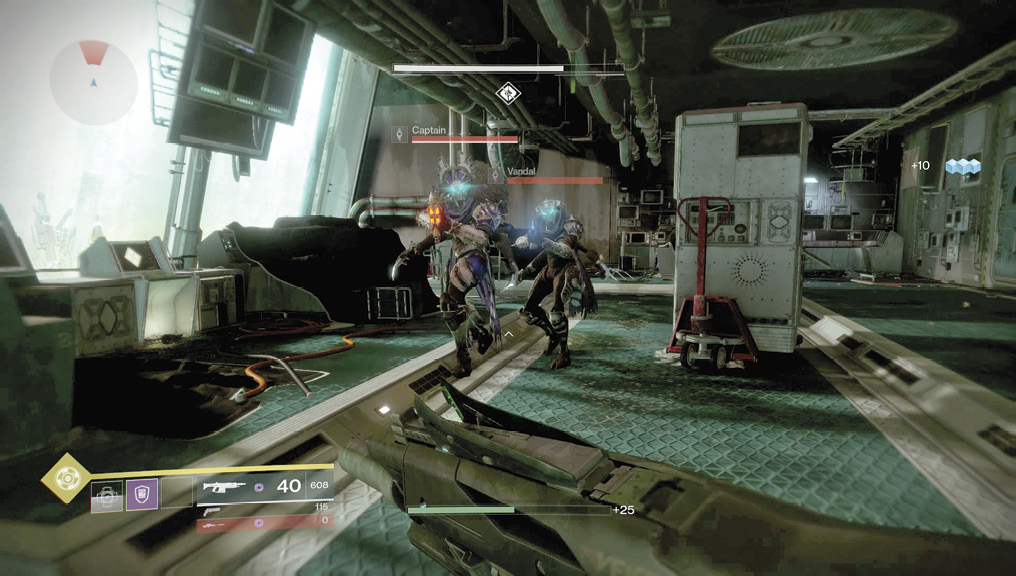
Stay back from the circular doorway and “Bay 03” pillar until you’ve neutralized the immediate threats before heading forward and tackling a Fallen Captain flanked by two Vandals. With the closest threats gone, access the “golden age console” so the wave energy converters can start to restore power to the main base. Alas, two of the converters didn’t start. Your objective now is to manually bring them online.
 Sunburst Rig: Machine Corridor (Lower)
Super: Optional
Grenades: Optional
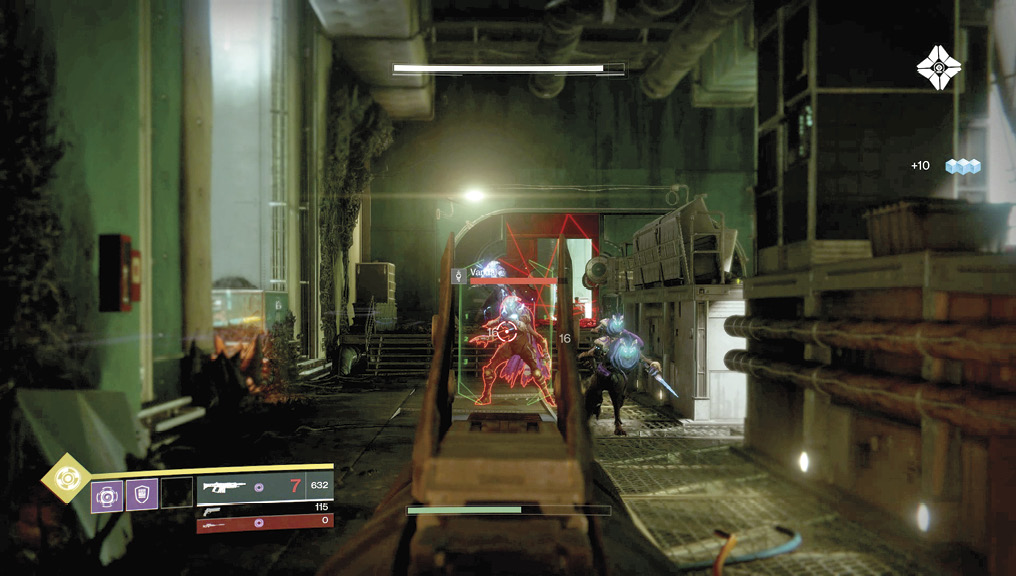
Enter the door that opens, and carefully navigate the dark stairwell. There are two areas of concern, the first of which involves three motion traps that trigger when you move close to them. These can damage and slow your movements. Shoot them before they activate (they have a red diode and look like round mines) or just after they activate, before the small floating “ball” bomb expands. Alternately, rush through so they activate behind you. This latter plan isn’t the best because the ground below the gantry is too toxic to stand on and will kill you.
Instead, make slow progress down to the stairwell door. When it slides open, surprise a Dreg and a Wretch attempting a manual door opening by quickly removing them as threats. Then, head down the stairs (the door they were prying open is inaccessible).
It seems the Hive have made themselves at home at the bottom of the stairwell, though you can still see out into the methane ocean as you enter the lower windowed corridor. Before stepping into the corridor, remove Dreg threats and shoot the two Exploder Shanks before they invade your personal space. Step out and look left: two Vandals and some milling Dregs are in this open corridor area. You can tackle them head-on, sneak between the windows and machine platforms in the middle of the corridor and outflank them, or land atop the platforms and use them for their height and cover advantage.
Step up to the connecting corridor room filled with laser traps. Then, step back and shoot at any of the small cylinders on the ceiling or ground. The entire mesh of lasers is activated, and the room detonates. Pass through, then drop down the large circular hole, boosting just before you land so you don’t crash.
 Sunburst Rig: Red Deck (Lower Exterior)
Super: Optional
Grenades: Optional
Warning!: Restricted Zone
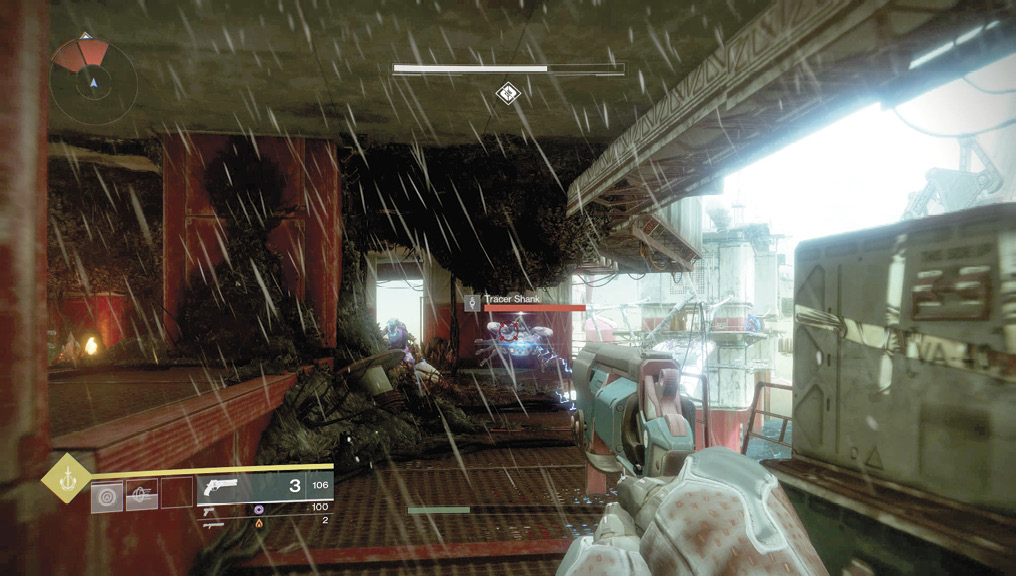
Immediately destroy the two Shanks floating between you and the farther section of red gantry platforms. In the distance are two new Tracer Shanks, as well, and the strength of their Wire Rifle is almost as damaging as a sniper bullet. It’s important to dodge this fire and make them priority targets, and you can try sniping all airborne foes from the initial platform. The half-dozen Dregs and a Vandal are more of a nuisance.
Step through the open hatch to your left, ignoring the revolting worm but concentrating on the motion trap. Destroy it before it activates, or you’ll be slowed and become much more of a Tracer Shank target. As the gantry splits into two parallel platforms, take the right-side one so you can work your way forward and then left to mop up the last Tracer Shank. Slow and steady takedowns are worth attempting here.
 Bridge and Tower 01
Super: Optional
Grenades: Recommended
Warning!: Restricted Zone
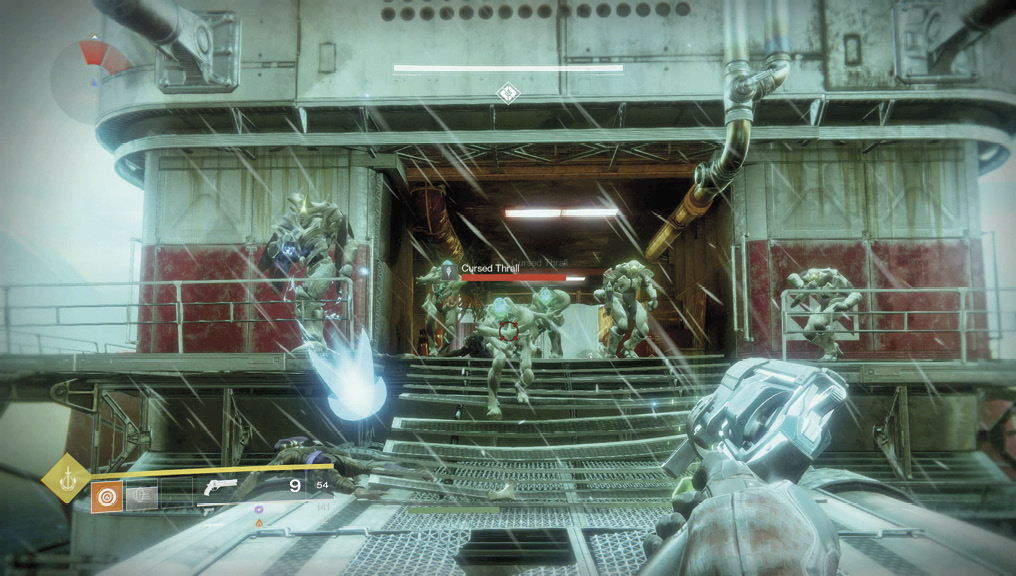
Head to a precarious narrow bridge leading to a large tower (marked “01”) connected to a couple of the massive energy converter arms. This span has four Shanks, a couple of Vandals and some Dregs on the bridge, and a Captain at the far tower platform. Concentrate on taking down the four Shanks first. You don’t want to be spinning around, looking up, and dodging Shank fire when you’re on the bridge, as you can easily fall. Instead, tag them from range, then start your bridge assault.
Lob a grenade if you want, then drop the Fallen infantry (Dregs, then Vandals) from closest to farthest threats. The wall-like bridge support clamps on either side make reasonable cover, though grenades can easily land near you. Remaining stationary is not advised. As you head up the far side of the bridge, a force of Hive foes led by a Knight attacks the Captain (if you haven’t slain him yet). Of greater concern is a cluster of Cursed Thralls; they are charging straight at you, and although they shamble at a slower rate than normal Thralls, they will explode on contact!
This is the prime opportunity to lob in a grenade from a launcher or your ability. The Cursed Thralls are just like their lesser brethren but more explosive. This is highly dangerous for you at close quarters (retreat!), but it’s just as problematic for the enemy at range. Make use of this foe’s explosive qualities and ensure that the grenade or accurate headshots strike a Cursed Thrall so a group explodes, ideally wounding the Knight and Acolytes in the process. One shot at a Cursed Thrall usually causes a chain reaction that destroys all of them. Then, rush the tower, running around the perimeter into and out of cover, and remove the Acolytes and Knight.
 Bridge and Tower 02
Super: Optional
Grenades: Recommended
Warning!: Restricted Zone
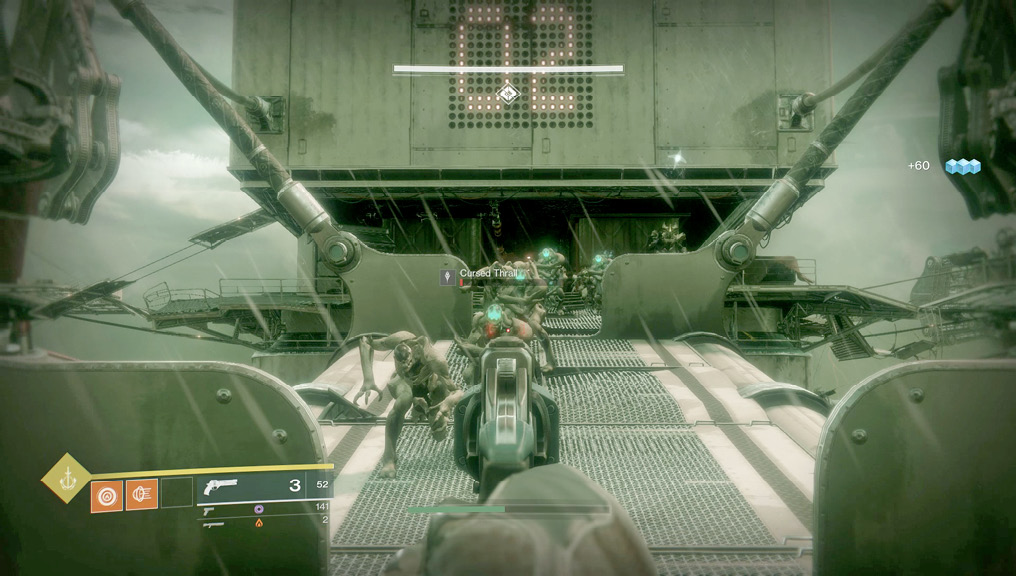
A second bridge links Tower 01 to Tower 02. Initially (and suspiciously) devoid of foes, the enemy soon appears as you reach the middle of the bridge. A host of Cursed Thralls blinks into existence behind the support clamps, and more pour down from the steps to Tower 02. Normal and faster-moving Thralls are also part of this horde. Back up just a little, and shoot the closest Cursed Thralls you can see. The trick is to burst open a Cursed Thrall so it detonates and takes a group of others with it. Keep this up with quick and accurate headshots, and you can down both types of foe. If any Thralls get through, melee attack them and back up a little.
Force yourself forward, where a group of Acolytes and a Knight appear. If you’re in the center of the bridge or farther from them, the Acolytes use their fireballs, which can cause no end of problems. If you’re not sniping from long range, take a chance and charge up the bridge and into Tower 02, lobbing a grenade at the Knight as you reach the last bridge clamp. It’s worth taking a couple of hits as you rush the tower instead of shrieking as you’re coated in magical fire! When you reach the tower, use the walls as cover, and the fighting becomes much more straightforward.
 Tower 02 to First Convertor Tower
Super: Not recommended
Grenades: Not recommended
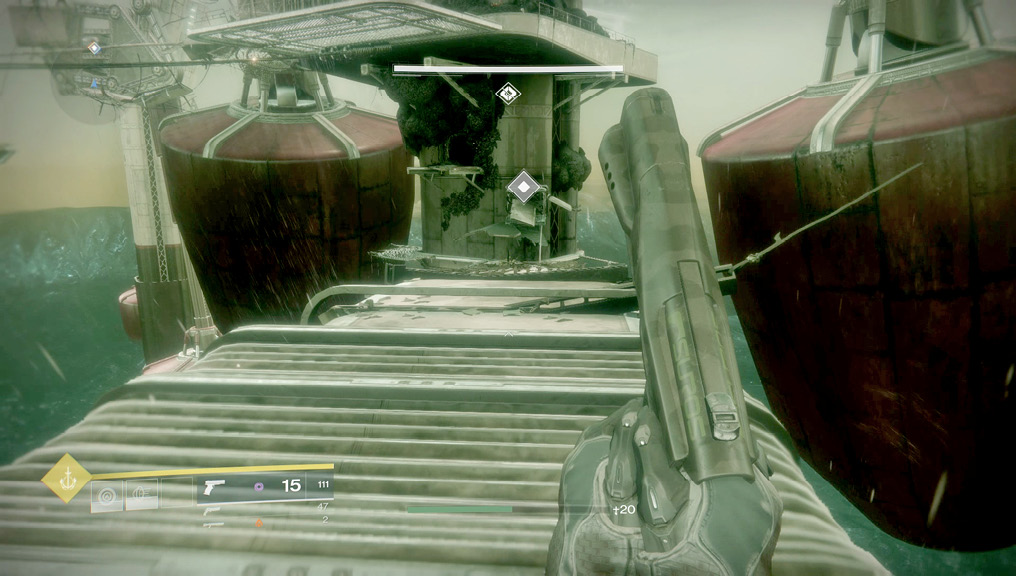
From Tower 02, you have the precarious route across a partly destroyed covered bridge (though you’re moving along its roof) to the twisted gantry ledges of the convertor tower. Perform a quality jump, then leap up the gantries and into the secretion-coated doorway. Head up the inside of the tube-shaped tower, shooting (or melee striking) the revolting Hive spittle coating on the central mechanism. Then, continue up and out. That’s the first converter good to go!
 First Convertor Tower to Tower 03
Super: Not recommended
Grenades: Recommended
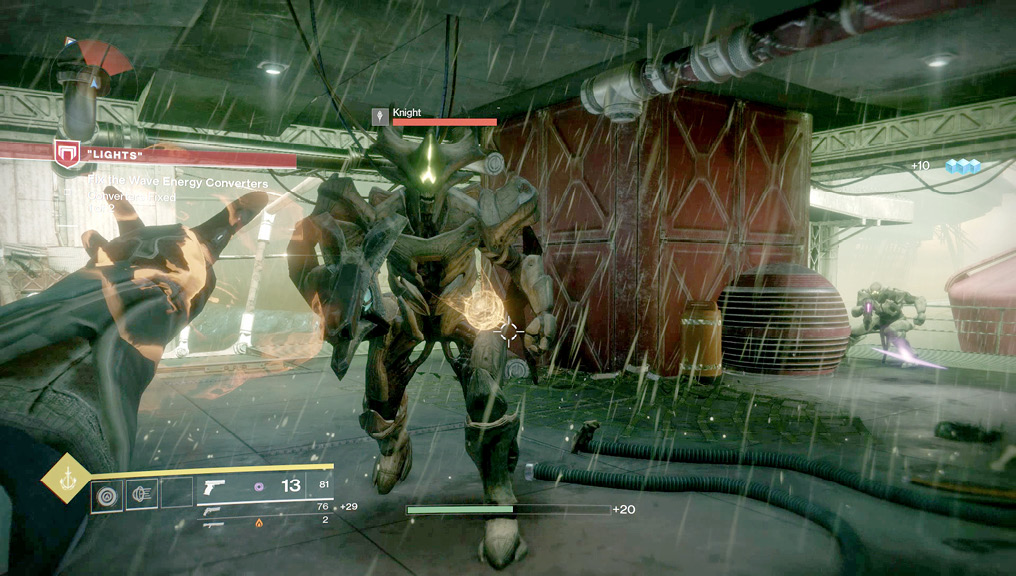
Exit the top of the converter tower tube, and gaze to your right. You must now carefully traverse the remains of a cable bridge leading to Tower 03. Use the sections of the broken bridge as platforms to descend onto; you want to enter Tower 03 at the opening directly below the remains of the covered bridge above it. As you arrive, repel a Knight and three or four Acolytes. A quick grenade into the hide of the Knight can really help remove it as a threat.
 Tower 03 to Second Converter Tower
Super: Optional
Grenades: Recommended
Face toward Tower 02, run along the section of cable bridge, and then leap up to the half-destroyed gantry above it. You haven’t reached Tower 02; instead, turn right, and face the second converter tower (with the two gigantic buoy-shaped generator arms on either side of it).
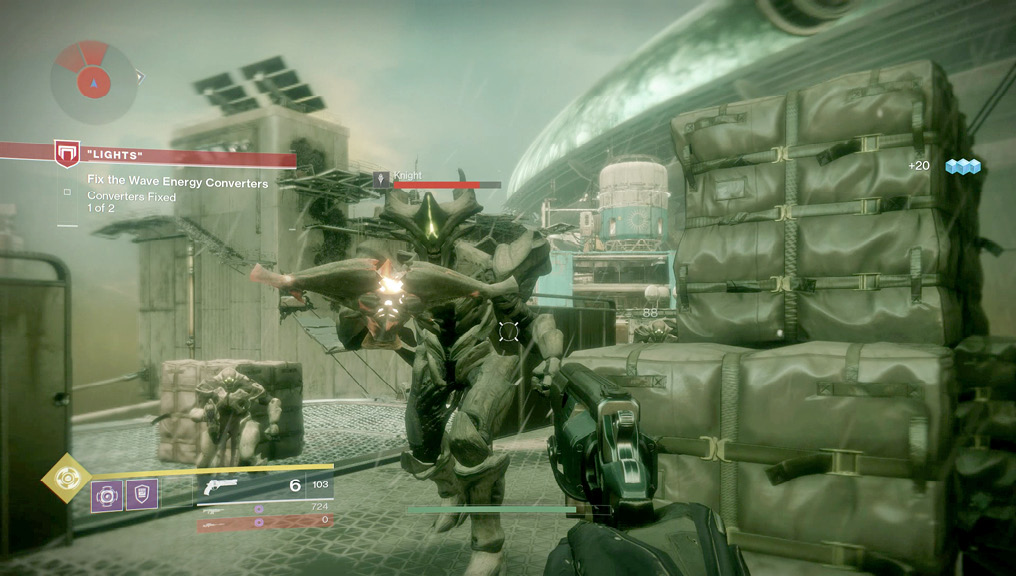
Leap the two gaps in the gantry bridge, and prepare for another four Acolytes and a Knight as you reach the platform attached to the tower. Lob in a grenade or use your Super to make short work of the Hive foes. Otherwise, make use of the cover afforded here, and keep running and gunning.
With the coast temporarily clear, enter the converter tower, descend down the tube-like interior, and remove the secretions from the central piston mechanism, just like before. That’s the second converter fixed! Now to flip the circuit breaker and bring this entire base online.
 Second Converter Tower to Tower 02 Roof
Super: Recommended.
Grenades: Recommended.
Warning!: Restricted Zone
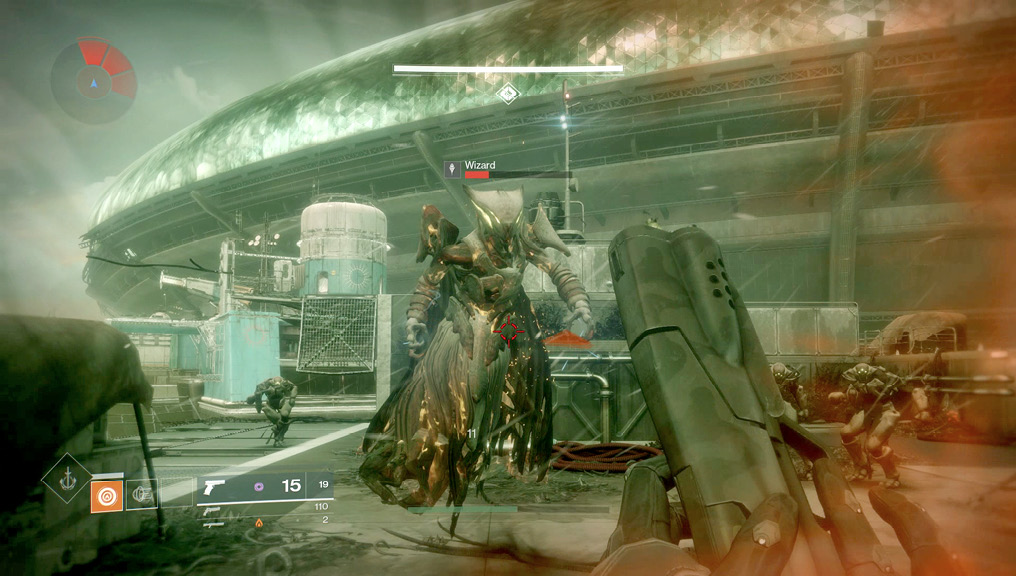
The circuit breaker is on the roof of Tower 02, so naturally, you’ll need to nimbly leap a series of gaps as you maneuver across the remnants of a gantry bridge from the converter tower. Jump left slightly as you reach the tower exterior, landing on the gantry steps. Head up and around to a host of problems, not least the screaming, banshee-like wail of two Hive Wizards!
There’s not one, but two Wizards on this roof platform, and that’s not including a small horde of Thralls, and some Acolytes. This is a particularly tricky fight to win, so quick thinking and taking cover are the best overall plans.
As you round the corner from the gantry platform, start by focusing your attention and firepower on the Wizard directly in front of you. Shoot it with a Solar Energy weapon, and continuously batter it with gunfire until it dies before even worrying about anything else (you don’t want it to recharge its shield). The foe is close enough for weapons like sidearms or shotguns to be most effective on it. Then, sidestep right into the hiding area behind the secretion-covered crates. As you step into cover, lob a grenade at the Acolytesand Thralls milling around in the middle of the roof.
After you clear the remaining Acolytes from the roof, a group of Thralls appears, along with more Acolytes. Keep one of the previous Acolytes alive and shoot the second Wizard from cover, or charge its location on the raised area of the roof ahead of you. Demolish the Wizard before seeking cover atop the raised area or back behind the crates where you initially hid. Another option is to rush the second Wizard’s location and tackle it from close quarters, which is good if you have more potent close-combat weaponry.
Stay mobile, and aim for any Thrall stragglers.Target the regular Thralls as a secondary concern, melee striking them if they finally reach you. With only five or six remaining Acolytes left to worry about, you can take a little time to recover behind some scenery. Then, remove Hive threats as you see them.
Other options include backing up around the initial gantry steps and taking on foes one at a time. You can also launch grenades (from a launcher) into the fray to soften up your targets. Aiming down the sights at the far Wizard is recommended, but staying motionless or just behind the initial cover is not. Scamper along the left side of the roof to where the circuit breaker is. This is also by far the best time to use your Super, concentrating on dispatching both Wizards while you use it; anything else is a bonus.
When the mayhem is over, shoot the Hive secretions off the circuit breaker and flip it, restoring power and completing the mission.