
Sinking Docks
Seas of Titan and Restricted Zone
Objectives
- Secure shipyard command center.
Enemies Encountered
- Hive: Thrall, Acolyte, Knight
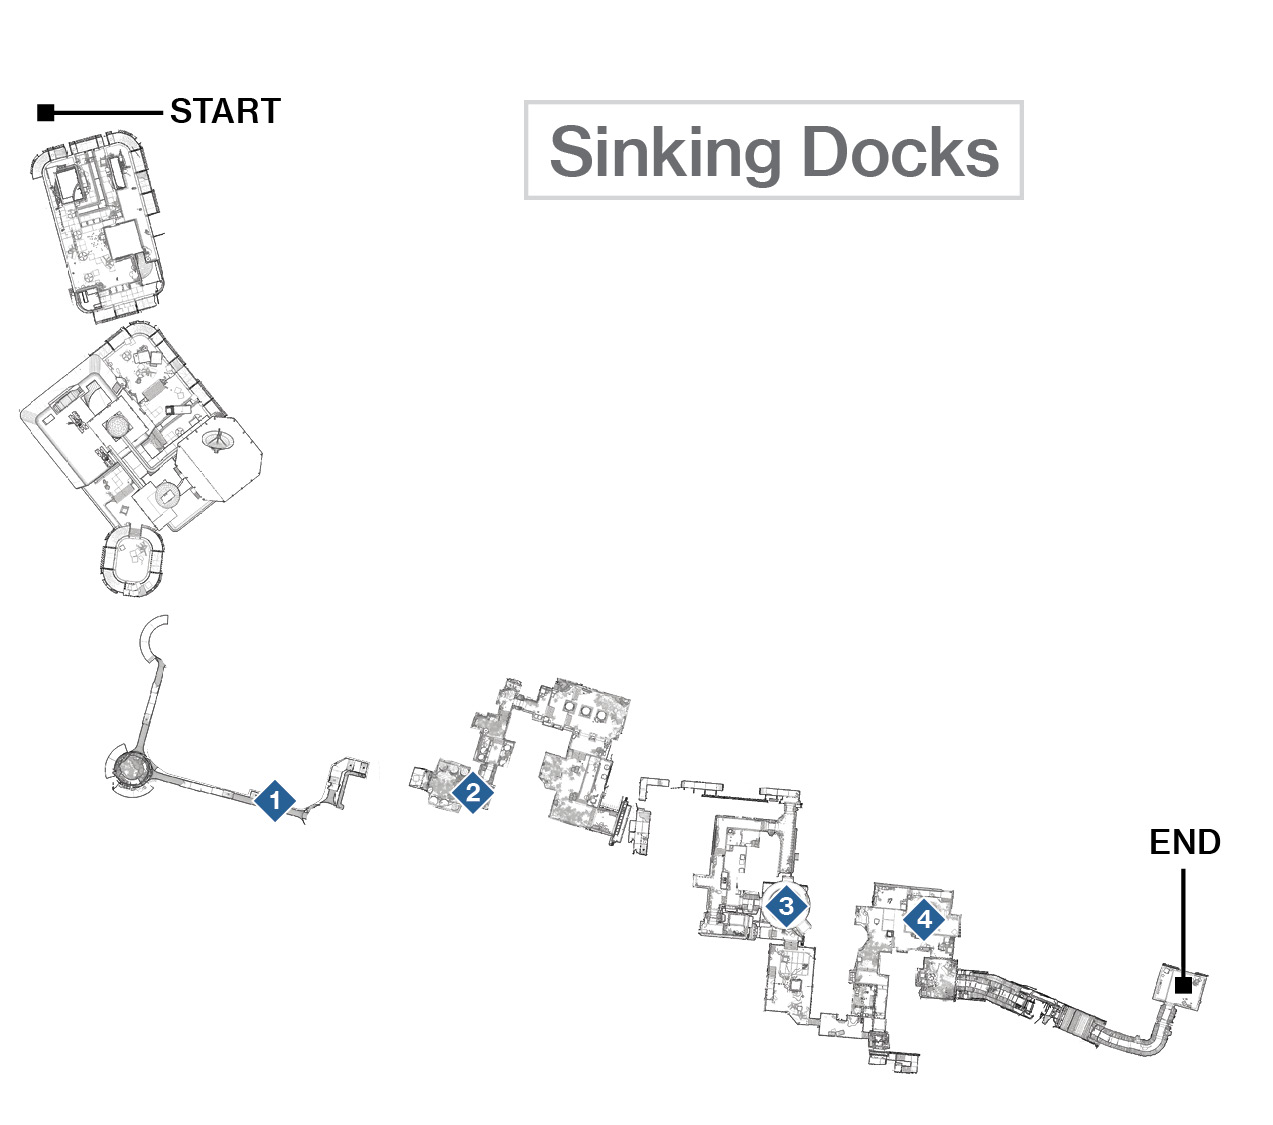
 Initial Superstructure
Super: Not recommended
Grenades: Not recommended
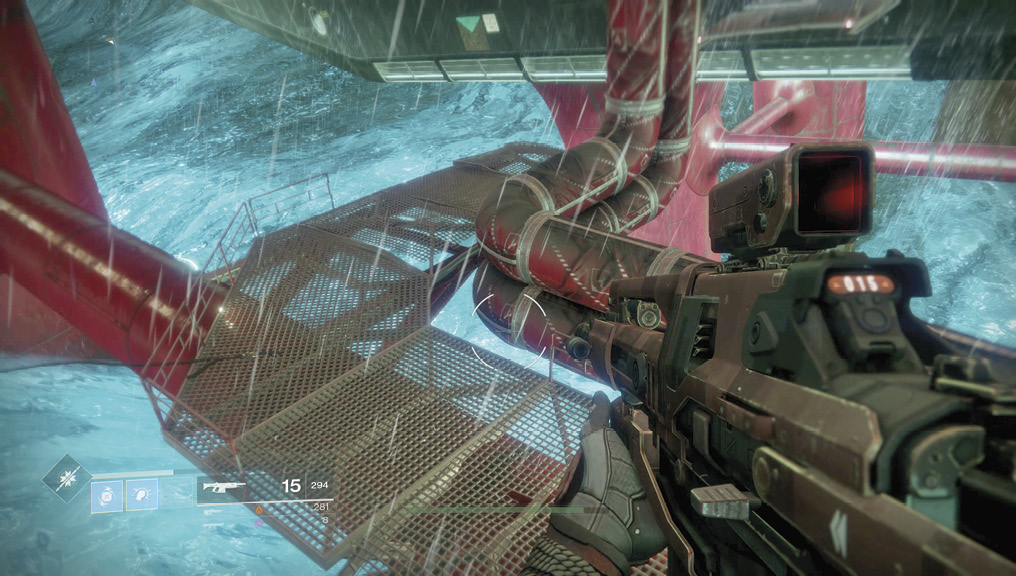
The main order of business is to find and secure the shipyard’s command center, located on one of the massive rig islands farther into this facility. You begin on the outer (western) edge and must accomplish some deft maneuvering first.
Begin by jumping to clear any gantry gaps you see, working from one large platform to the next. Watch as large containers slide into the stormy methane ocean en route to some narrow platforms on the gigantic pilings of the superstructure. Careful landing and Movement Mode activation is required so you don’t fall into the frothing seas. Once inside the red vertical piling tower, shoot the secretions coating the entrance and exit as you ascend to an upper red pipe and more precarious gantry jumping. Finally, leap across to the interior entrance marked “Kemphaan” in giant lettering, and enter.
 Kemphaan Rig (Restricted Zone)
Super: Not recommended
Grenades: Optional
Warning!: Restricted Zone
The walls of this massive rig are coated in disgusting secretions, and it isn’t long until you witness the revolting entities responsible. Your presence wakes around eight Hive Thralls. Back up, shooting them in the head before they maul you, and use melee attacks with quick maneuvers so you aren’t swarmed. The next chamber has another eight or so Thralls.
Feel free to back up into the previous chamber to avoid getting mauled, and use melee attacks after emptying a clip of ammo to finish off these foes. Then, reload afterward. With the coast clear, turn right at the entrance right of the large pipes labeled “1, 2, 3.” This leads to a farther storage chamber with a final cluster of Thralls. Deal with them in the same manner as before. Then, exit the rig onto another highly precarious (and partly broken) gantry platform.
 Poelruiter Rig
Super: Optional
Grenades: Optional
Warning!: Restricted Zone
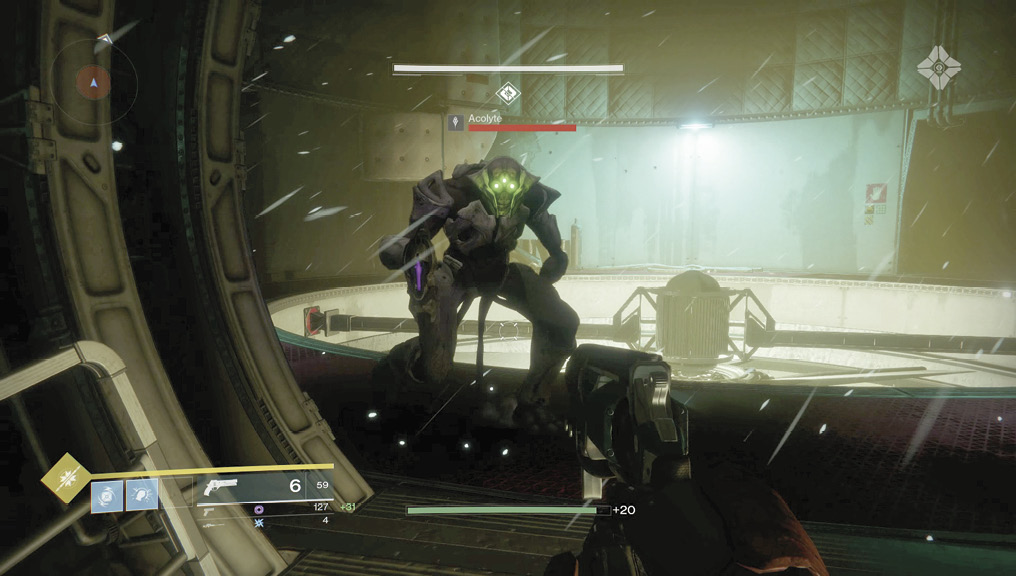
Leap across the gaps in the gantry platform and into the side entrance of the “Poelruiter” rig. At the doorway near the sign for “Bay 3,” you must begin a sweep of Hive Acolytes; around eight are lurking in the two-level chamber beyond. You can elect to slowly tackle foes from the doorway with well-aimed gunfire down your sights, or leap onto the upper area of turquoise metal flooring and use more aggressive tactics. A well-aimed grenade also works to clear the area out. Acolytes don’t respond well to being shot in the head, so make that the target of choice for dispatching them.
Step into the cylindrical vent chamber with the large floor fan, and drop down.
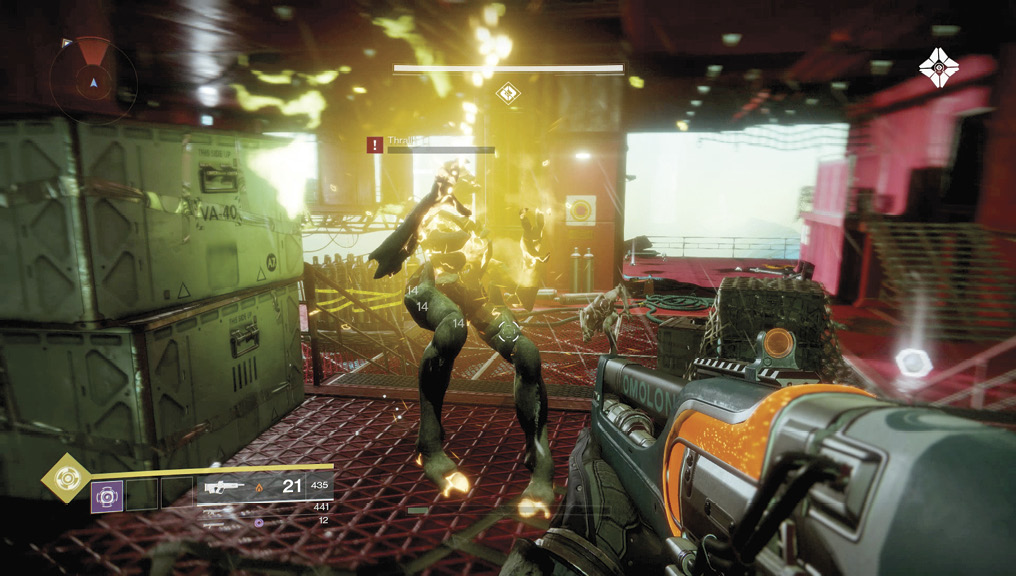
Drop down onto the red-colored metal cargo platform. Thralls are active in the vicinity, and more appear the longer you wait around here. Feel free to take your time if you want to accrue more kills.
Your main task is to defeat the trio of Acolytes on the lower platform, then drop another four or five on the gantry steps ahead and left of your initial landing position. Then, ascend a vertigo-inducing set of gantry steps that would definitely fail a safety inspection, and go up into a circular doorway.
 Super: Recommended / Grenades: Recommended
Enter a corridor, peering through a gap between walls to see a strange green fire in the mid-distance, an indication that a Hive Knight is present. You can rush up the small steps to the left, lob in a grenade, and wound the cluster of Thralls, the Knight, and Acolytes. You could also storm in using your Super, or shoot a sitting Thrall from the entrance and coax the Thralls to charge you, dispatching them all relatively easily before heading up and into the main chamber where the Knight resides.
The Knight should be your priority. After reading up on this foe’s tactical strengths and weaknesses in this guide’s Bestiary, you know to strike the head and wait for the shield to dissipate.
Then, you remove the small amount of health they gain and the rest of the foe’s constitution until they are dispatched into the ether. Seek cover for the Knight’s Boomer weapon, which has a wide-spreading number of projectiles, none of which is particularly pleasant to be hit by.
Head farther into the upper cargo bay, now illuminated by a sickly yellow glow from a nest-like secretion in the main bay itself. Deal with Acolytes on the raised platform, then turn your attention to the Knight by the Hive “nest.” If he’s heading your way, make him a priority. However, if he’s staying on the far side of the “nest,” tackle the Acolytes first. Use the large pillars (one in the raised area) for cover. There’s little need to charge in unless your Super demands it.
With all foes vanquished, head to the right of the window onto a precarious covered tube gantry that links the Sinking Docks to Siren’s Watch, and proceed to the main rig itself.