Destiny 2 Guide Crucible Vostok
Locations and Match Types
 Wall
Wall
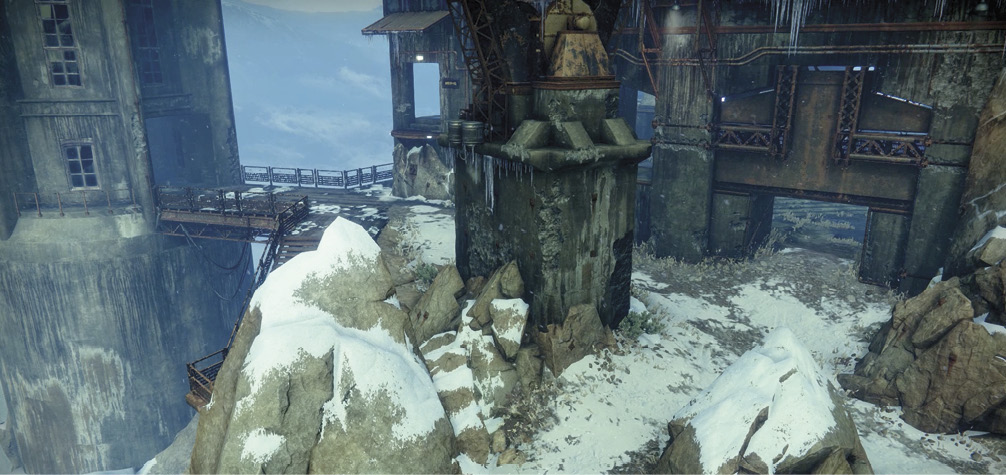
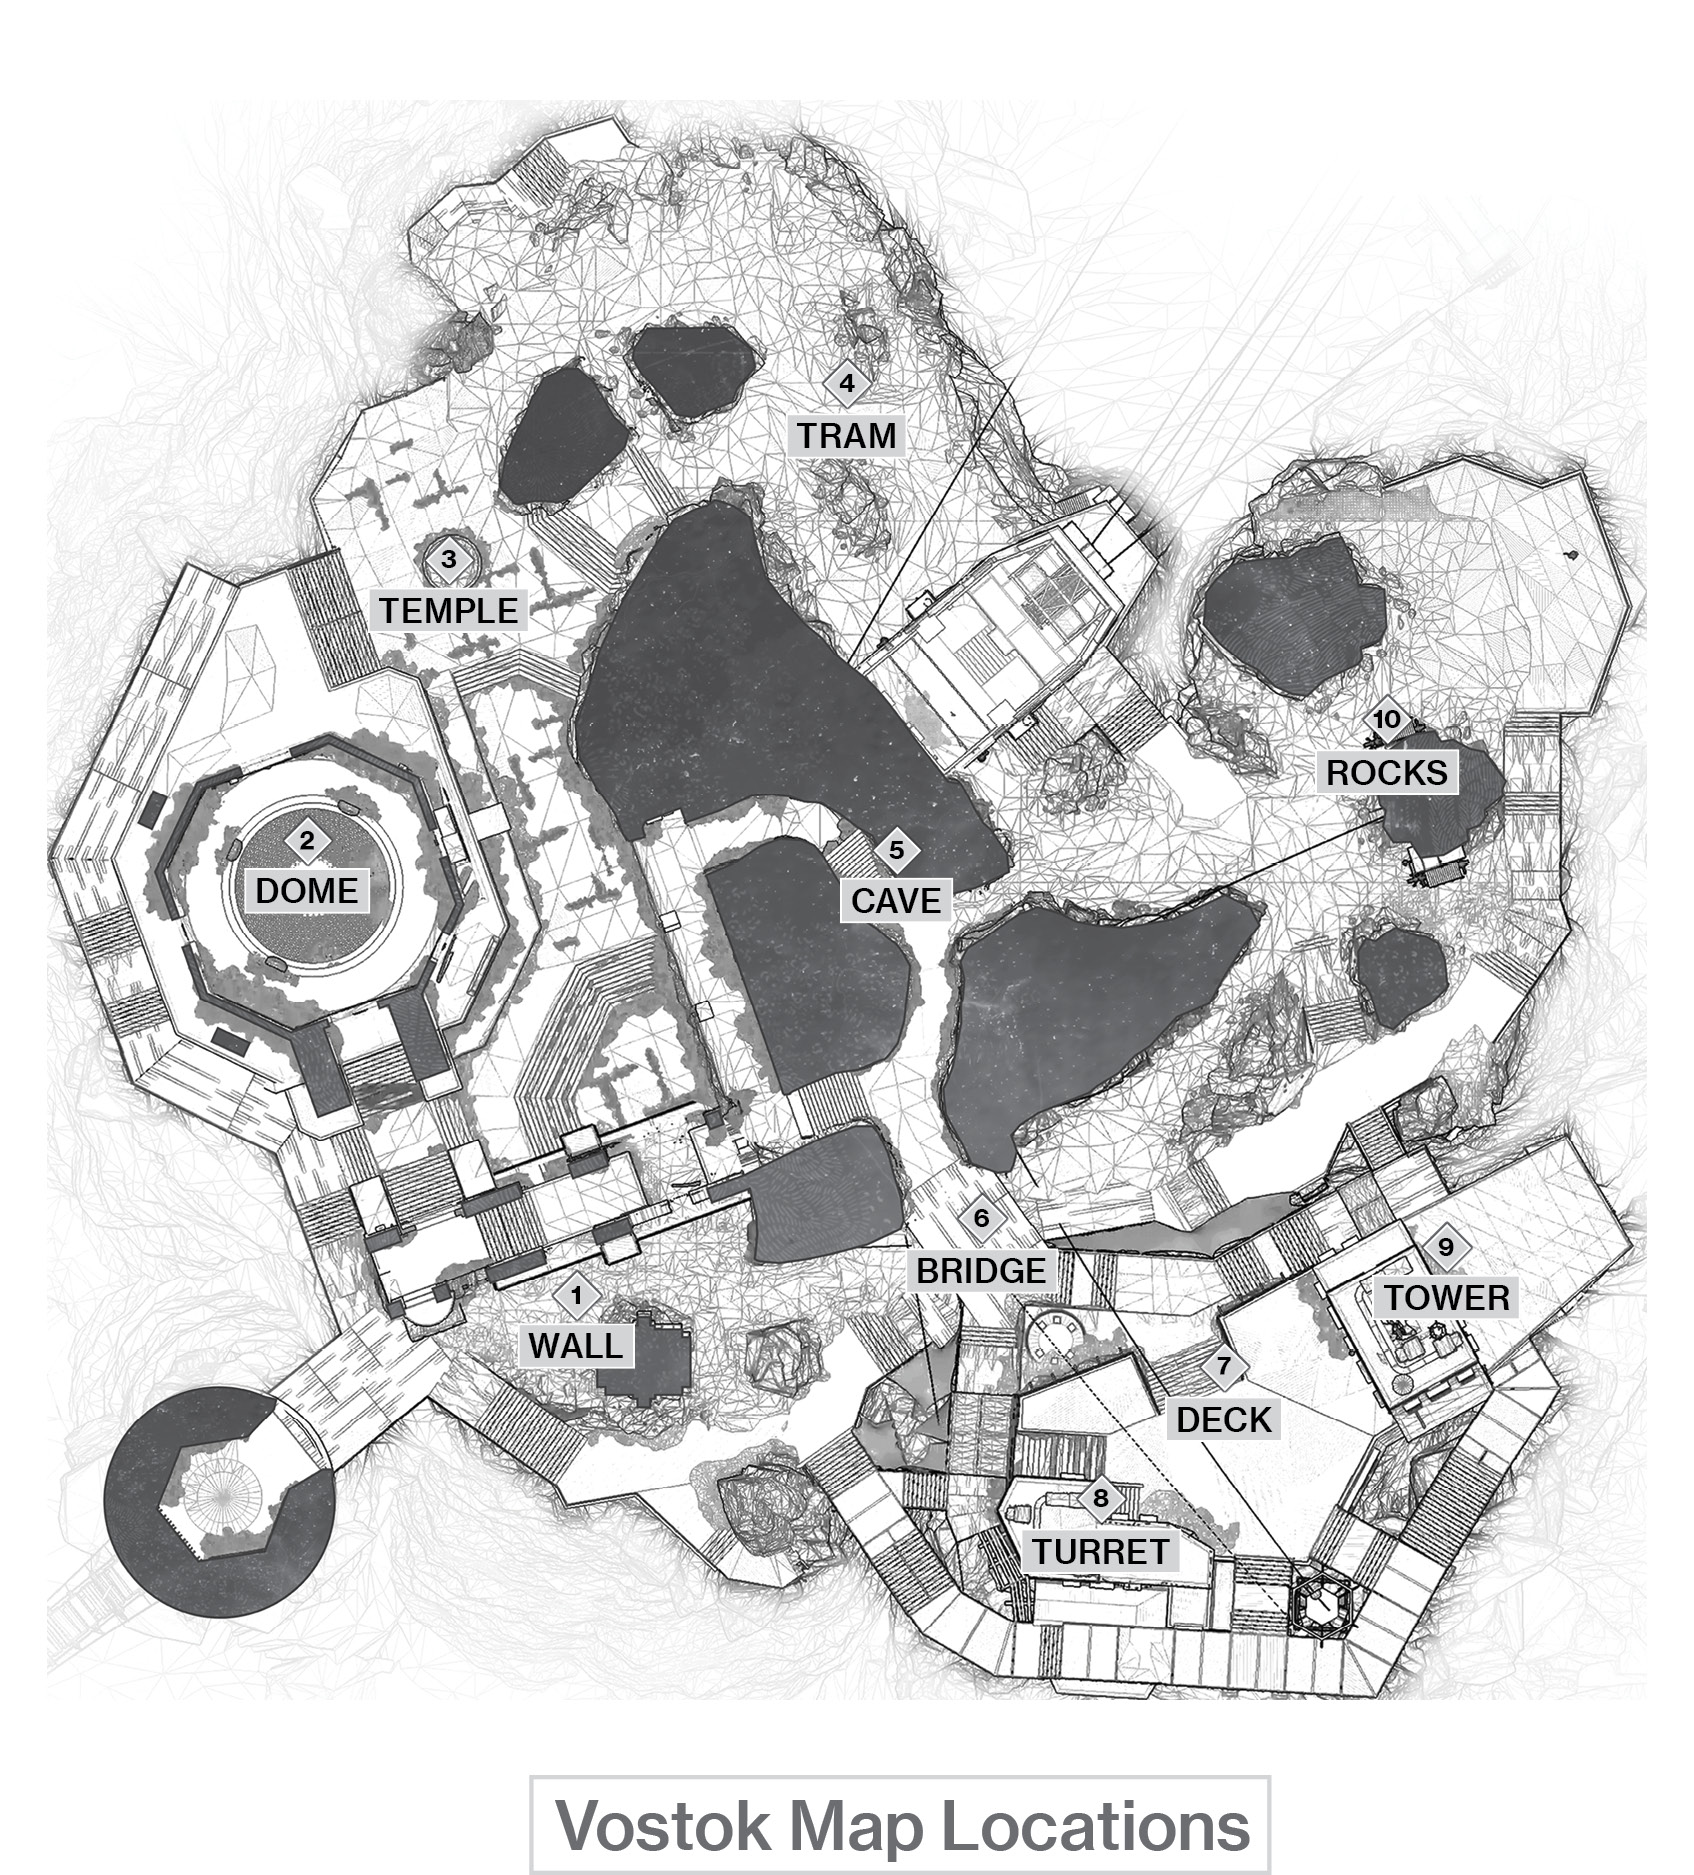
In most game modes, Wall serves as a team starting area, and it also serves as an excellent vantage point into adjacent locations. The structure that this area is named for combines a raised platform with solid cover options, making Wall a popular sniping point.
 Dome
Dome
Key Location: Dome
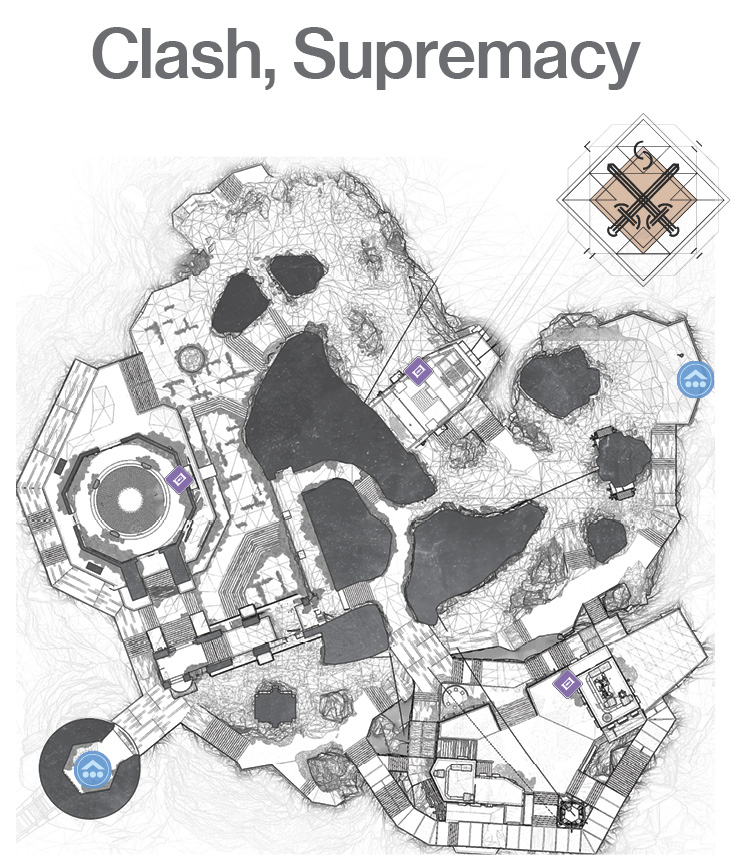
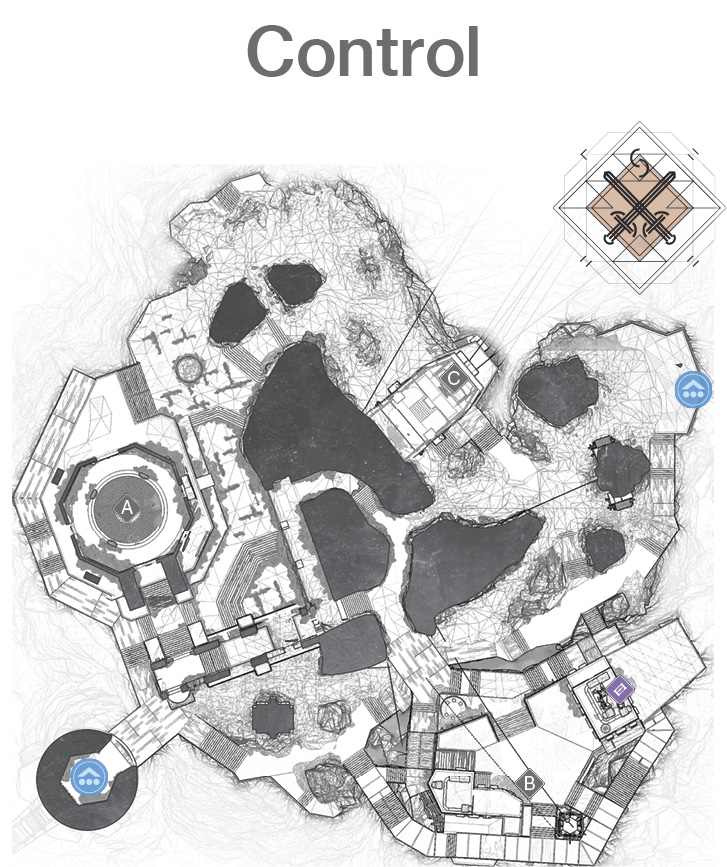
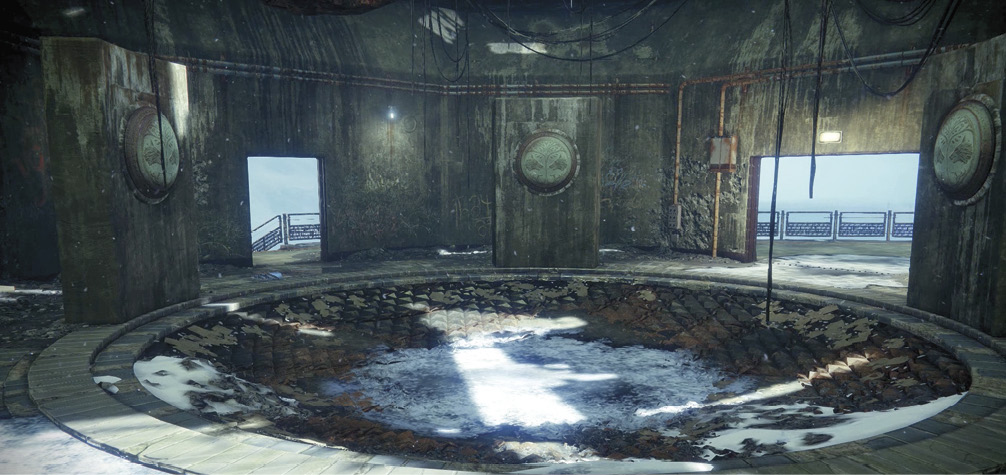
During games of Clash and Supremacy, Dome houses one of the map’s three Power Ammo spawns. In Control, this structure contains Capture Point A.
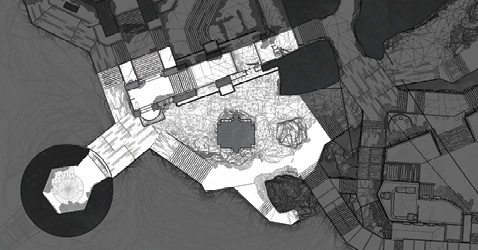
Located within the borders of Temple, Dome brings some much-needed cover to what would otherwise be a fairly open battlefield. It also serves as a key location in all Quickplay matches. Power Ammo spawns in this structure during games of Clash and Supremacy; during Control, Dome houses Capture Point A.
Dome features sturdy walls and some freestanding cover options, but it also has four points of entry. Coordination is essential for any team hoping to hold this location.

 Temple
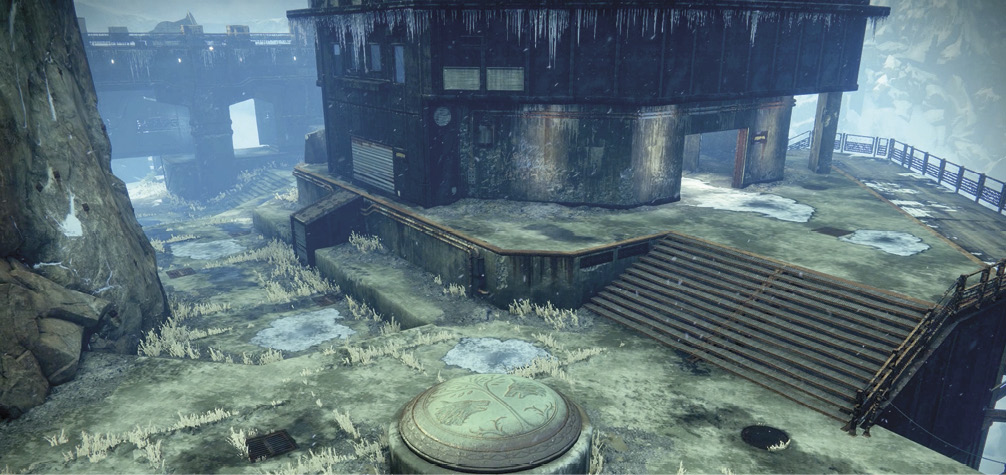
Key Location: Temple
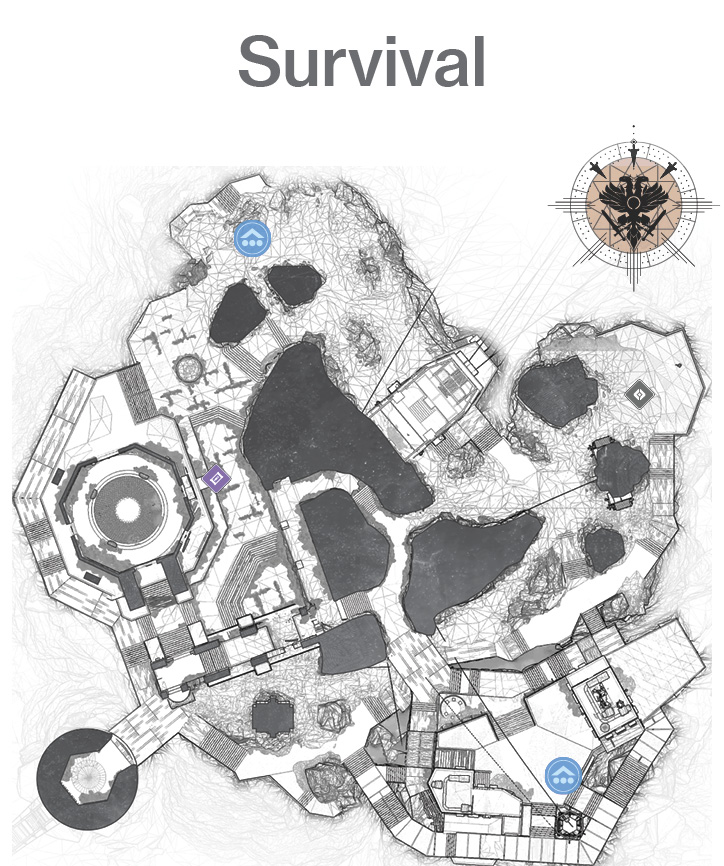
During Survival matches, Temple contains the map’s only source of Power Ammo.
Temple is one of the map’s larger locations. It features some varied terrain and nice cover options, but the layout makes this area a popular sniping lane. Avoid lingering out in the open.
In most game types, the fact that it surrounds Dome accounts for the bulk of Temple’s strategic importance. However, during Survival matches, Temple serves as the map’s only source of Power Ammo.

 Tram
Tram
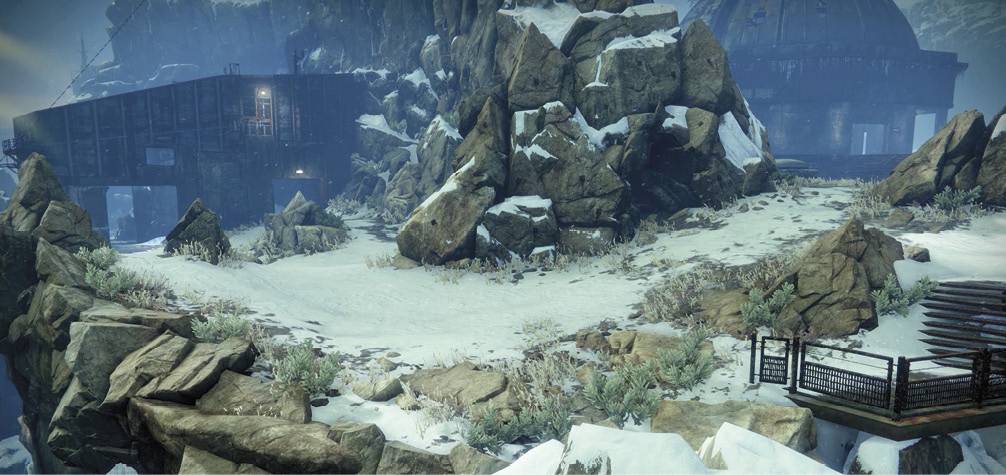
Key Location: Tram
In games of Clash or Supremacy, Tram serves as one of the map’s three Power Ammo spawn points. In Control, it contains Capture Point C and one of the map’s two Power Ammo spawn points.
This is a relatively large area with some nice cover options, but the path that runs through it tends to be a popular sniping lane. Tram’s most notable feature is easily its gondola station. This open structure plays a key role in every Quickplay match type, and it serves as a useful vantage point for long-range experts.
 Cave
Cave
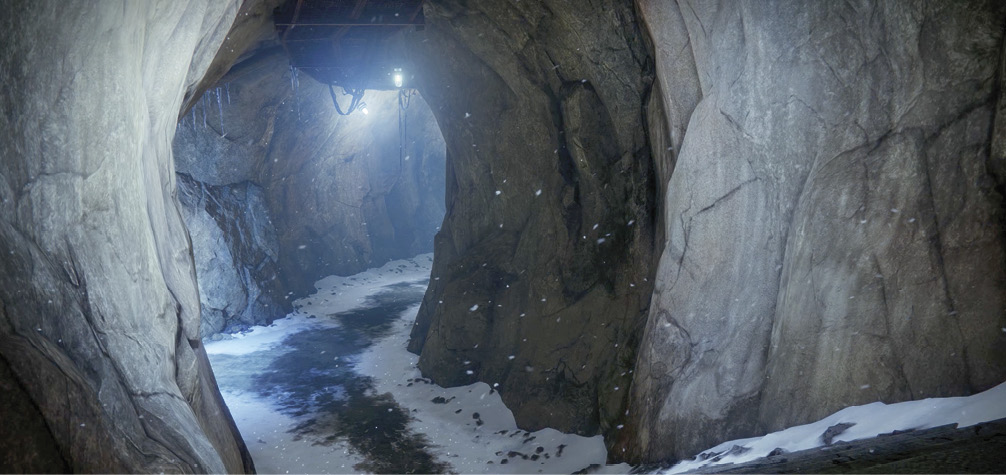
Located at the center of the map, this narrow passage features four points of entry. This makes Cave a useful flanking route and the closest thing this map has to a chokepoint. It’s also an excellent spot for close-quarters combat. Short-range weapons, short-range melee attacks, and splash damage all shine in the confines of this corridor.

 Bridge
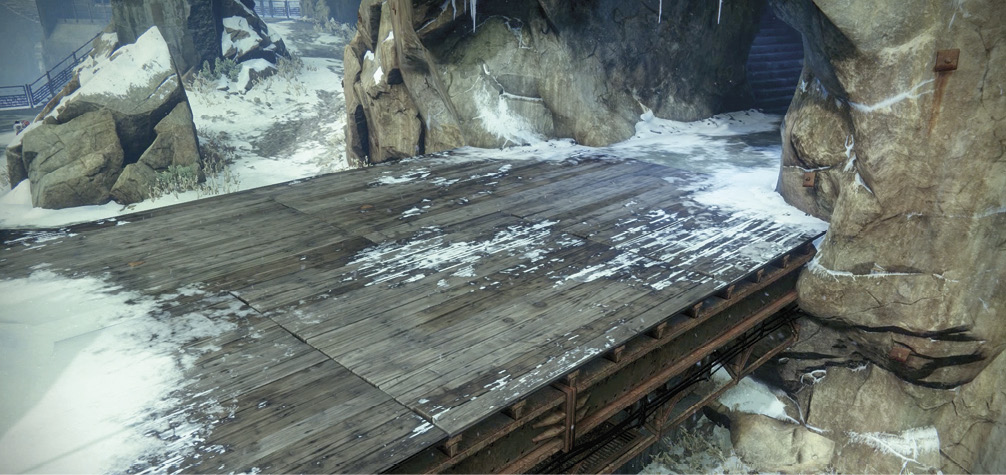
Bridge is a relatively small area that serves as something of a four-way intersection. A raised walkway (which the area is named for) runs between Deck and Cave.
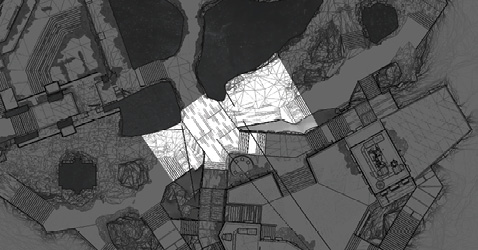
The low road runs between the borders of Wall and Rock. It’s located near the center of a major sniping lane, so be mindful of the surrounding vantage points.
 Deck
Deck
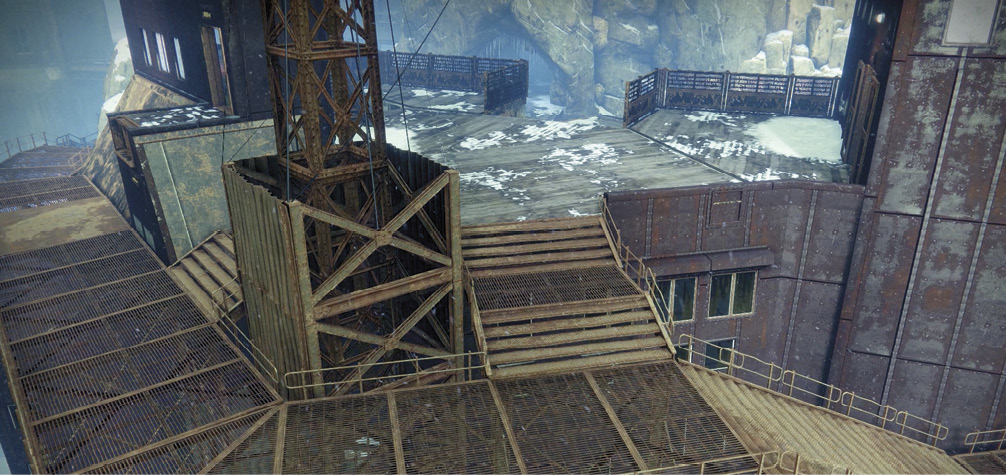
Key Location: Deck
During games of Clash or Supremacy, Deck contains one of the map’s three Power Ammo spawn points. During Control matches, Capture Point B appears at this location.
Deck features a level surface surrounded by a series of steps and walkways. The central platform is a key location in all Quickplay modes, and while a low wall helps mitigate the threat of long-range attacks, this frequently contested area is far from safe. Luckily, the surrounding walkways provide plenty of escape options.

 Turret
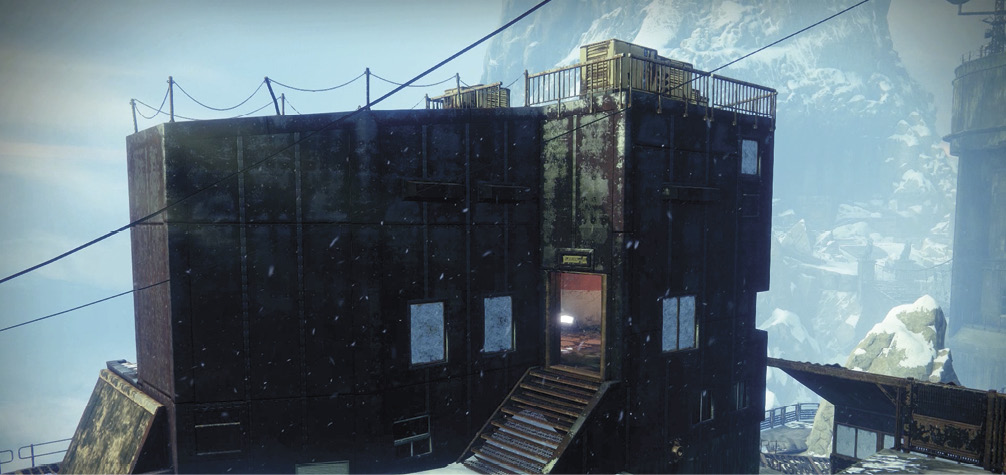
Turret stands as one of the map’s most useful vantage points. This small structure features multiple points of entry, great cover, and an unbeatable line of sight into Wall.

 Tower
Tower
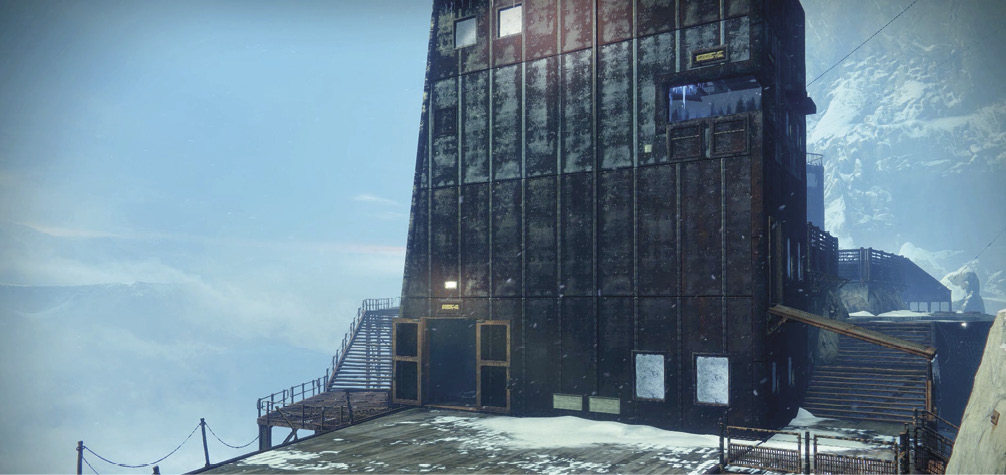
Key Location: Tower
During Control matches, Tower features one of the map’s two Power Ammo spawn points.
Tower features a sizable platform connected to a tall, accessible structure. The interior space provides an outstanding line of sight into Rocks, making it one of the map’s most effective sniping spots. Of course, this makes also makes the building’s upper window a frequent target for counter-snipers.
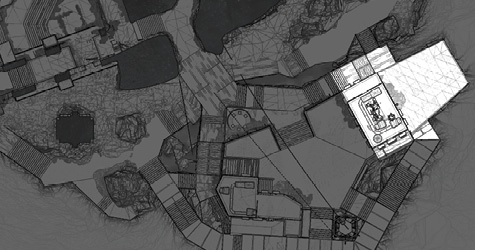
 Rocks
Rocks
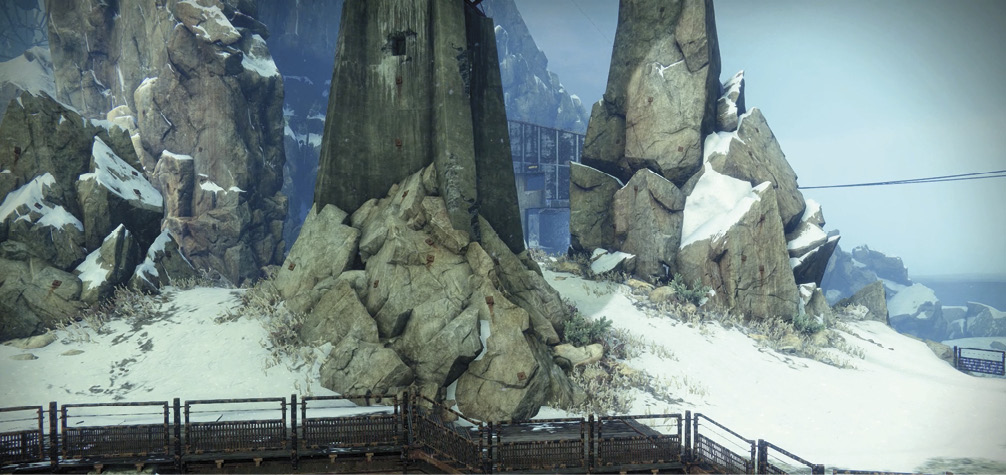
Key Location: Rocks
During Survival matches, any Capture Points that appear will do so in Rocks.
This area may be defined by its large, craggy formations, but Rocks features a fair amount of open ground. However, considering that it’s part of two major sniping lanes, it’s generally best to stick near cover.
In most match types, Rocks serves as one of the map’s team starting areas. During Survival matches, this location hosts the tie-breaking Capture Point that appears whenever a round reaches overtime.