
Destiny 2 Guide Adventures Io Adventures
Unexpectred Guests
Starting Location
Recommended Power
- 120
Prerequisite
Reward
- Ability unlock
Description
- End a Taken plot to throw wide the doors of reality.
When the Adventure starts, follow the first objective marker to Terrabase Charon, and engage the Taken gathered there. Prioritize more dangerous targets (like Phalanxes and Knights), but don’t hesitate to eliminate weaker enemies as opportunities present themselves. Continue fighting until you receive your next objective, and then follow the Taken down into The Wraith Mines.
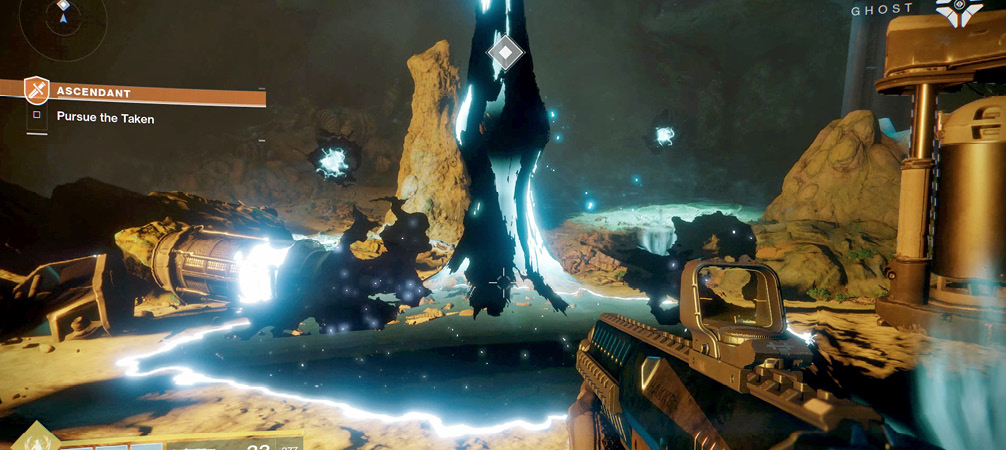
Follow the objective markers until you reach the Taken portal. This location plays an important role in the Adventure, but there’s little to do here at the moment. Wait for a group of Taken to exit the portal, and then follow the enemies deeper into the next cavern.
Your objective updates as you discover the first of three energy nodes. To complete this objective’s first step, you must collect an energy charge from the node and deliver it to one of the gaps near the Taken portal. It’s best to deal with nearby enemies before you interact with the energy node, but you don’t need to clear the entire cavern.
Pick up an energy charge, and then follow the objective marker back to the portal. It’s often best to simply avoid enemies, but remember that you can use an energy charge as a makeshift melee weapon. Bash troublesome enemies for heavy damage. If you’re in danger of being overwhelmed, switch weapons to drop the charge and resume ranged combat.
As long as you’re holding the charge, the objective marker indicates the path back to the portal. Simply follow the marker and deliver the energy charge to receive the location of the next energy node. Be prepared for a battle: placing the first charge draws another group of Taken through the portal.
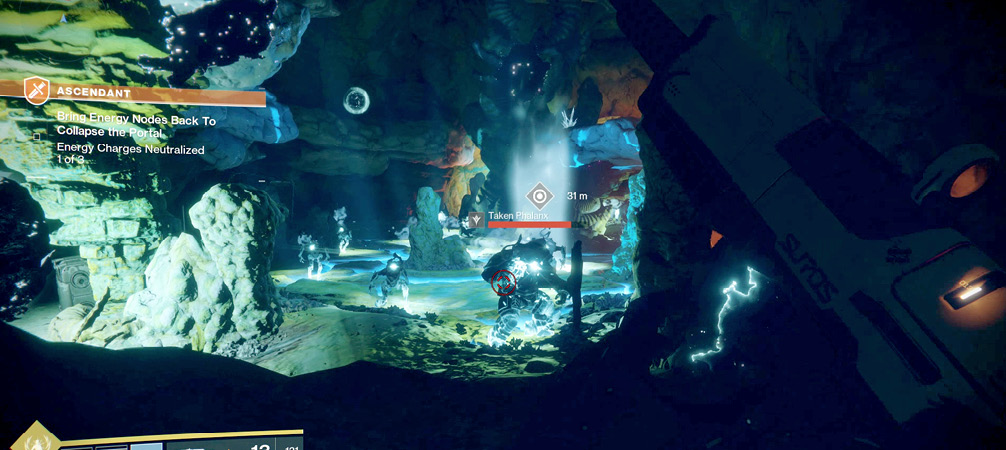
The process for recovering each of the remaining energy charges is much the same. Follow the objective markers, clear out troublesome enemies, collect a charge from the energy node, and return it to the marked location. Of course, you can expect more formidable foes in subsequent attempts. Take your time, and don’t hesitate to adjust your loadout as often as needed. Just make sure you fall back to a safe position before you pull up your Character Screen.
When you deliver the third energy charge, the portal collapses, and a particularly powerful Taken Wizard appears.
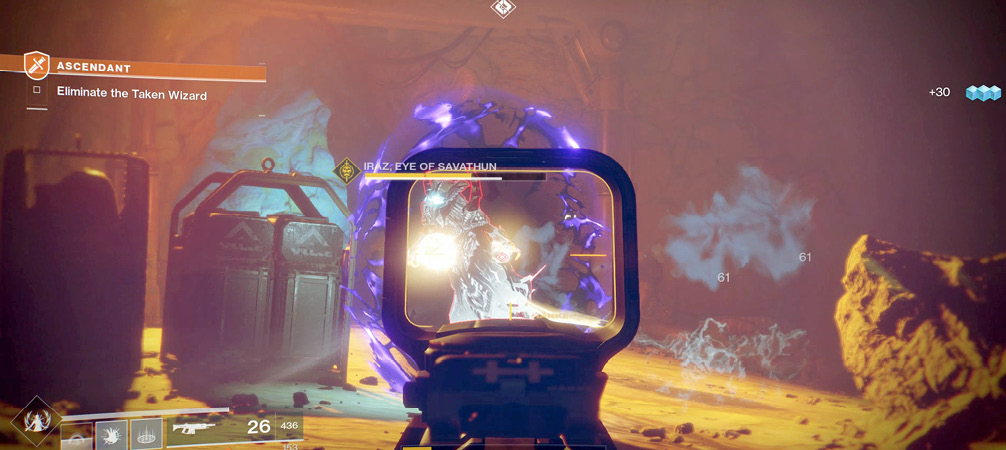
Iraz, Eye of Savathûn possesses a durable Void Shield with a very fast recharge rate. This formidable enemy also deals heavy damage while summoning wave after wave of Shadow Thralls. A good Void-based Power Weapon is usually the fastest way to punch through the Wizard’s shield, but any source of Void damage can be helpful.
With the right mix of weaponry and character Abilities, you might be able to end this fight fairly quickly. Otherwise, you’ll need to shift your focus between the Taken Wizard and its swarming Shadow Thralls.
Use cover to minimize the effectiveness of Iraz’s attacks while you deal with weaker enemies. When you’re free to attack the Wizard, be quick and efficient
to ensure that you penetrate its Void Shield and deliver some real damage before pulling back to deal with the next wave of Shadow Thralls.
Defeat Iraz, Eye of Savathûn to complete the Adventure and receive your reward.