
Exodus Black
Nessus, Unstable Centaur
Enemies Encountered
Objectives
- Rescue Cayde-6 and Failsafe.
New Actions to Learn
- The Scorch Cannon
 Fallen Captain Jaliks: Battle 1
Super: Optional
Grenades: Recommended
Warning!: Restricted Zone
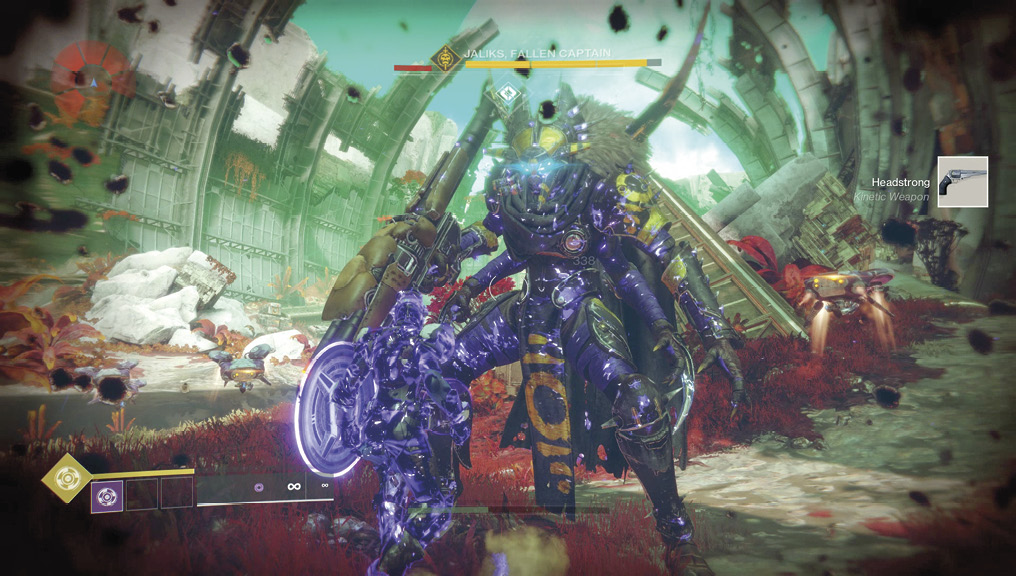
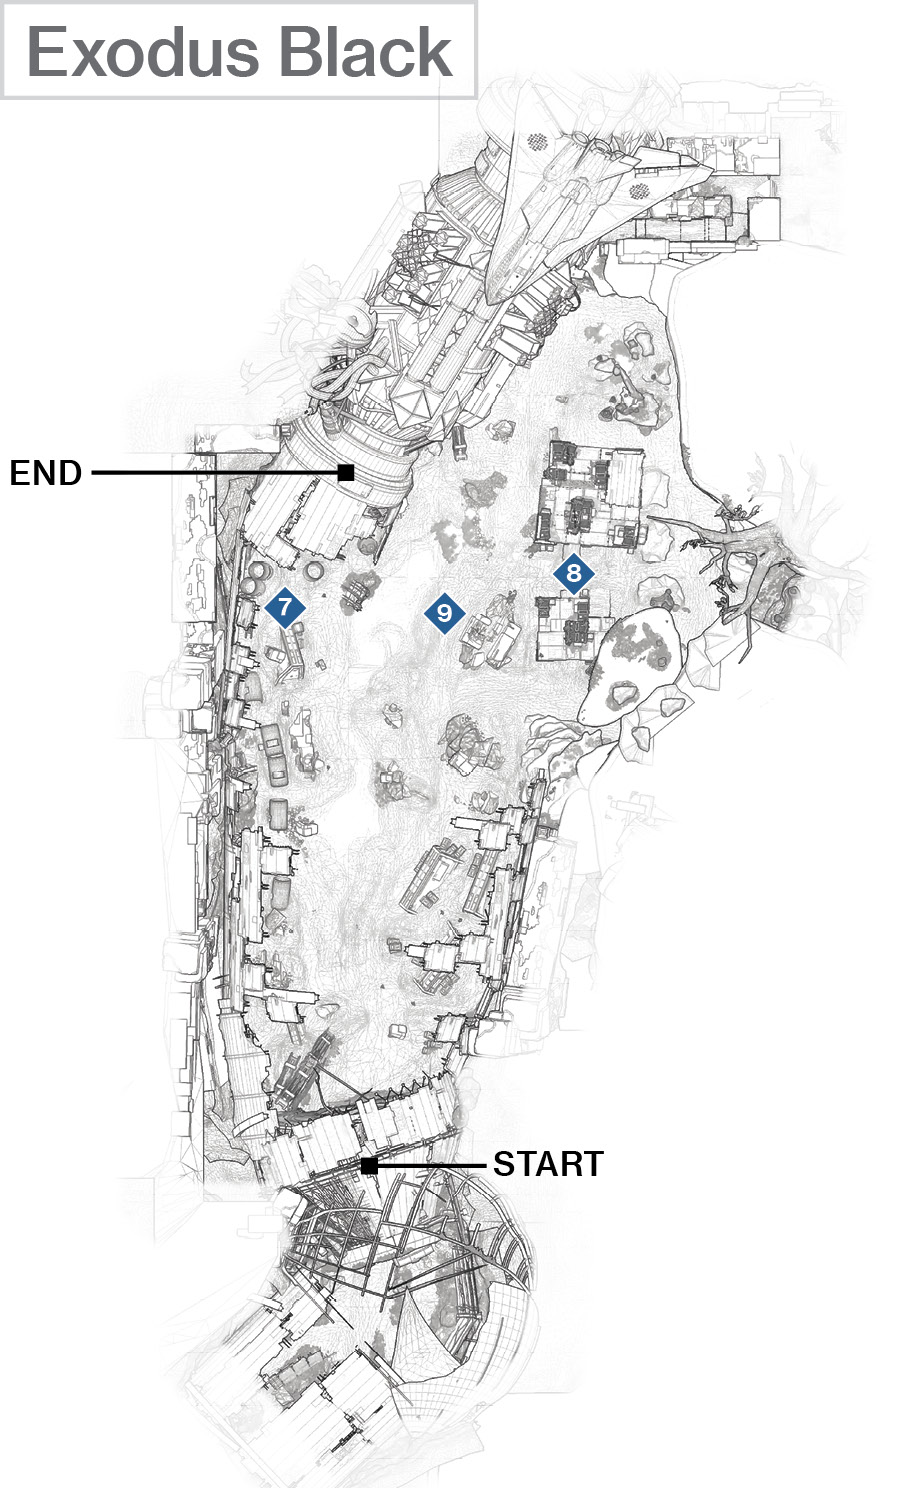
Boss: The Fallen are active in this shallow lake area where you find the remains of the Exodus Black. Concentrate on the series of tubes (one has a scannable object in it) leading to the large circular open hull with a blue energy wall preventing progress. You need to enter here, but only after you deal with all Fallen threats. A small group is already bombarding this entrance, led by an impressively tough Captain named Jaliks. Shoot Jaliks’ shield with Void Energy weapons until he teleports away. Force your way to the Exodus Black’s platform entrance to gain some height, and use the cover there as you fire down, dropping Jaliks’ three Dreg friends. Watch for Shanks appearing from behind one of the upright cylinders along the perimeter fuselage wall. Around 10 more appear from Fallen dropships, so expect a protracted battle.
Even though you could be milling around the scattered tubes or lake, a more cunning position is by the entrance to Exodus Black, using cover as previously recommended and firing down at the dozen or so Shanks. Jaliks is your priority target, though, as his shrapnel launcher and impressive constitution make him a menace. Use the tactics you’ve employed for previous Captains, and remove the first third of his health. At this point, he disappears to a Fallen base on the rocky and slightly elevated ground farther into this Sector.
 Fallen Captain Jaliks: Battle 2
Super: Recommended
Grenades: Recommended
Warning!: Restricted Zone
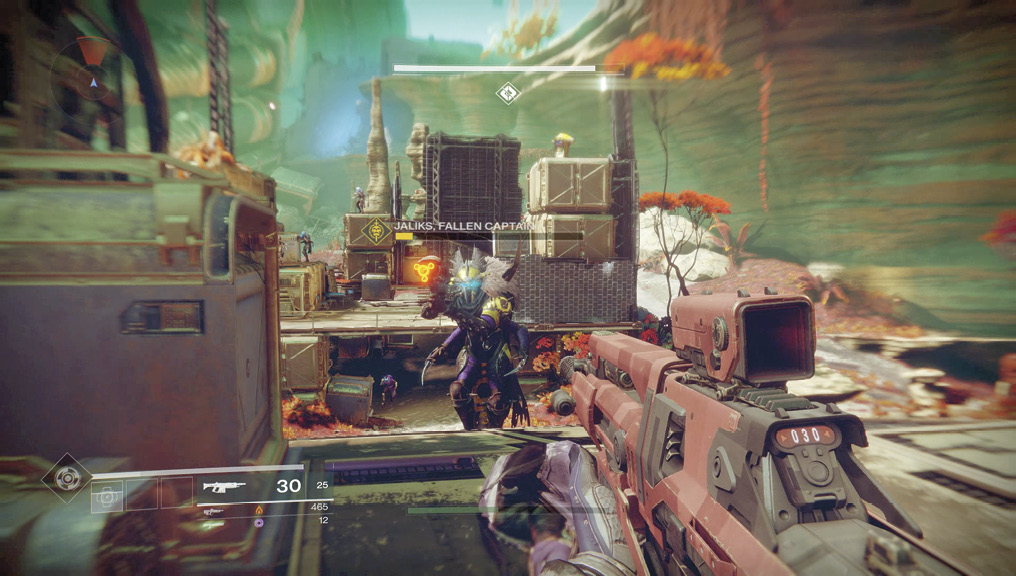
Boss:Jaliks has fled to the Fallen base, a compact set of platforms and crates bisected by a dirt road on the far-right area of this Sector. Watch for a cluster of Shanks en route to the base, along with some troublesome Jackals on the near side of the base itself. These are joined by four Dregs and four Shanks under the platform. On the far side of the road is the larger section of the base, with Dregs, Vandals, and Shanks (around four of each) to worry about.
Jaliks himself starts on the platform of the near base. As you attack, he shifts position, retreating down the ramp to the dirt road, up the ramp to the main base platform, and moving back and forth in this general area. With the threats now noted, it’s worth executing one of the following cunning plans:
A frontal assault is fine to try, as long as you’re not too enthusiastic and die trying to reach the first base. Take your time and remove the Shanks, Vandals, and Dregs first. Pay special attention to the Vandal snipers on the higher crates of the platform area. With few or no minor foes left on the initial base platform, rake fire into the Captain’s shields.
You may need to do this three or four times because Jaliks is tough enough to make you retreat to find ammo, and he also retreats to the main base. Use the cover, sidestepping and pushing him back down the ramp to the road while you stay on the initial base platform. Remain here, and keep those headshots going for as long as possible (ignoring the other foes on the far base area). Finish him with a grenade and a Super.
A rear assault is also an option. Skulk around the perimeter of this Sector to the large rock stalagmites, using them as cover while you remove the threats under the platform (Dregs and Shanks). Then, leap atop the rocks and then across, landing on the platform itself. As you arrive, shoot the Vandals, then use the curved “roof” section of the main part of the base to stand on and as cover. Tag the Vandals on the initial base platform before turning your attention to Jaliks. Obviously, there are times when this roof section becomes compromised, so don’t refuse to move from up here when necessary. However, bounding around here in between clearing lower areas and collecting ammo is a fine plan.
You can elect to completely clear both bases of Fallen infantry first before tackling the Captain. This isn’t necessary, but it does allow you to focus completely on the main takedown.
There’s also an extremely high plateau along the near side, right of the initial base area. Though it takes some deft jumping, you can reach this large ledge and then fire down on your foes. They can’t really retaliate, especially if you back away from the edge to stop yourself being struck by incoming fire.
 Conclusion: Scorch Cannon
Super: Not recommended
Grenades: Not recommended
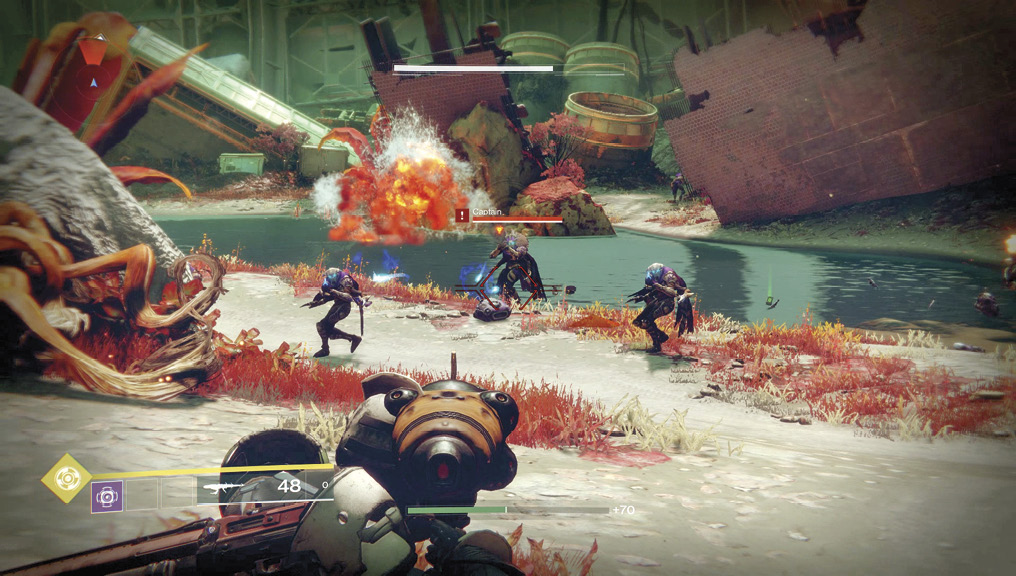
Once Captain Jaliks falls, he drops a fabled Scorch Cannon, a highly dangerous rocket launcher that can lay waste to multiple foes while giving you a dangerous sense of invulnerability. A Fallen dropship deposits a group of Dregs, Vandals, Shanks, and a (regular) Captain in the lake area. Though you can use your regular weaponry, it’s worth tackling them with this new and impressively devastating cannon. Blast from range, as pointing the cannon at a melee-range enemy (or your feet) is just as damaging to you. Strafe while tackling all Fallen threats; with this weapon, you can cut through the enemy easily. After that, Failsafe opens the Exodus Black, and you can finally meet this lunatic AI and Cayde-6.