
Destiny 2 Guide Adventures EDZ Adventures
Poor Reception
Starting Location
Recommended Power
- 20
Prerequisite
- Speak to Devrim Kay after completing EDZ Adventure: A New Frontier.
Reward
- Common gear
Description
- The Fallen are trying to block all communications in the EDZ. Find the source of the interference, and shut it down.
When the Adventure starts, you’re tasked with investigating an ongoing feedback issue. Search the surrounding area to locate and destroy a Fallen Shank. Collect the core dropped by the mechanical enemy to learn more about the source of the trouble.
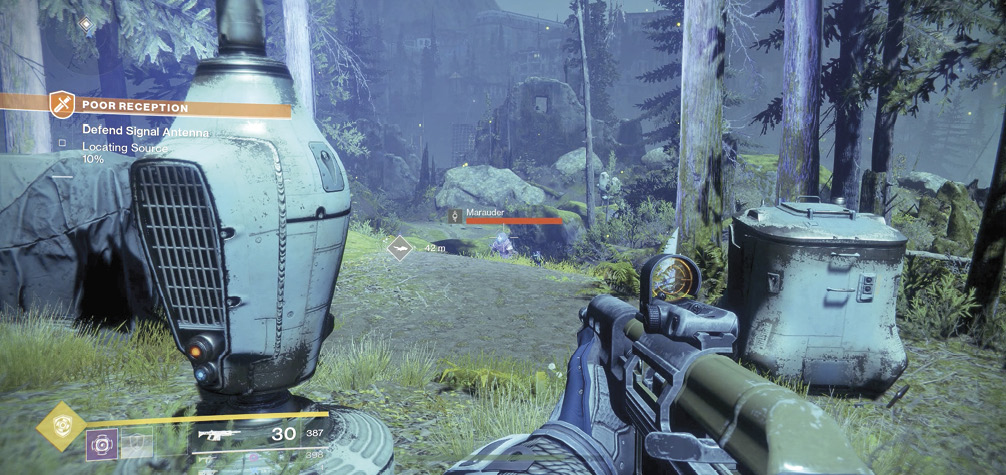
Wait for your Ghost to analyze the Shank core, and then follow the objective marker to continue your investigation. As your Ghost searches for the source of the feedback, you must defend the location from incoming Fallen. The analysis stops whenever you stray too far from the antenna, or whenever you allow Fallen to move into the area. Stay within the clearing and keep your attackers at bay until your Ghost is able to finish its work.
Once your Ghost identifies the source of the interference, follow the marker to your next objective. The issue seems to be coming from a Fallen-controlled Lost Sector somewhere along the water’s edge. Follow the objective marker into Scavenger’s Den to continue your investigation.
The first cavern is fairly large, containing a significant but scattered enemy presence. You can expect to face a mix of Dregs, Shanks, Vandals, and Marauders, so prioritize targets accordingly.
An energy barrier blocks the passage to the next cavern, and it will remain so until you defeat the Captain charged with protecting the area. Continue your sweep of the area until the Captain makes an appearance. Vanquish this priority target to deactivate the barrier, then follow the objective marker into the next cavern.
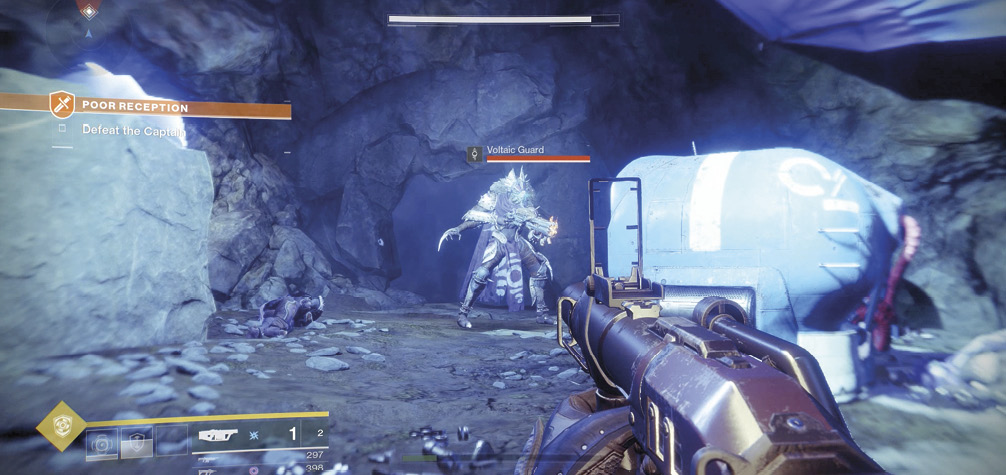
The second cavern features a similar encounter confined to a much smaller space; adjust your tactics accordingly. Eliminate available targets until you manage to draw a Captain into the area, then defeat the Captain to disable the nearby barrier.
Before you proceed to the final cavern, know that it holds this Lost Sector’s champion. Check your weapons, make any desired changes to your loadout, and follow the objective marker to the heart of Scavenger’s Den. You’ll find a few Tripmines scattered around the passage, so take care to avoid or destroy each trap as you go.
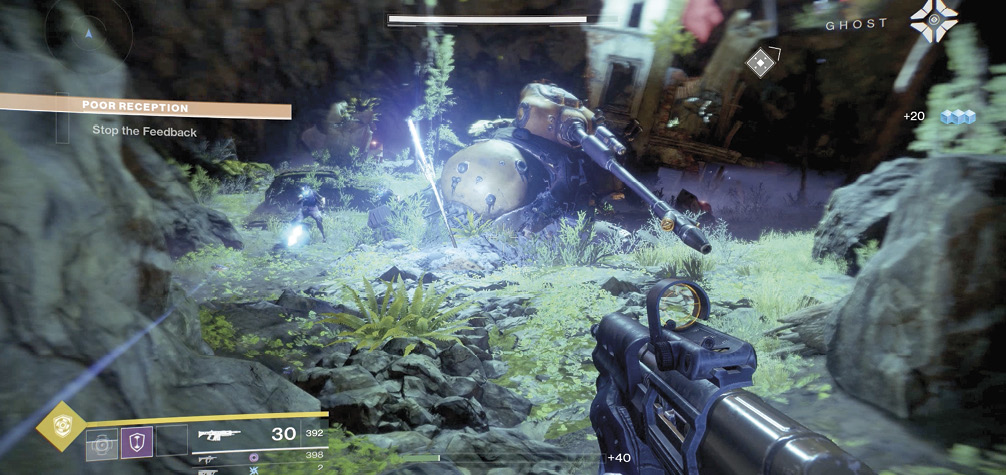
The Lost Sector’s champion is the source of the feedback, and unlike the previous Captains, this priority target is ready and willing to engage from the moment you enter the final cavern. While you’re free to charge straight into the fray, consider dealing with the weaker enemies first. Start by clearing the cavern floor. Be patient, take advantage of the available cover, and work your way up to the Captain.
Graxus is a formidable opponent, as any Lost Sector champion should be. Arc damage will make short work of the Captain’s shield, but defeating this heavily armored target will take some doing. You can speed up the process by using your Super Ability and/or Power Weapon. Otherwise, just use your best weapons to chip away at Graxus’ health.
The Adventure ends as soon as you defeat Graxus, but remember that your victory also yields a key code for the Lost Sector’s chest. Make sure to collect your hard-earned loot before you leave the cavern.