
Destiny 2 Guide PS4 Exclusive Content Strike: Lake of Shadows
Trostland and Maevic Square
Restricted Zone
Objectives
Enemies Encountered
- Cabal: Legionaries
- Fallen: Wretches
- Fallen: Dregs
- Taken: Centurions
- Taken: Psions
- Taken: Phalanxes
- Taken: Hobgoblins
- Taken: Thralls
- Taken: Goblins
- Taken: Captains
- Taken: Sub-Boss (Centurion)
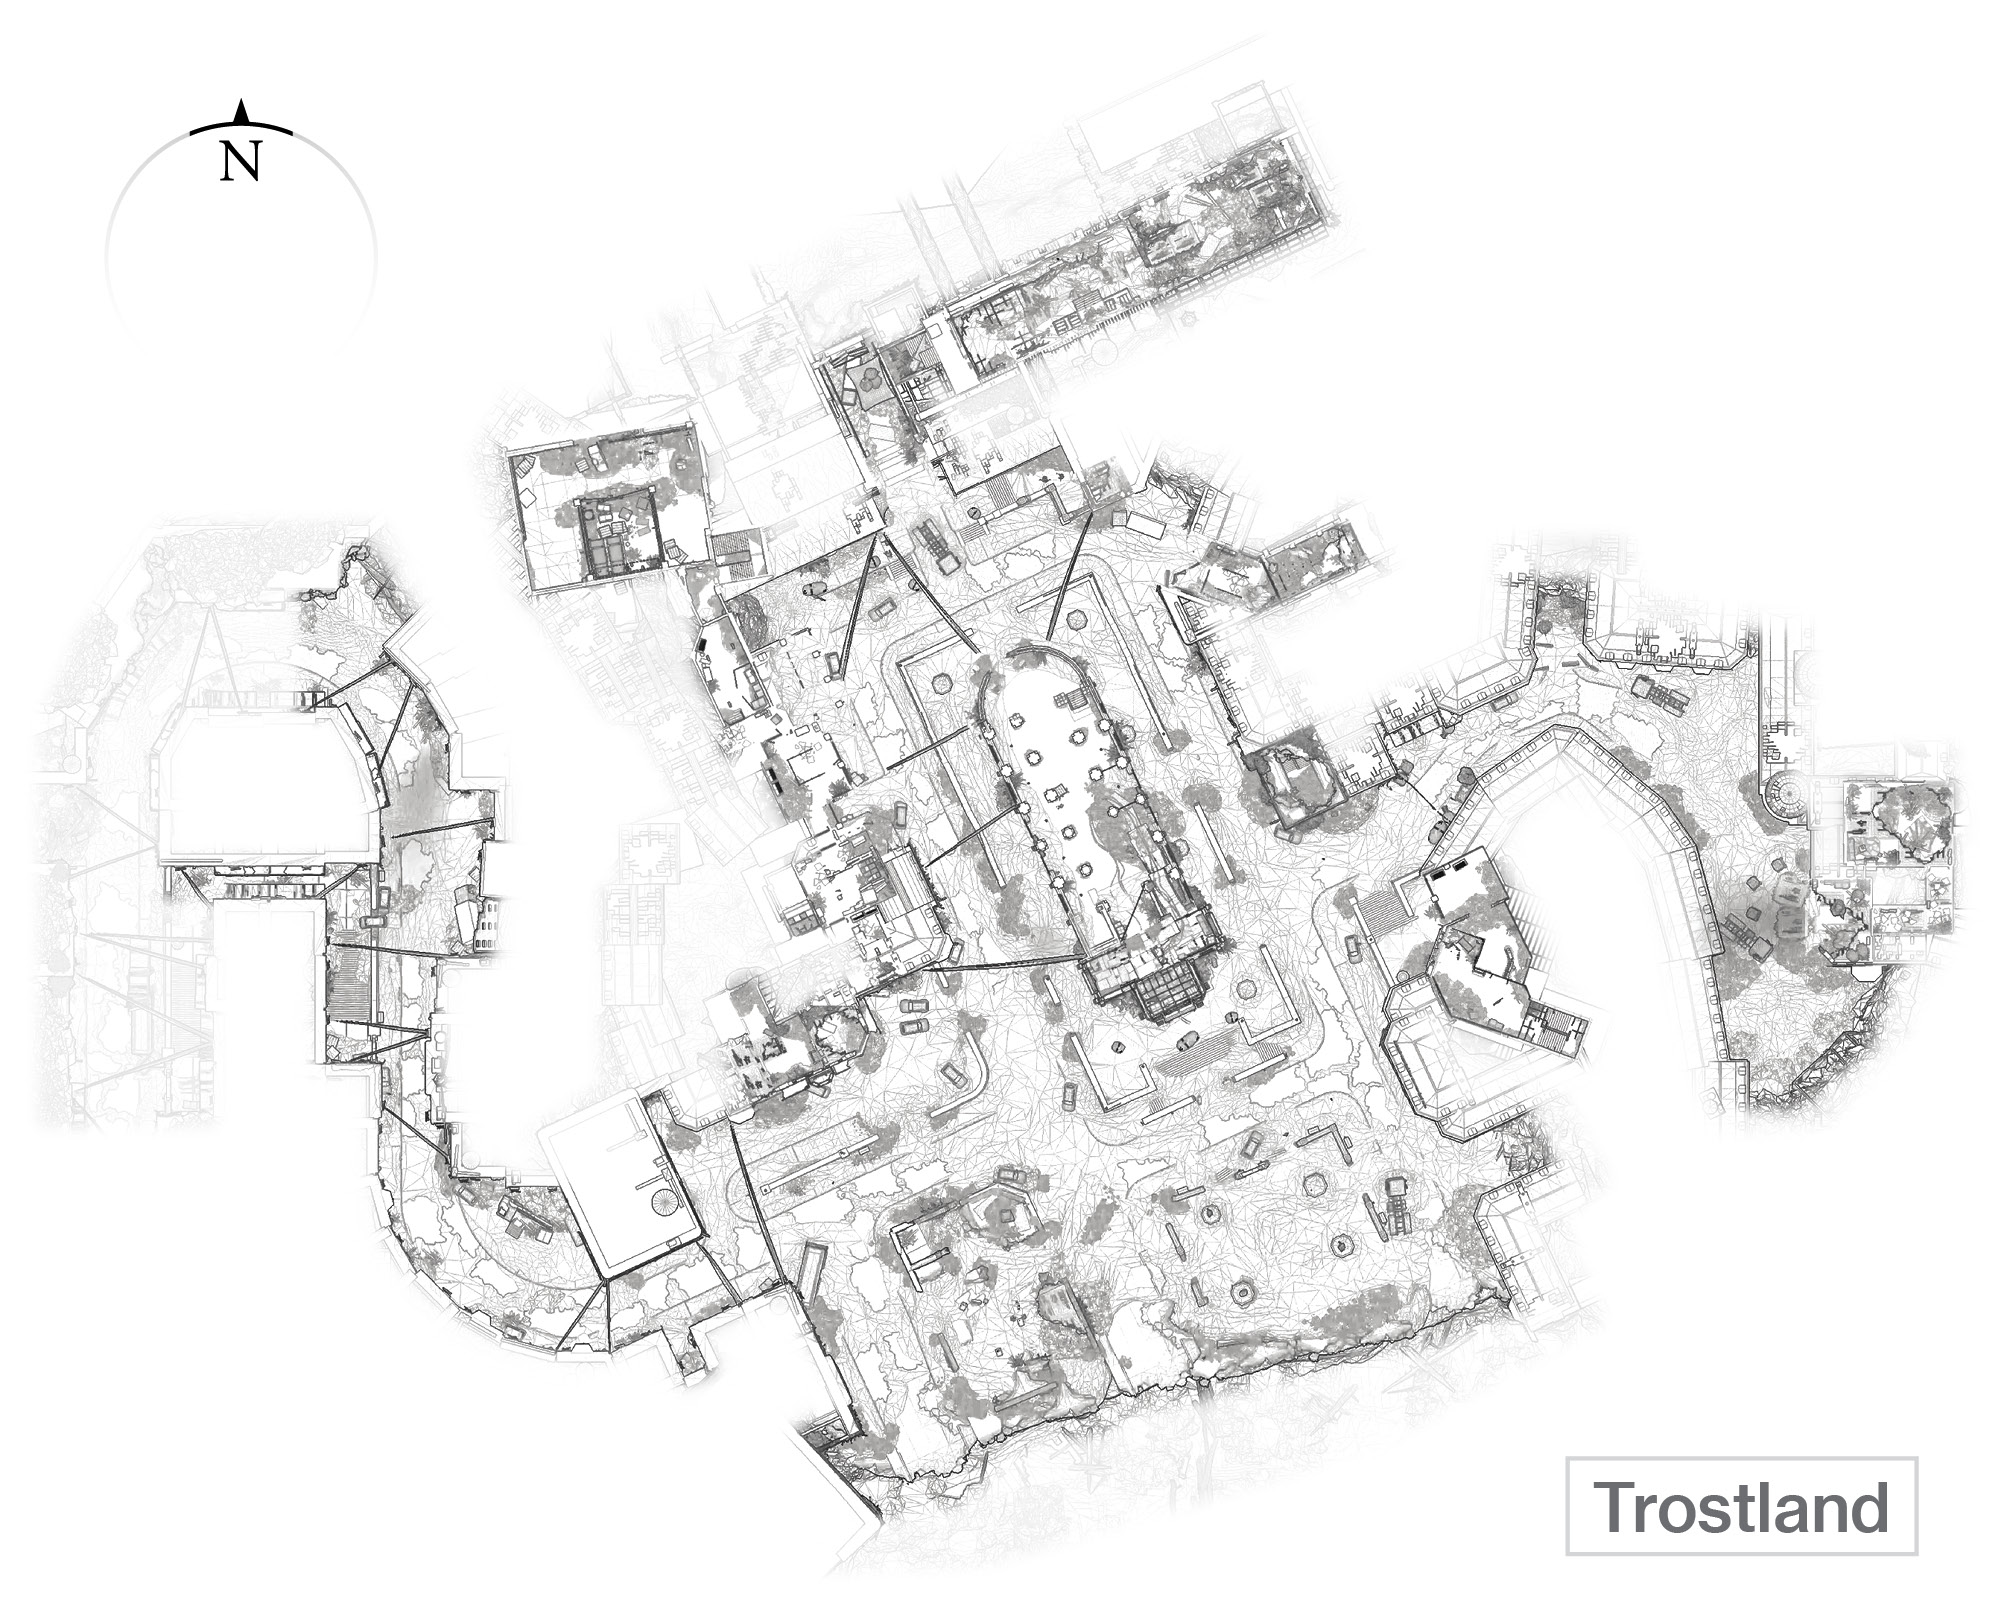
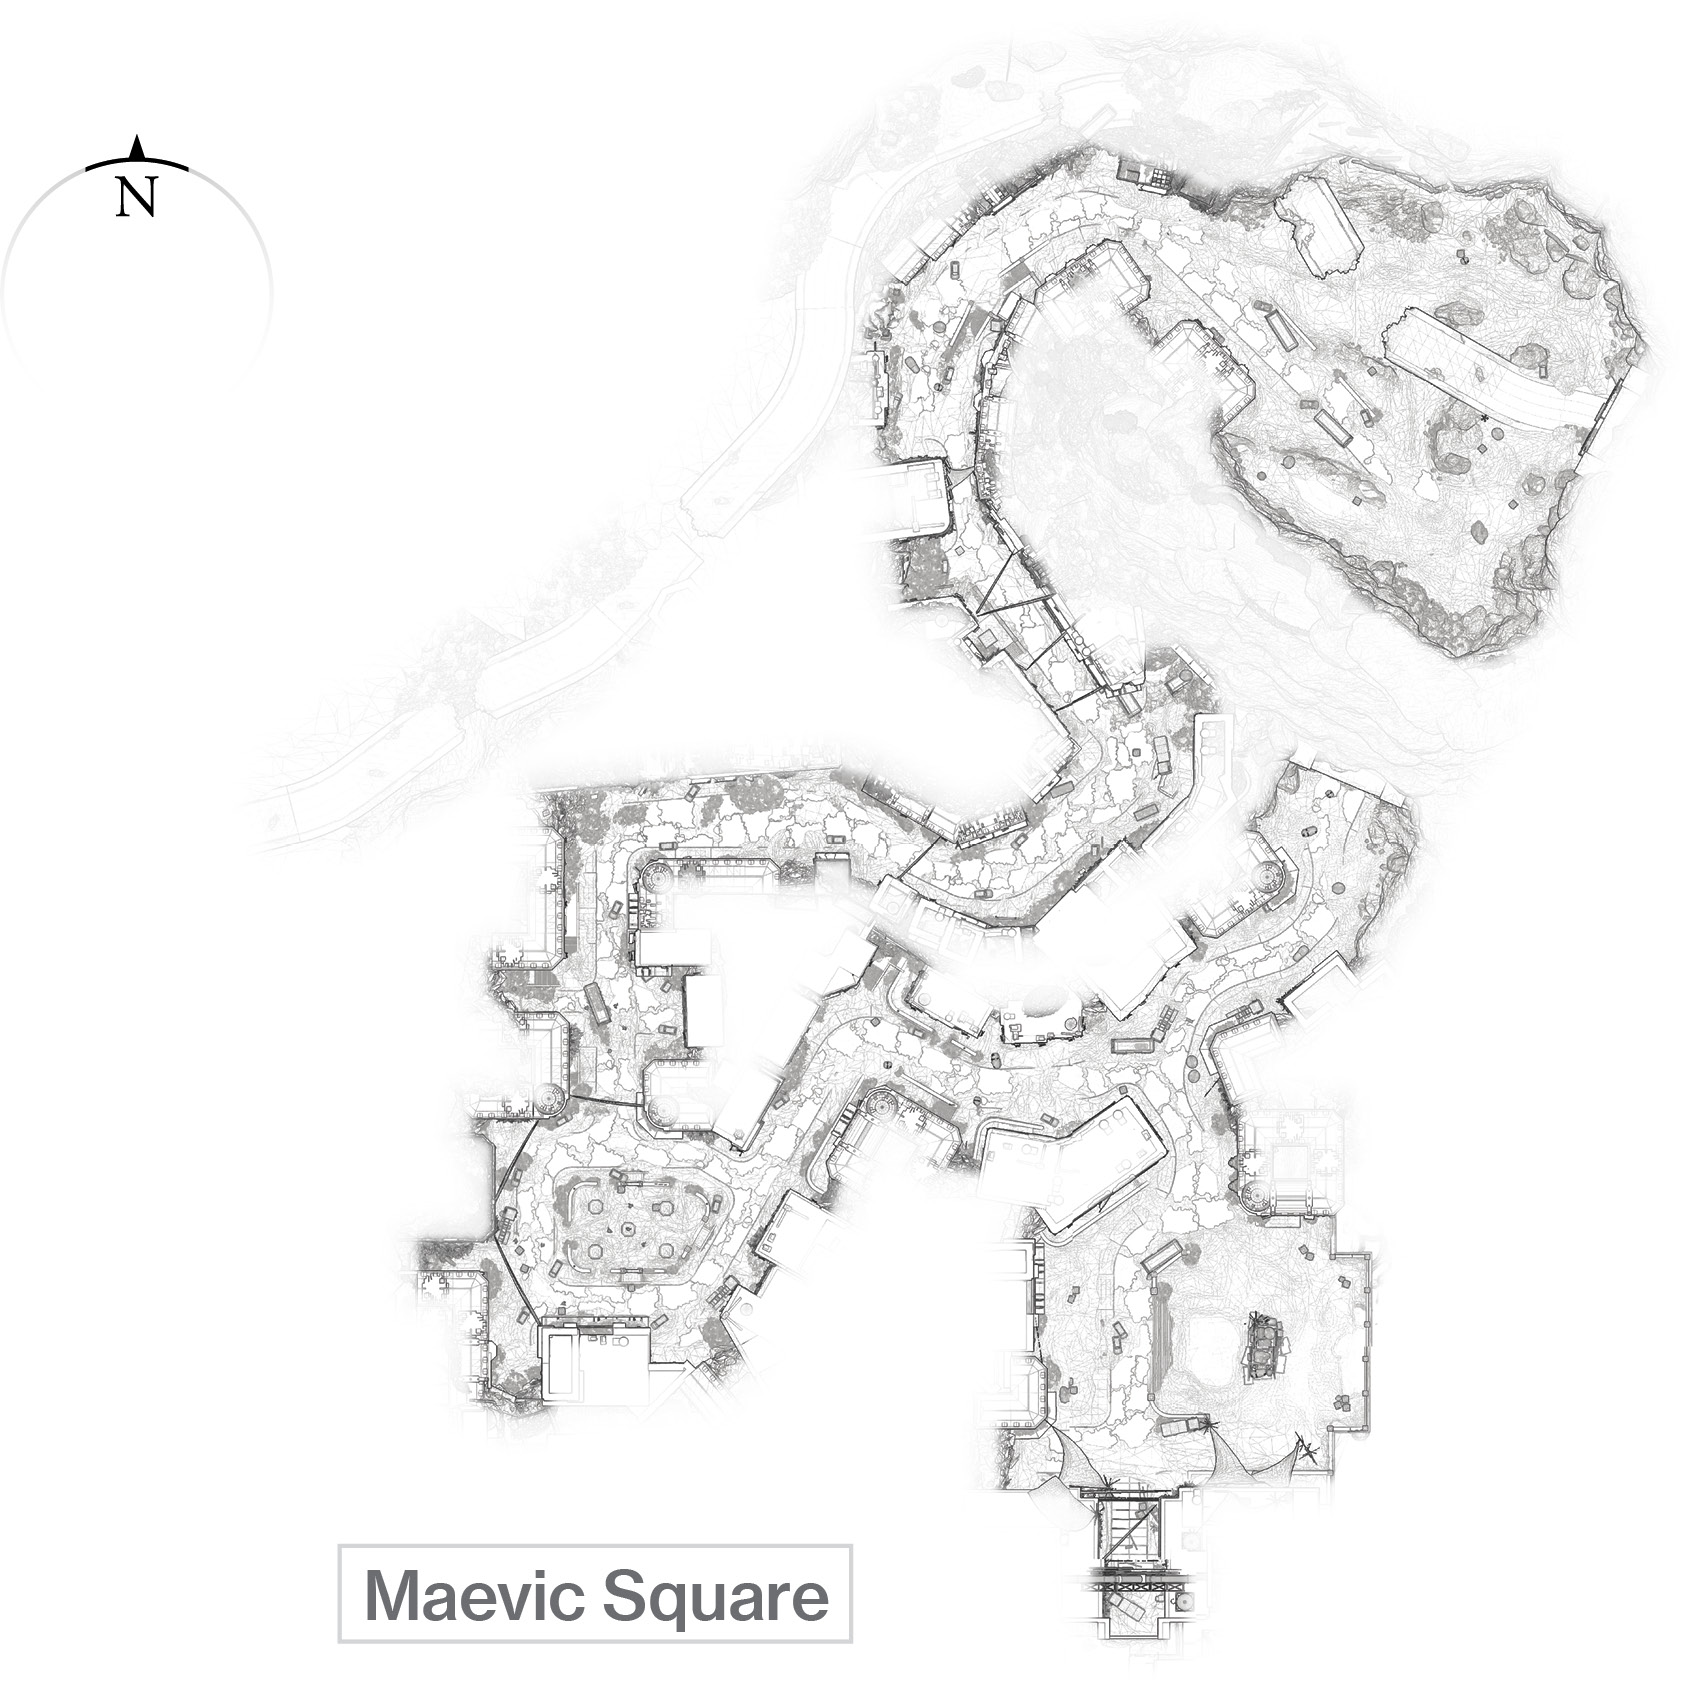
 A Blight on the Landscape: Three Plaza Control
Super: Optional (one player).
Grenades: Optional (all players).
Variations: High-Value Targets, other enemies may appear, enemies in different locations.
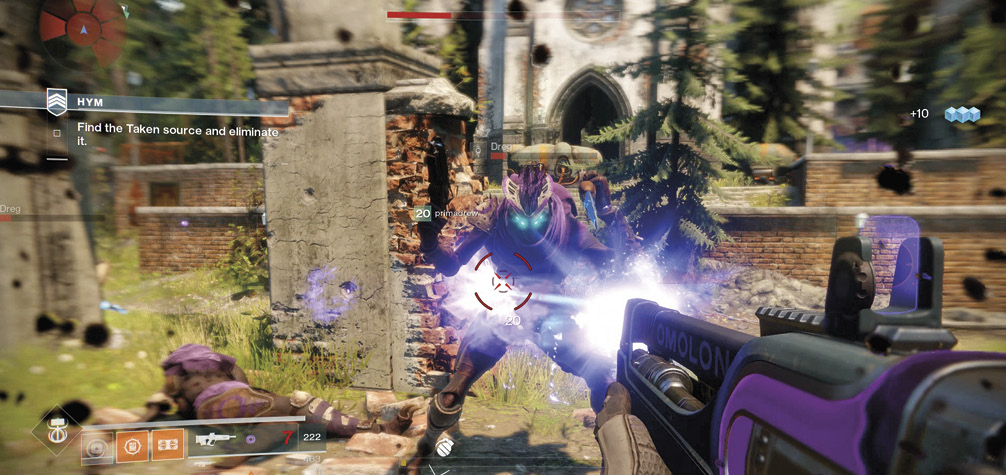
Begin with a pitched battle between Cabal and Fallen forces in the cemetery courtyard south of the church. Concentrate on ridding the area of the Centurion first, then the scattered Legionaries and Fallen Wretches. These are joined by a second wave of (mainly) Legionaries dropping in from above and Dregs scampering out of the ruined buildings on the eastern side of town. There’s no real need to keep fighting longer than you must. High-Value Targets and other enemies irrelevant to this Strike can appear in this Sector, so move eastward to the street linking Trostland to Maevic Square.
 Super: Recommended (one player)./ Grenades: Recommended (all players).
The objective updates as you reach the plaza and spot your first Taken incursion. There are Centurions, Psions, and Phalanxes to contend with. Keeping one teammate on the ruined entrance building while the others head into closer combat is a good idea, with the Centurions as your priority targets (due to their homing rift ball attacks). You’re here to remove the black pulsing Blight domes, but your weaponry doesn’t work until you’re within the dome.
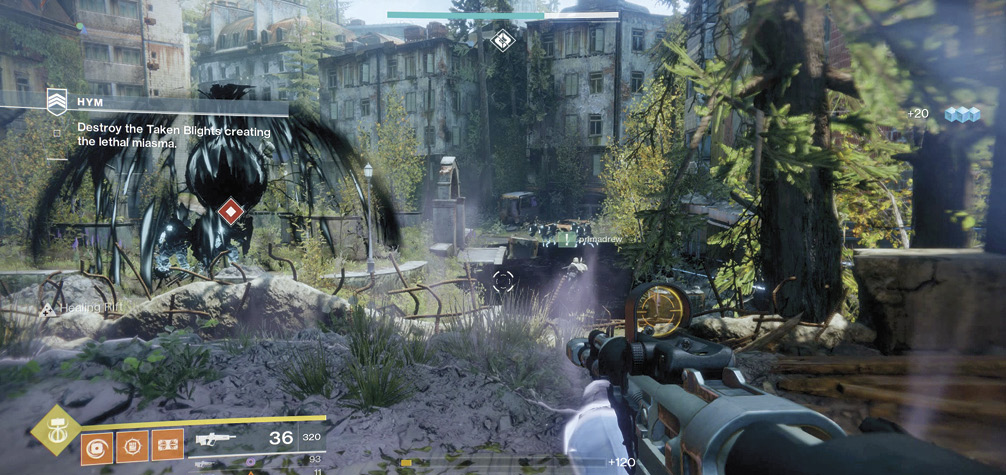
Therefore, it’s worth clearing the area of foes first, or covering a teammate who is attempting to knock out a dome. Shotguns are great at demolishing the bulbs of the dome in seconds, and two players raking shotgun fire at a Blight makes quick work of these problems.
Take the road on the right (northeast) side and work your way up it, dealing with Taken Hobgoblins, then Thralls and Phalanxes at the second Blight itself. Don’t step in the black ooze, as that’s harmful. Grenades are good at damaging multiple foes near or around the Blight, where they tend to congregate. Do this after you execute the Hobgoblins from distance so you aren’t sniped as you ascend the street.
 Super: Recommended (all players)./ Grenades: Recommended (all players).
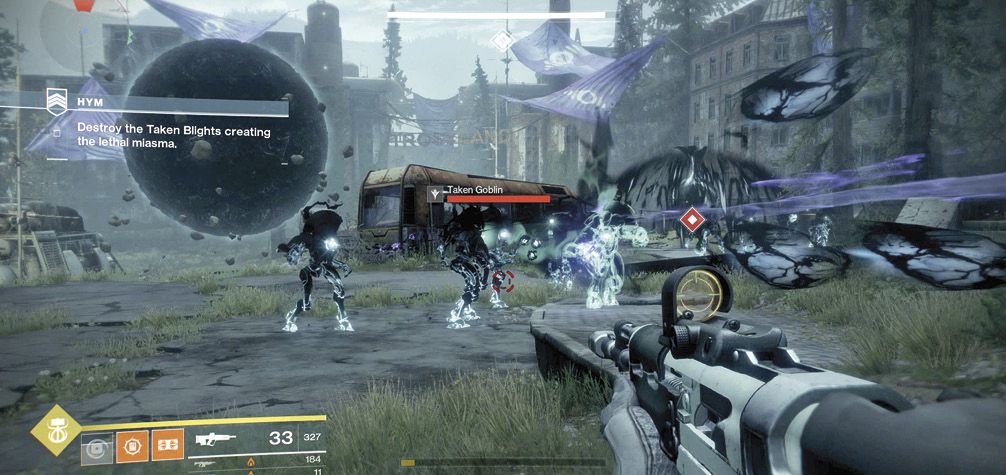
Sub-Boss: At the top of the street, turn to enter a shoreline plaza with a major Taken presence. Aside from the worryingly large rift globe in the center of the plaza, there are Taken Goblins (who can link to others and keep them almost immune, so make them priority targets) and Taken Captains (who can fire huge rift balls at you that you must dodge). With the initial enemies on the perimeter defeated, have one of your teammates execute a Super. Clear the foes around the first Blight, finishing the Blight off as quickly as possible. Your other two allies should move toward the Trostland sign at the entrance to The Reservoir, where the second Blight is.
The enemies below the Trostland sign are led by a named Taken Centurion, and you should concentrate your firepower on him. As the foes are bunched up and guarding the entrance to The Reservoir, you don’t really need to expend a Super to defeat this Sub-Boss, but grenades are helpful.
There’s plenty of cover for you, and long-range takedowns are also easily attempted. When you’ve defeated the last Taken, the entrance into The Reservoir (the rubble opening in the wall to the left) is accessible.