
Destiny 2 Guide Curse of Osiris Campaign and Strikes
A Garden World (Campaign and Strike)
Recommended Power
- Vanguard Strike: 140+
- Heroic/Nightfall: 270+
Sagira requests your assistance with a bit of a Vex problem in the Infinite Forest. There are many simulations running, some initialized by Vex and some initialized by Osiris (that may have gained sentience). Whatever probability you face, you will be heading through the Infinite Forest and into the Simulant Past, where Mercury was first-becoming terraformed. There will be large groups of enemies within the Forest and in the Past, so bring anything that packs an AoE punch or damage multiplier to bore through the simulacrums. The scale of battle and ferocity of combatants will only increase with Heroic and Nightfall variants.
Campaign and Strike Comparison
This section covers the Campaign and Strike versions of this mission. This mission can be replayed in the form of a Strike within the Strike playlists, or as a Meditation from Ikora Rey at the Tower. The campaign version of this mission features a more manageable single-player experience. During the campaign the enemies will all be Vex, aside from the enemies within the Infinite Forest. In Strike variants you will experience greater challenges and more varied enemies at each encounter. We’ve combined the Campaign version and the Strike version here to provide a base.
Nightfall Strike
Cabal will be present here along with increased amounts of Vex when compared to the campaign or other strikes.
The Lighthouse
Restricted Zone
Objectives
- Enter the Infinite Forest
Enemies Encountered
- Expect Infinite potentialities within the Infinite Forest
- Vex: Goblins
- Cabal: Legionaries
Infinite Forest Entrance

Super: Optional (one player)
Grenades: Optional (one player)
Variations: Varied Vex Goblins and/or Cabal Legionaries (Strikes)
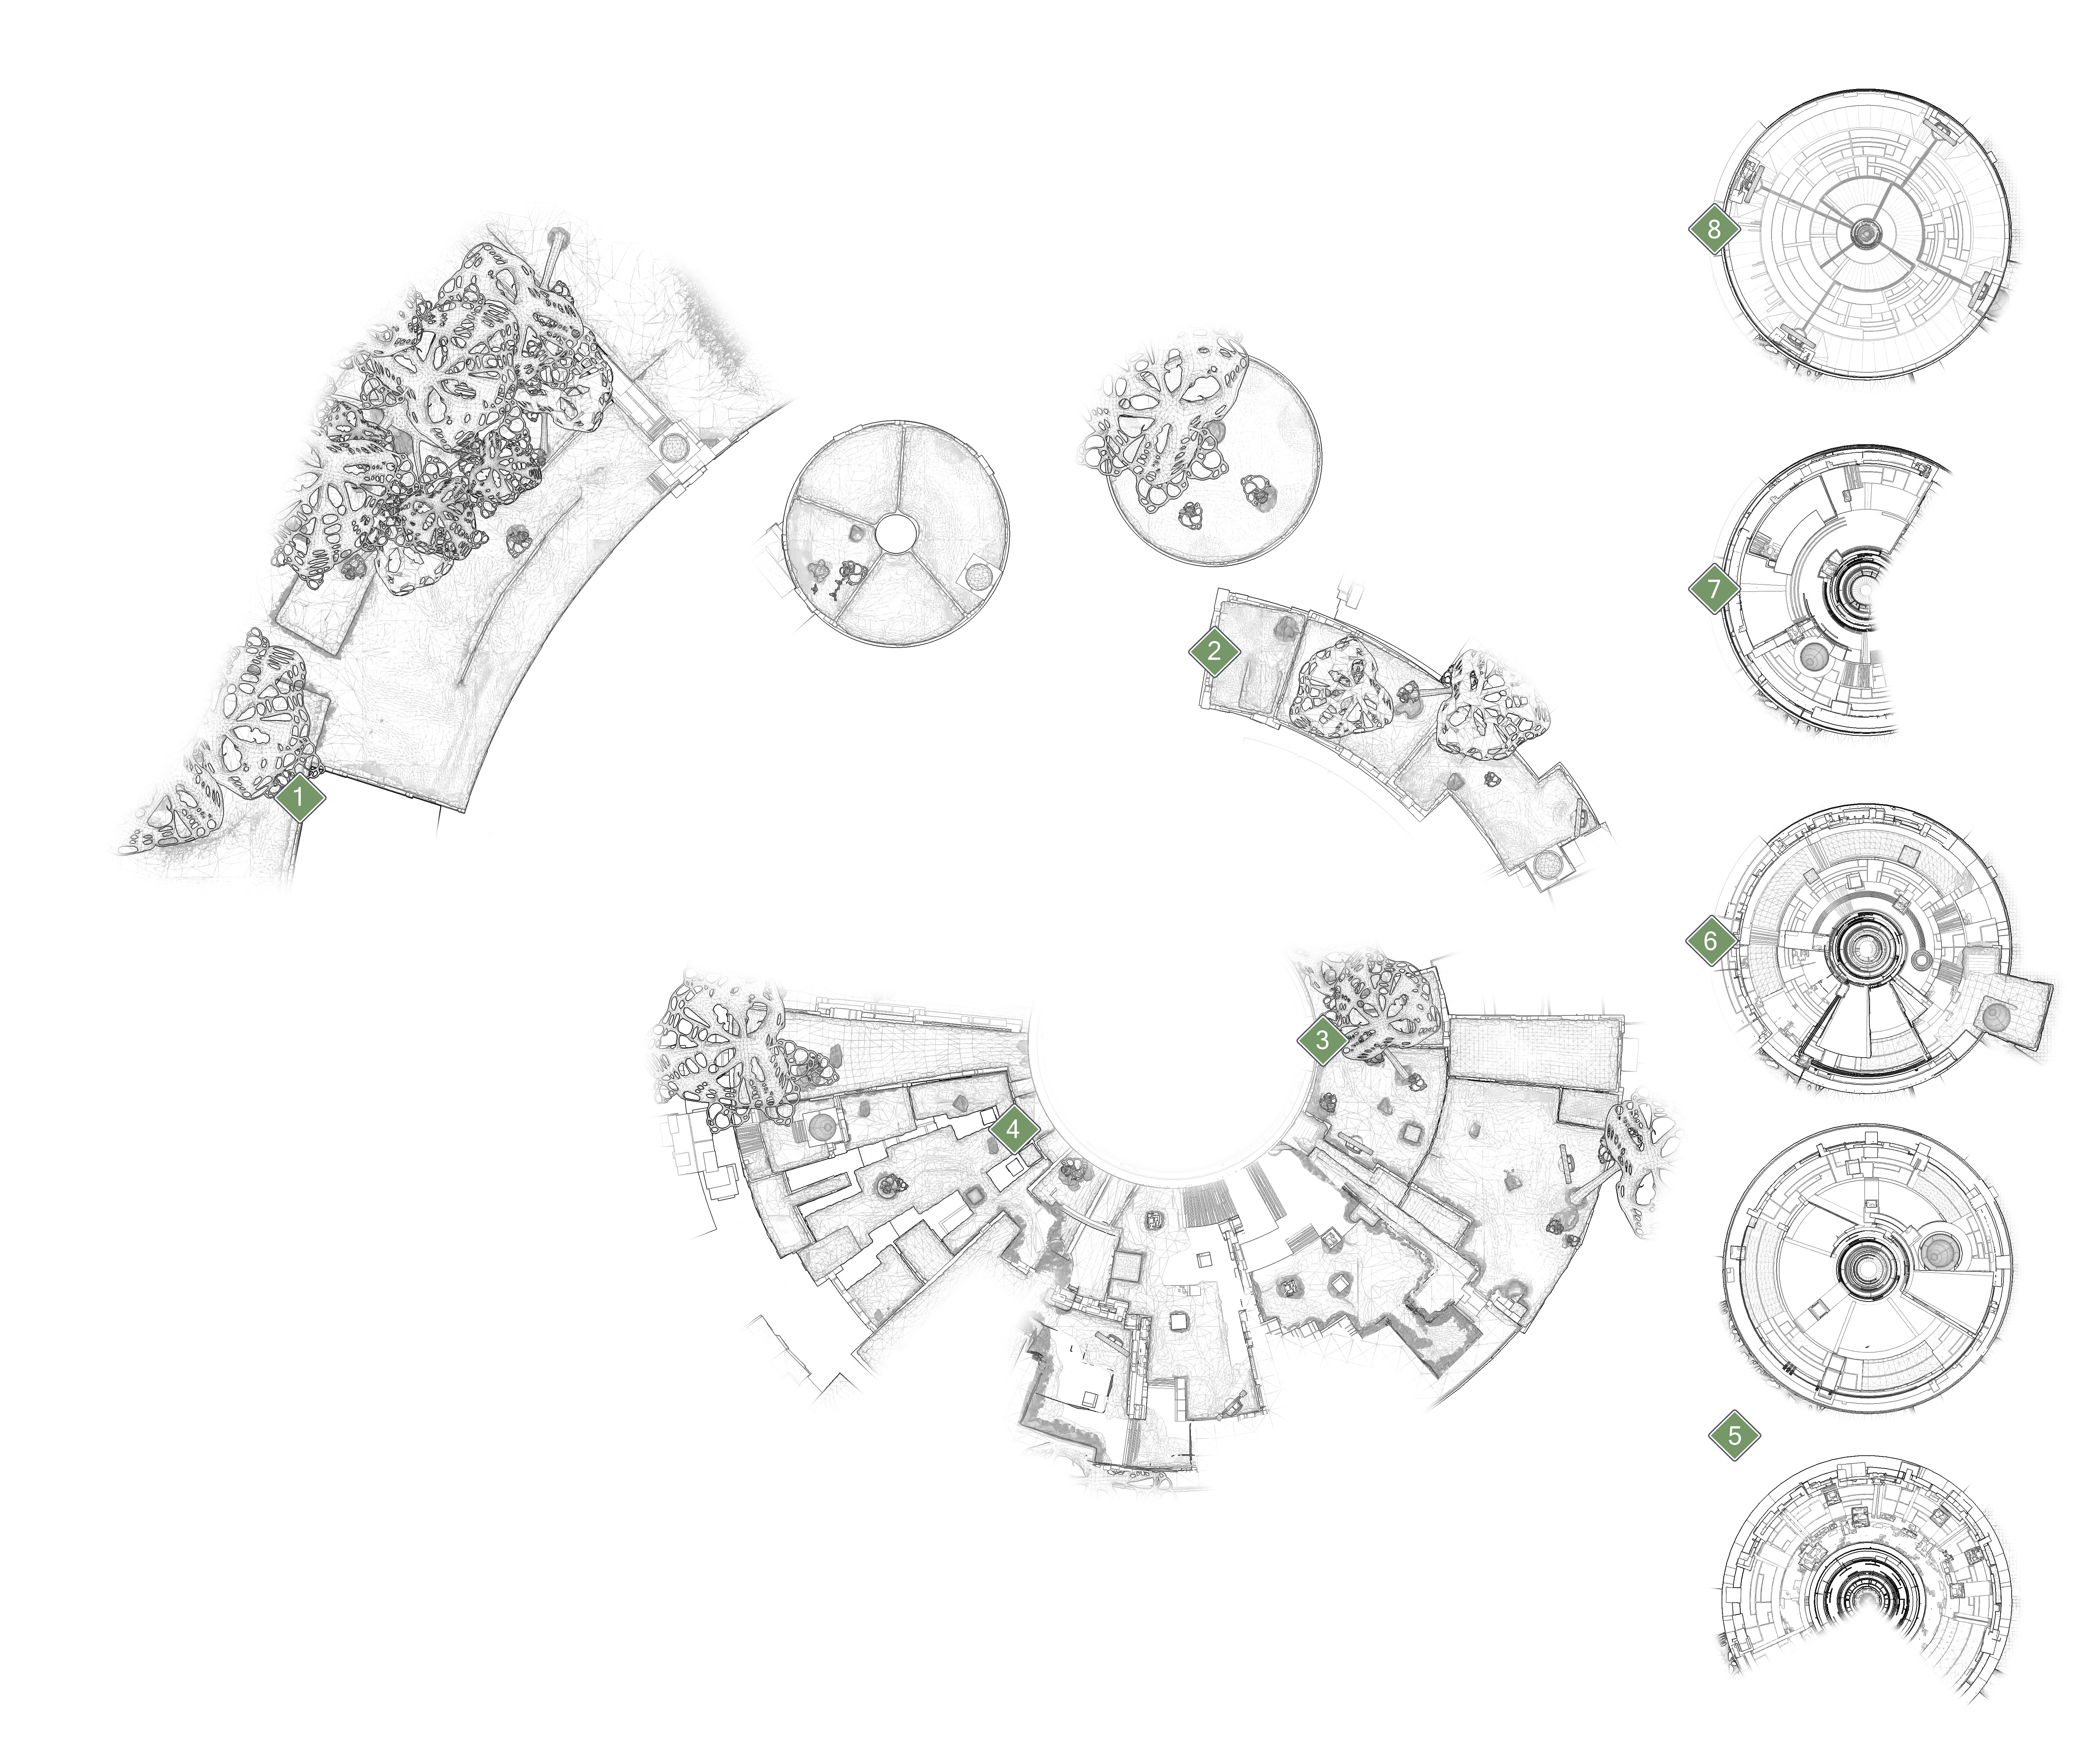
On the approach to the Infinite Forest, you are met with either a small guard of Vex Goblins or with a skirmish between a smattering of Vex Goblins and Cabal Legionaries. Dispatch their numbers quickly, but if you’re in a real hurry you can easily breach their lines and make your way into the Infinite Forest via the Vex gate. Pass through the chamber into the Infinite Forest.
Infinite Forest
Fields of Glass
Objectives
- Search for a Gateway to the Simulant Past
- Enter the Past
Enemies Encountered
- VEX: Quantum Cyclops
- VEX: Goblins
- VEX, CABAL, HIVE, TAKEN, FALLEN: Infinite variations of all known enemies of the Vanguard
First Eventuality

Super: Recommended (one player)
Grenades: AoE-based grenades recommended (one player)
Variations: Infinite
You’re in the thick of it now. For Strikes, the welcoming party will consist of a gold-bar Quantum Cyclops with a small grouping of Vex Goblins. During the Campaign there’s no Quantum Cyclops. These can be quickly taken down with one or two grenades and a hail of gunfire. Use the large stone blocks nearby for cover. Get through the Infinite Forest by any means necessary. Take down Daemons to open sealed gates.
Last Eventuality

Super: Recommended (one to two players)
Grenades: Recommended (all players)
Once you’ve made it through the Infinite Forest, the last thing you'll encounter will be another small group of Vex Goblins along with two Quantum Cyclopes. During the Campaign, there will be only one Cyclops. Hopefully you and your team have a few grenades, Power ammo, or a Super to blitz through these Cyclopes. Otherwise, take them down from a distance from the last “Tree” platform, or use the nearby cover to take them down steadily. After they’re disabled, get through the next gateway into the past.
Simulant Past
Fields of Glass
Objectives
- Enter the spire
- Sabotage Vex security protocol modules
- Enter the spire
- Climb
- Overcome the Vex
- Defeat Dendron, Root Mind
Enemies Encountered
- Vex: Precursor Goblins, Precursor Harpies, Precursor Hobgoblins, Precursor Fanatics, Precursor Minotaurs, Shielded Minotaurs, Precursor Fanatics
- Cabal: Legionaries (Strikes)
- BOSS: Dendron, Root Mind (Cyclops), Shielded Minotaurs, Precursor Goblins, Precursor Hobgoblins
 First Plateau

Super: Recommended (one player)
Grenades: Recommended (one to two players)
Variations: Cabal Legionaries (Strikes)
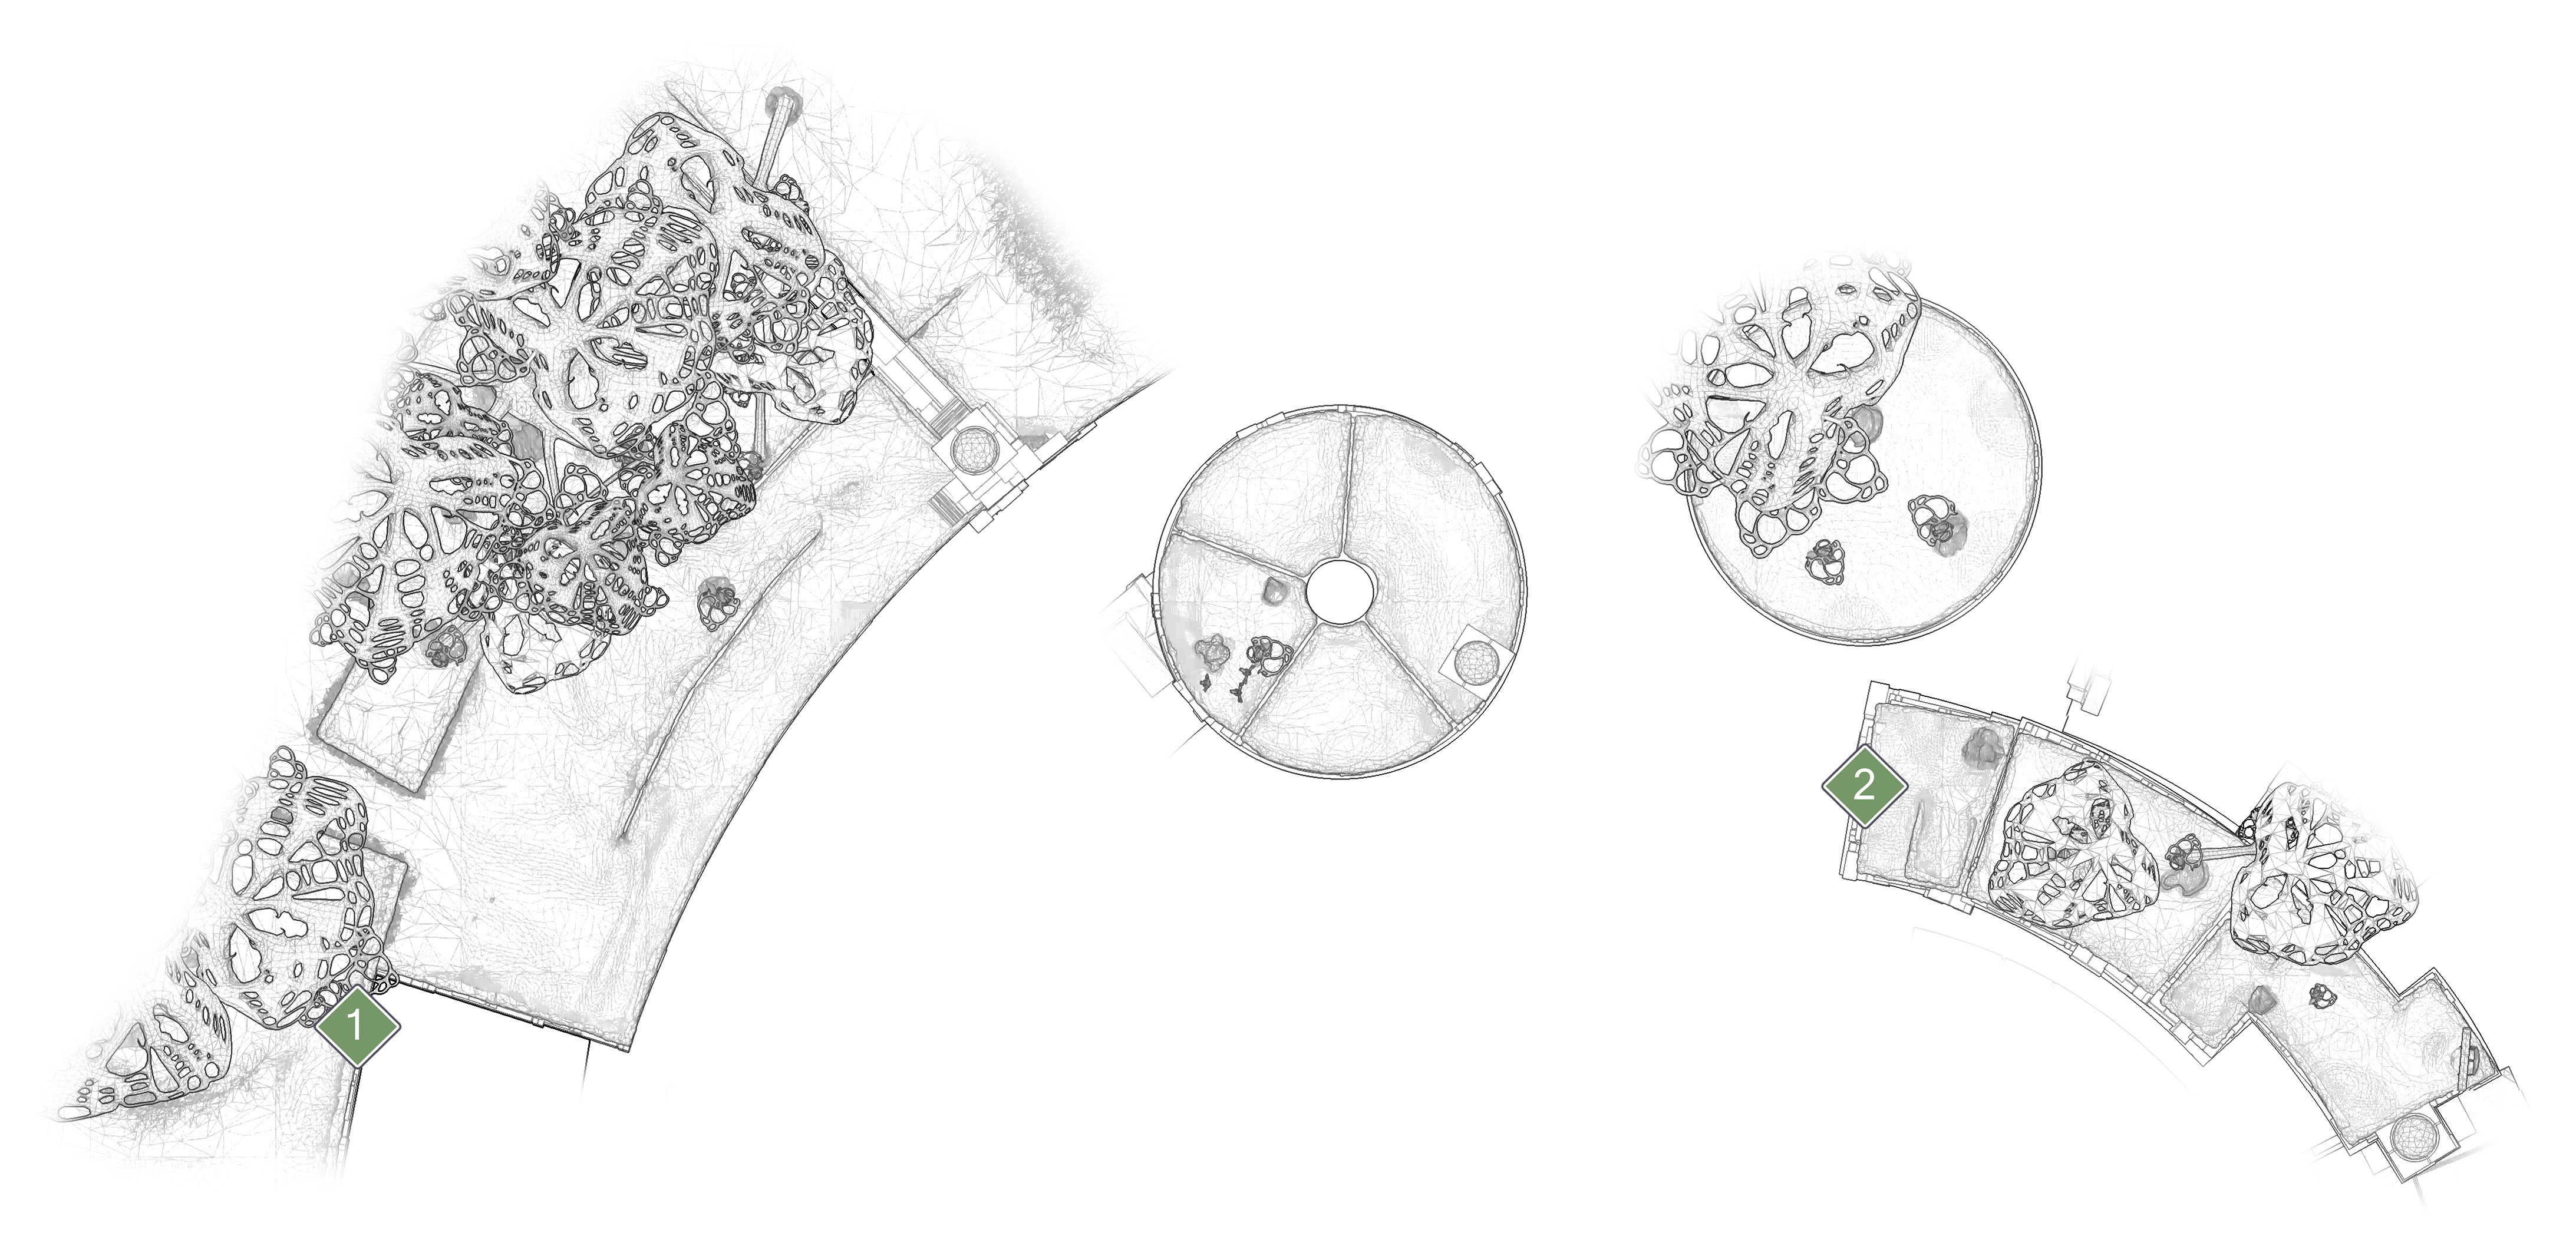
Right out of the gateway you’re going to be faced with large groups of Precursor Vex, and some Cabal during Strikes. You know what to do. Destroy their radiolarian fluid abdominals until they explode, preferably taking their nearby companions with them. A weapon such as Better Devils or anything with explosive or AoE-type rounds works nicely. It may also be prudent to exercise the use of explosive or AoE grenades. An early Super may be necessary to quickly carve a path. Once the first plateau is cleared, jump on the gravity cannon to the first circle platform. Alternatively, if you’re up against a clock, this area can be rushed.
 Plateau Steps

Super: Optional (one player)
Grenades: Optional (one player)
Variations: Cabal Legionaries, Additional Vex
Destroy the immediate Vex threats and the security protocol modules to access the Vex cannon. You’ve been here before during the campaign, for Strikes the Root Mind has increased security protocols. You must destroy the security modules within the dome shields. Destroying these opens the use of gravity cannons, drops Shielded Minotaur's shields, or opens a passage. Hop on the gravity Cannon to the second circular platform, then hop down to the staircase-like plateau.
On the top of step-like plateau, cull the Vex Harpies and Hobgoblins and dispatch the Precursor Hydra, which has the high ground. One Guardian might snipe the Hydra from the second circular platform. Once the Vex are down, destroy the security module to activate the gravity cannon. Take flight to the next area.
 Chasm of Light

Super: Recommended (all players)
Grenades: Recommended (all players)
Strike Variations: Additional Vex and Shielded Minotaurs
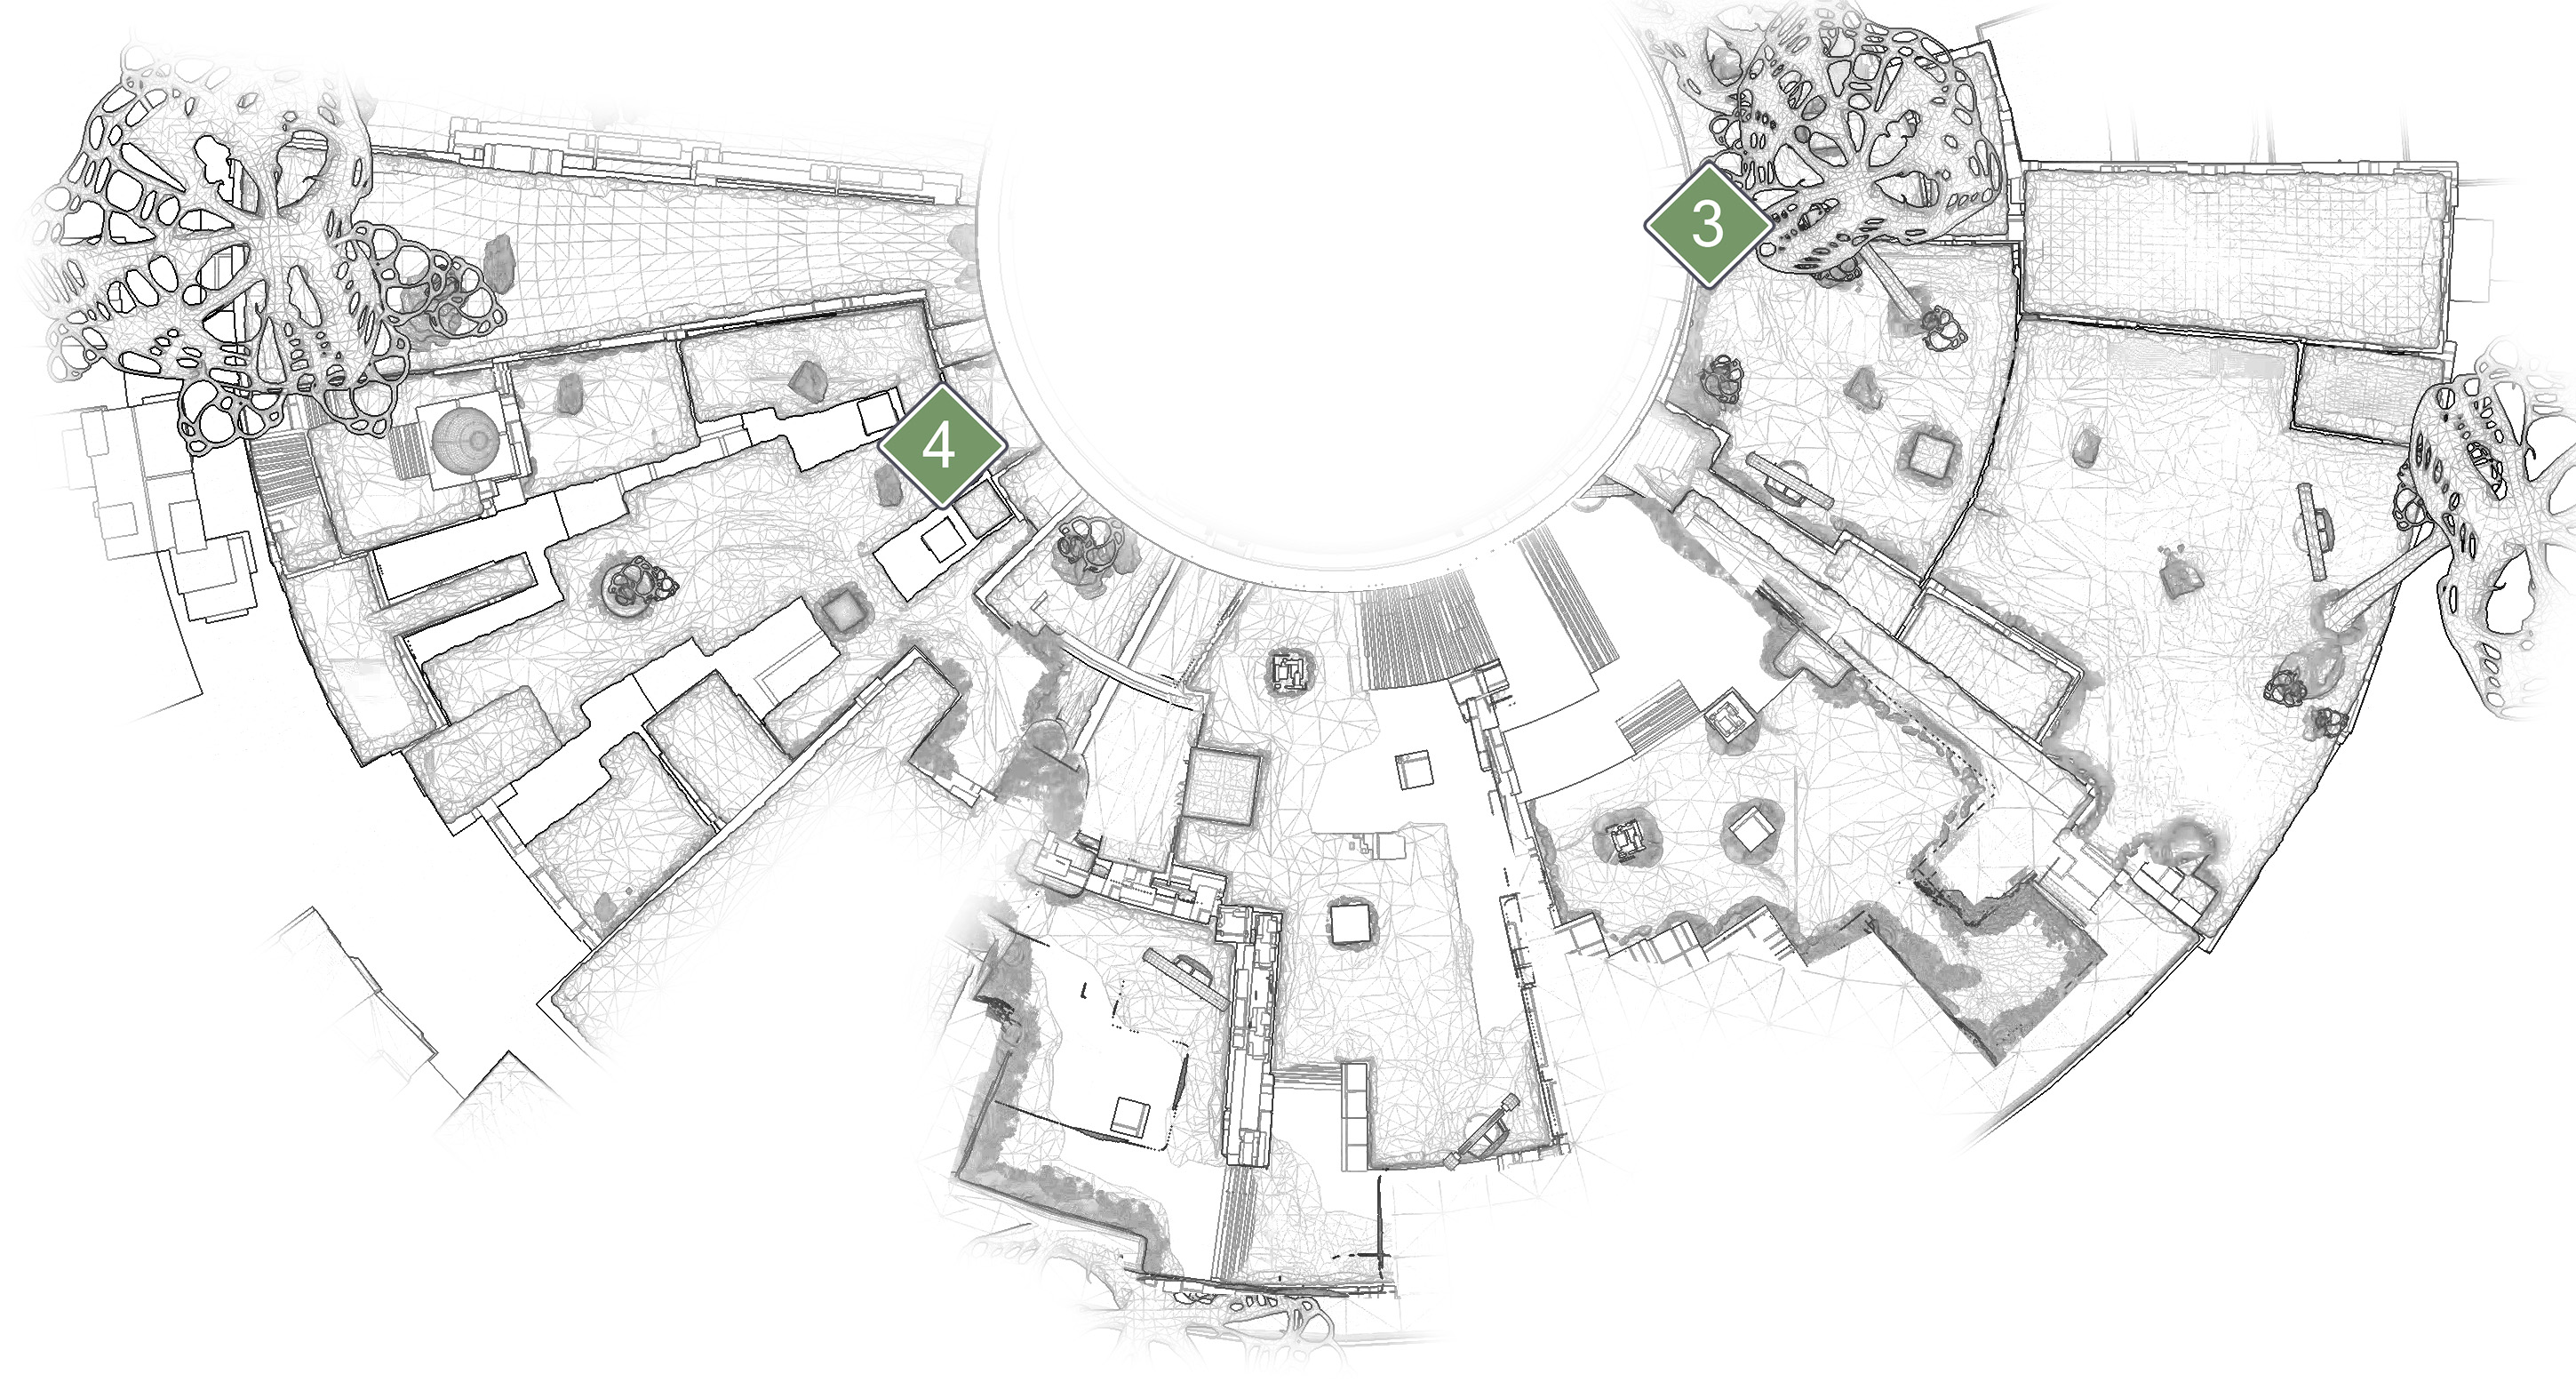
You can play it safe and start by methodically taking down the individual Precursor Goblins, or (if you’ve got a Super ready) rush the Shielded Minotaur’s shield module to drop it’s temporal shield and use a super to clear out all the Vex in one go. Destroying the Minotaur draws out Precursor Goblin reinforcements. Show them the Light, Guardian!
If you took the safe route to dispatch the Precurspr Goblins, next you’ll face trudging Precursor Fanatics. Target Fanatics and let the ground run with radiolarian fluid. Guardians conserve ammo when they detonate Fanatics crowded together. This allows the Fireteam to more-easily deal with the surrounding Goblins, Axis Goblins, and the larger Shielded Minotaur. The Vex bubble shield can also block incoming fire if you need a brief refuge, but not against an enemy within the shield.
Once the Minotaur is defeated there will be incoming Precursor Goblins. Once all enemies are summarily dismantled, destroy the second security module to open a passage along the cliff face.
Basement and Chasm of Radiolaria

Super: Optional (one player)
Grenades: Optional (one player)
Strike Variations: Additional Vex and Shielded Minotaur
Drop down into the watery basement of the spire. Destroy any enemies in the immediate area and work your way to the staircase.
The floor above the basement consists of a smattering of Precursor Goblins and Minotaurs. Eliminate them. They should be worth five or more Orbs with a solid AoE Super. At the far end of the area is a security module, which you should also eliminate. Hopefully you’ve got a Void weapon to explode the Minotaurs and damage foes nearby. Disabling the security module opens the next area.
 The next area is another chasm with another Shielded Minotaur, this time aided by a few Precusor Minotaurs. Intrepid Guardians may quickly handle the Precursor Minotaurs with Void Power weapons. Take down the shield module, and take down the Shielded Minotaur. Be careful to avoid stepping in the Vex radiolarian fluid in the area. Once the Shielded Minotaur is down, another Precursor Minotaur will spawn along with some Hobgoblins. Disable the security module to access the next gravity cannon.
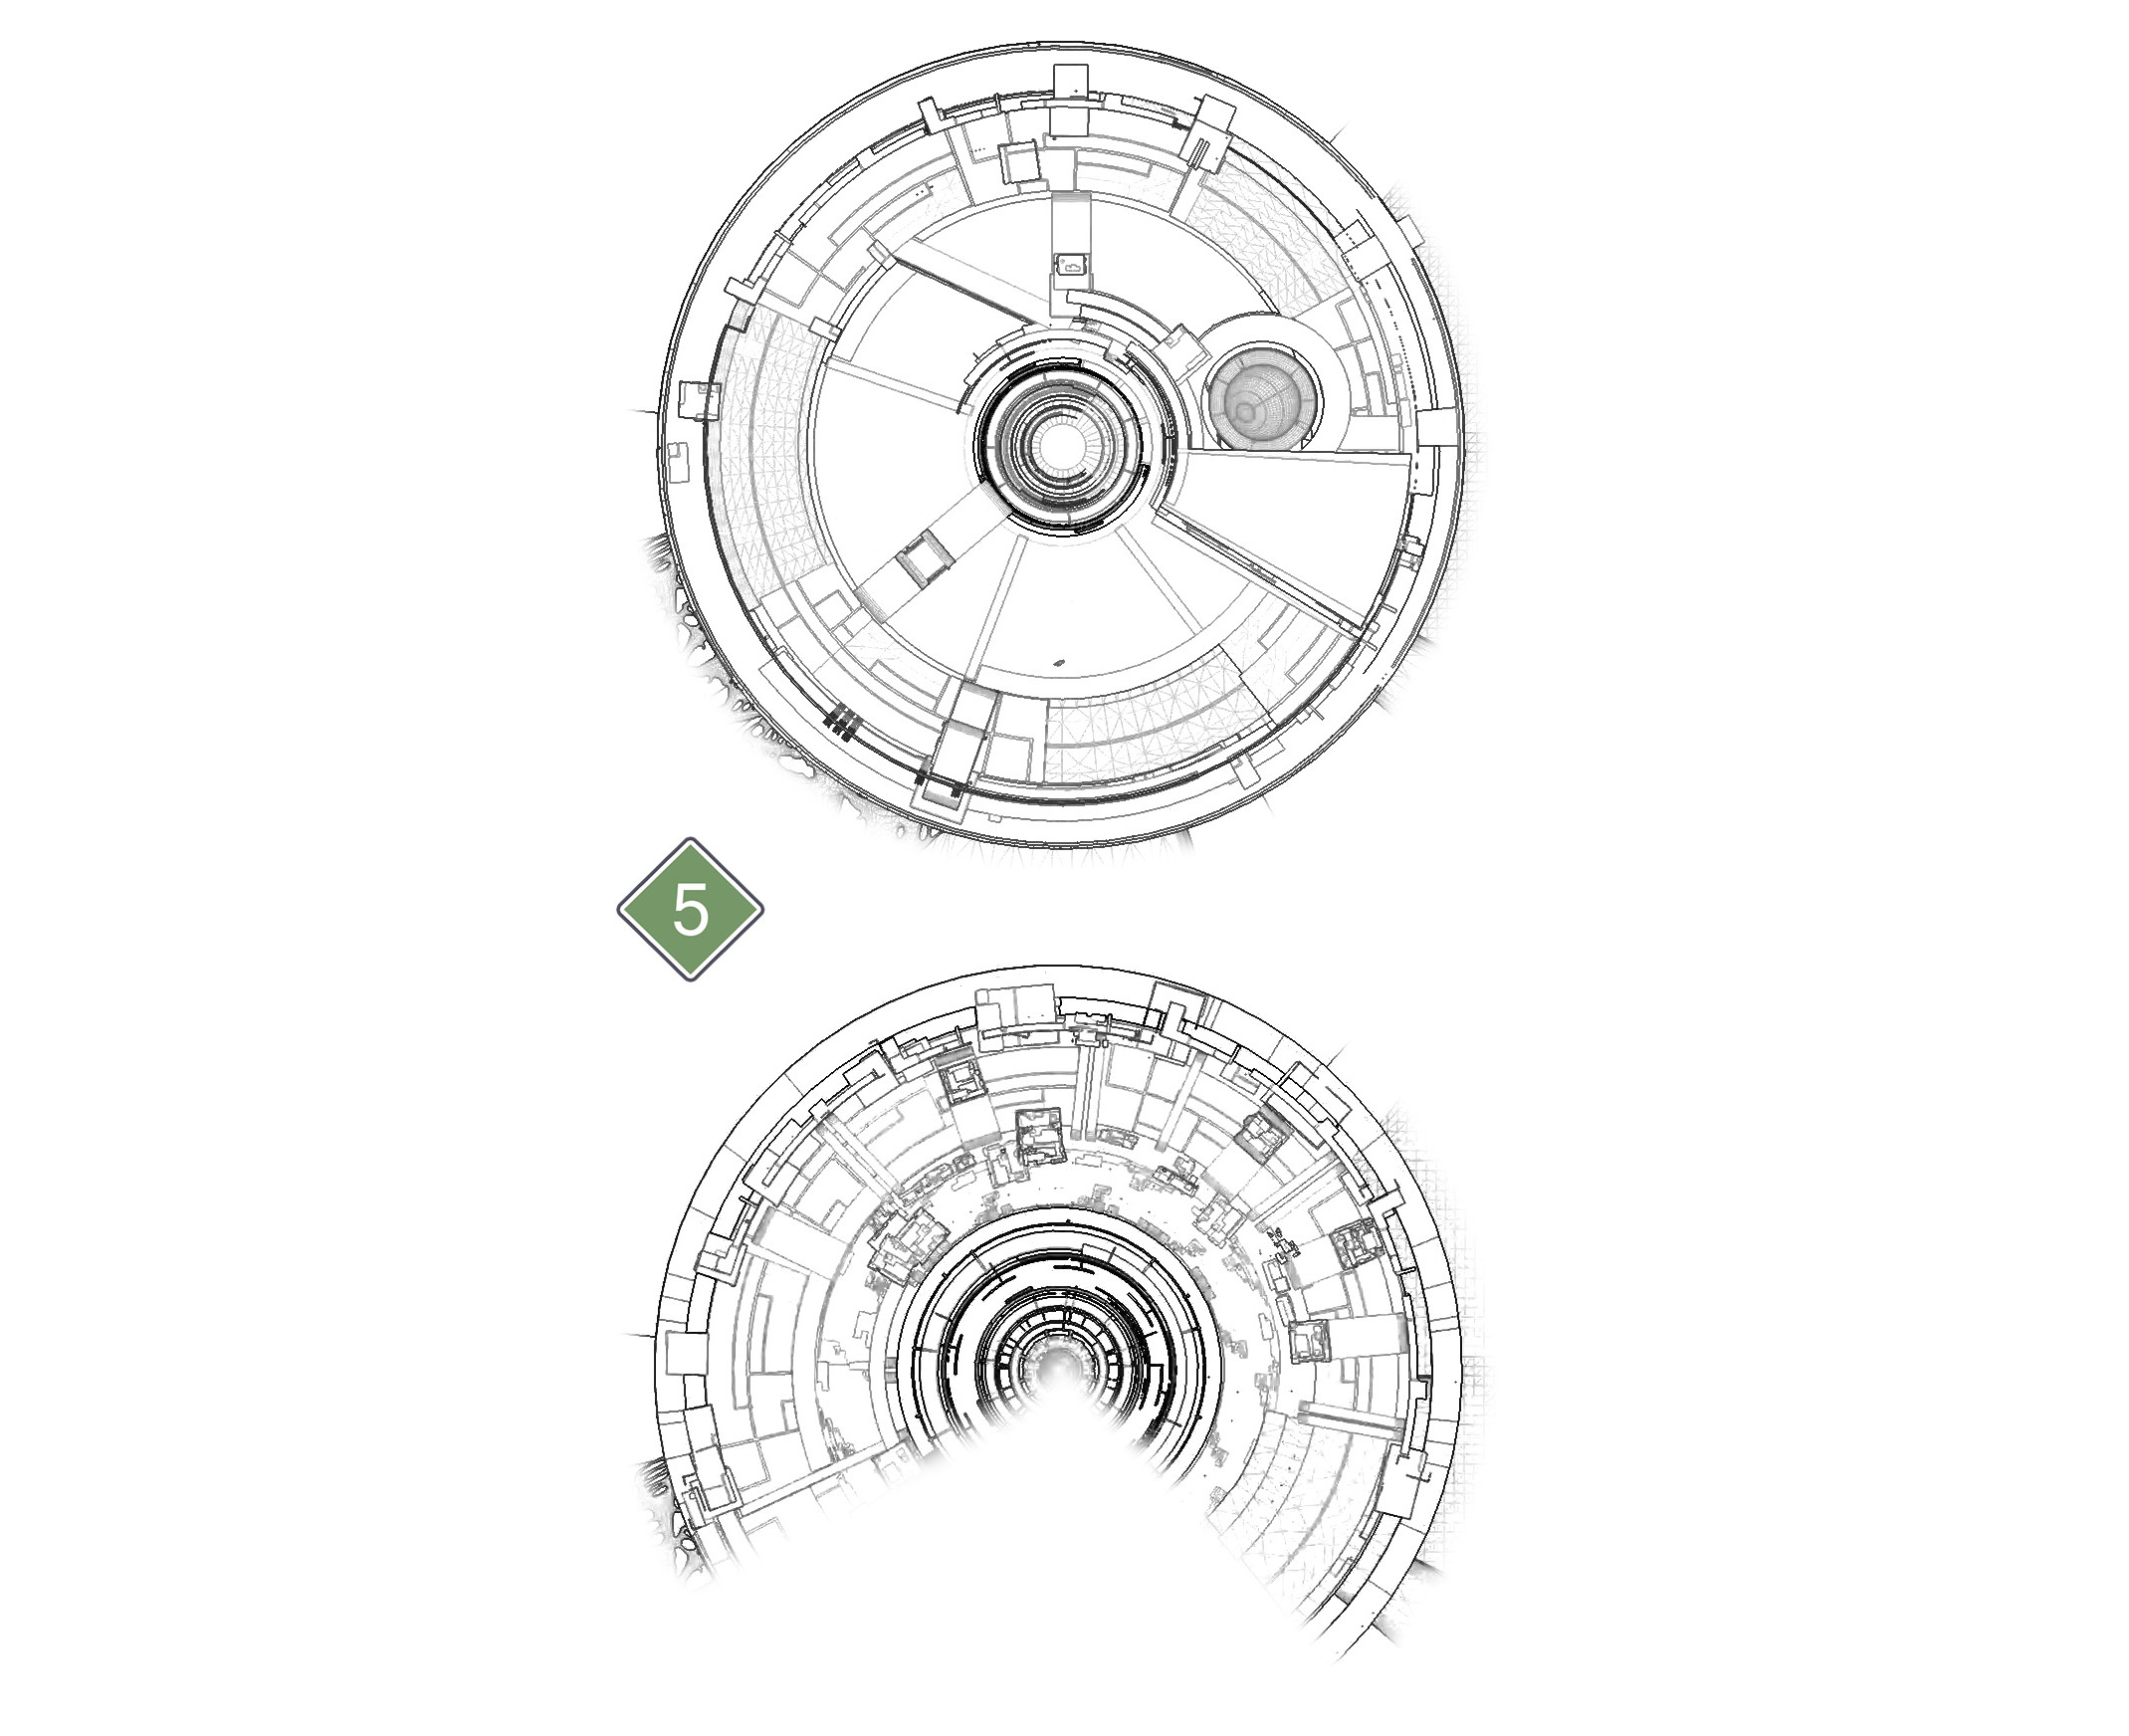
 Gardener’s Spire, Floor 1

Super: Recommended (all players)
Grenades: Recommended (all players)
Variations: Additional Vex
Begin climbing the spire. When you meet several Precursor Goblins on a ramp circling the spire wall, you can push through them easily enough. Destroy a Precursor Minotaur blocking the next gravity cannon. Ride the gravity cannon with your fireteam and meet nicely bunched up Precursor Fanatics. Quickly pop the center-most Fanatic while they’re still close together and move along.
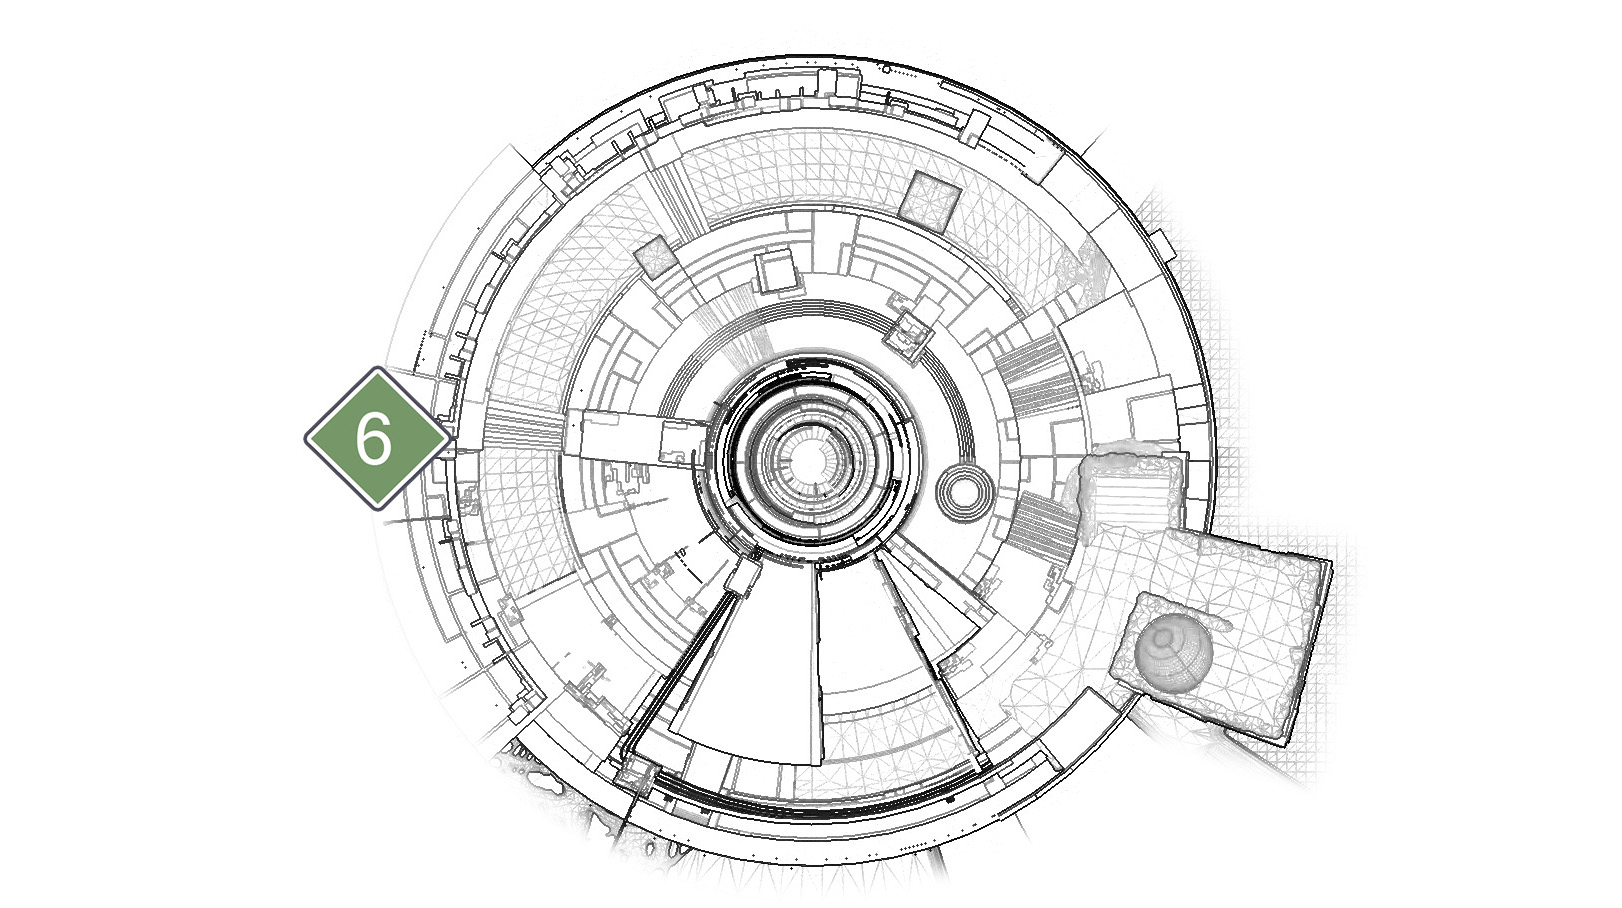
 Now might be a good time to throw some grenades or cast a Super, but save or build a Super for the next area as well. Up the stairs, take out as many Hobgoblins on pillars as possible before reinforcements arrive. A large group of Harpies and Goblins arrive to assist the Hobgoblins, and after these stands a Minotaur or two. Deal with the Minotaurs and the lesser Vex. Disable the module providing a shield to the Shielded Minotaur then destroy the Shielded Minotaur. Take out the second module to access the gravity cannon. Before riding the activated gravity cannon read the next step.
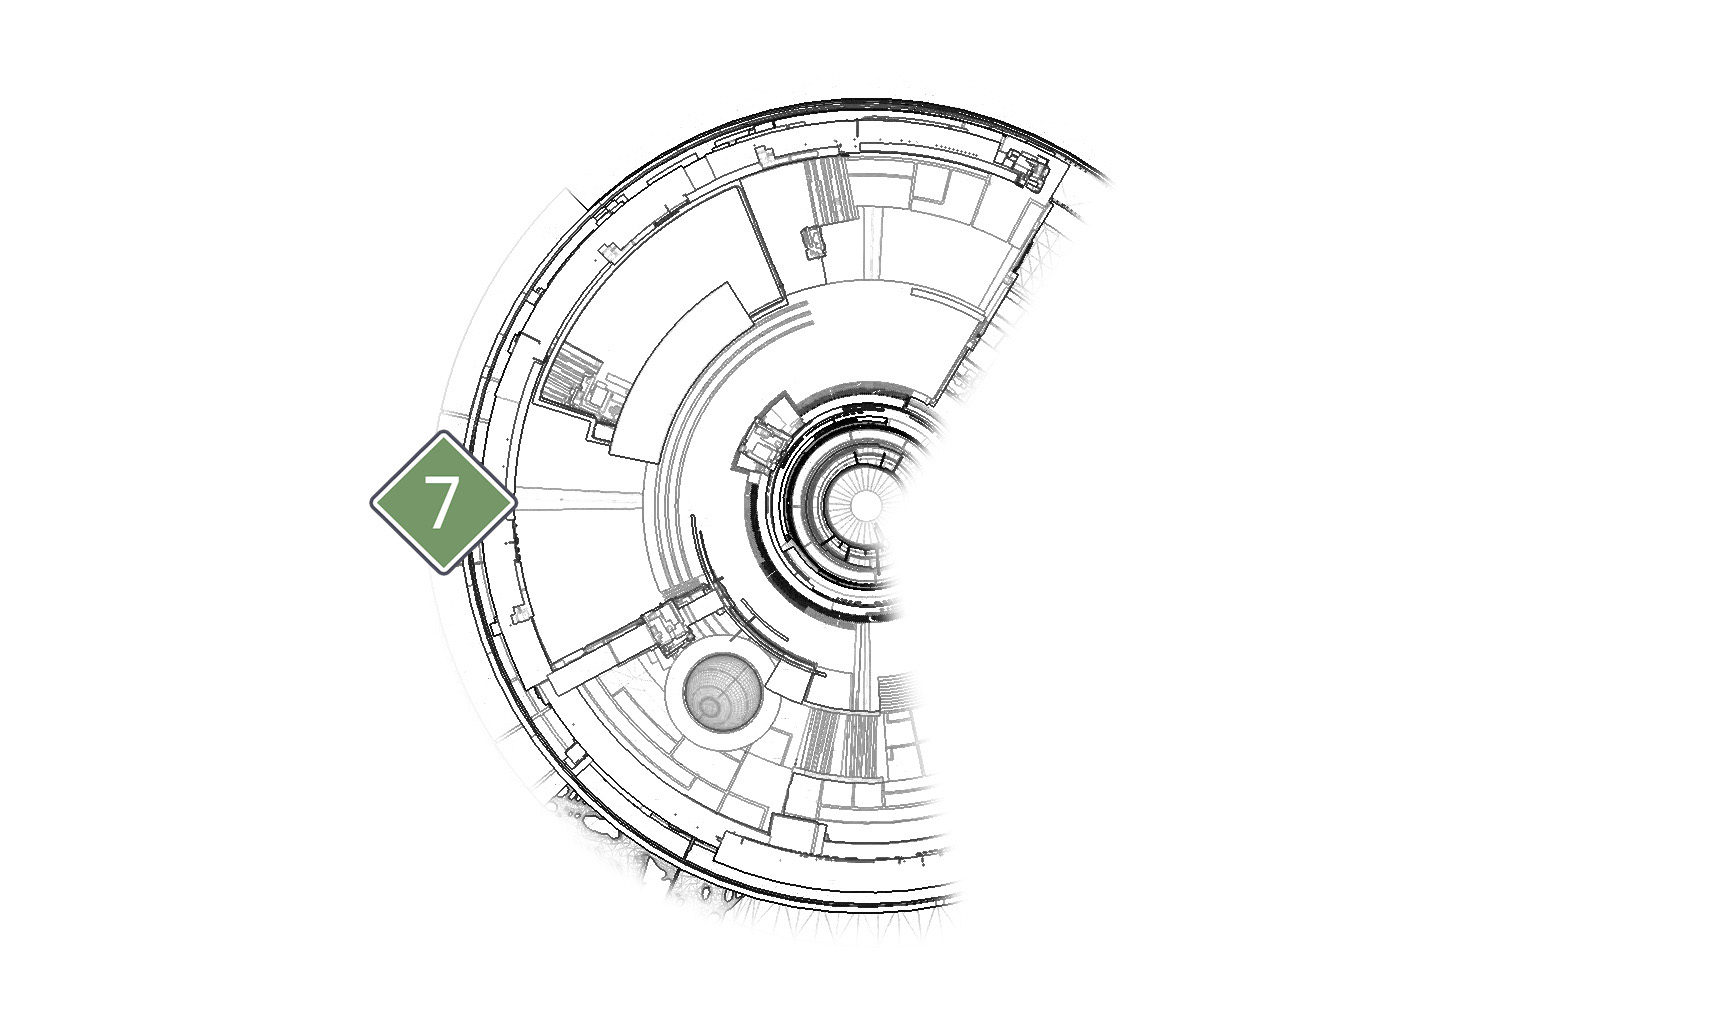
 Gardener’s Spire, Floor 2

Super: Recommended (one or two players)
Grenades: Recommended (one or two players)
Variations: Additional Vex
Prepare to engage mid-flight, hopefully with a range-based AoE Super, Rocket Launcher, Grenade Launcher, or Grenade. Place your shots to target the largest body of enemies. There’s a diverse group of enemies here, so give them whatever you've got! They should fall quickly. Destroy the remainders and the Hydra.
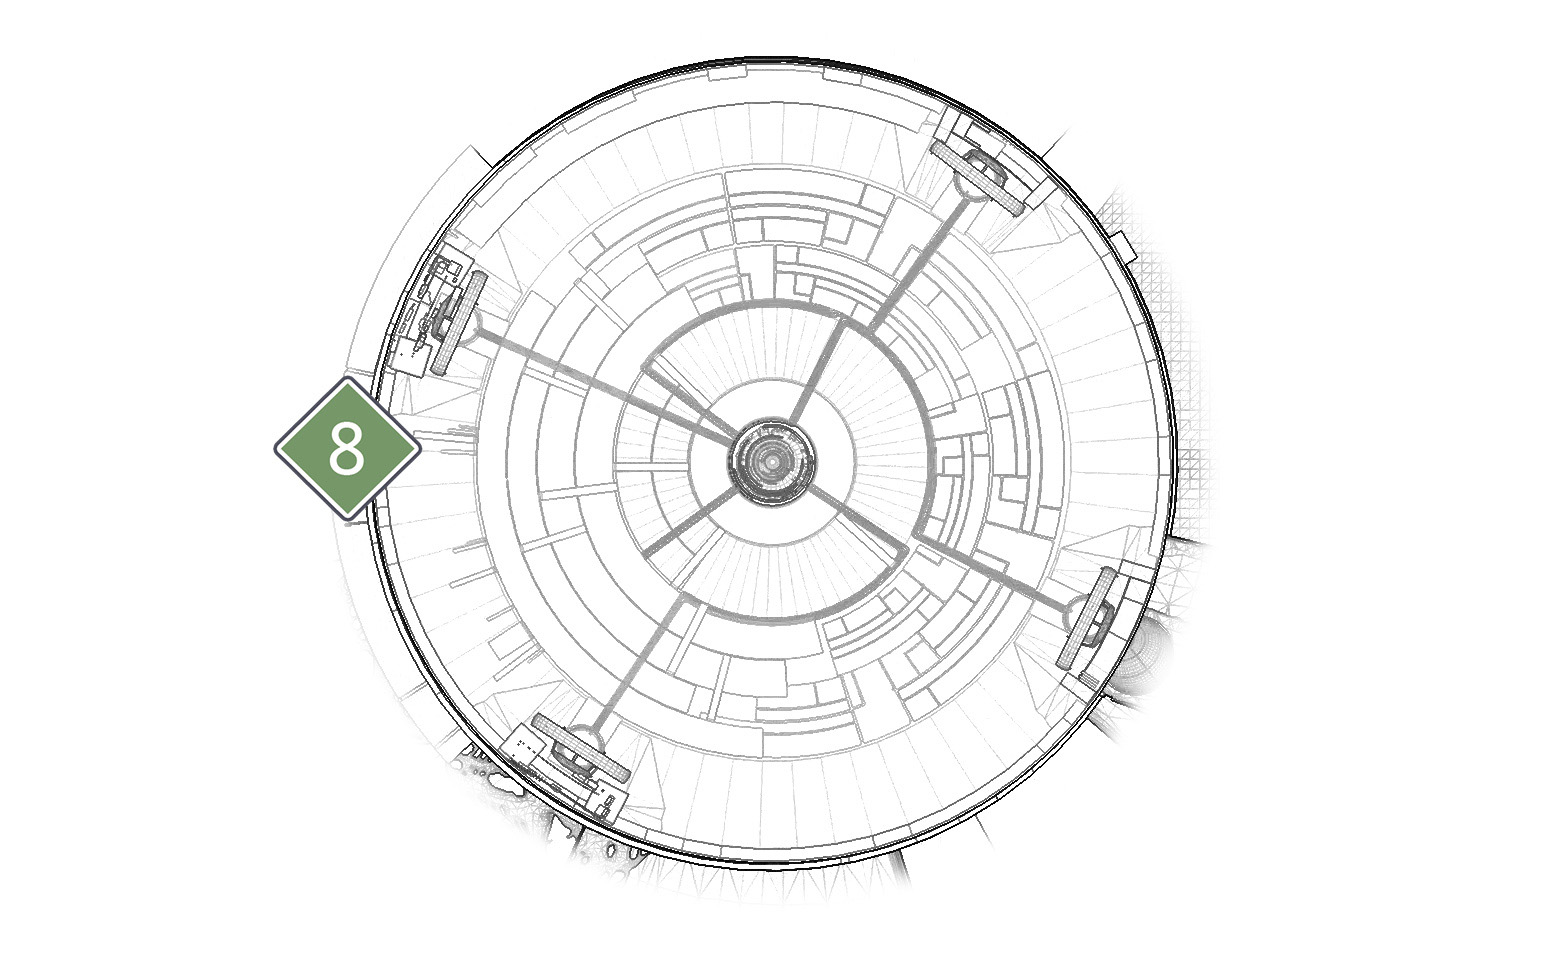
 Gardener’s Spire, Final Floor

Super: Recommended (all players)
Grenades: Recommended (all players)
Strike Variations: Additional Vex and Shielded Minotaur
Boss Weak Spot: Center “eye”
The fireteam has a chance to collect their bearings. You’ll be facing a single large opponent and a steady flow of enemies that will harass the fireteam. One or two team members should prioritize crowd control, while one team member concentrates on consistent DPS to the Root Mind. Fusion Rifles will be useful for staying behind cover from the Root Mind while taking on multiple Goblins or Minotaurs.
The encounter begins when the security module the Root Mind is linked to is destroyed. Barriers appear, so use these for cover. These barriers will disappear periodically requiring Guardians to reposition for new cover. The Root Mind circles the platform, firing a Void beam, and sometimes firing a slower but wider spread attack which will slow for three seconds.

Precursor Goblins will spawn in from the surrounding Vex portals. Keep these at bay while dealing damage to the Root Mind. At about 65-75% health, the Root Mind will activate a shield becoming immune and beam a conduit to two security modules powering two Shielded Minotaur. Goblins will protect the shield modules, while more Vex port in from the portals. Destroy the module and try to quickly take out the Shielded Minotaur before surrounding enemies put an end to you. The second module along with it’s Shield Minotaur are remaining. Destroying the module disables the Root Mind momentarily so use that moment to destroy the Shielded Minotaur. Cover is sparse, so Shielded Minotaurs must be dealt with swiftly. Do not engage them up close unless you or your teammates can stagger it or you’ll be stomped and possibly fly off the edge of the area. Power weapons such as a Sword or Fusion Rifle take them down swiftly enough.
Campaign and Strike Comparison
The Campaign will have two Shielded Minotaurs while Strikes will have four. You will have dealt with the first two for strikes or the only two during the campaign at this point.
A new phase will begin, and the position of cover will change. The Root Mind will once again be using it’s beam or slow blast attack. Once the Root mind is down near 50% health The Root mind will activate the remaining Shielded Minotaurs.Take these down quickly along with surrounding lesser Vex. Once both Minotaurs are gone fire upon the Root Mind until the next phase initializes. It begins to rotate its position. The Root Mind becomes more aggressive with its movements and Vex reinforcements will portal in more frequently.

When the Root Mind is at about 35% health, a new wave of Precursor Goblins and Fanatics spawn. The cover again changes. Precursor Hobgoblins and Minotaurs join the fight. A Power weapon bearer becomes invaluable at this point. Be sure to use Power weapons that have a lot of ammo. Once these enemies are down, take a brief period to damage the Root Mind as it circles. The cover objects change more quickly. If the fireteam has been at it enough, there will be no more Vex to get in the team’s way. Keep applying damage and dodging behind cover.